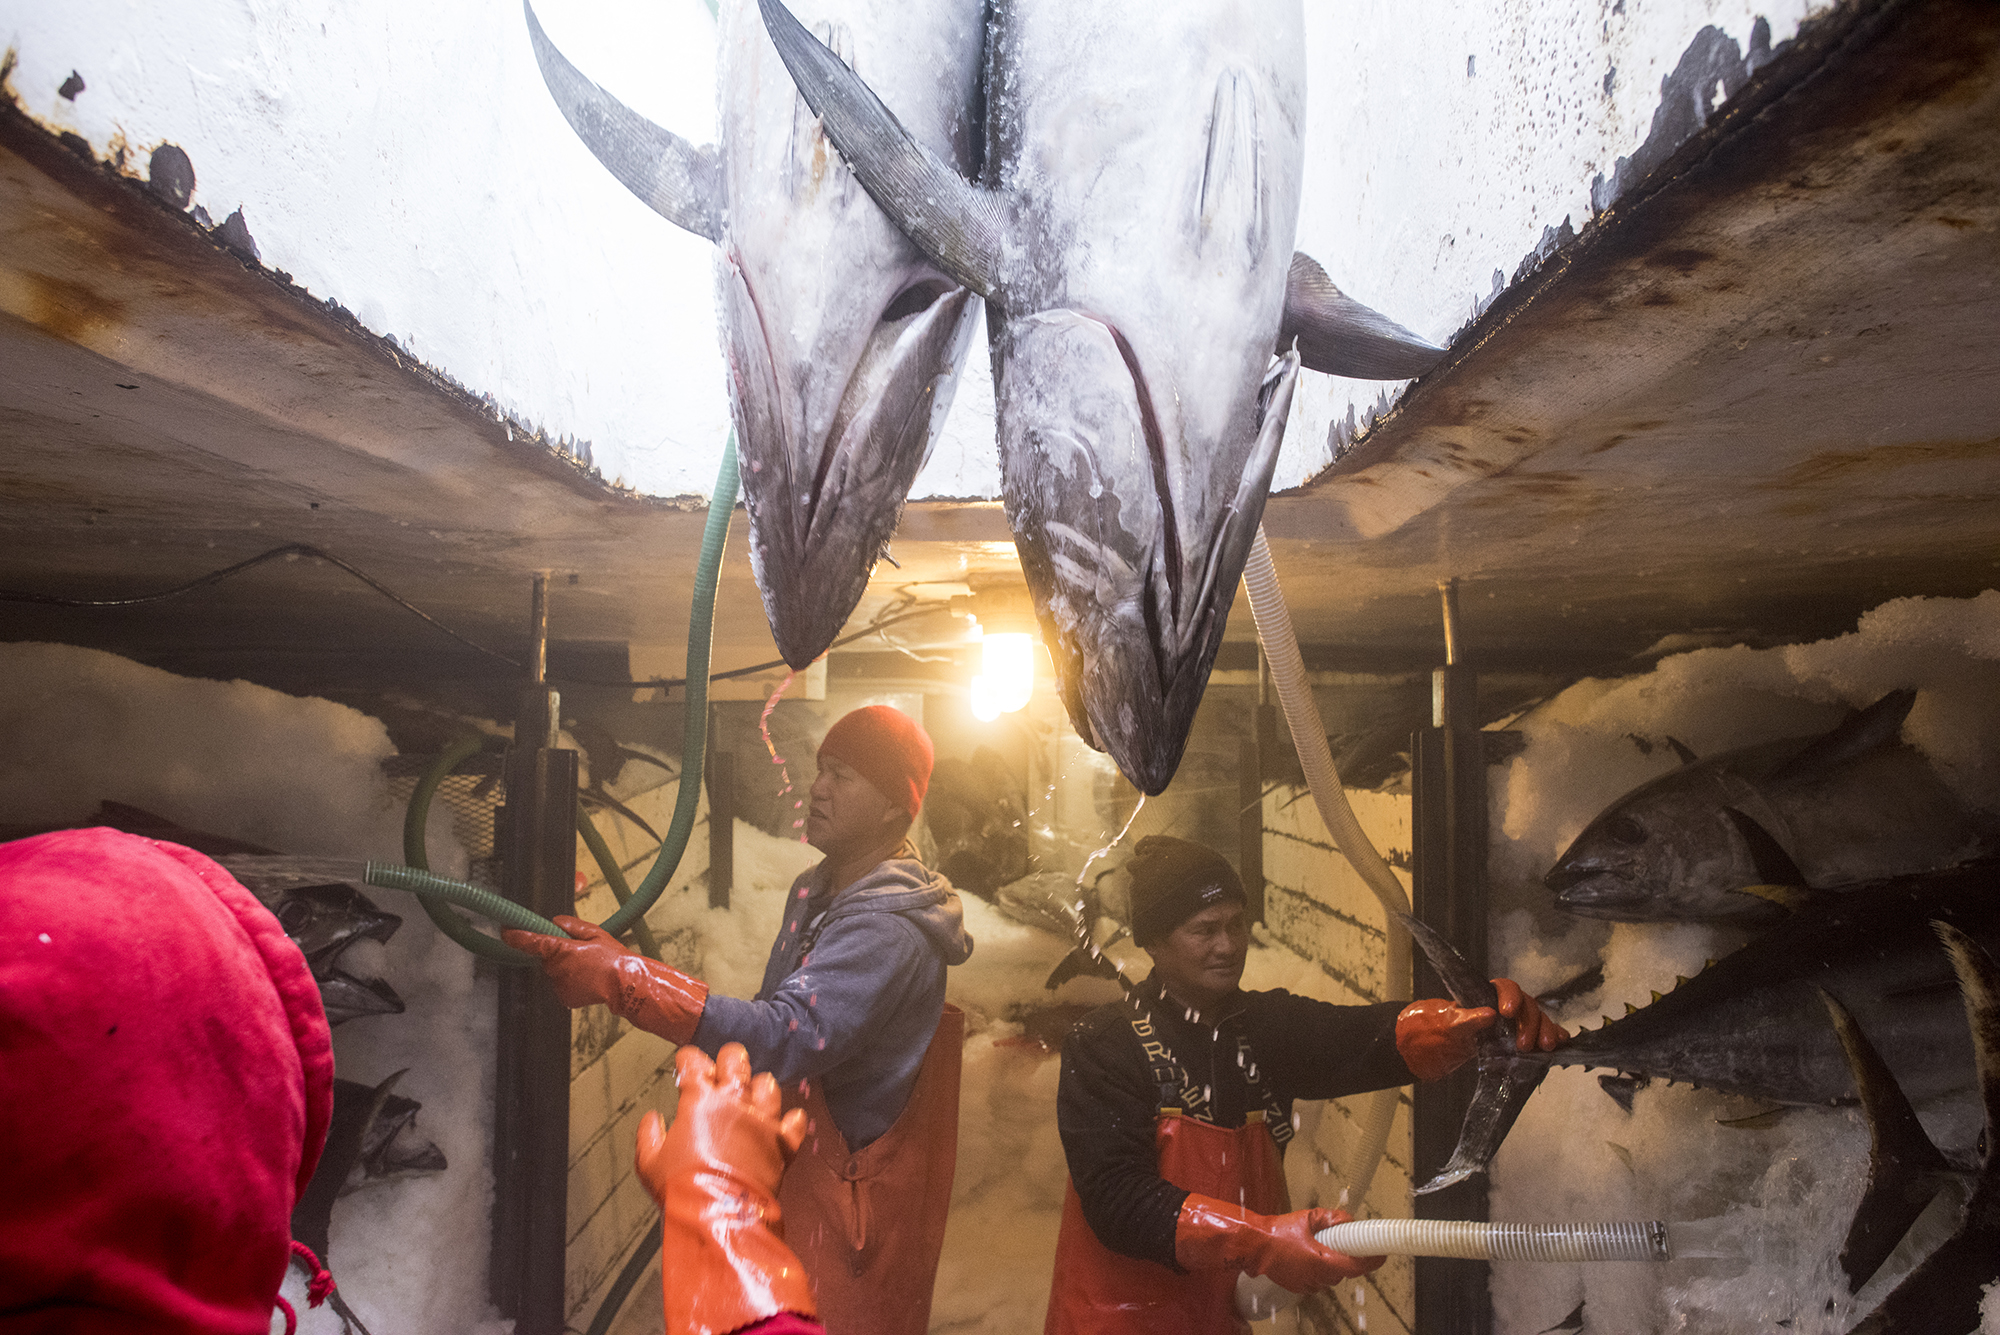
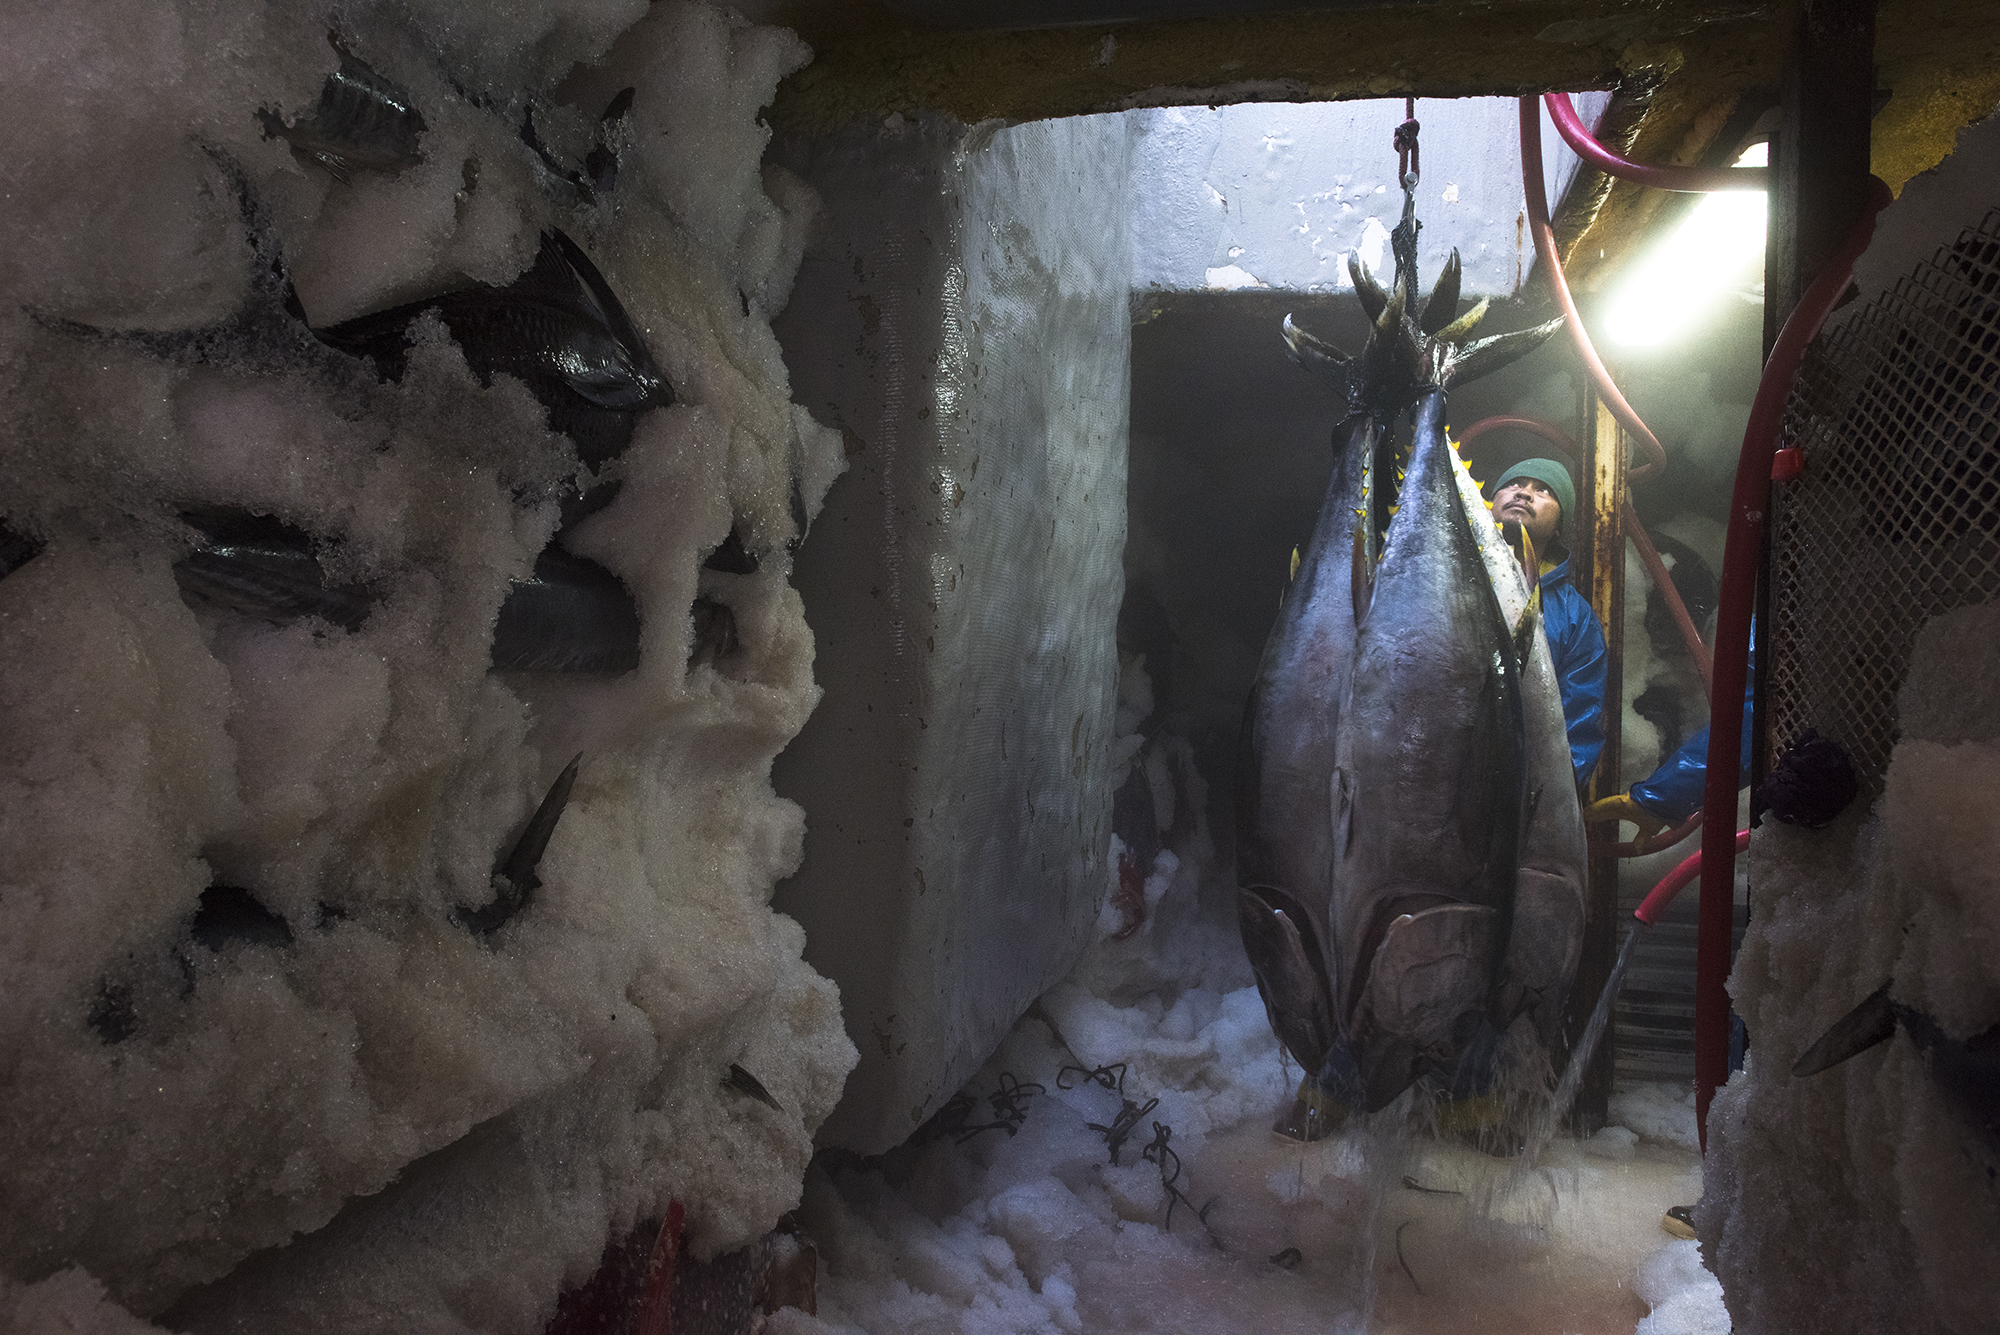
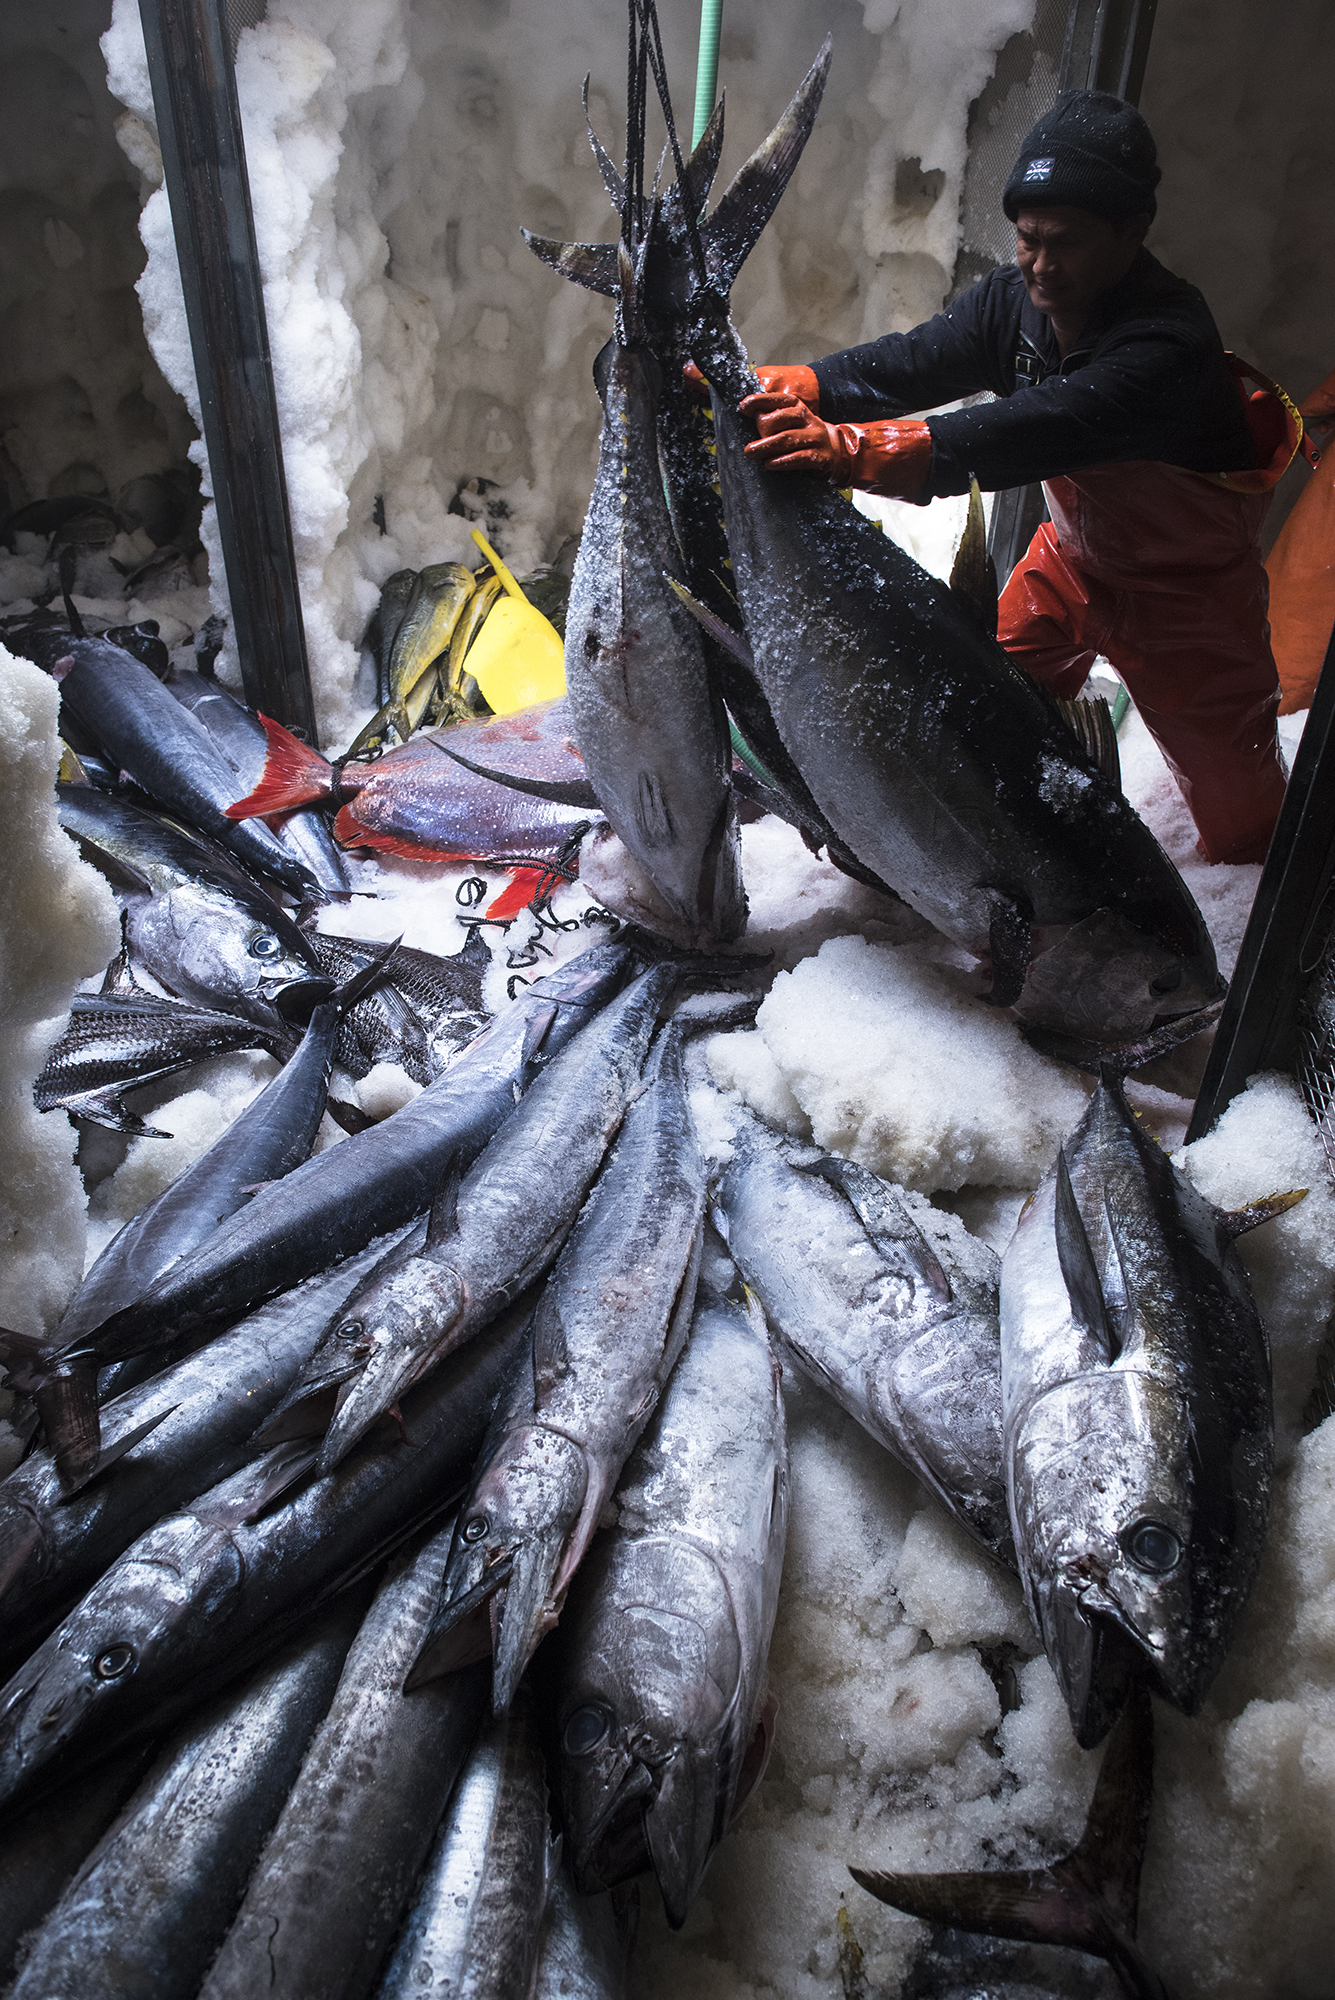
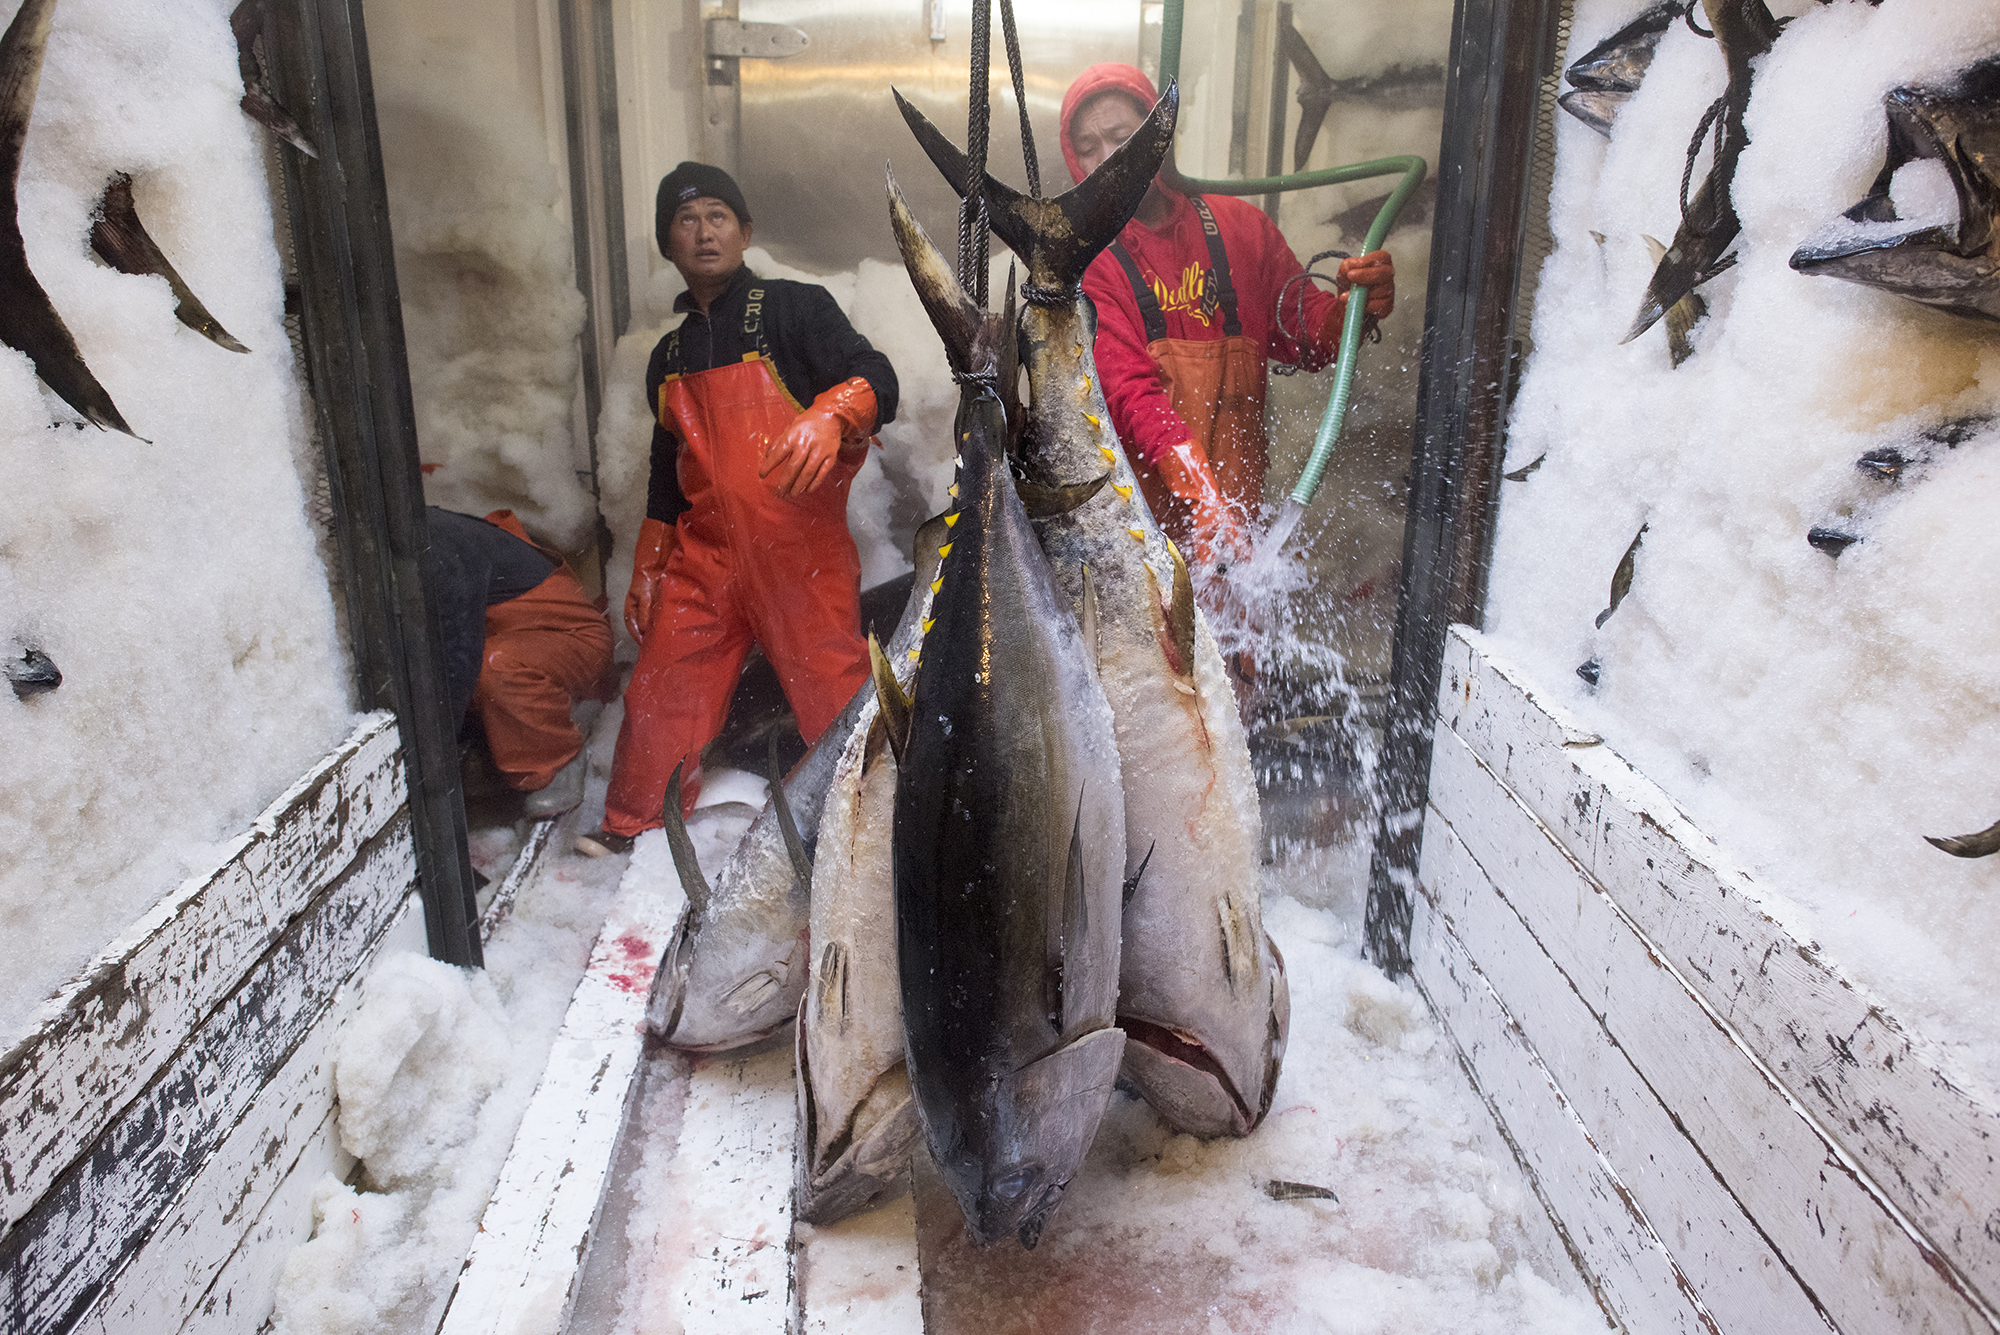
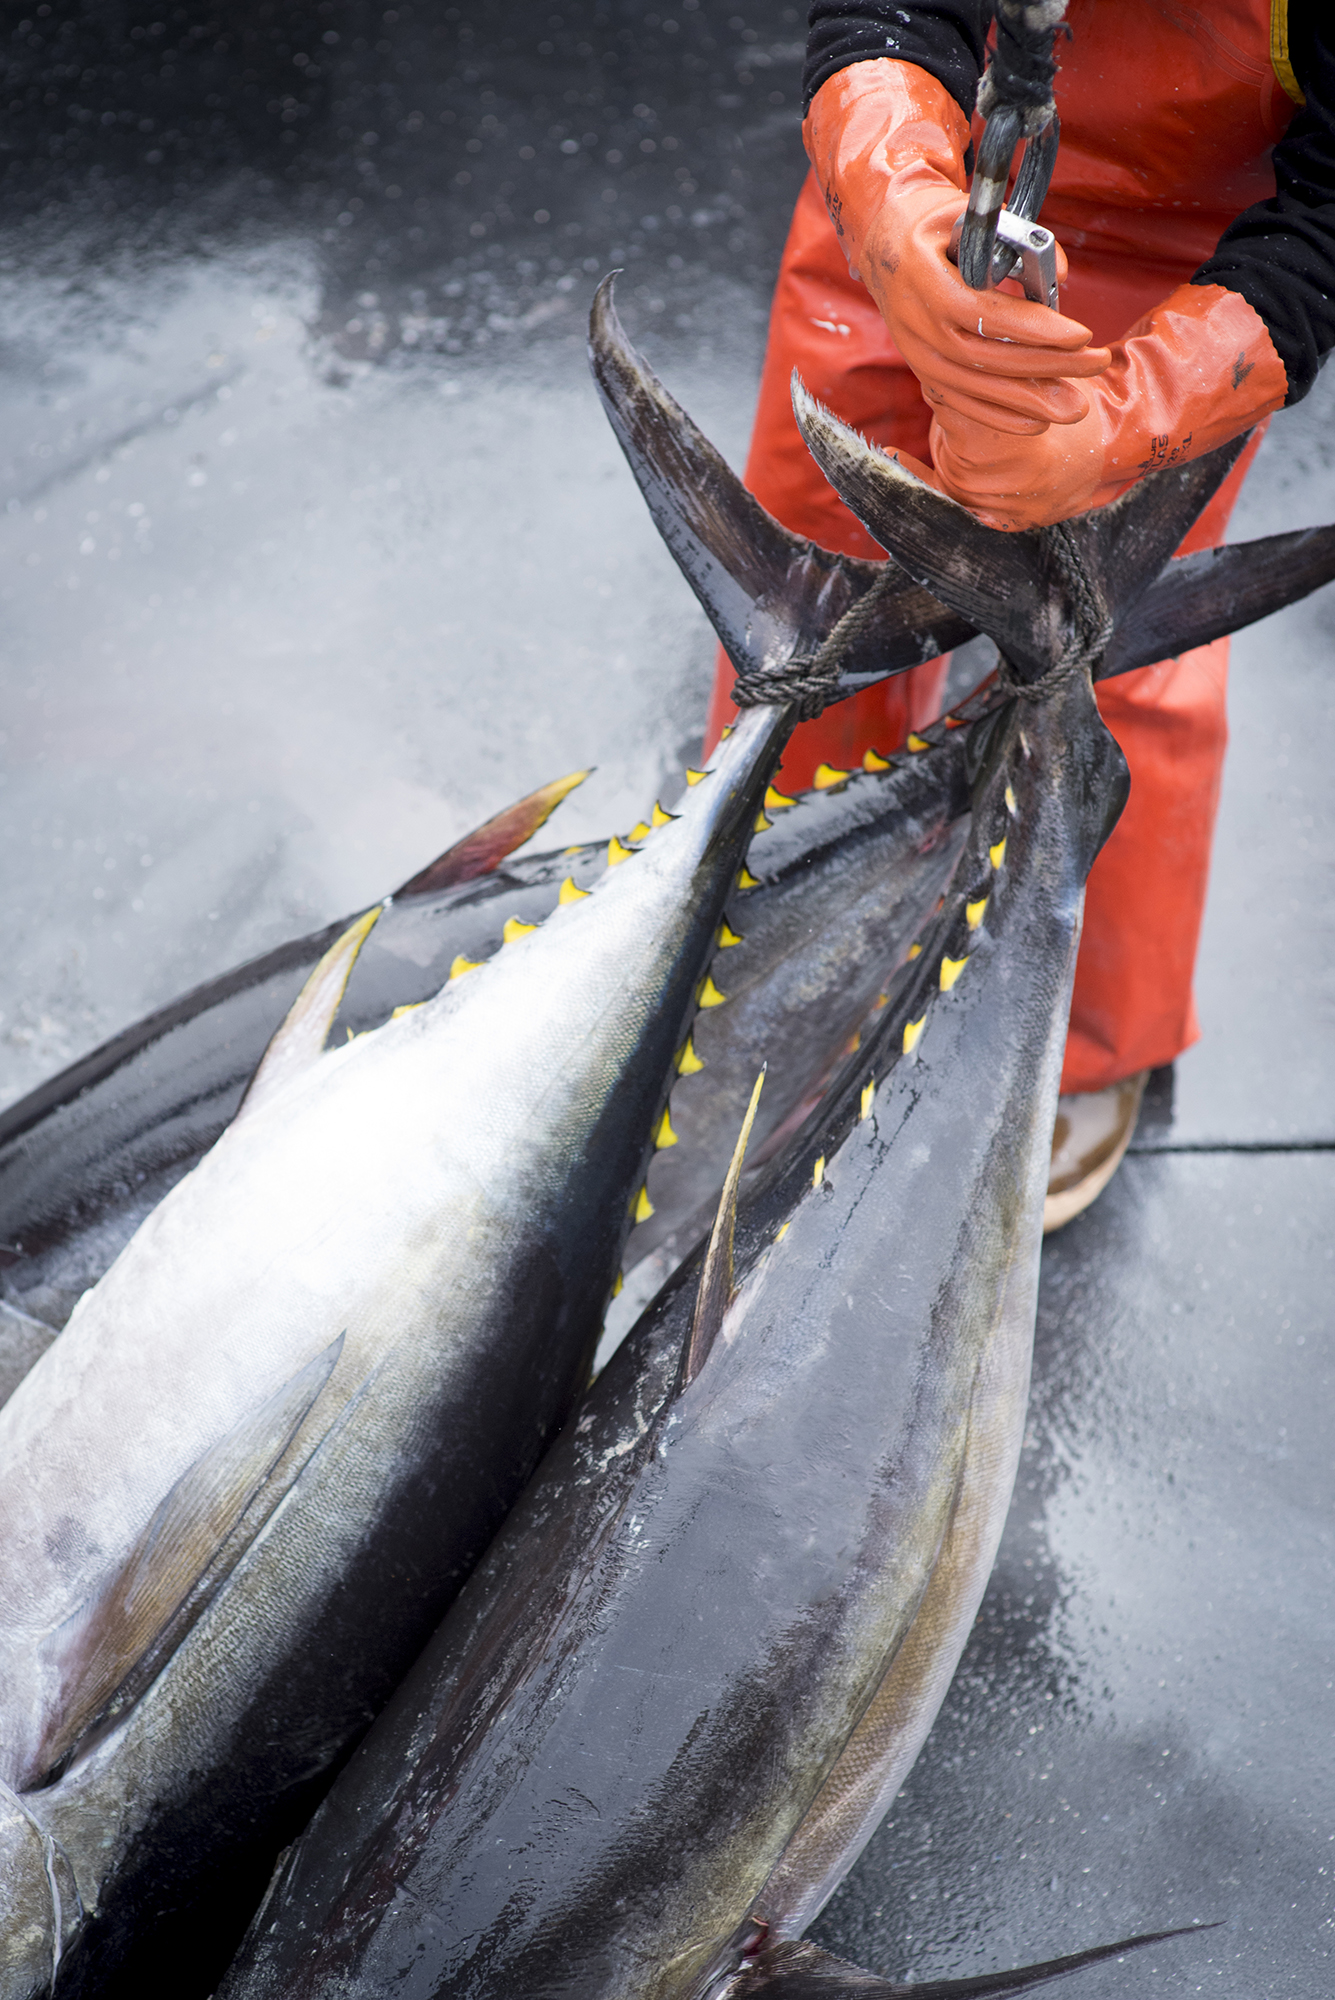
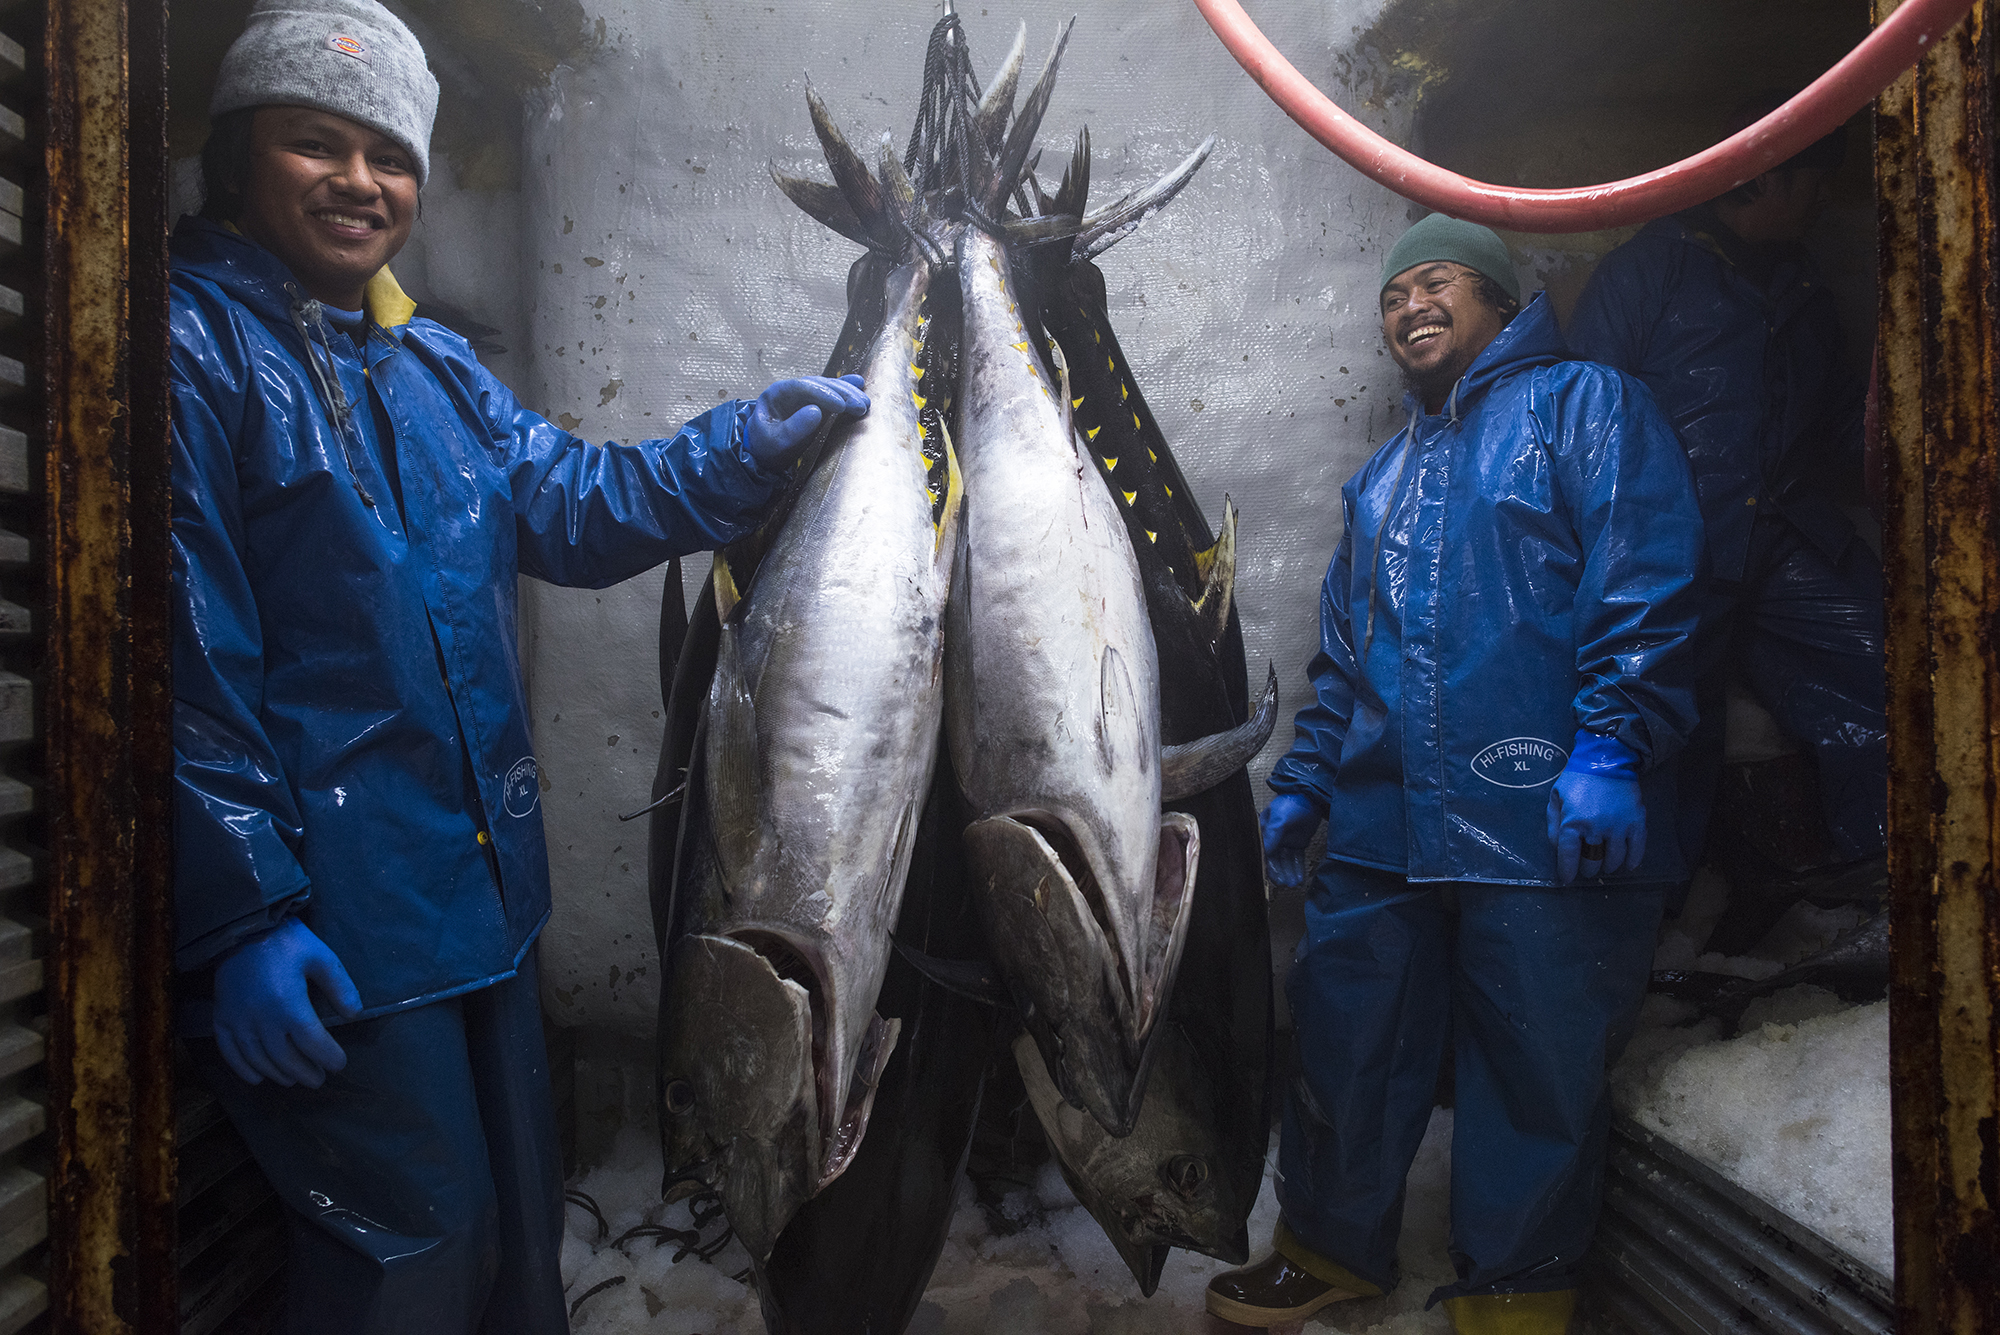
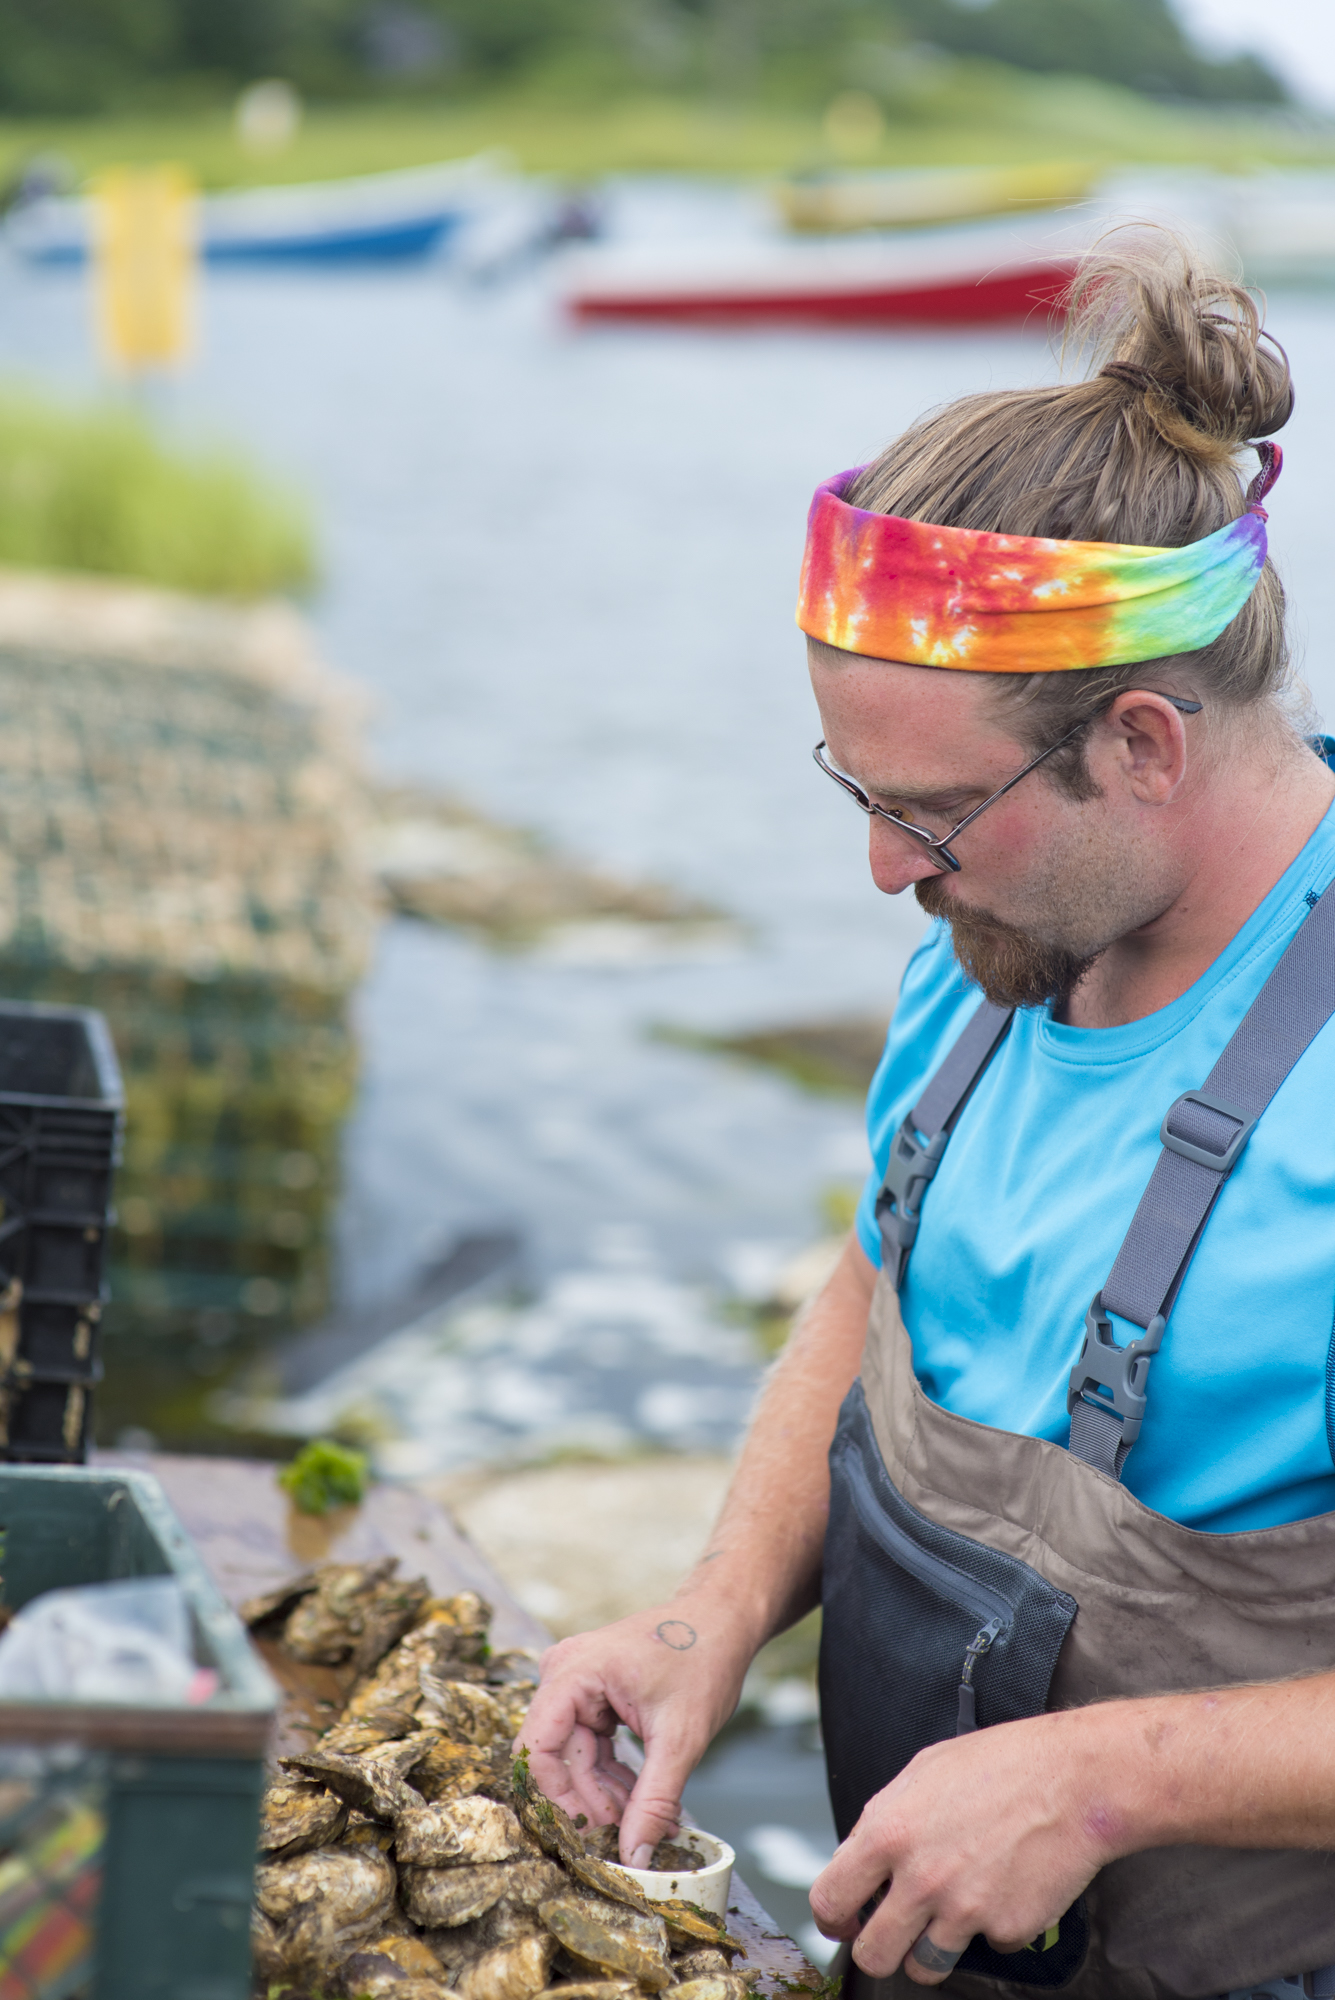
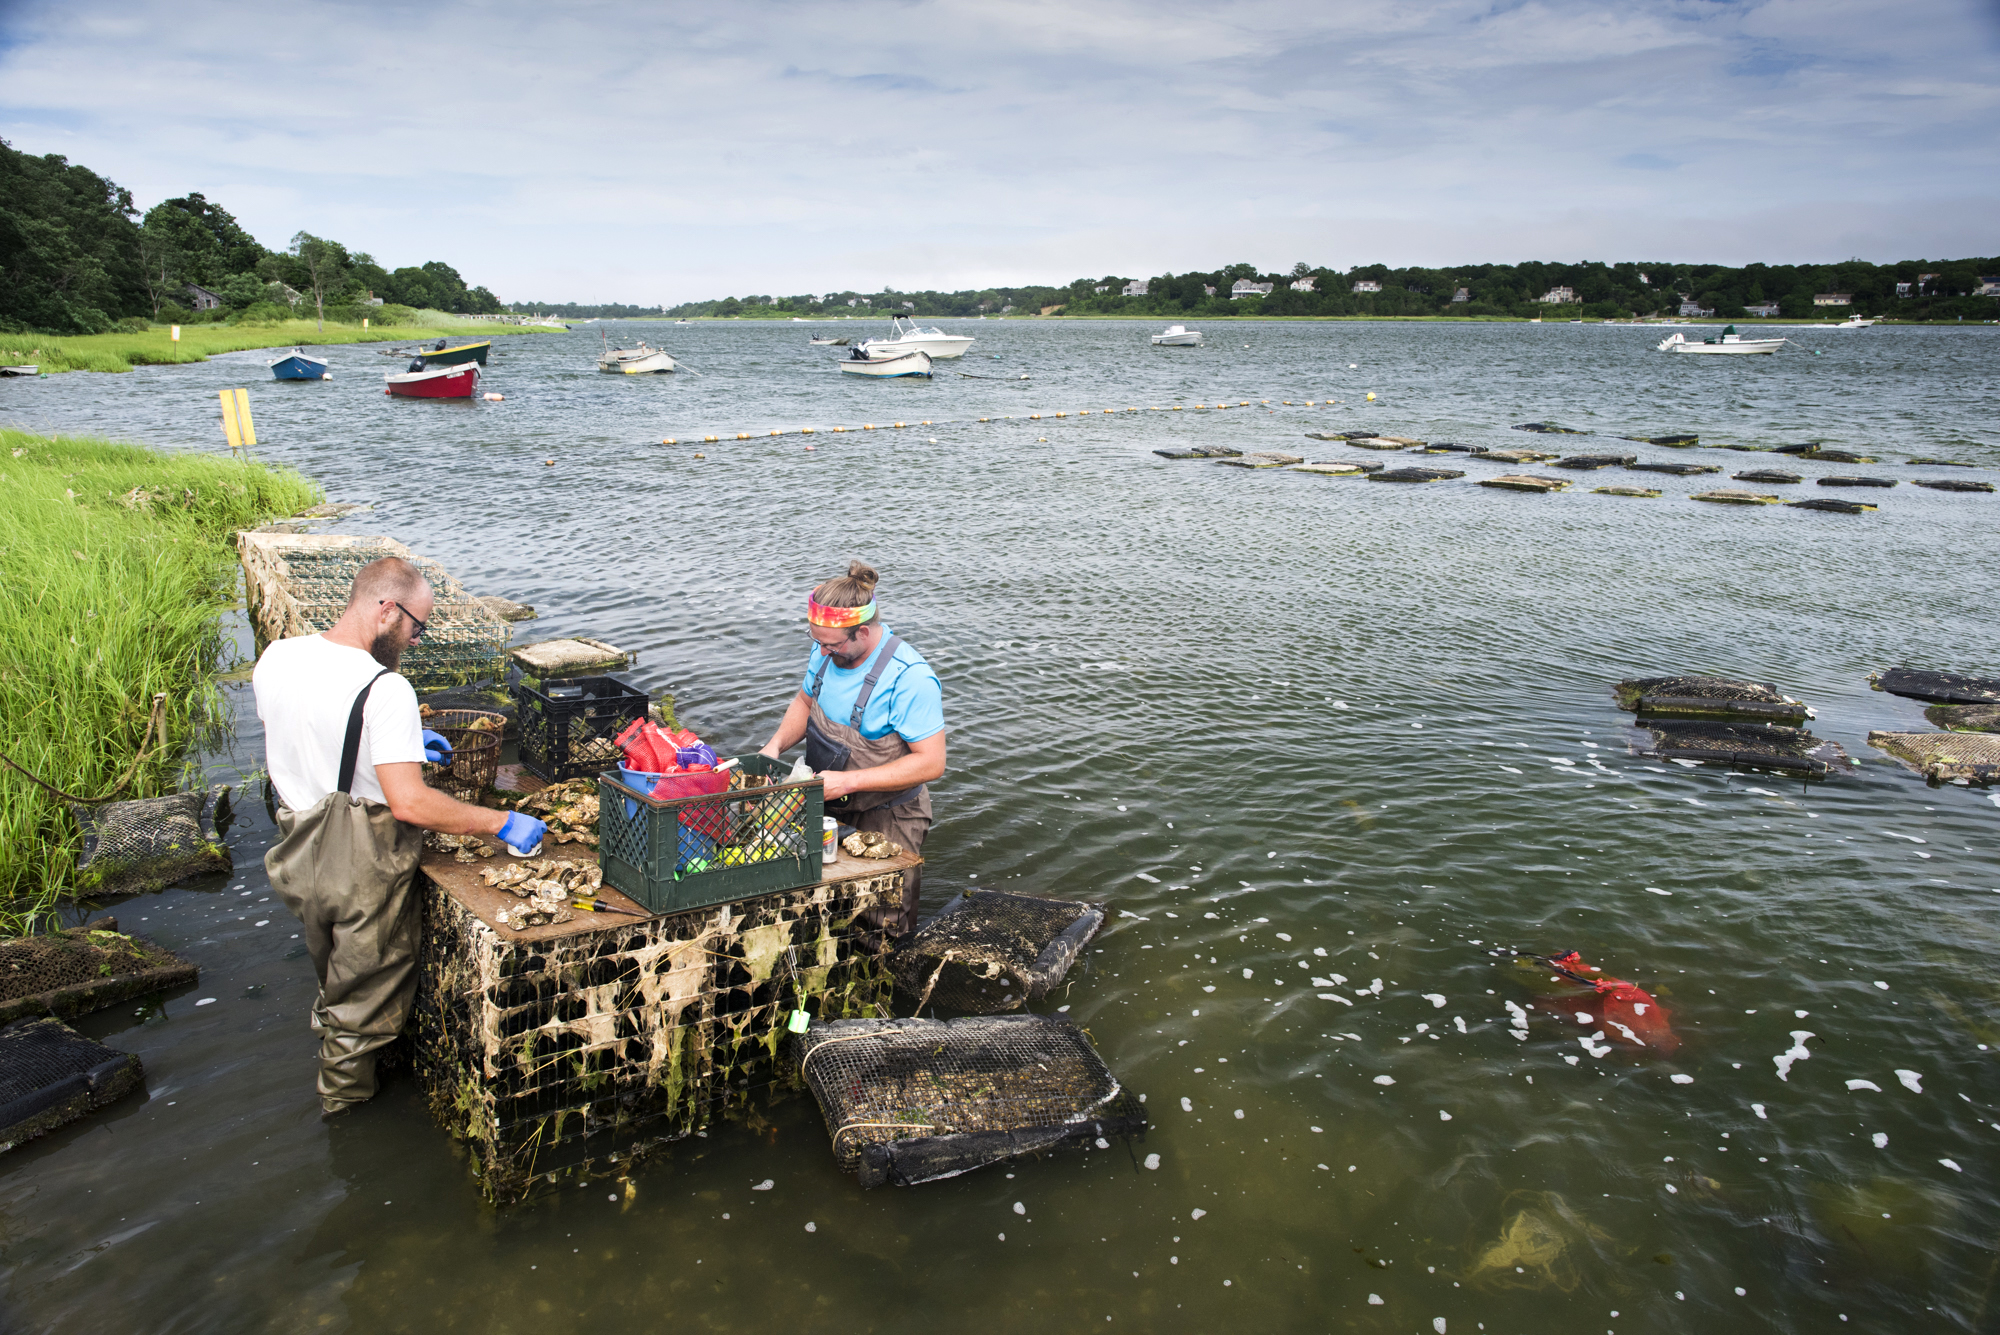
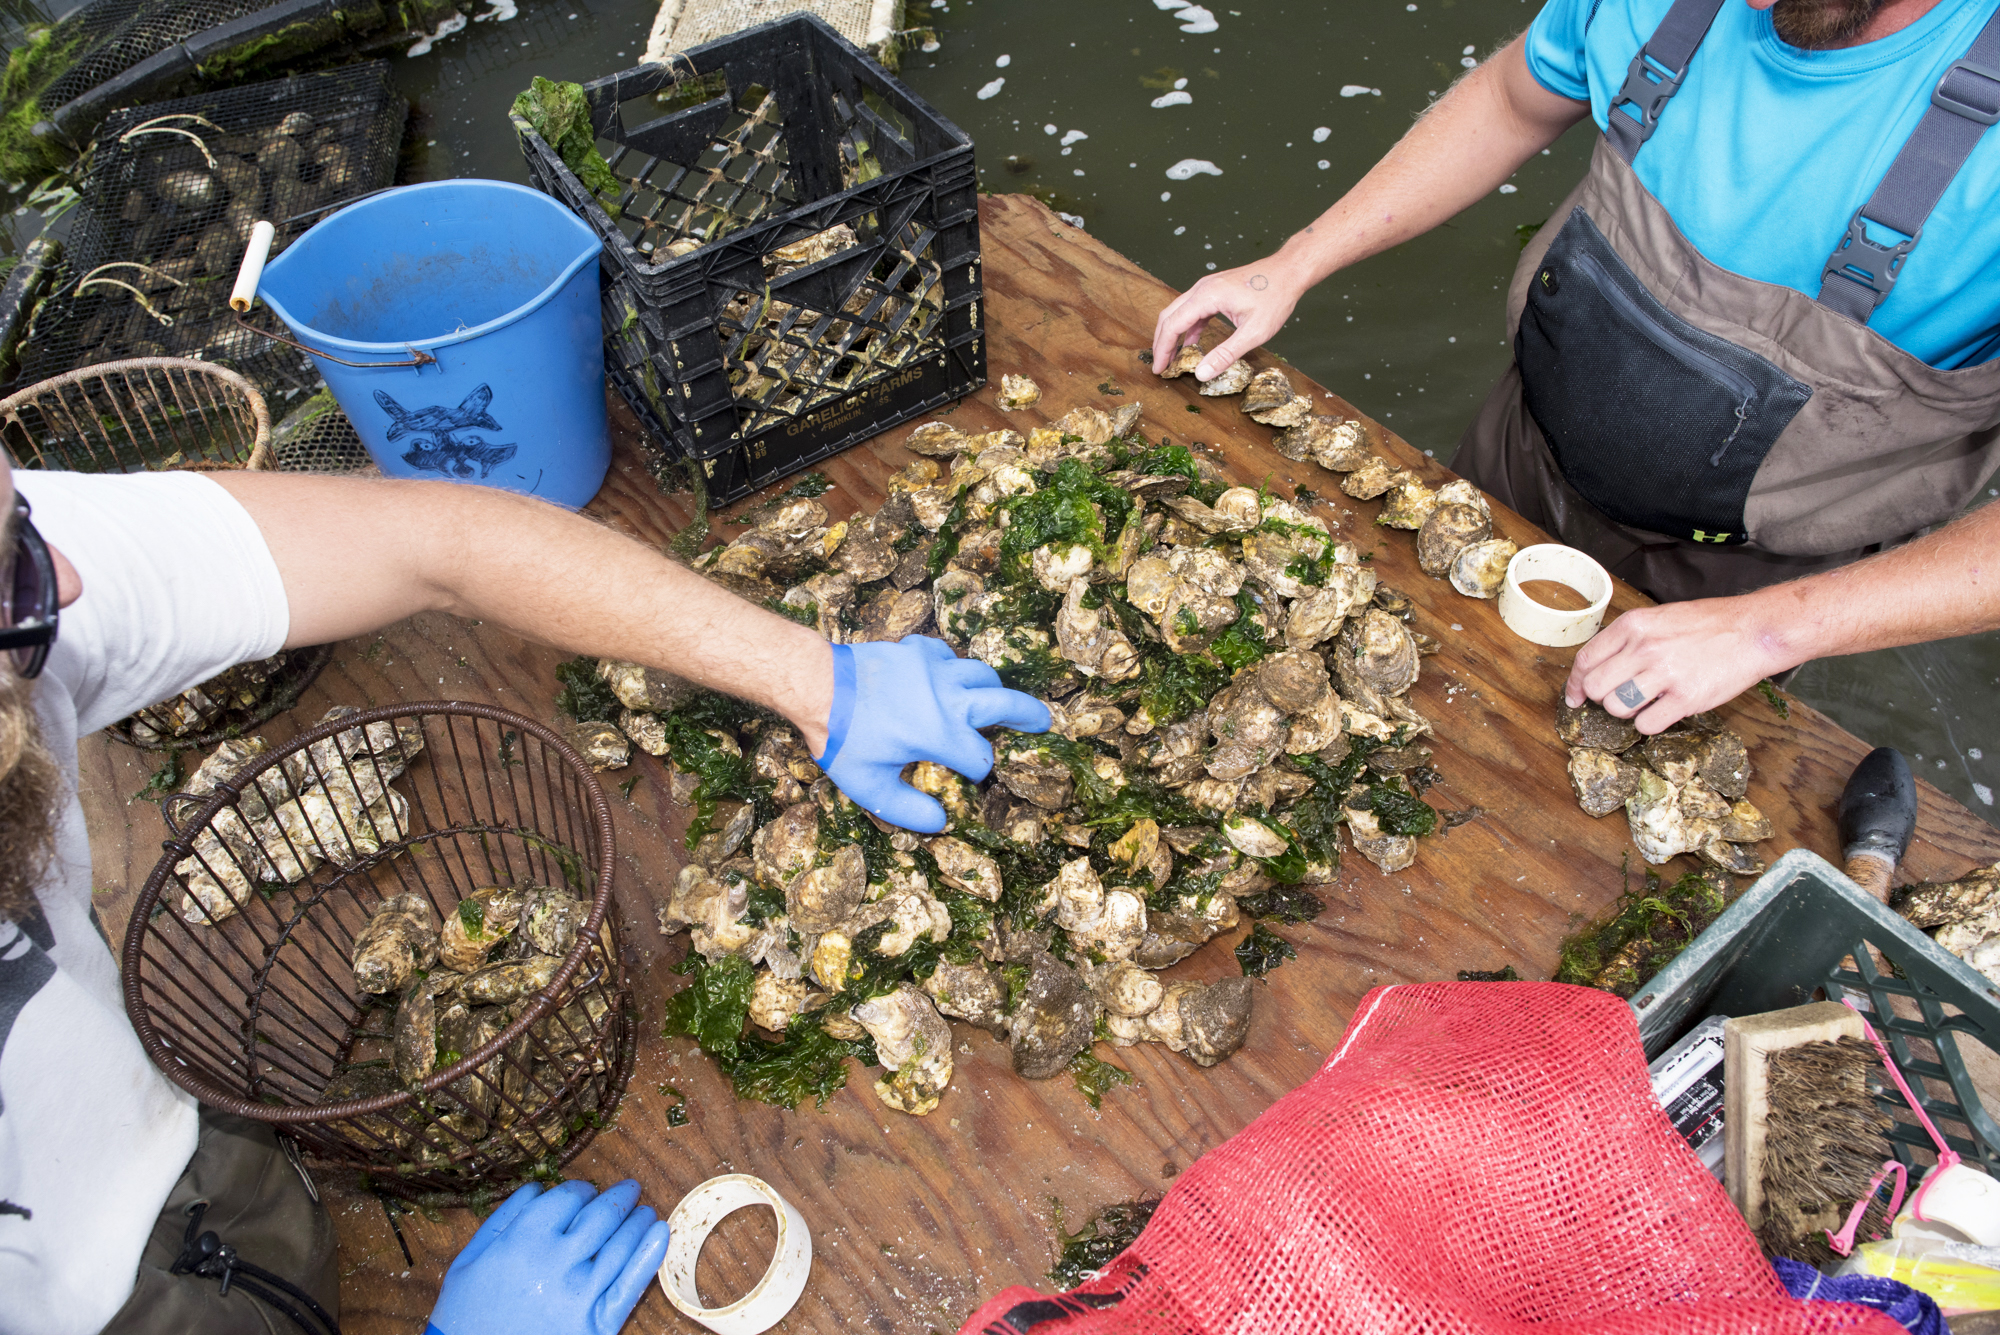
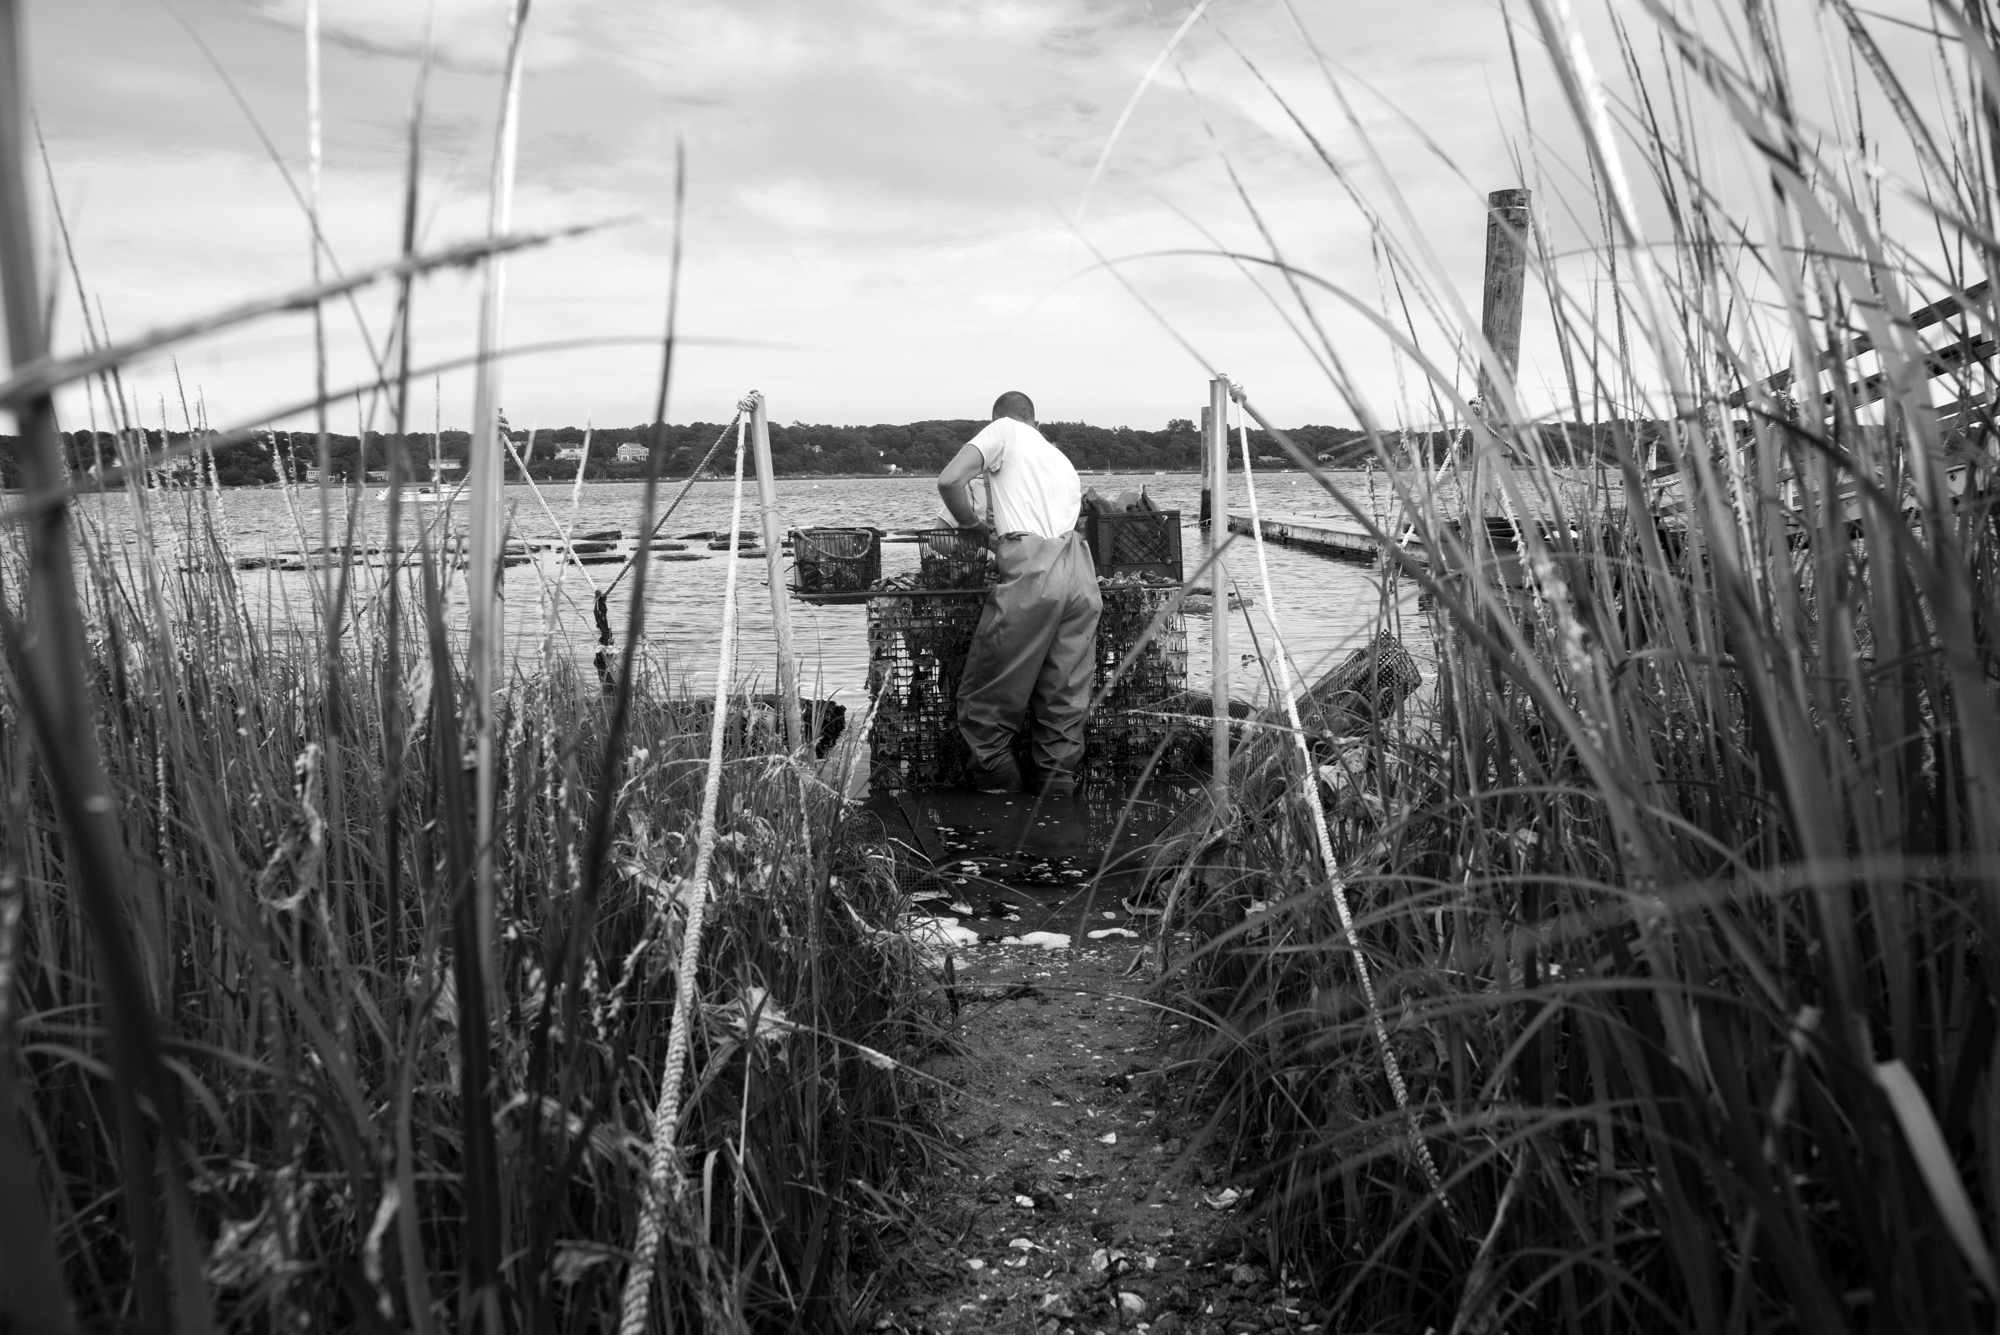
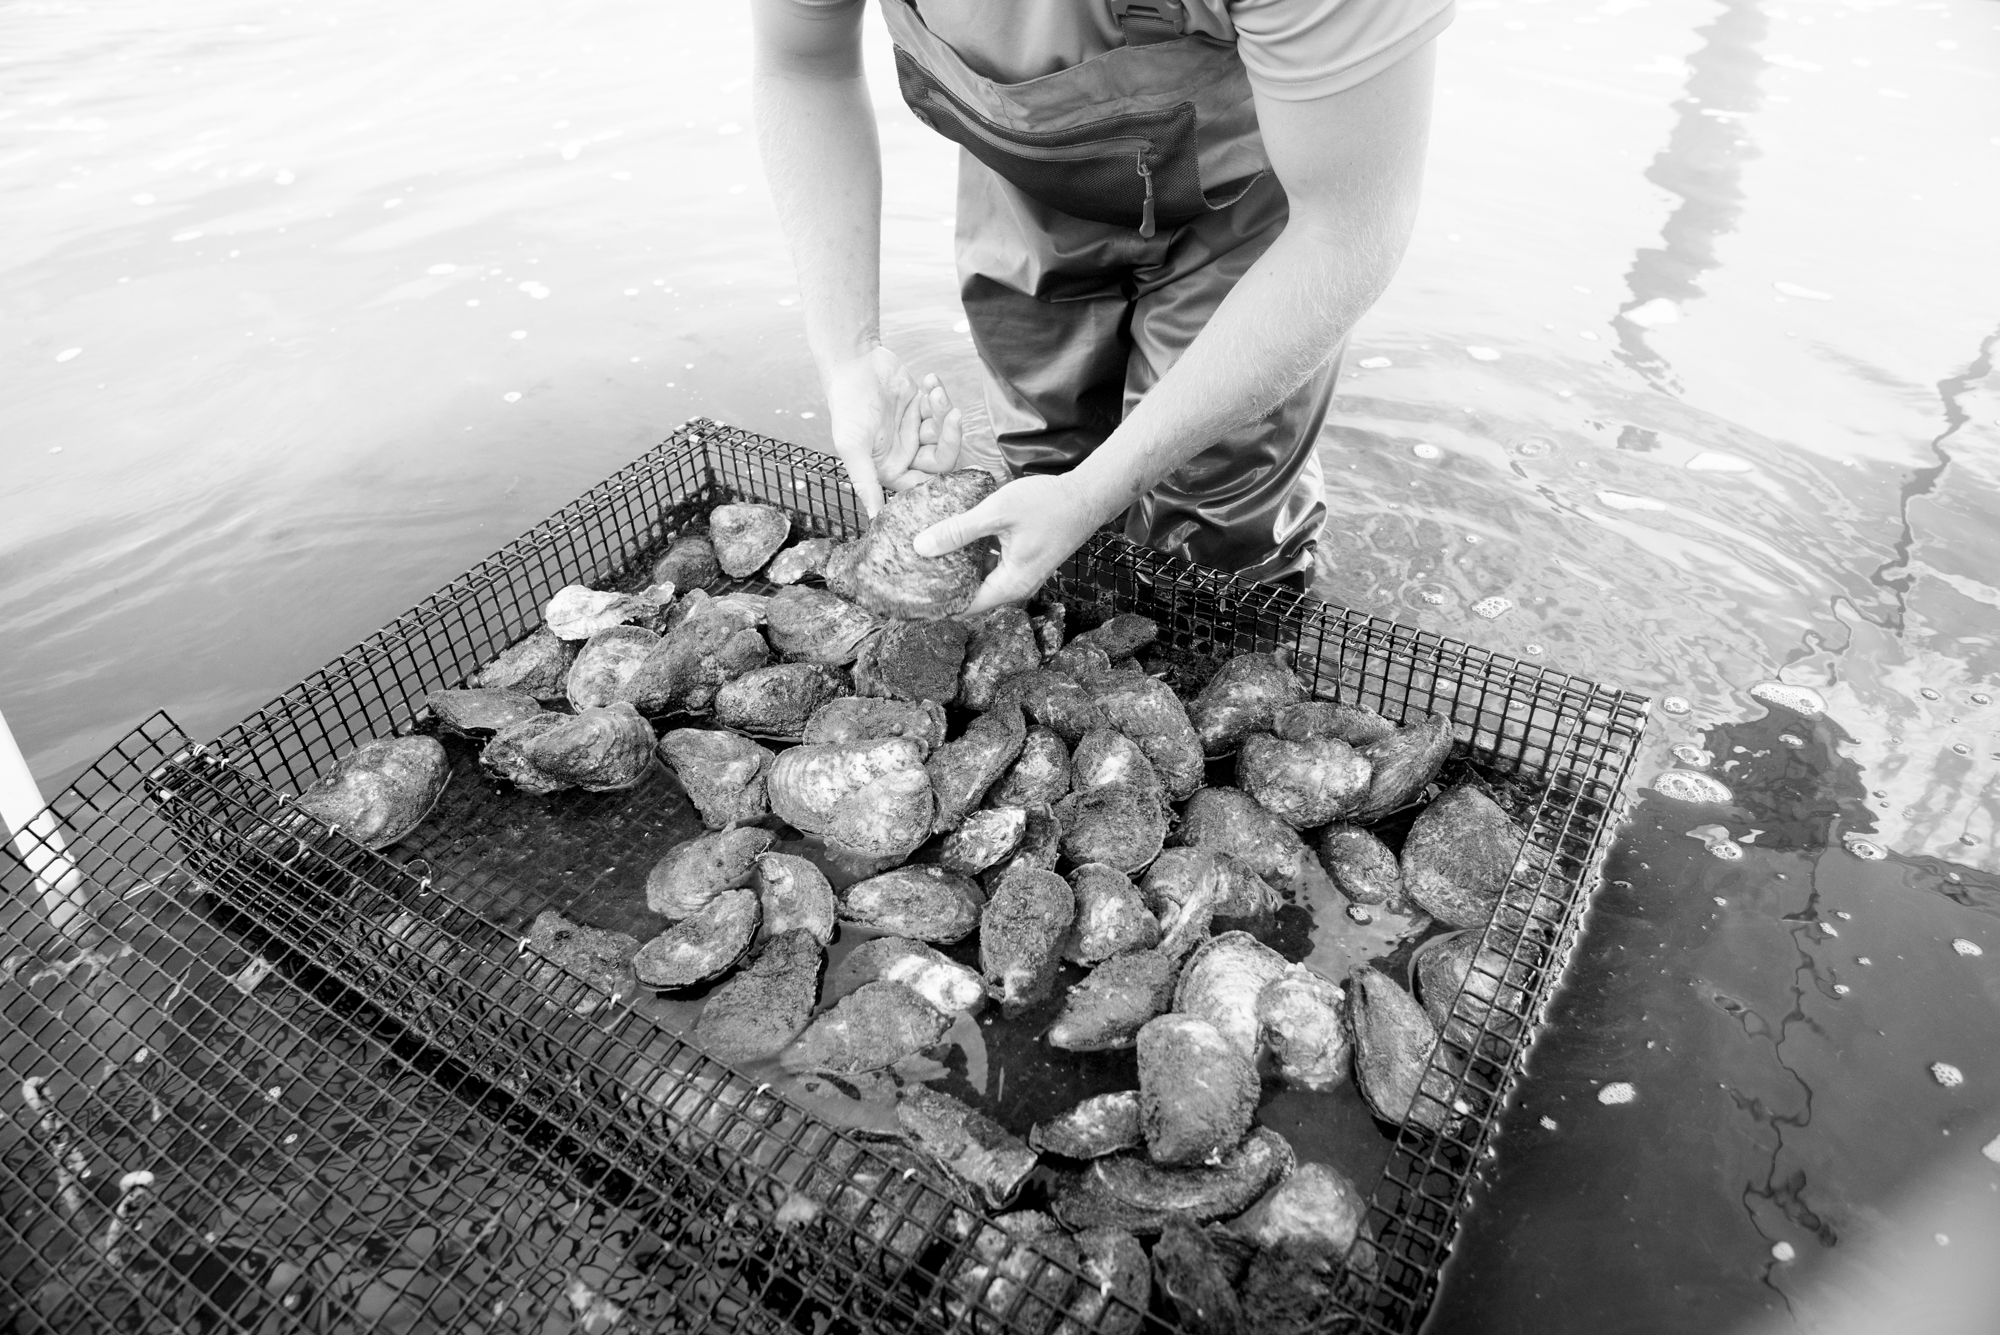
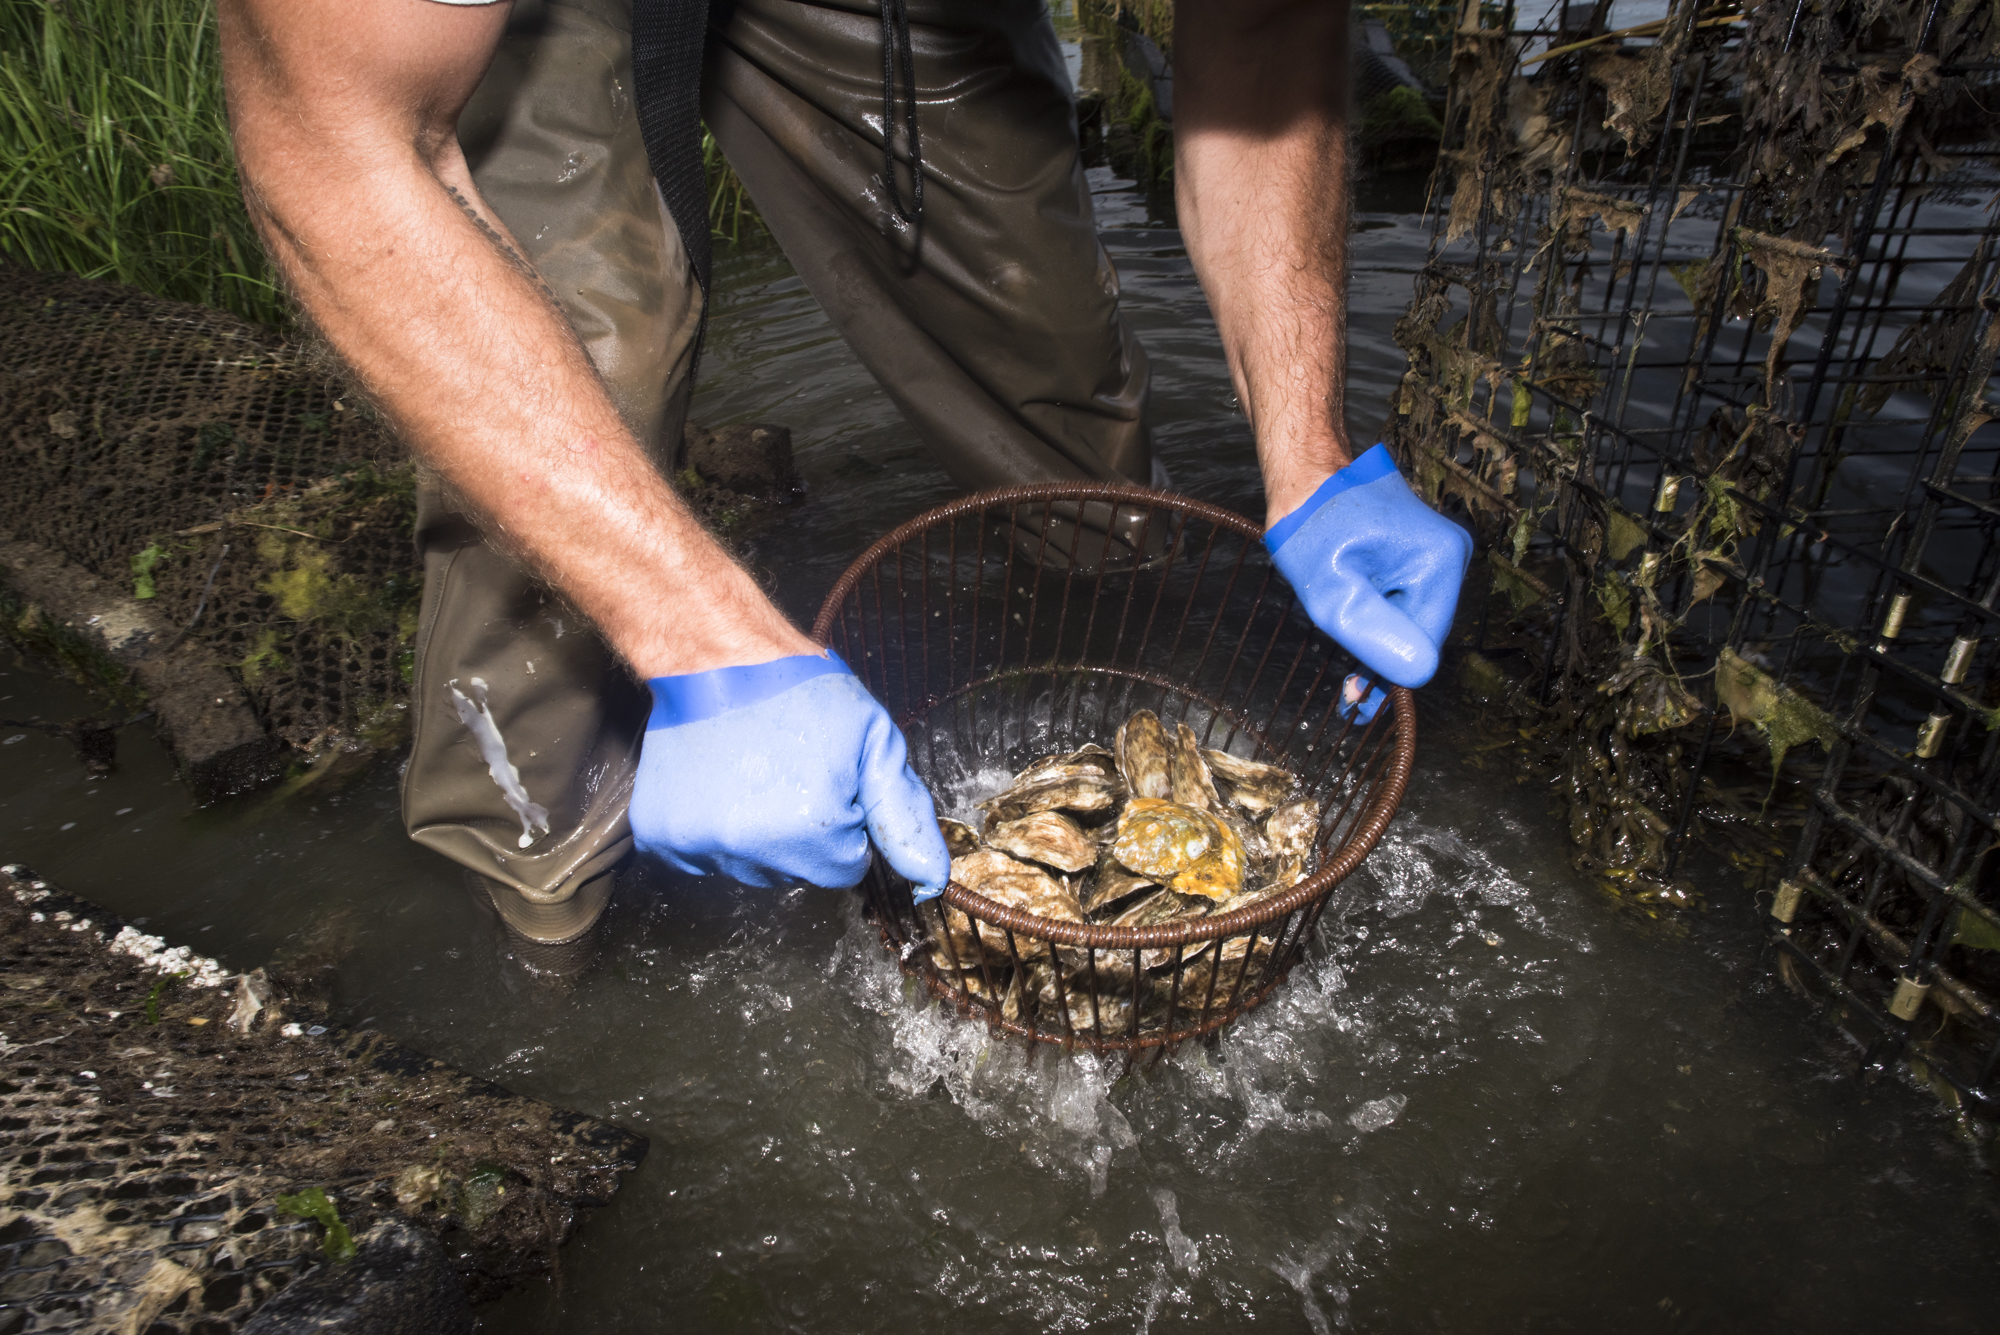
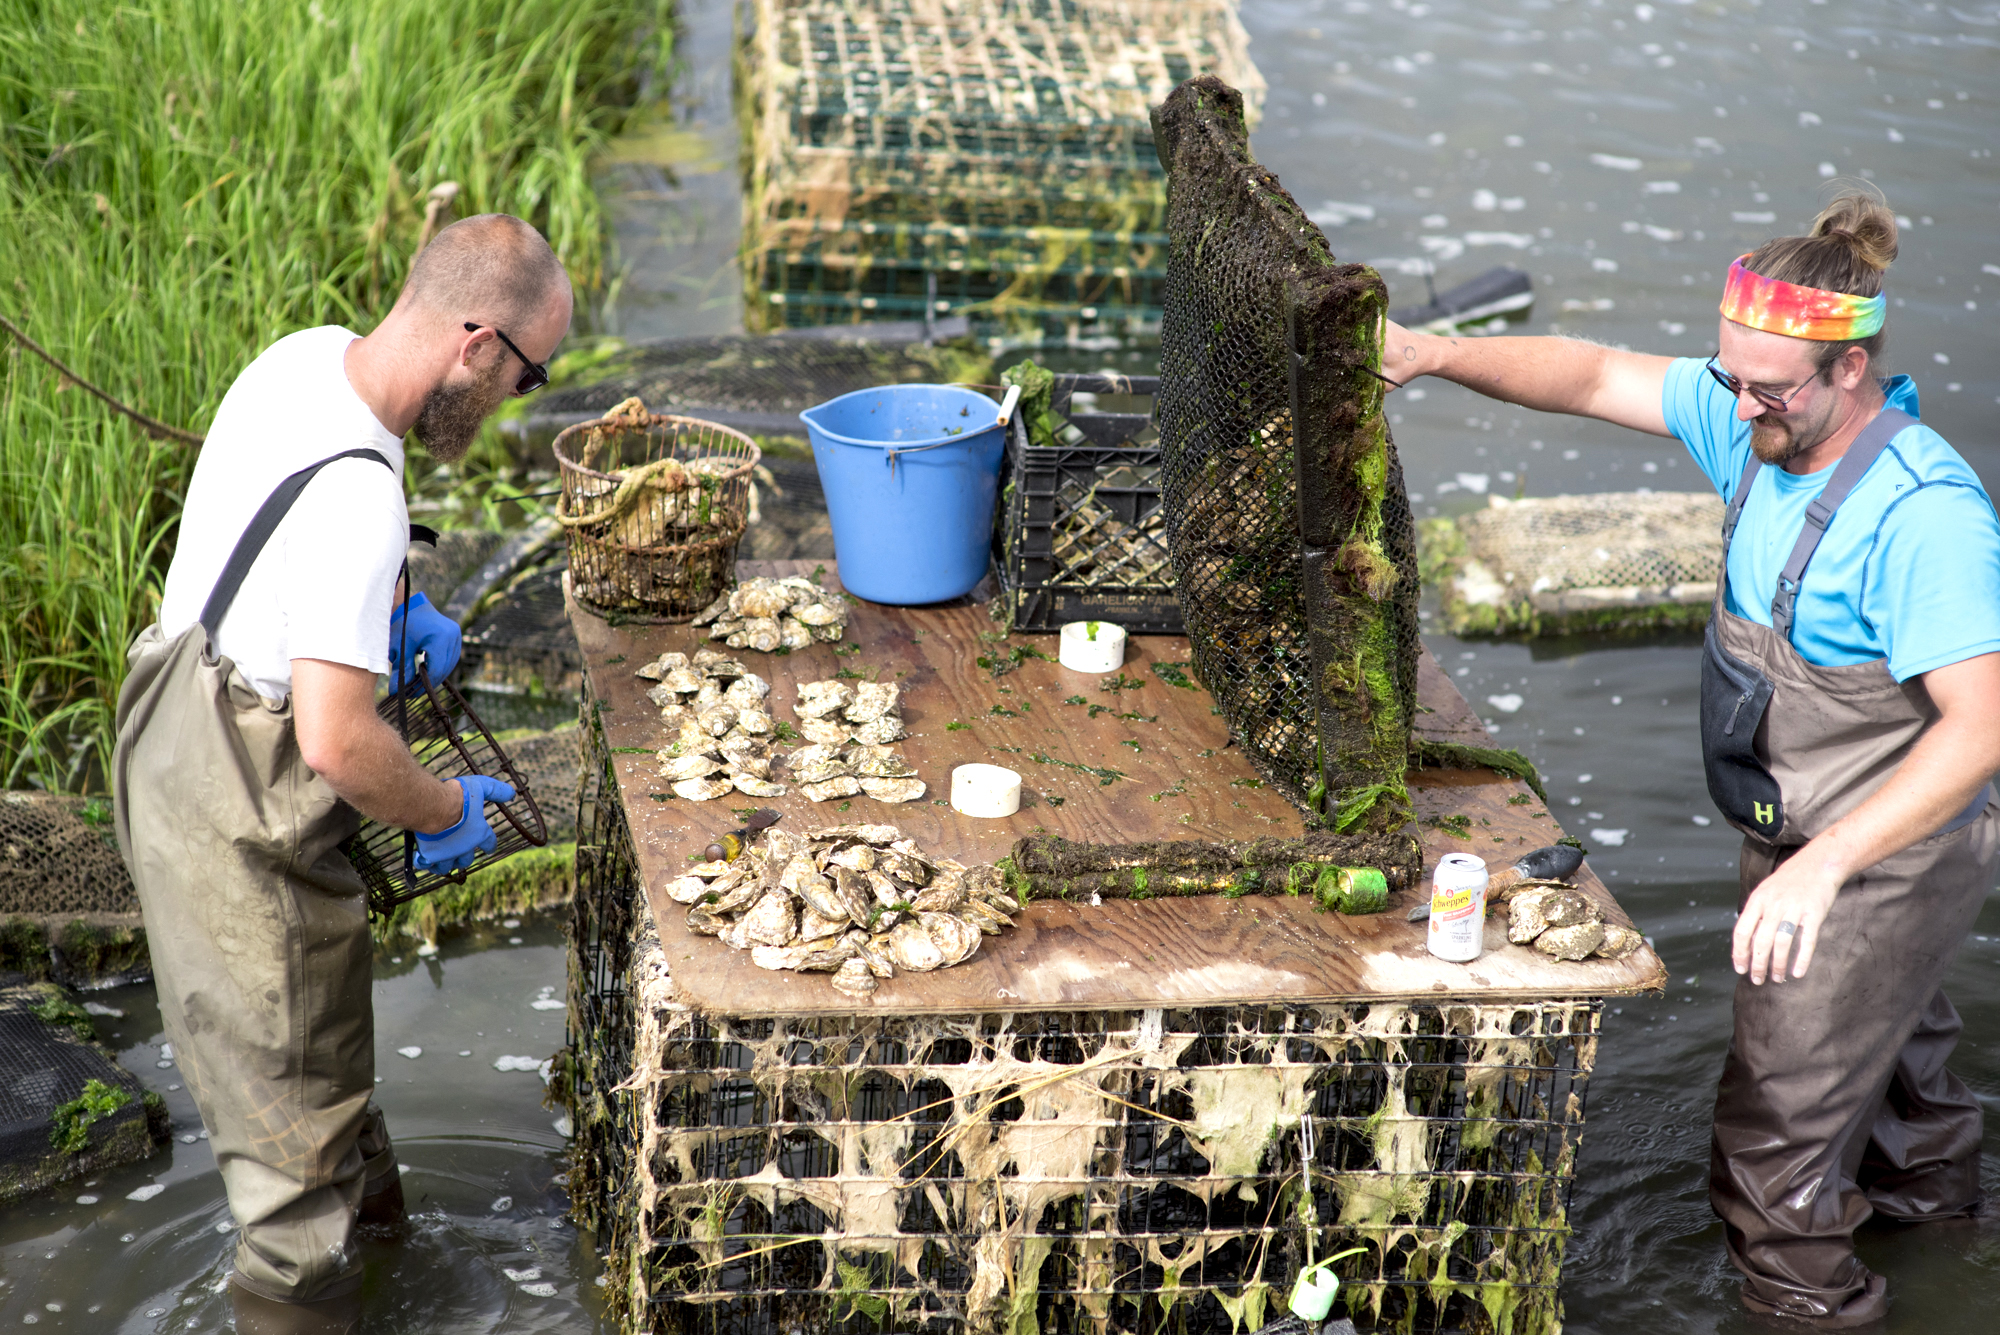
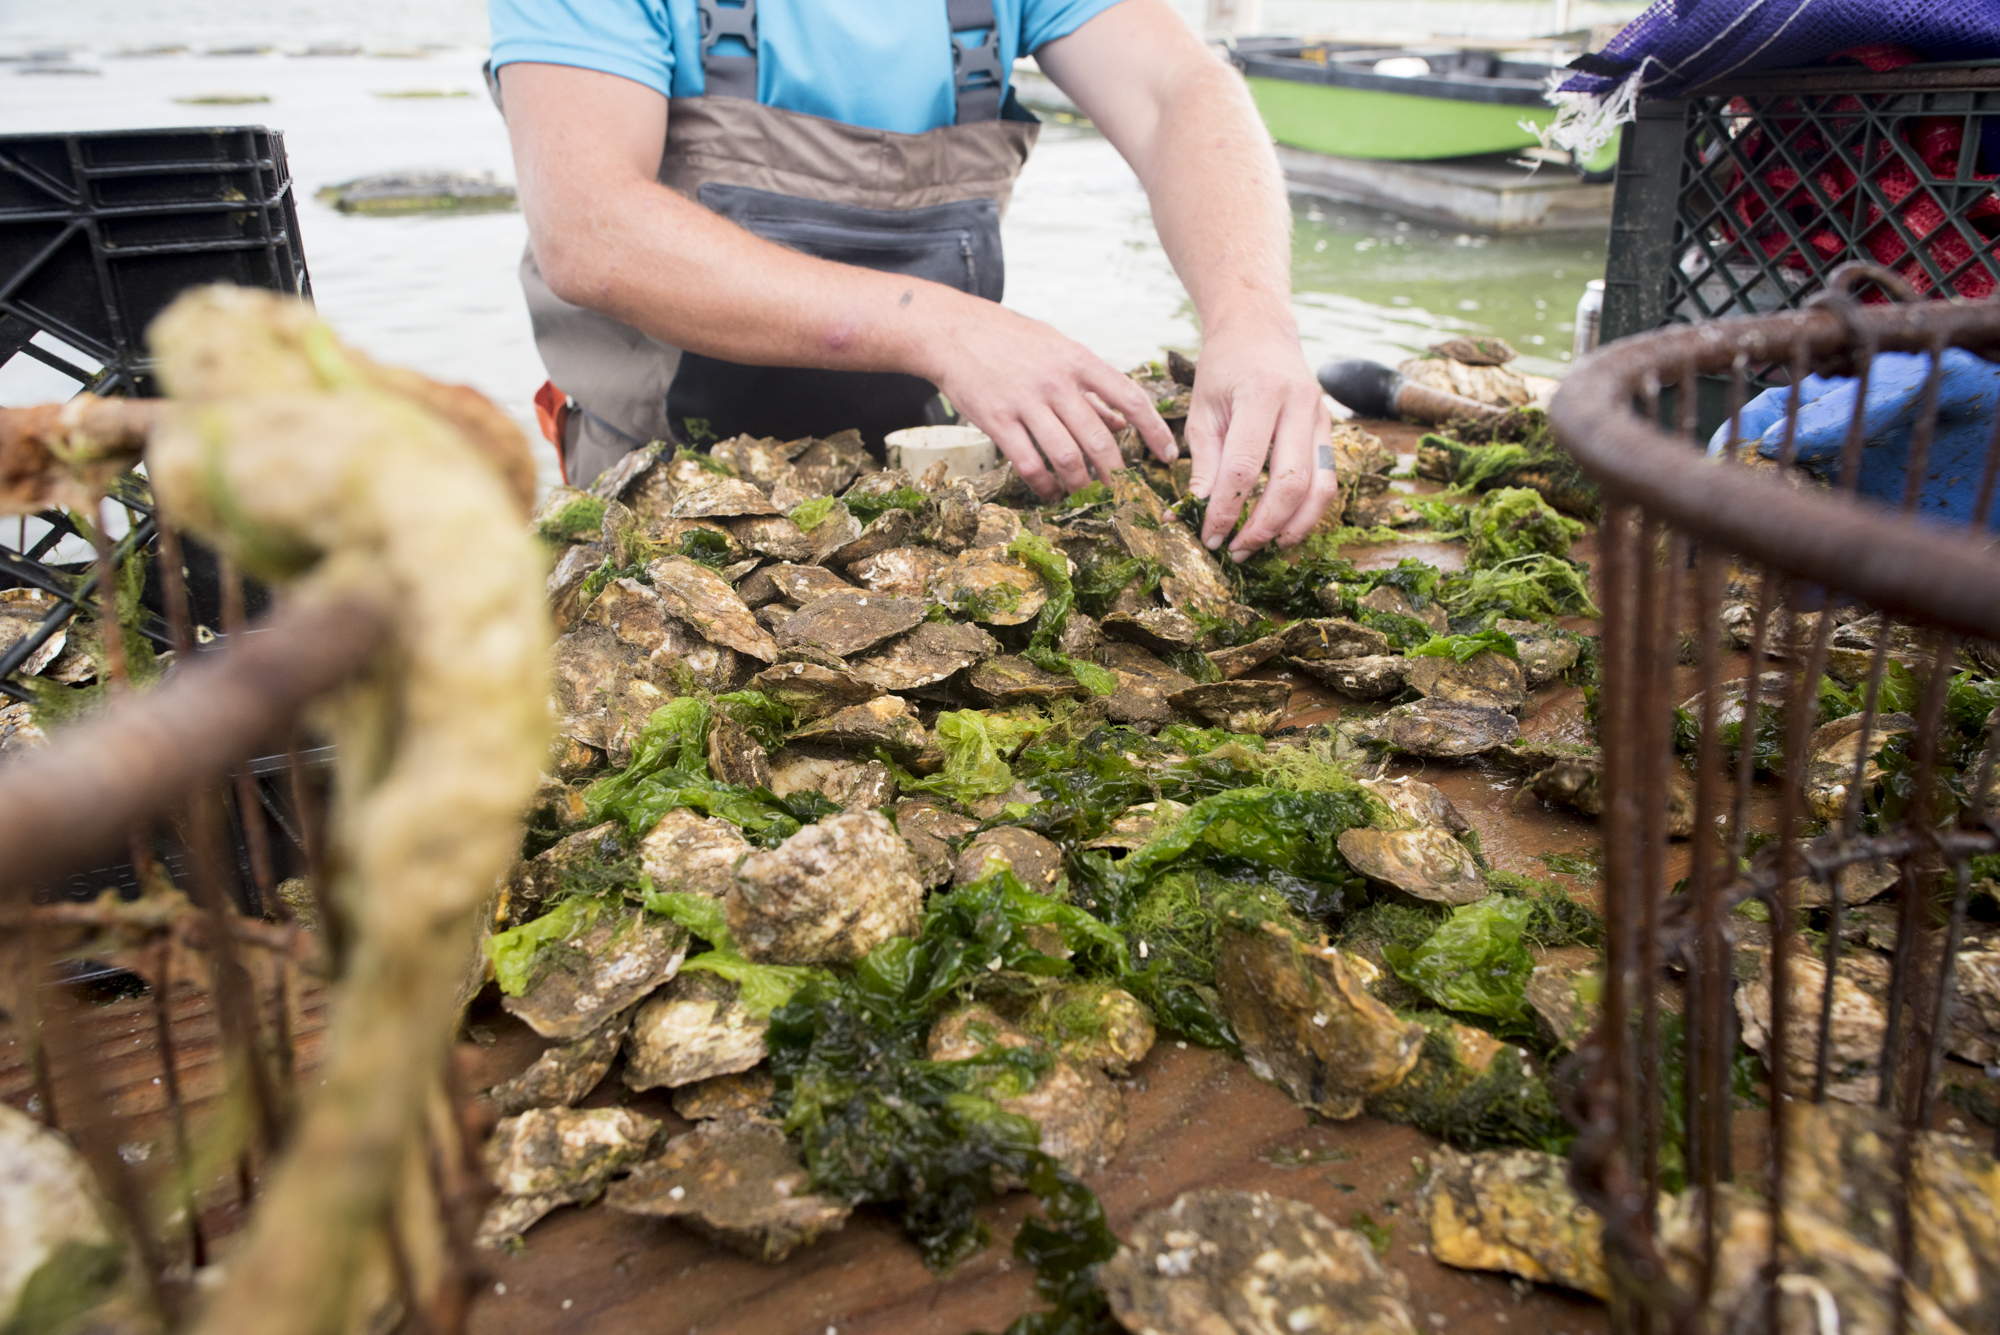
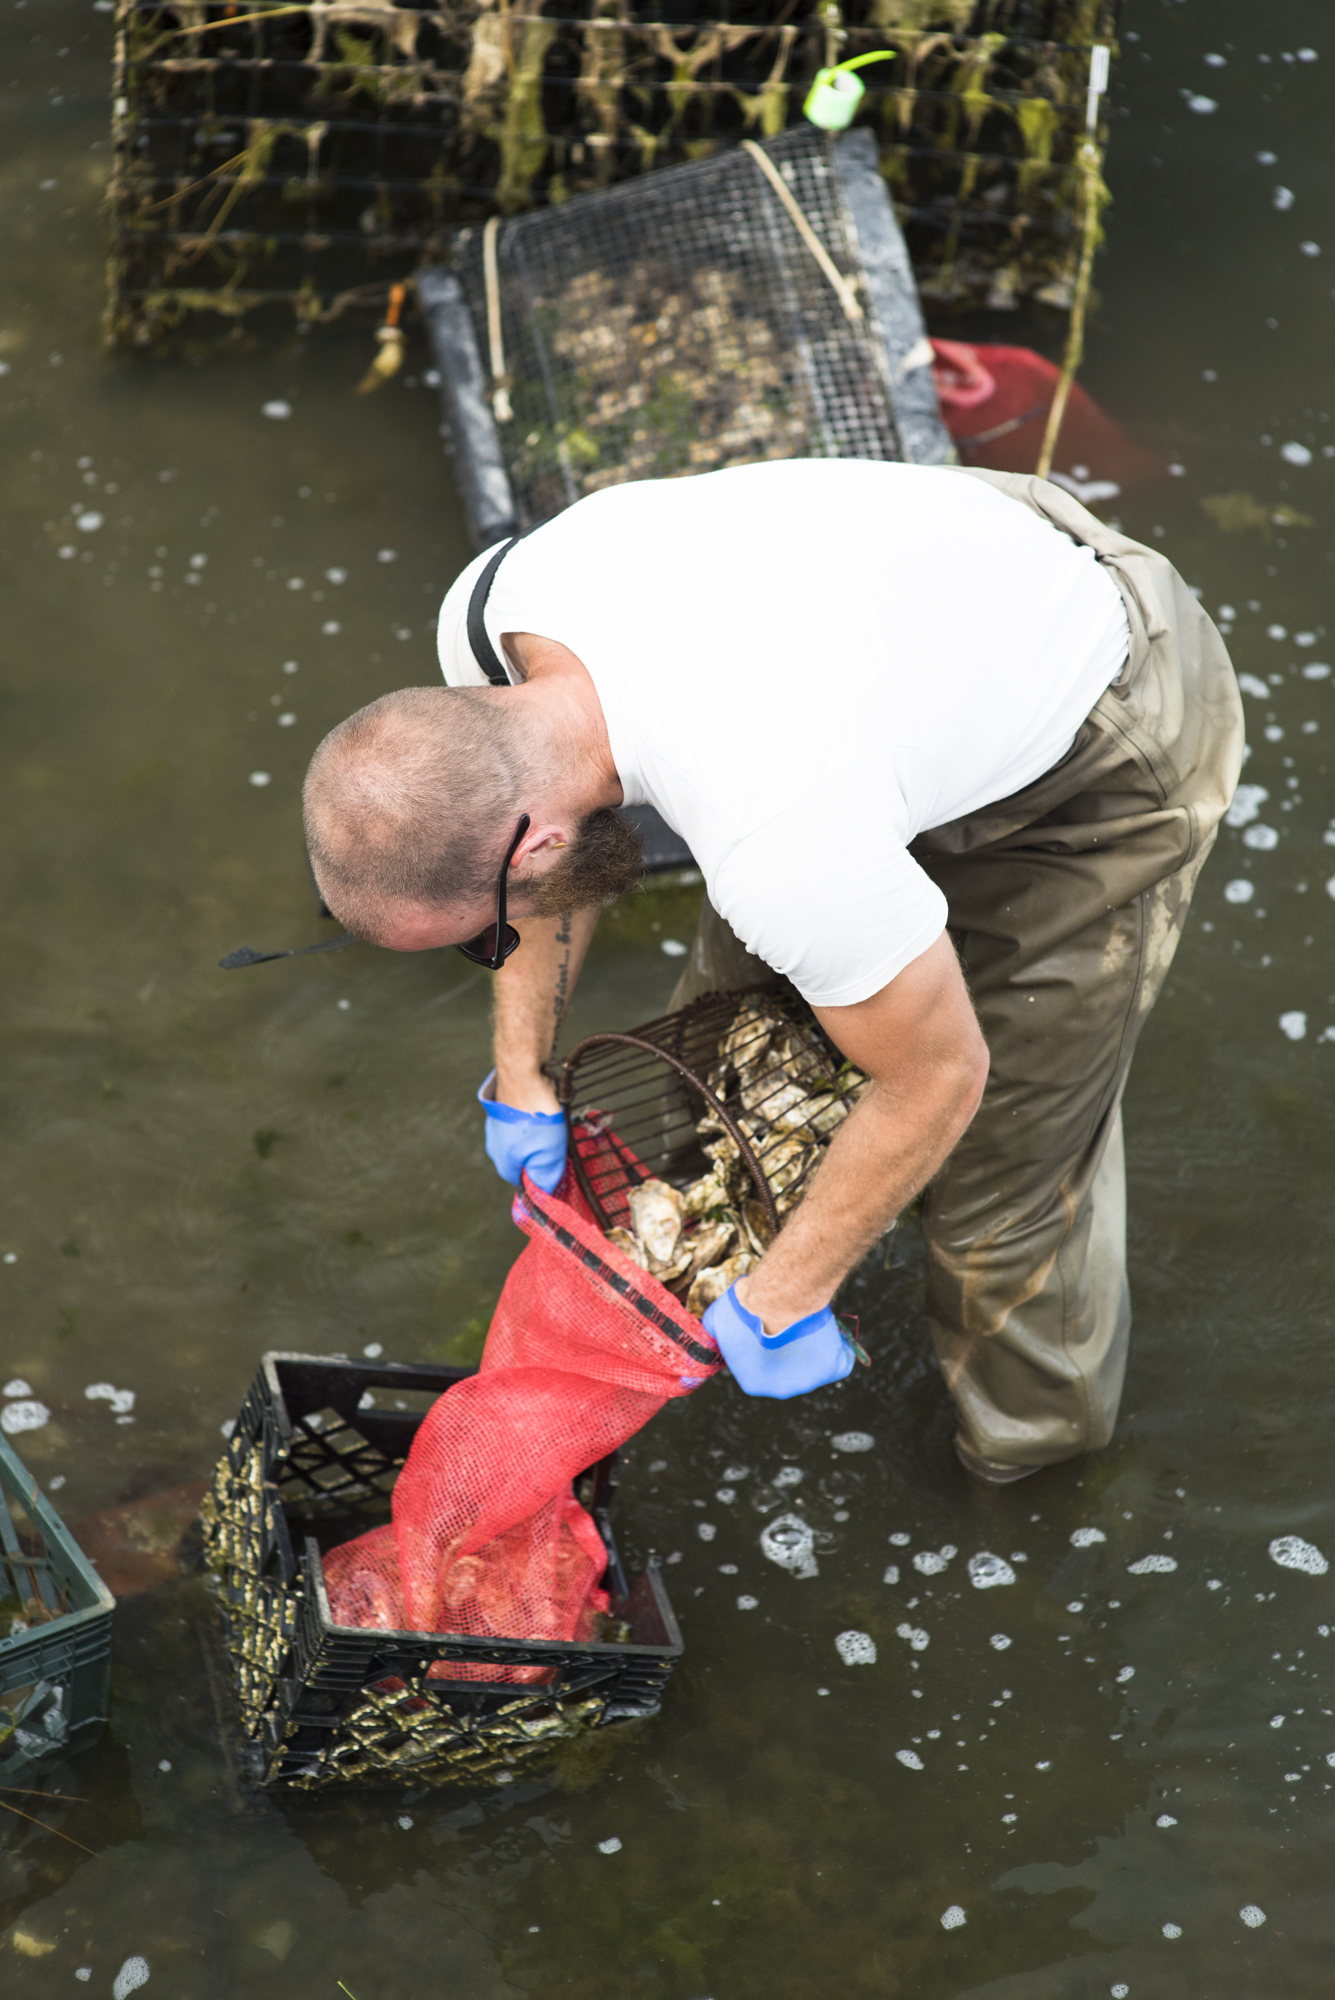
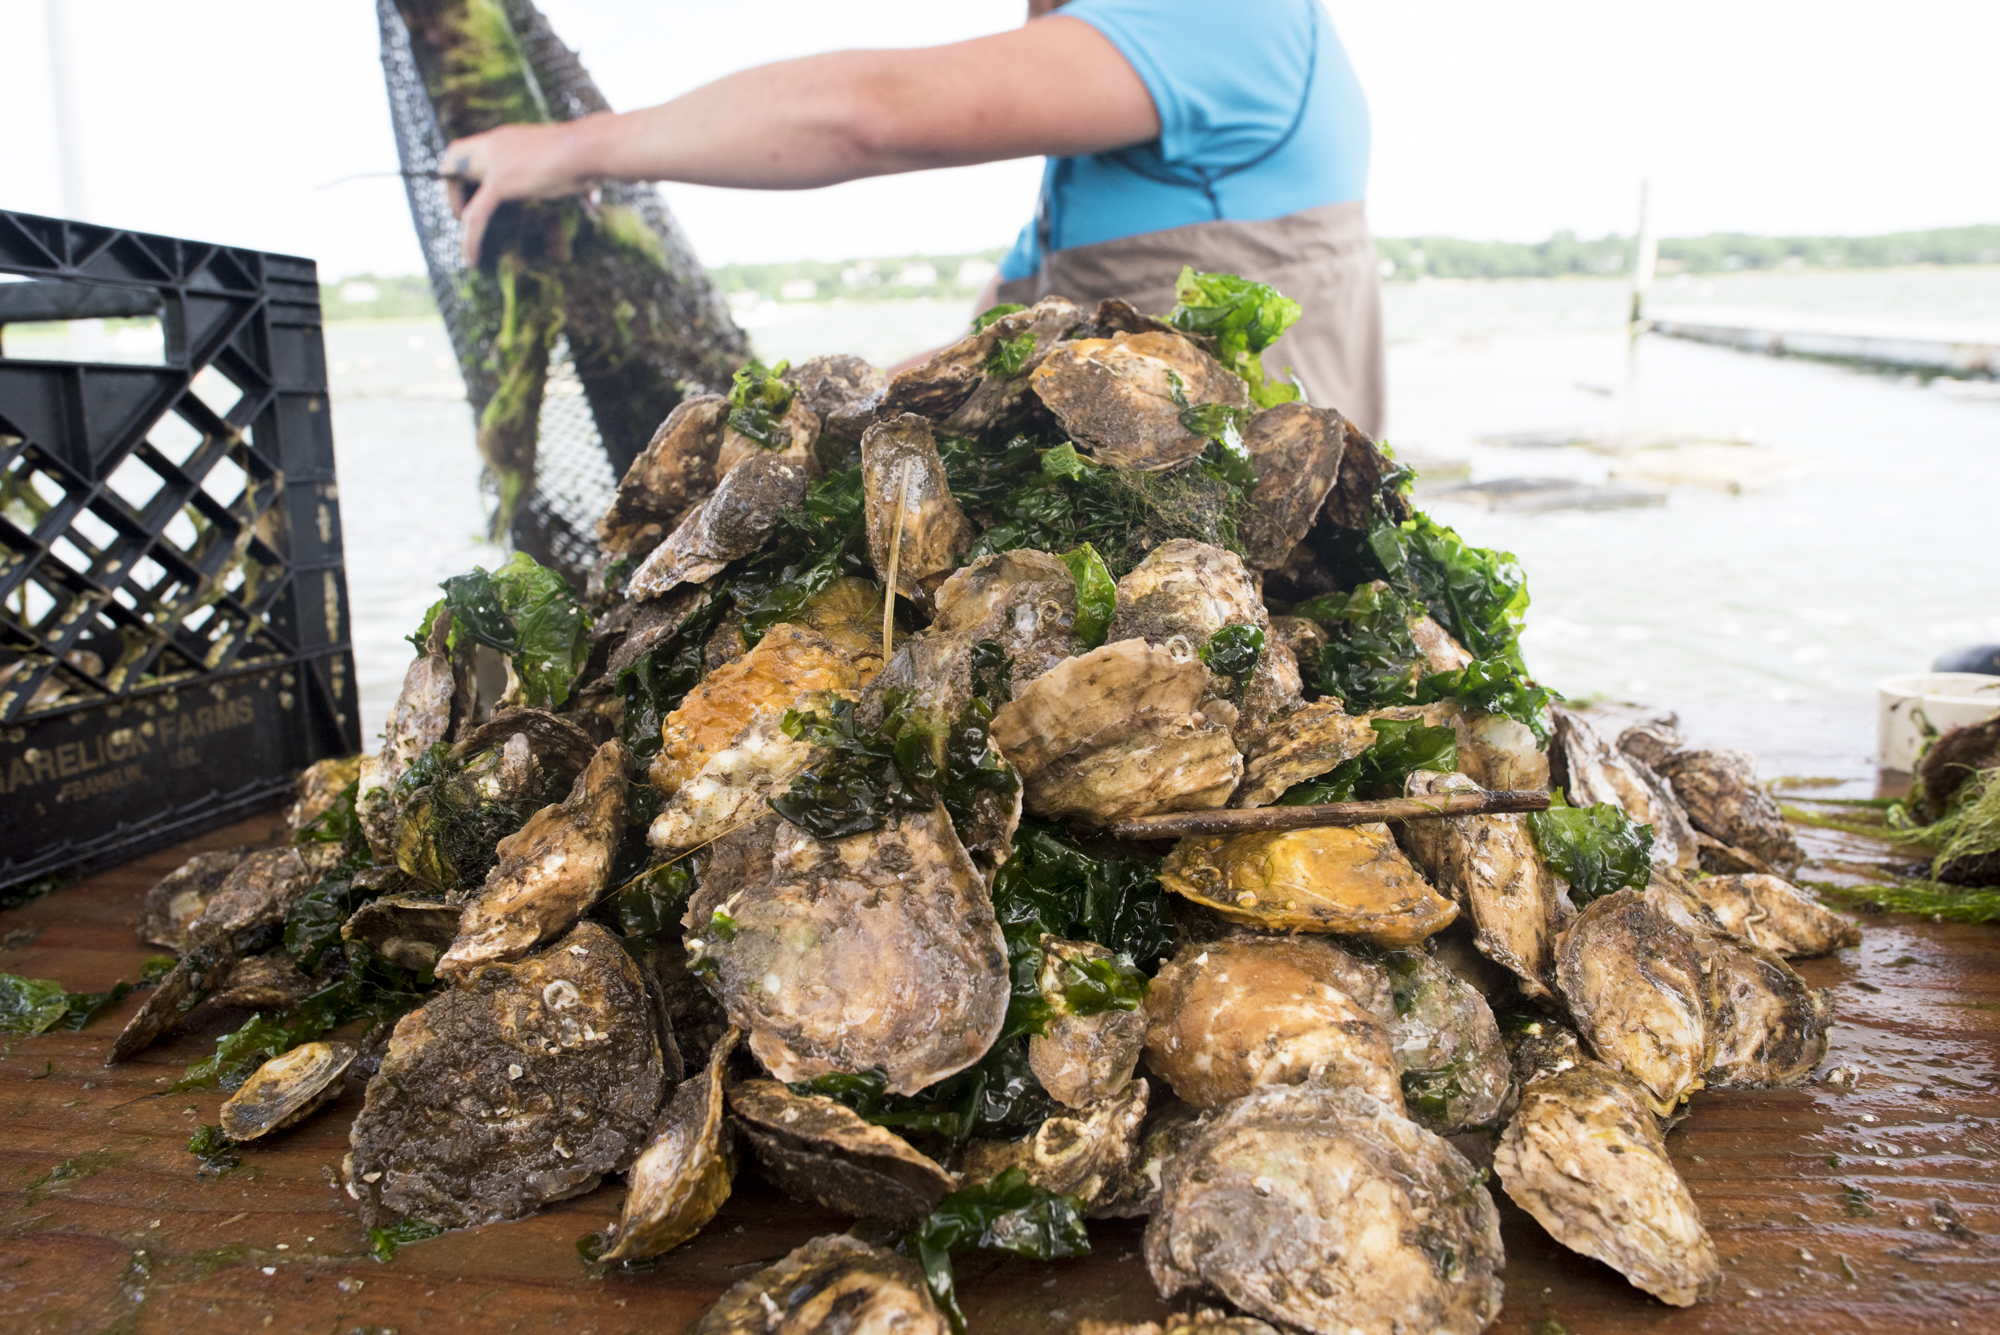
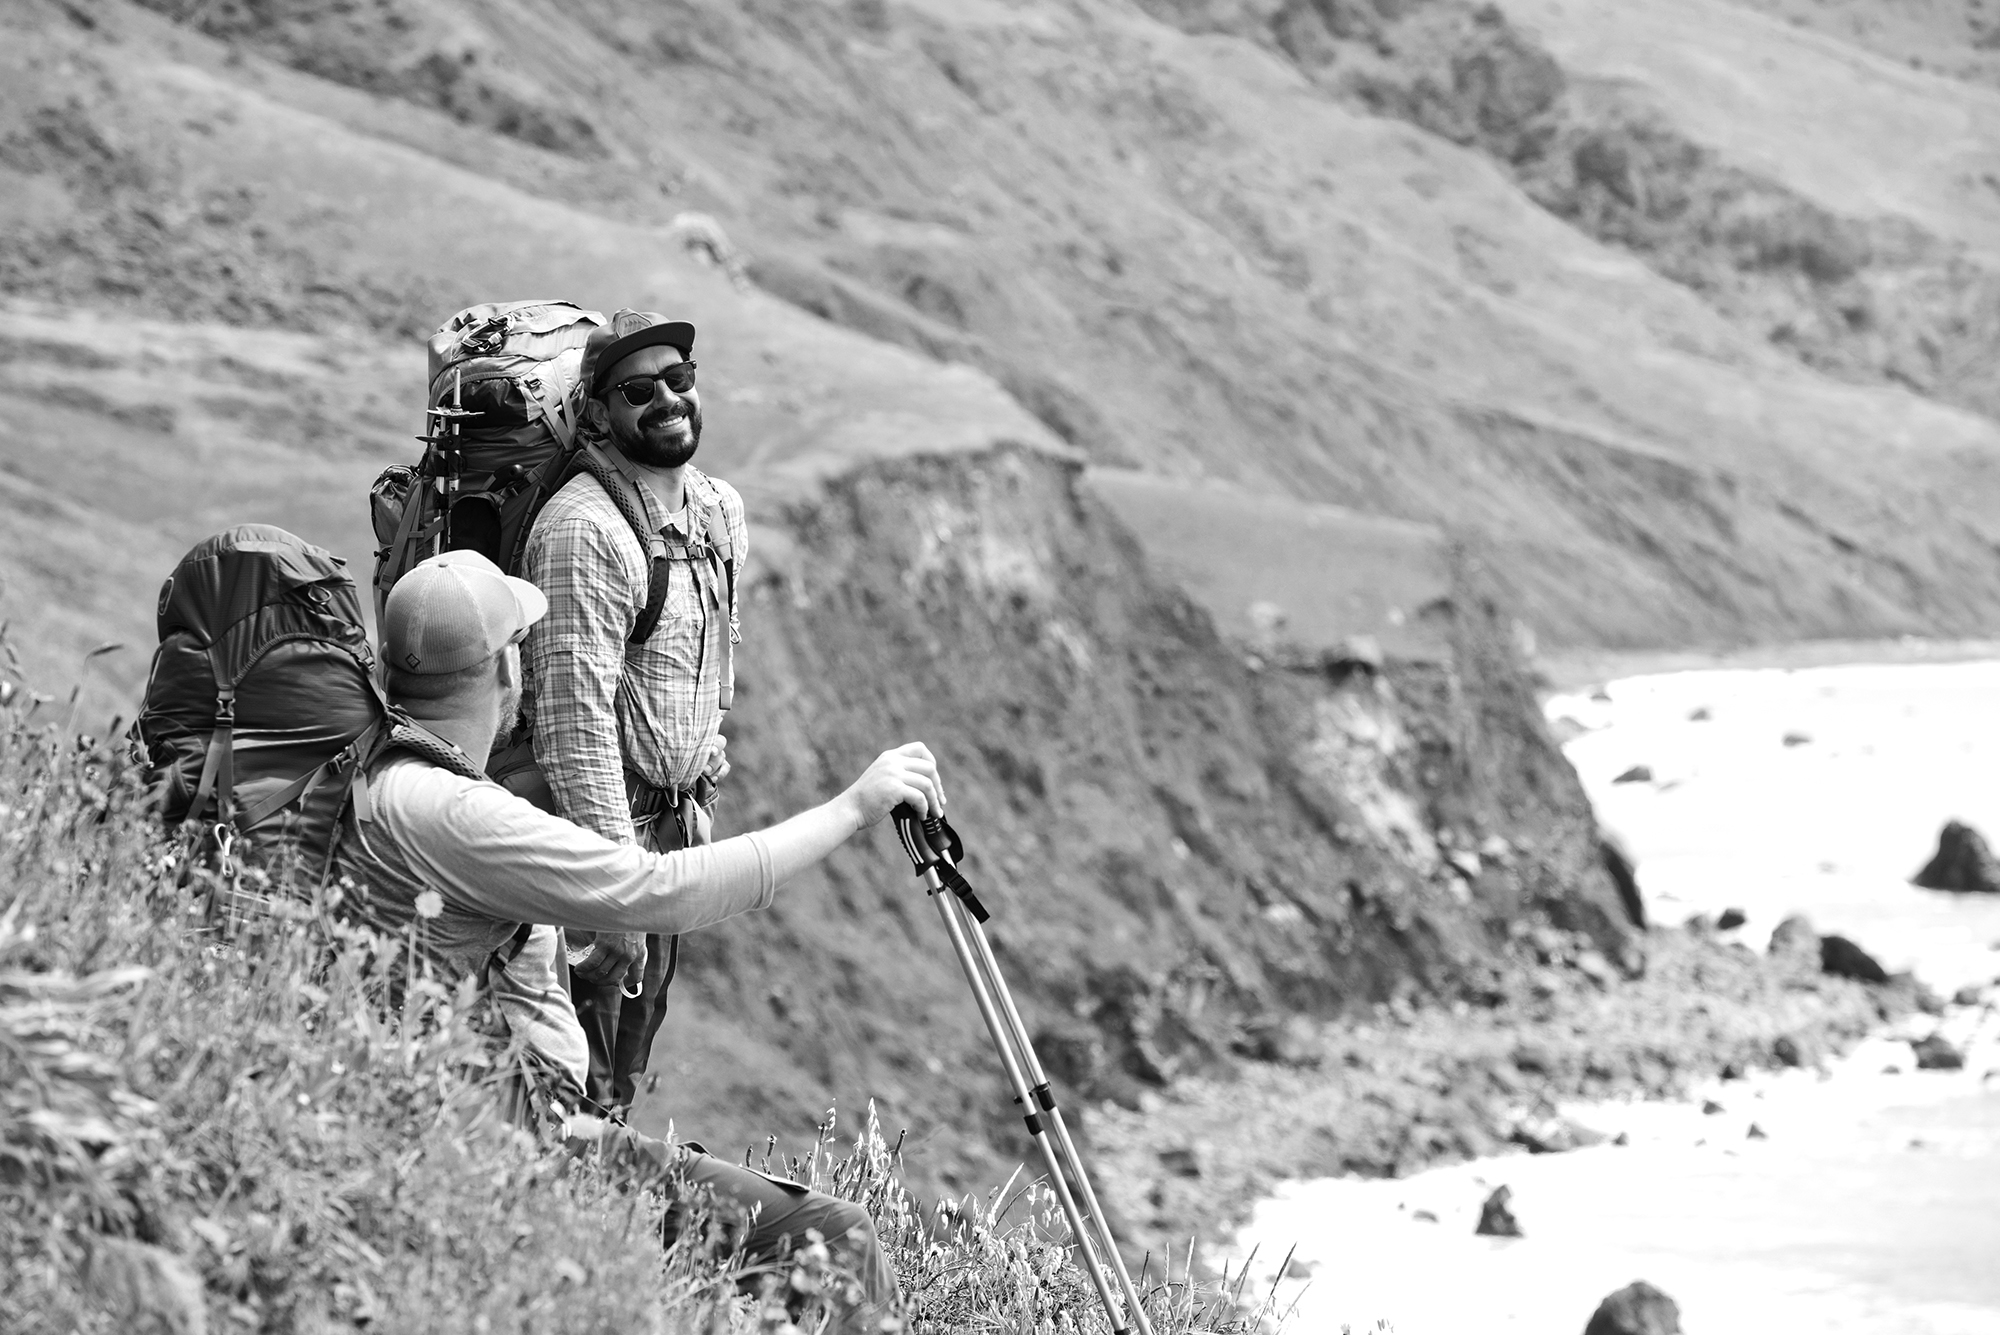
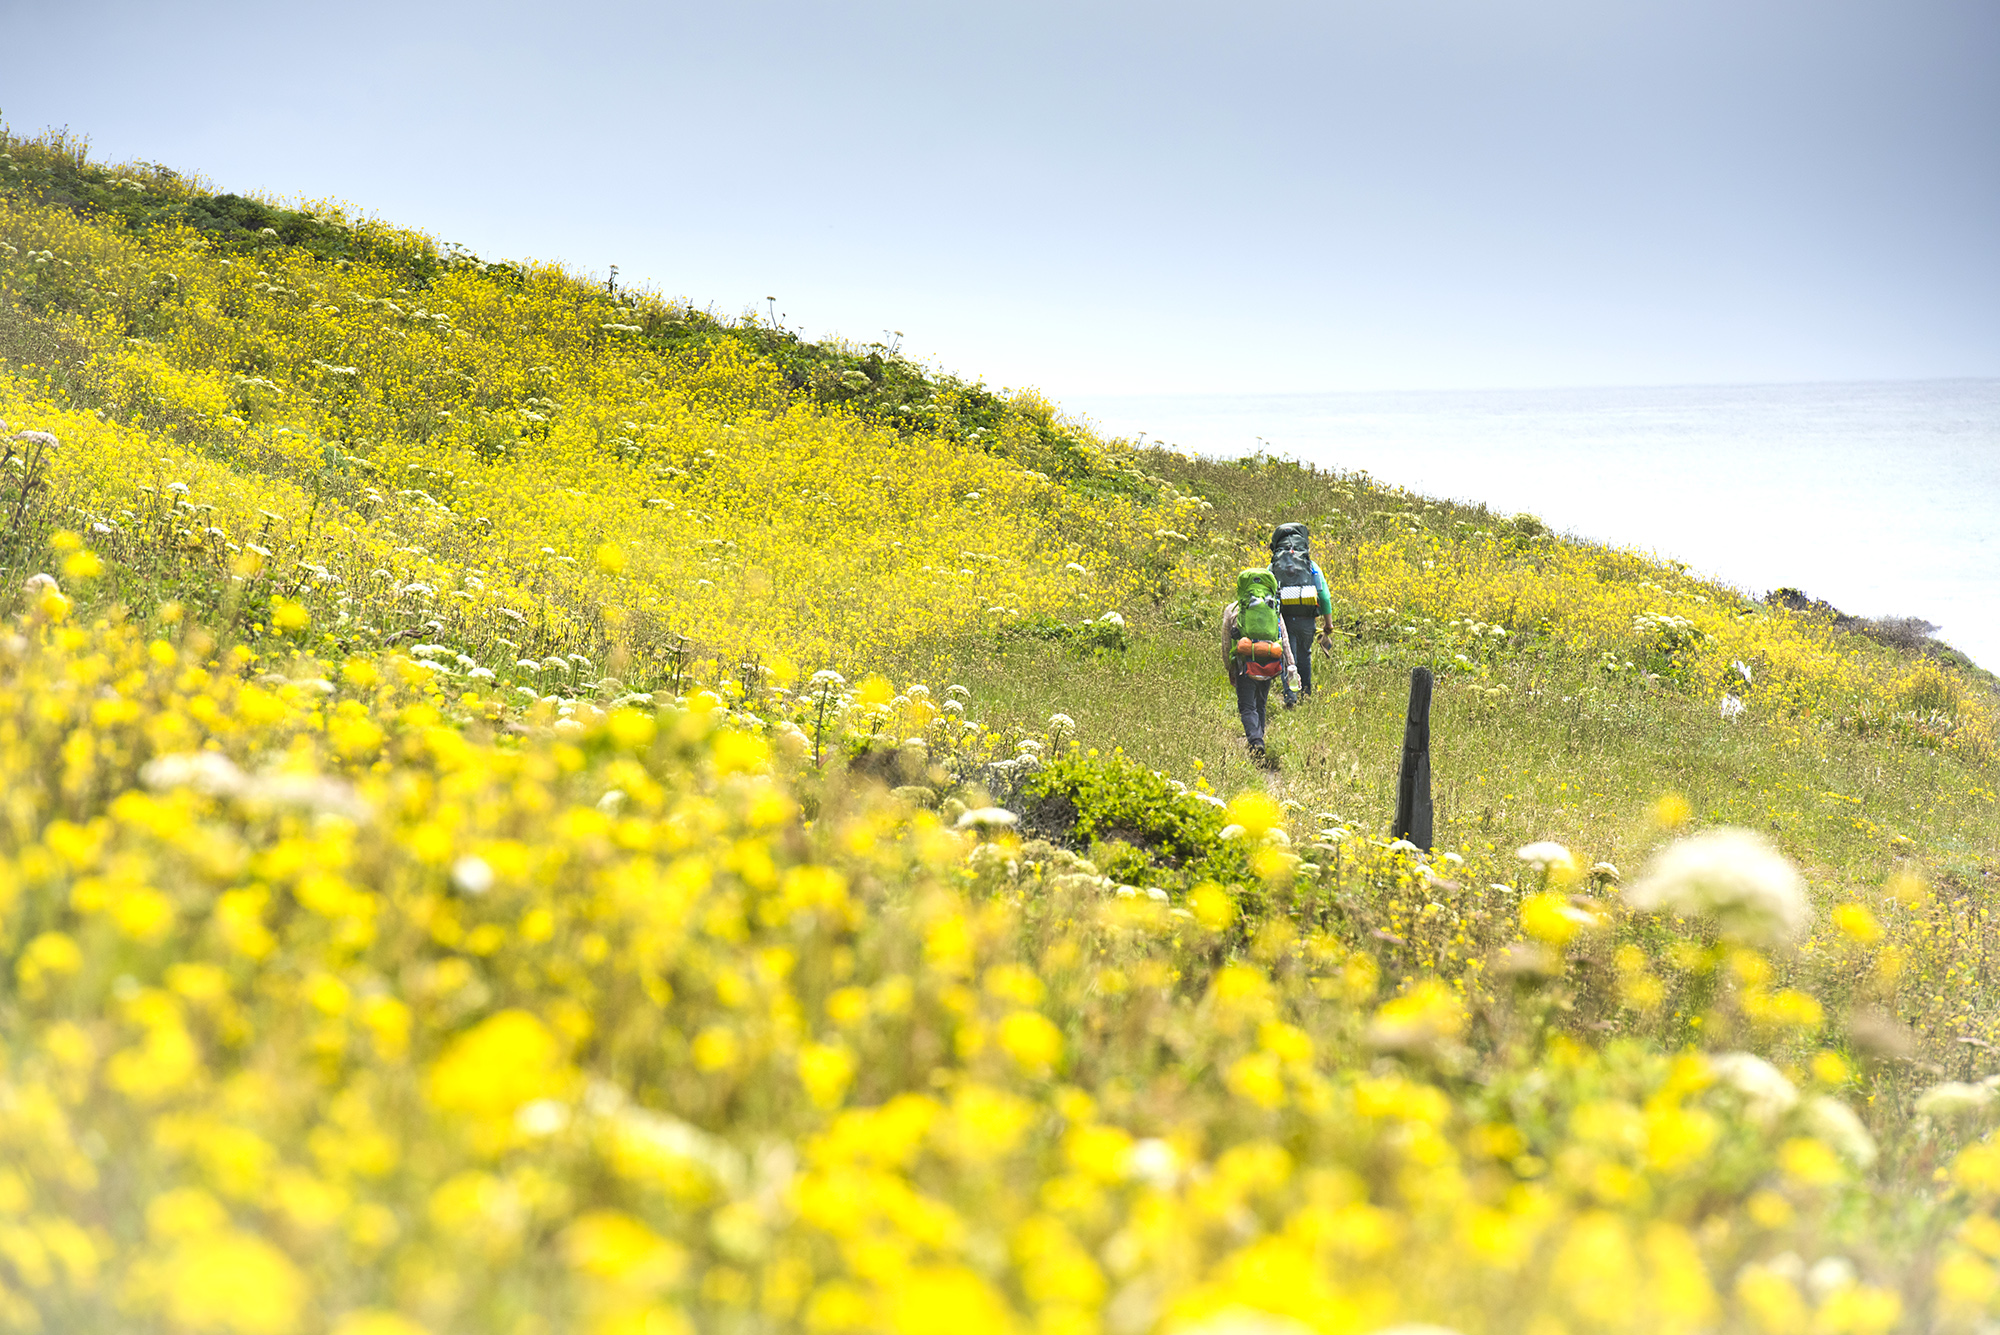
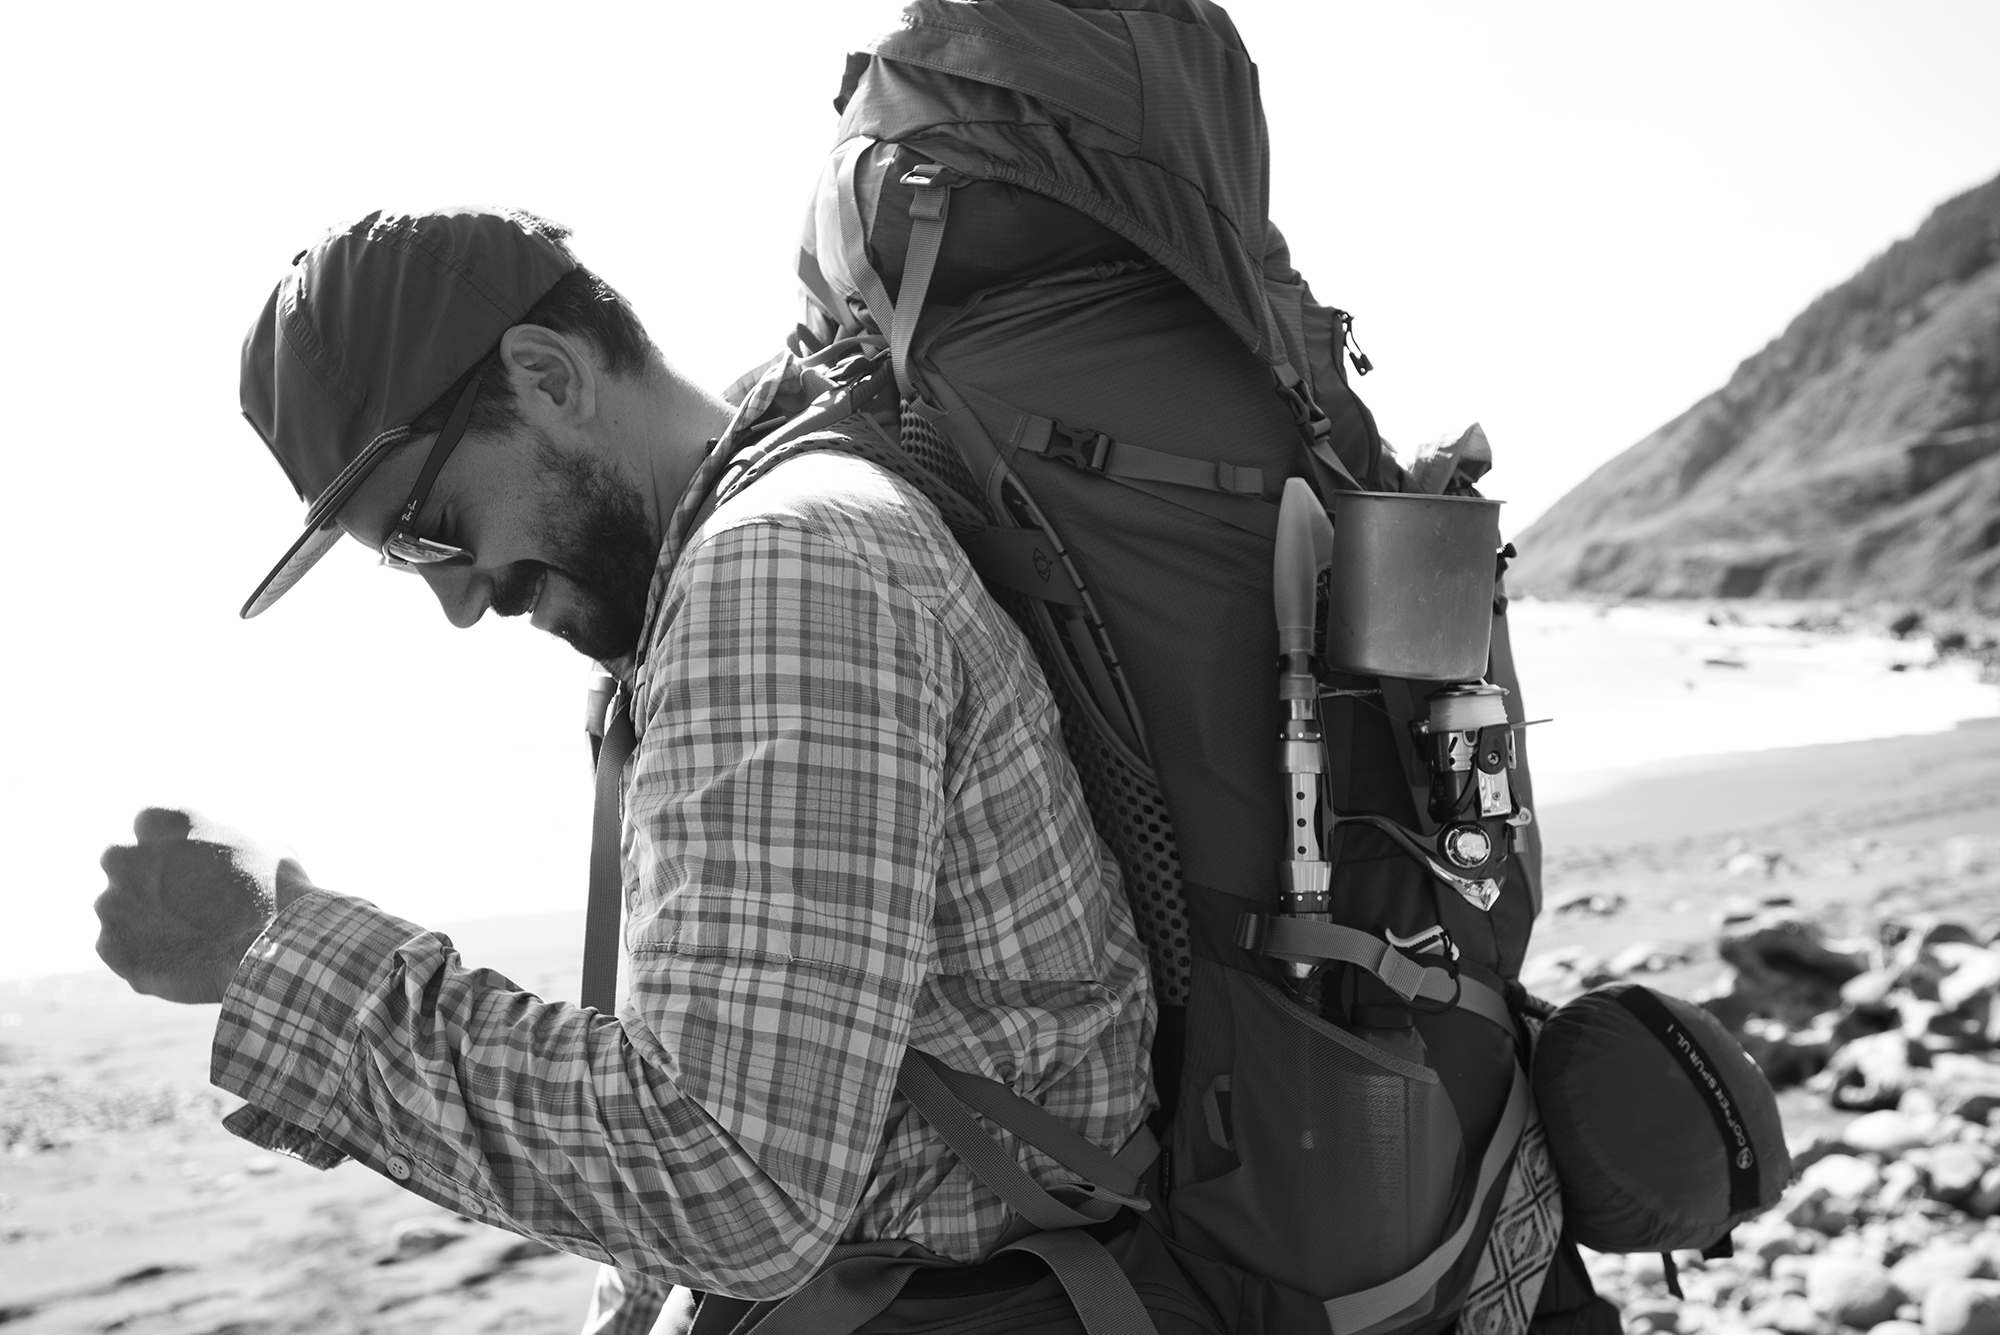
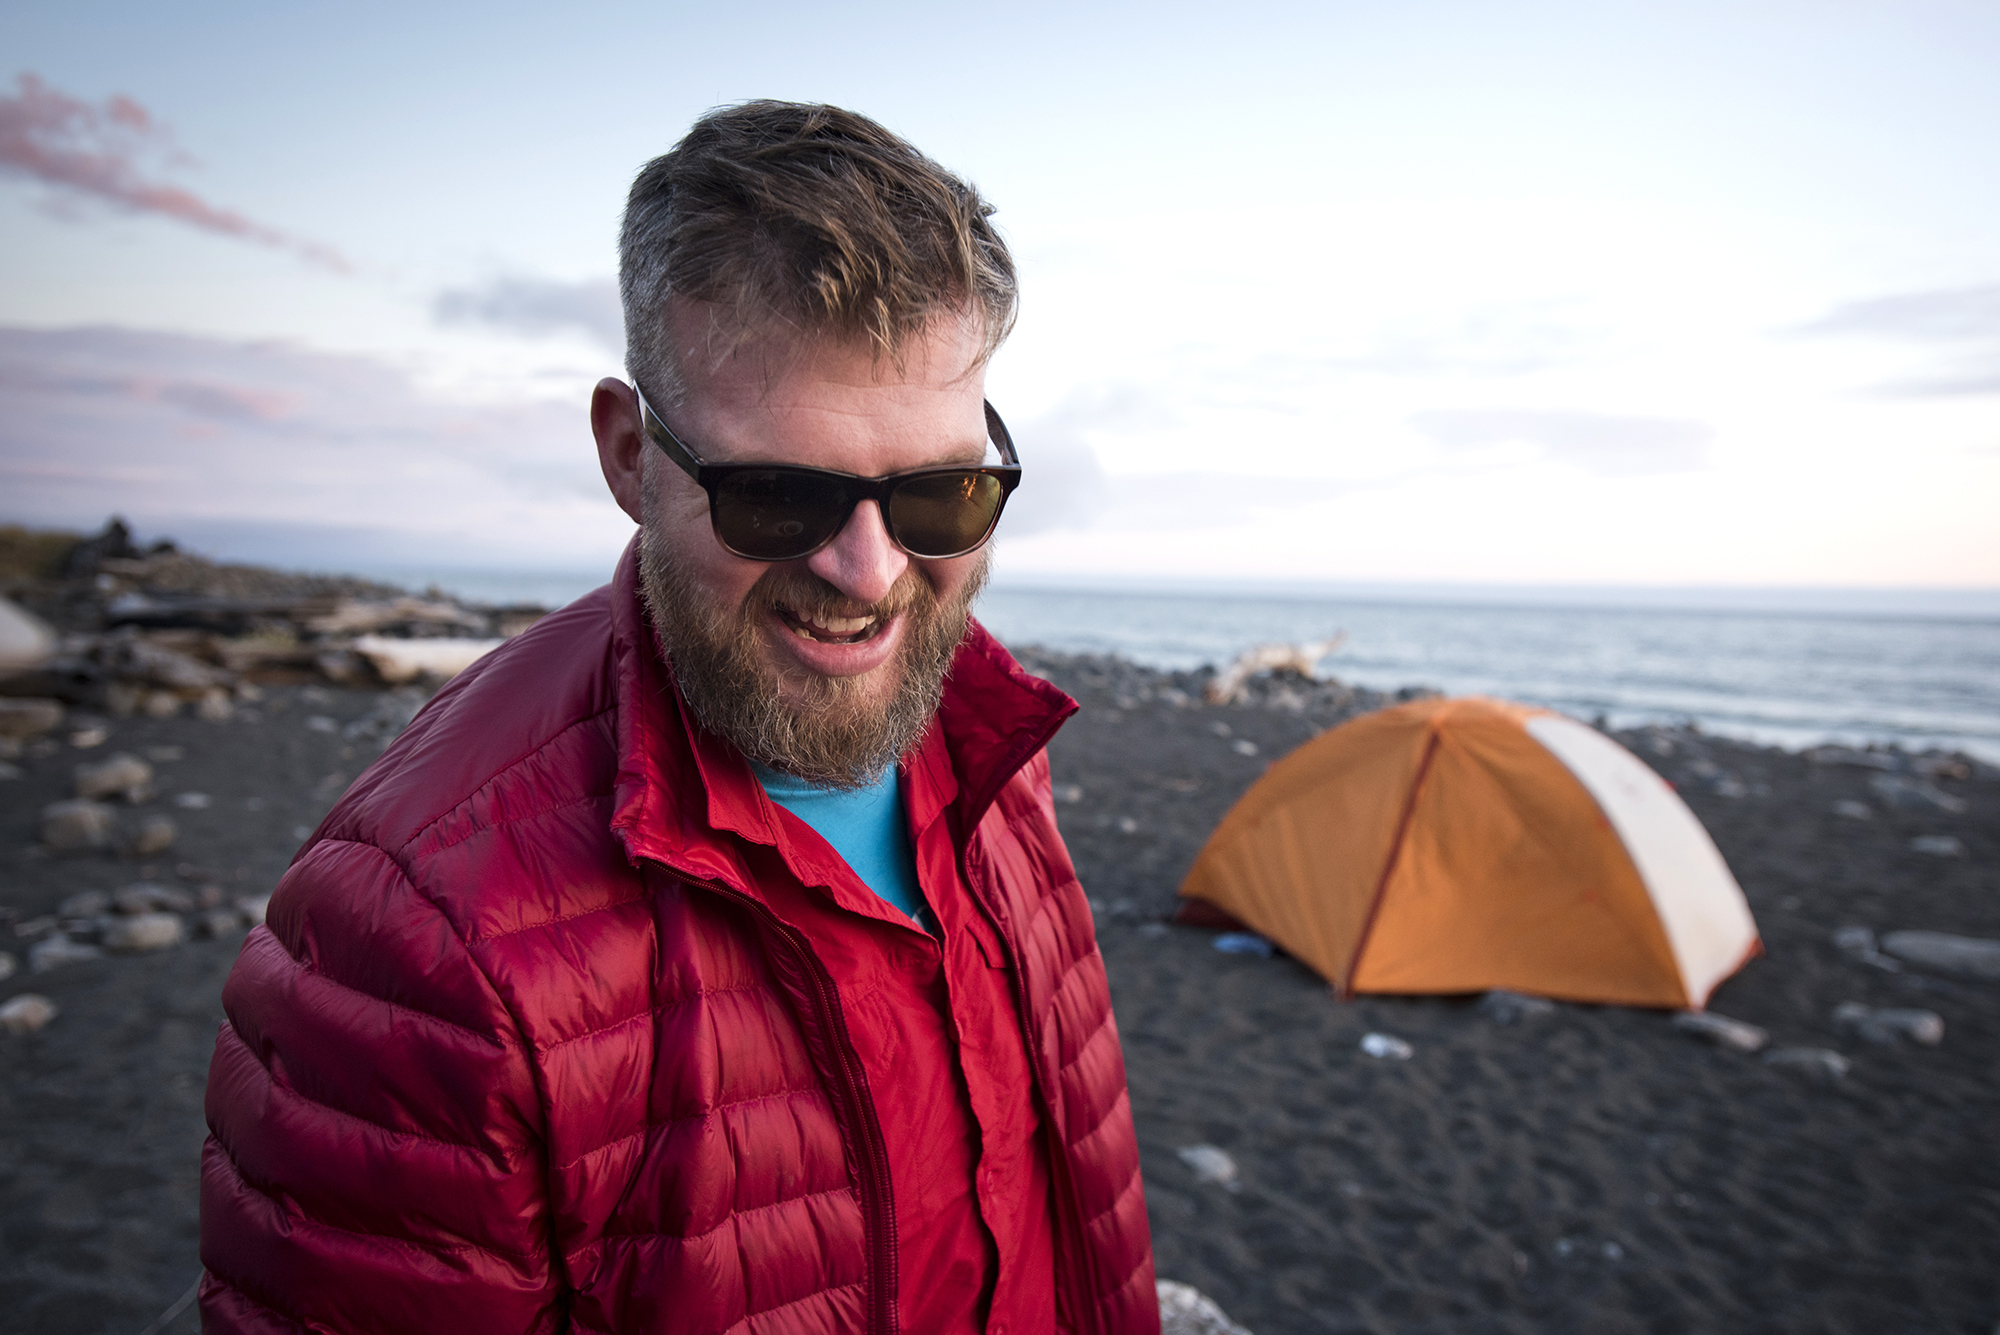
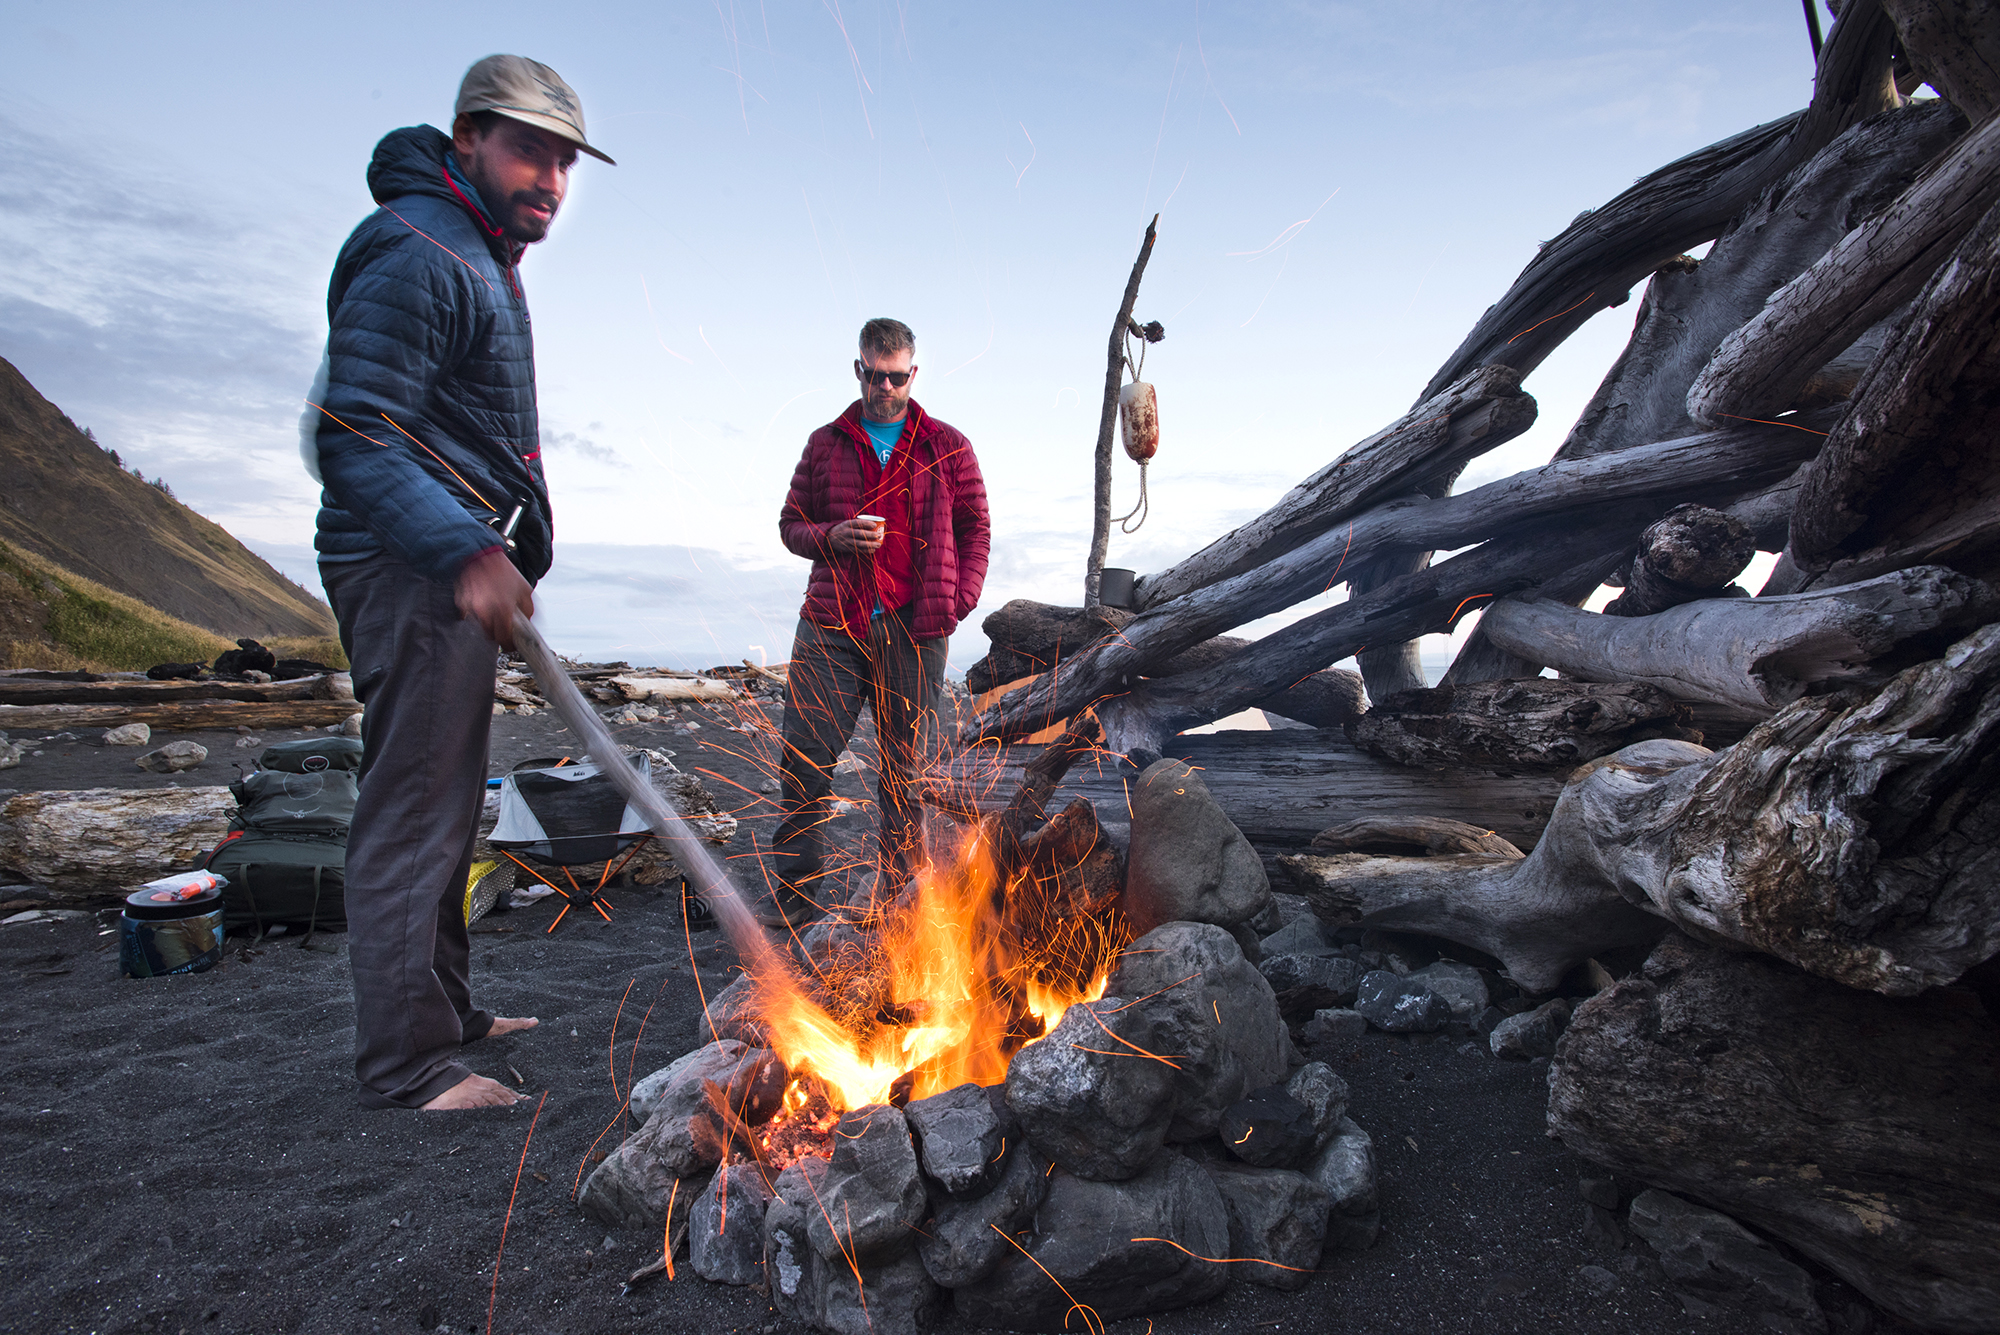
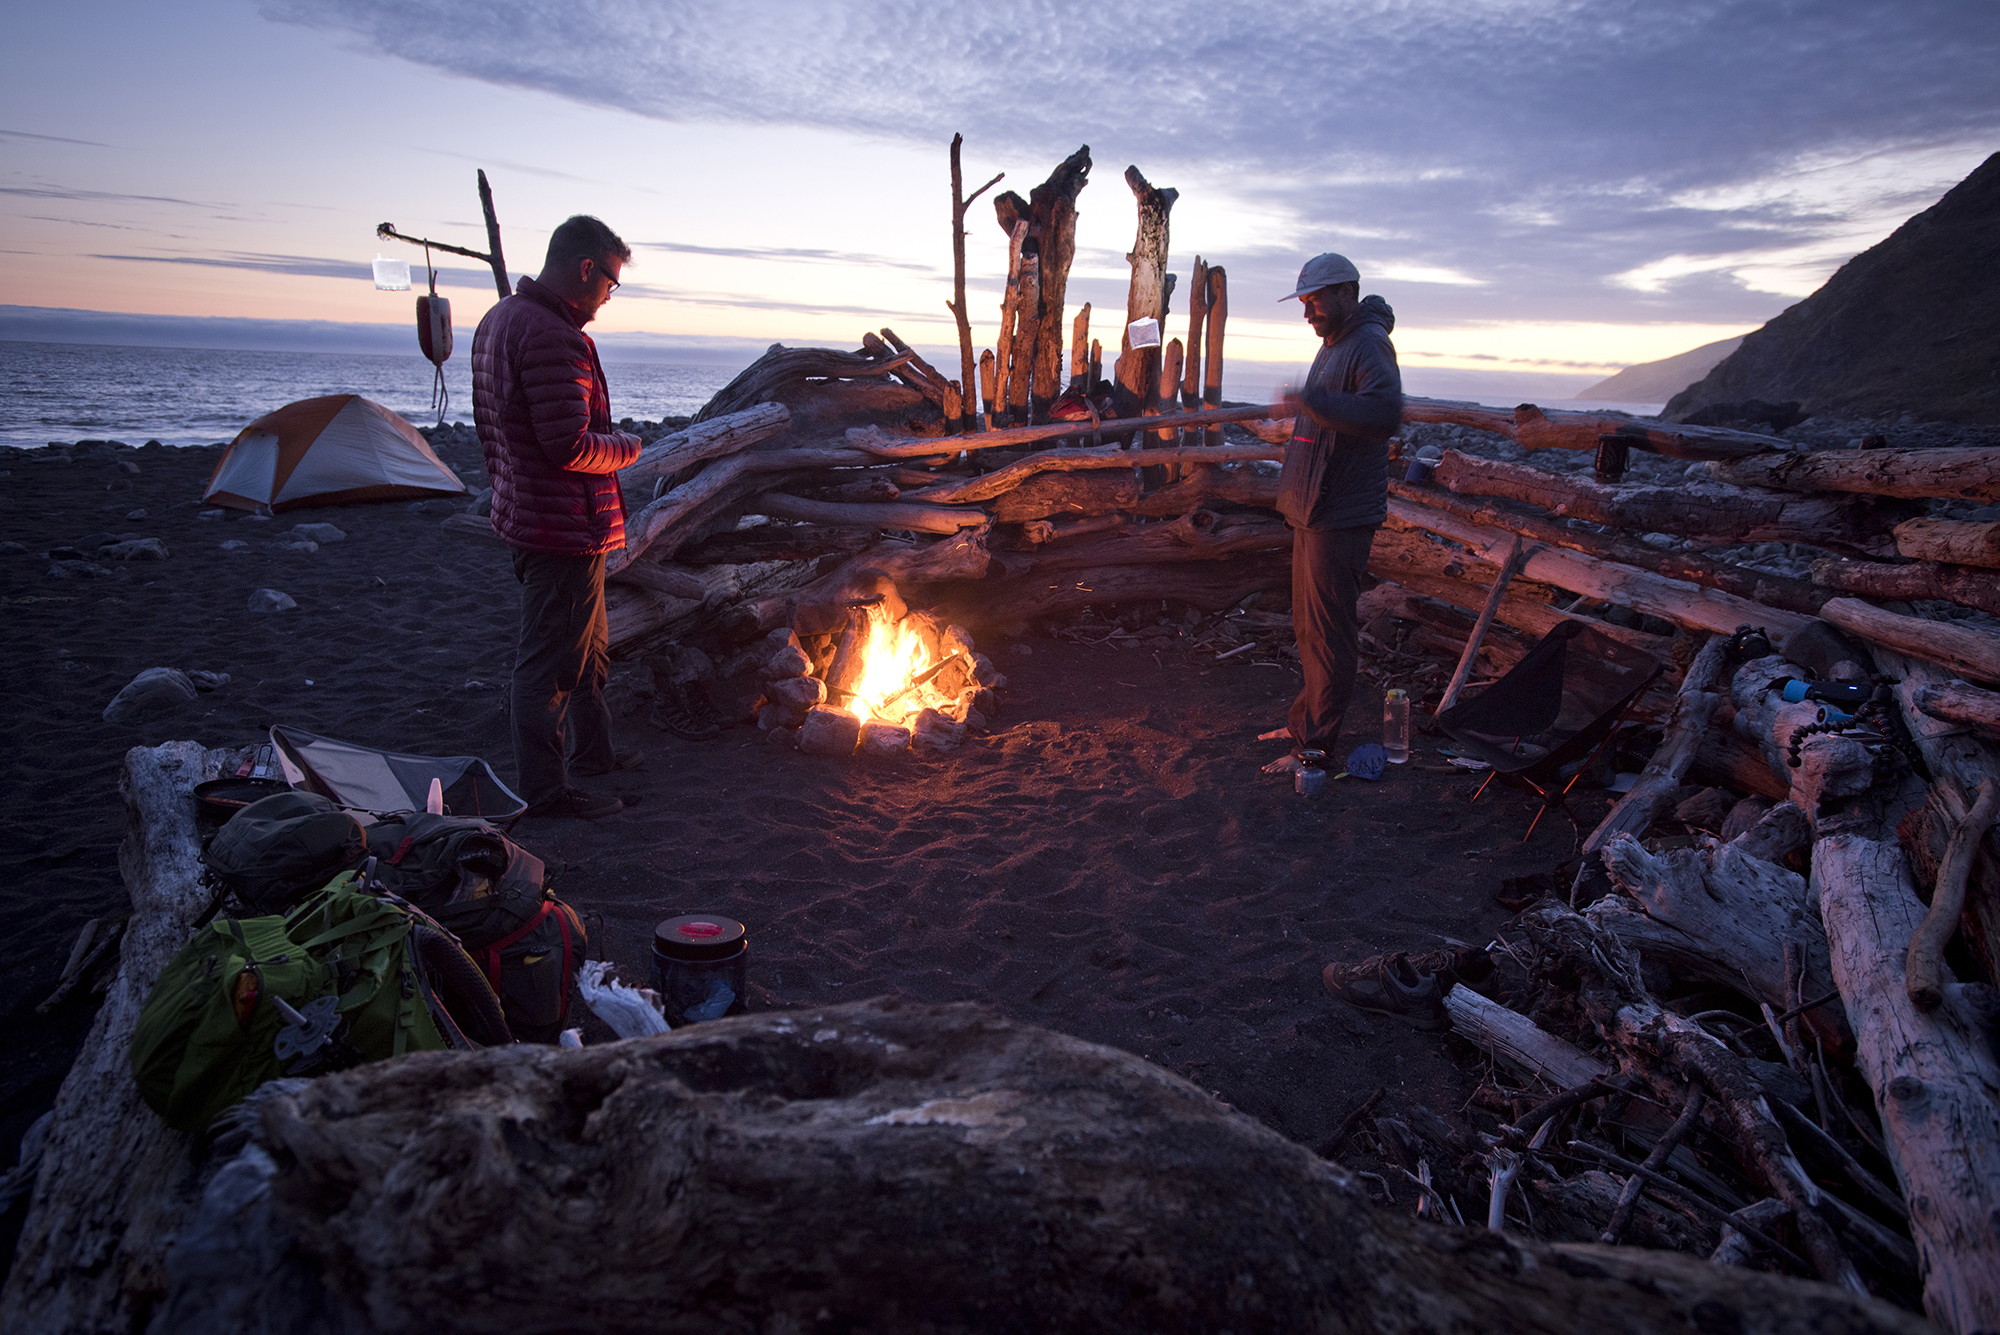
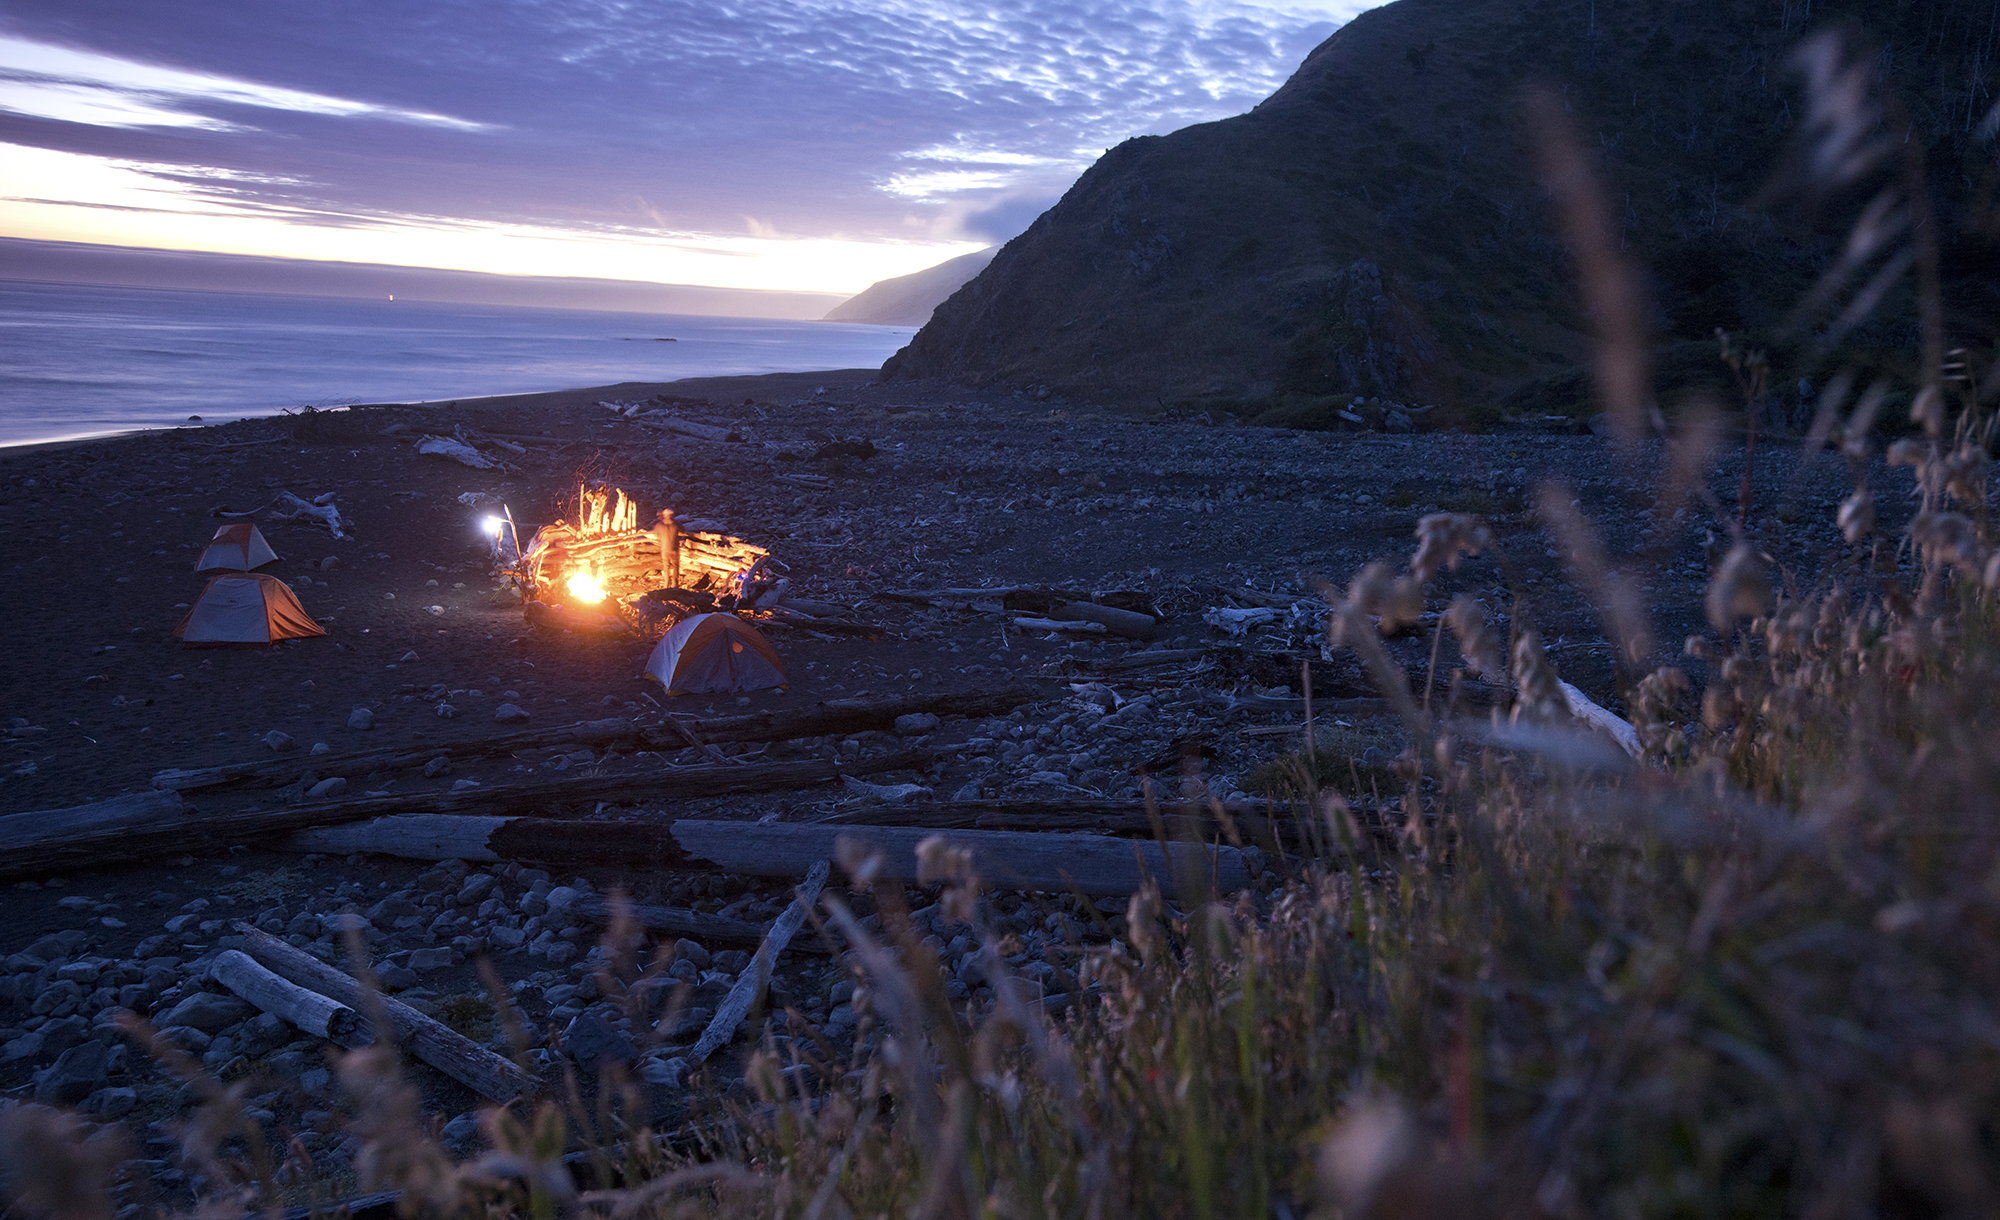
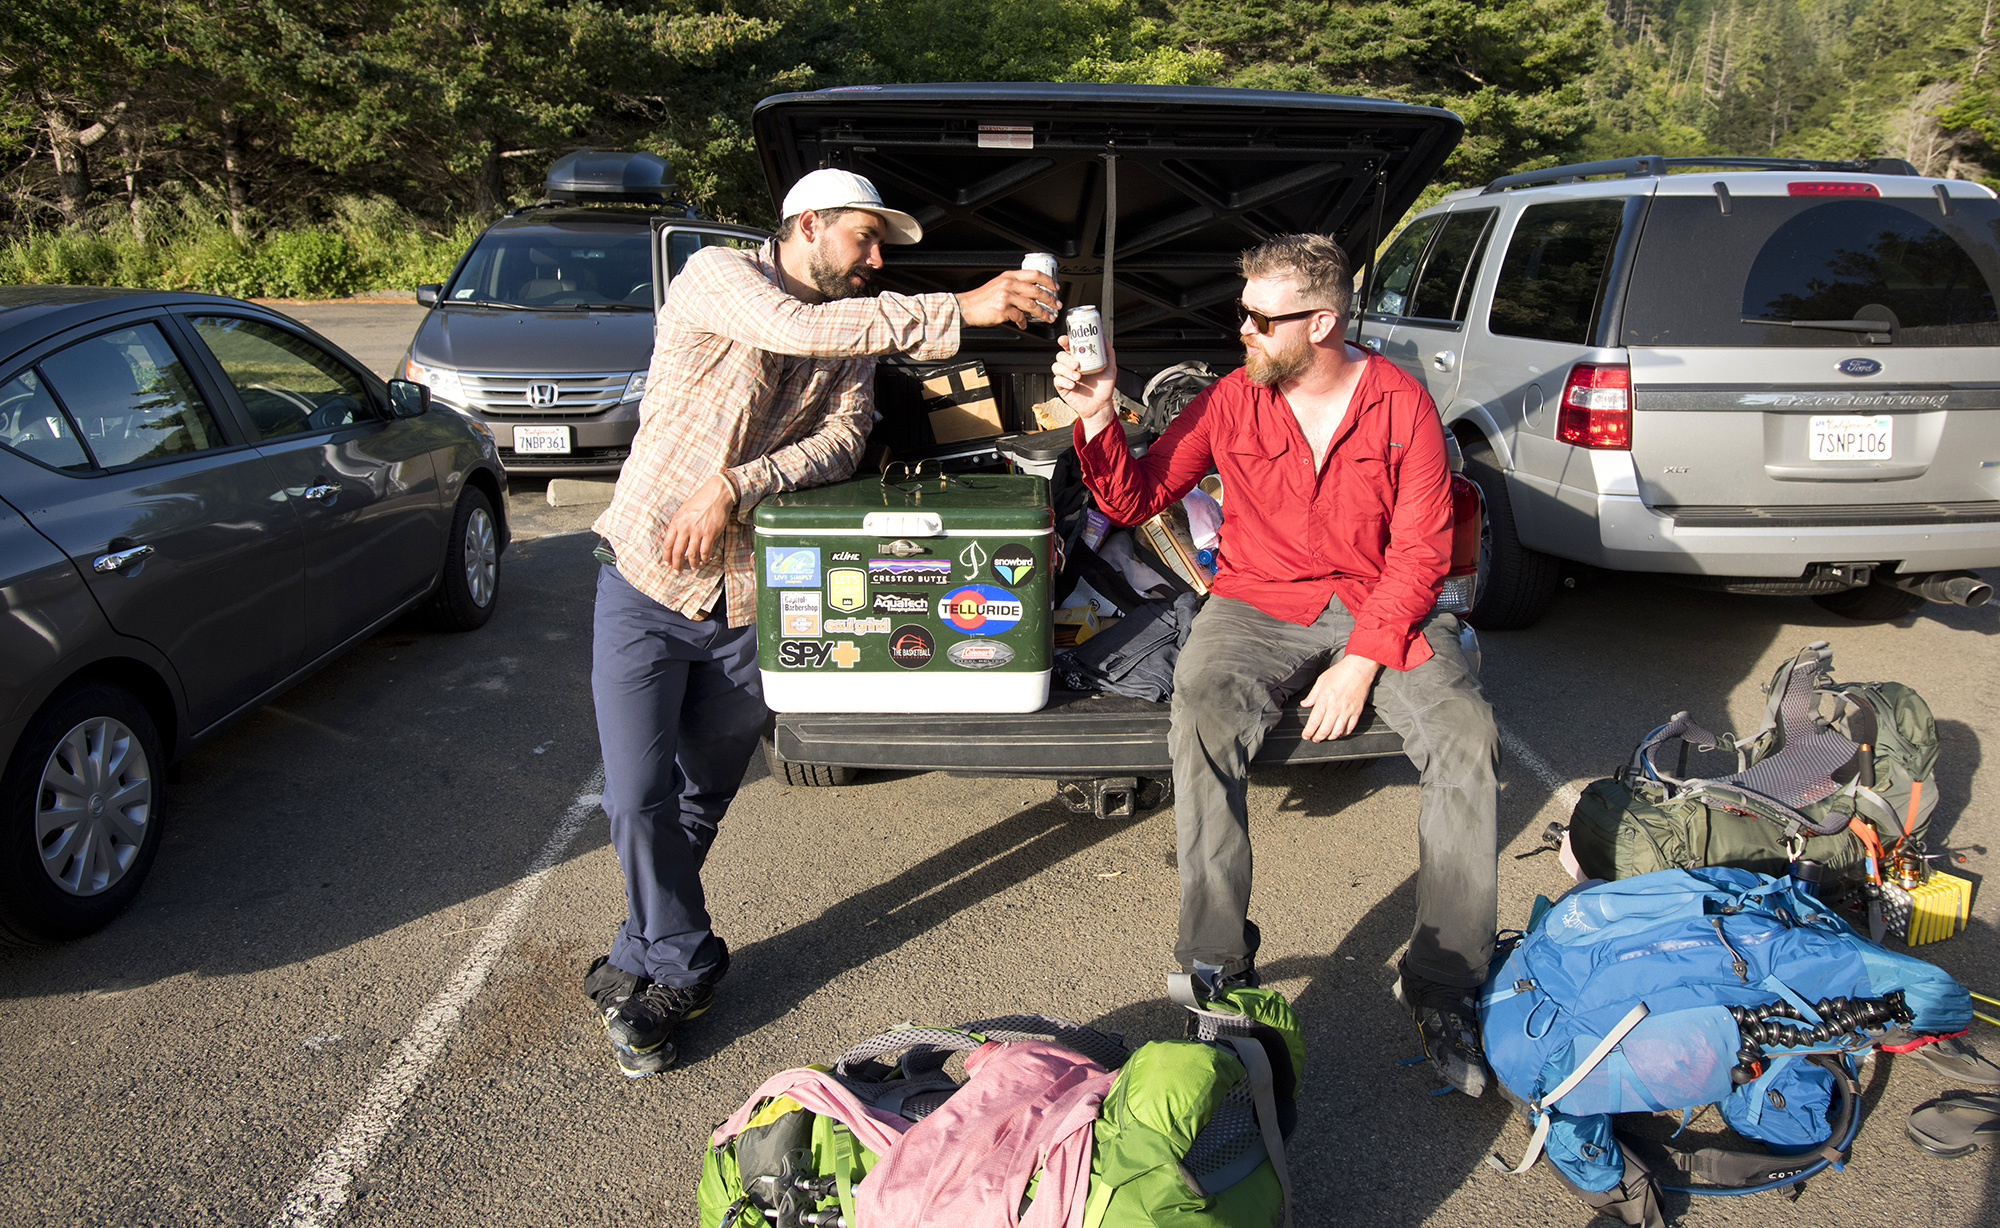
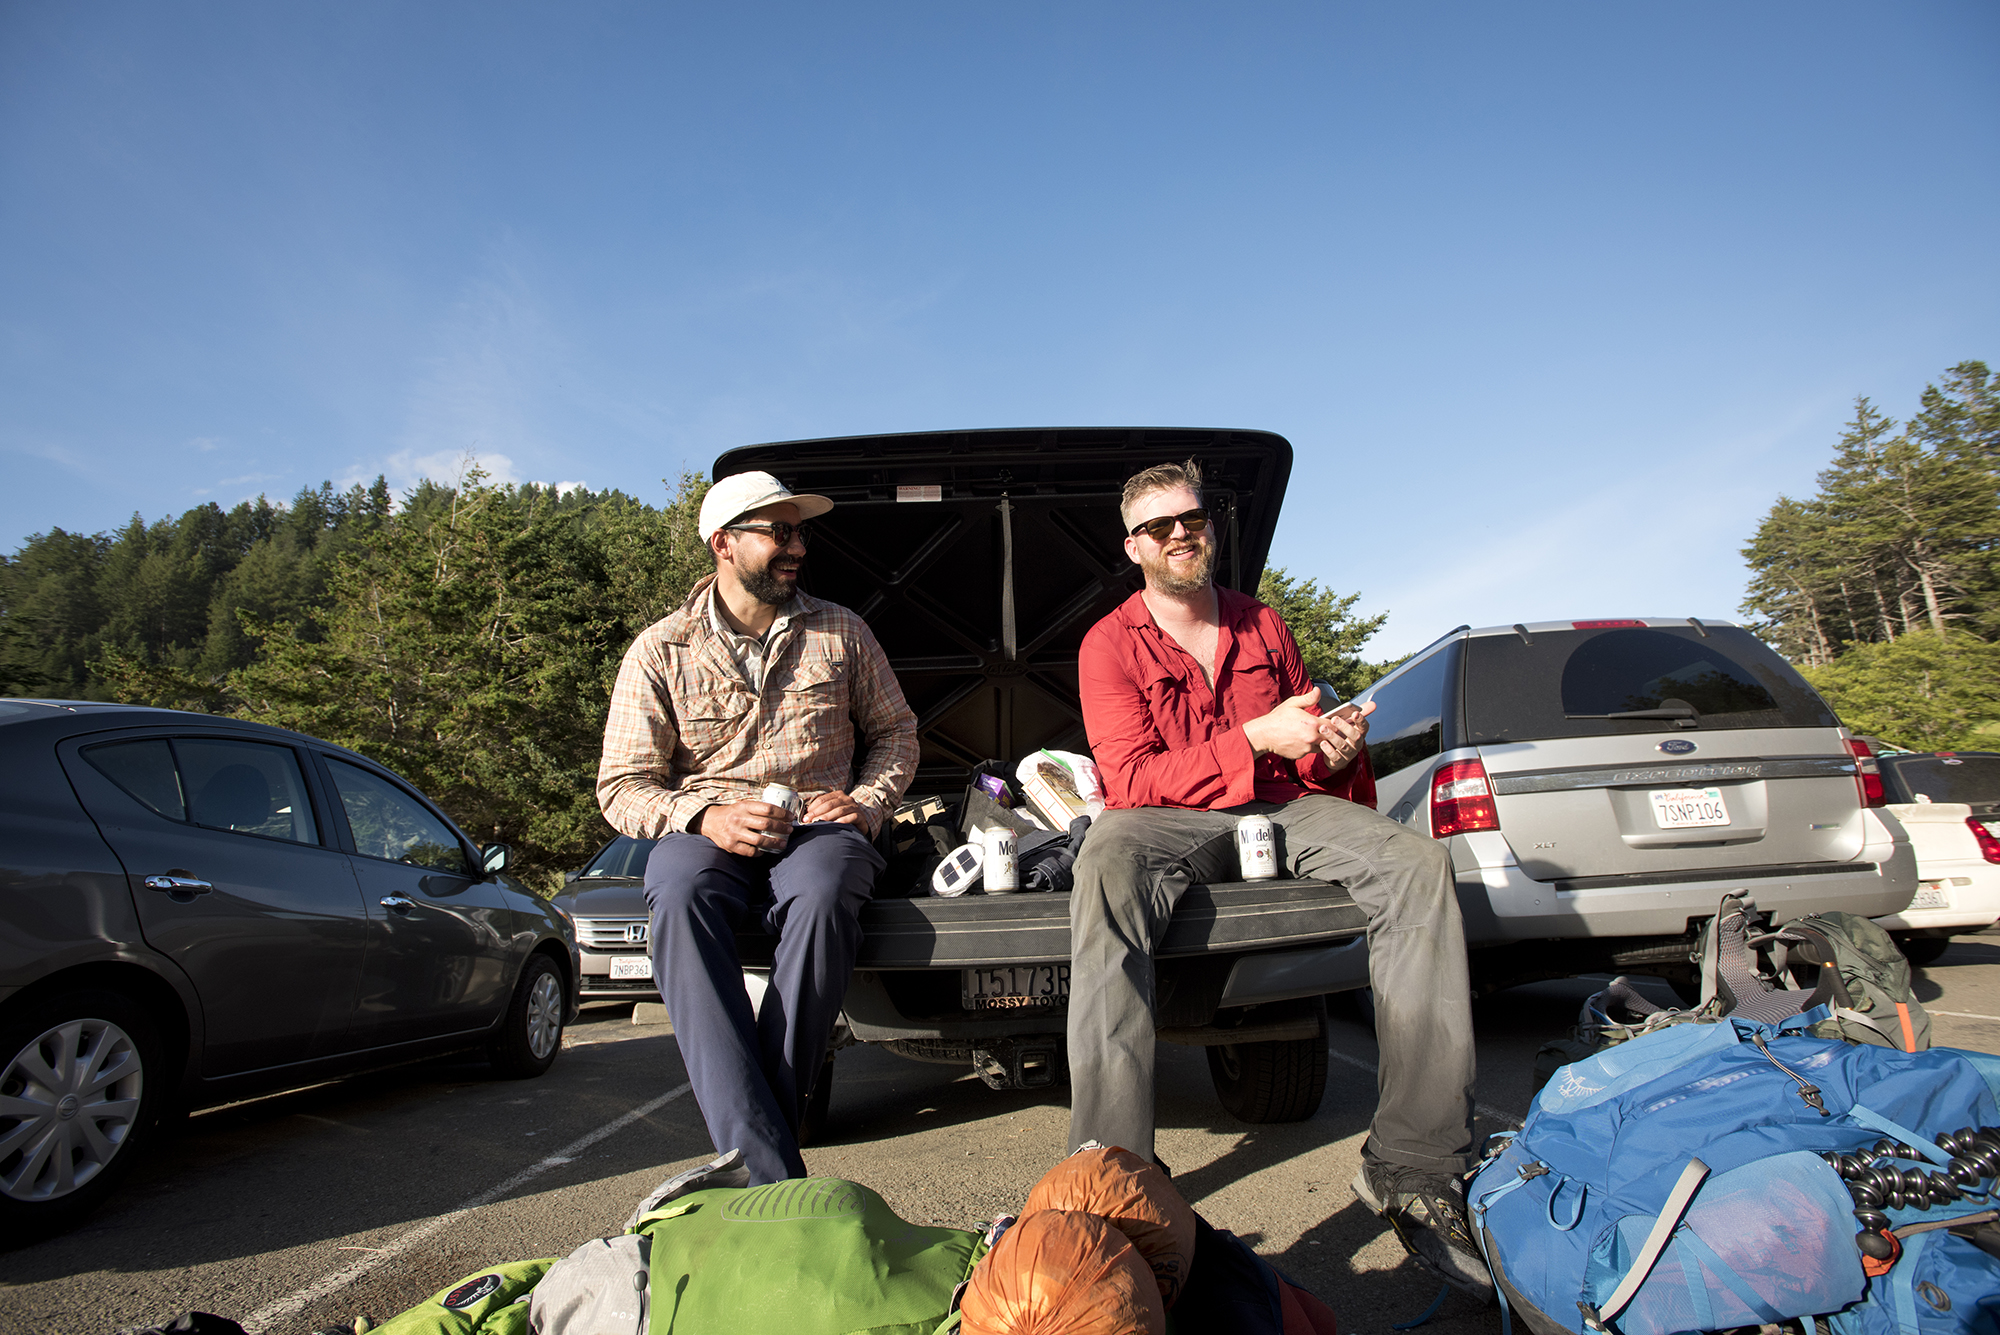
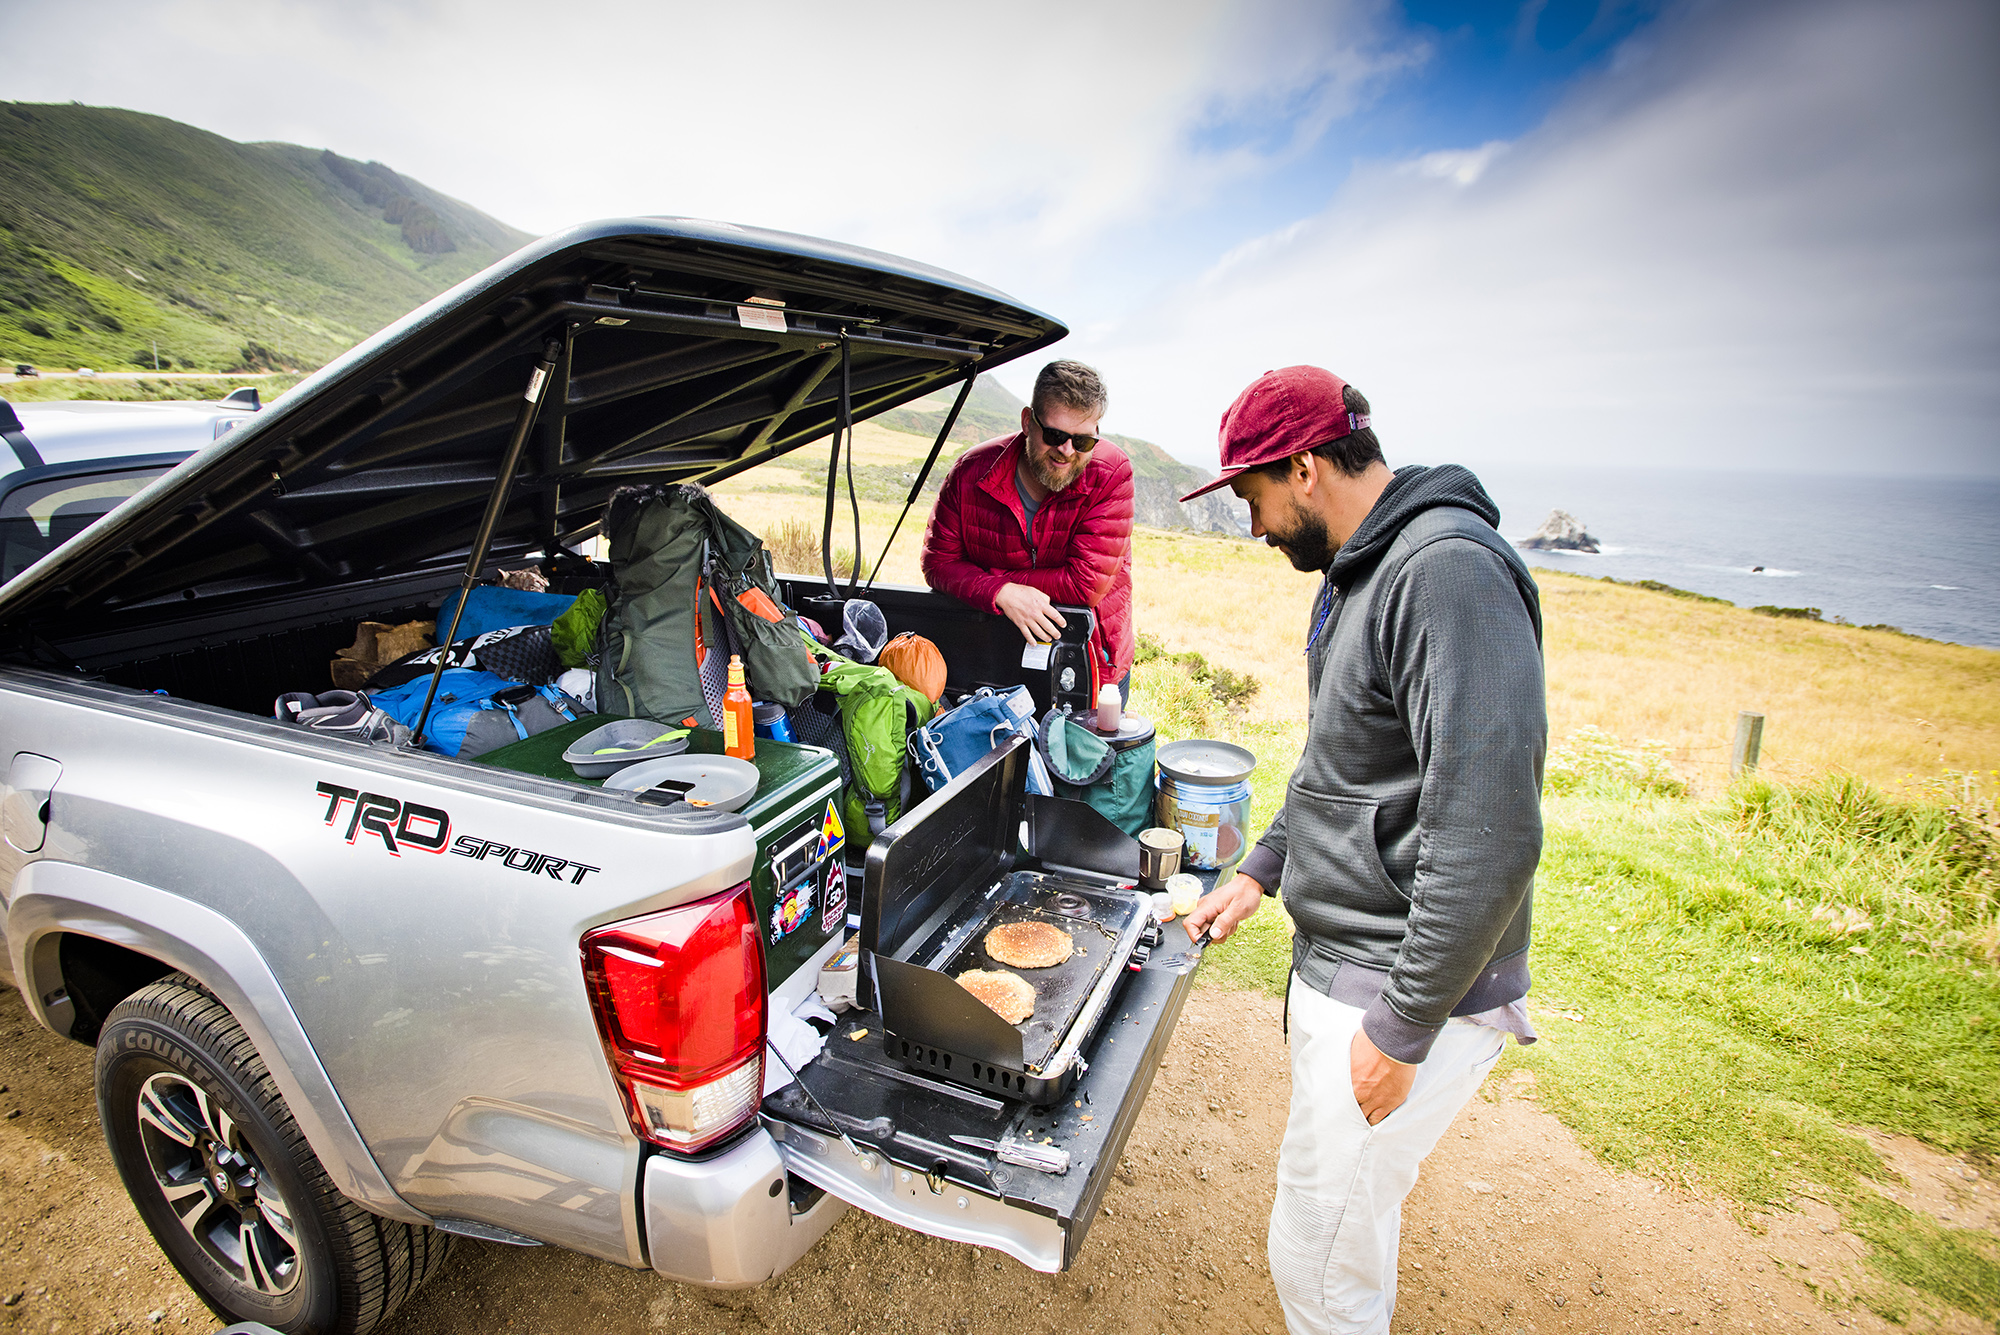
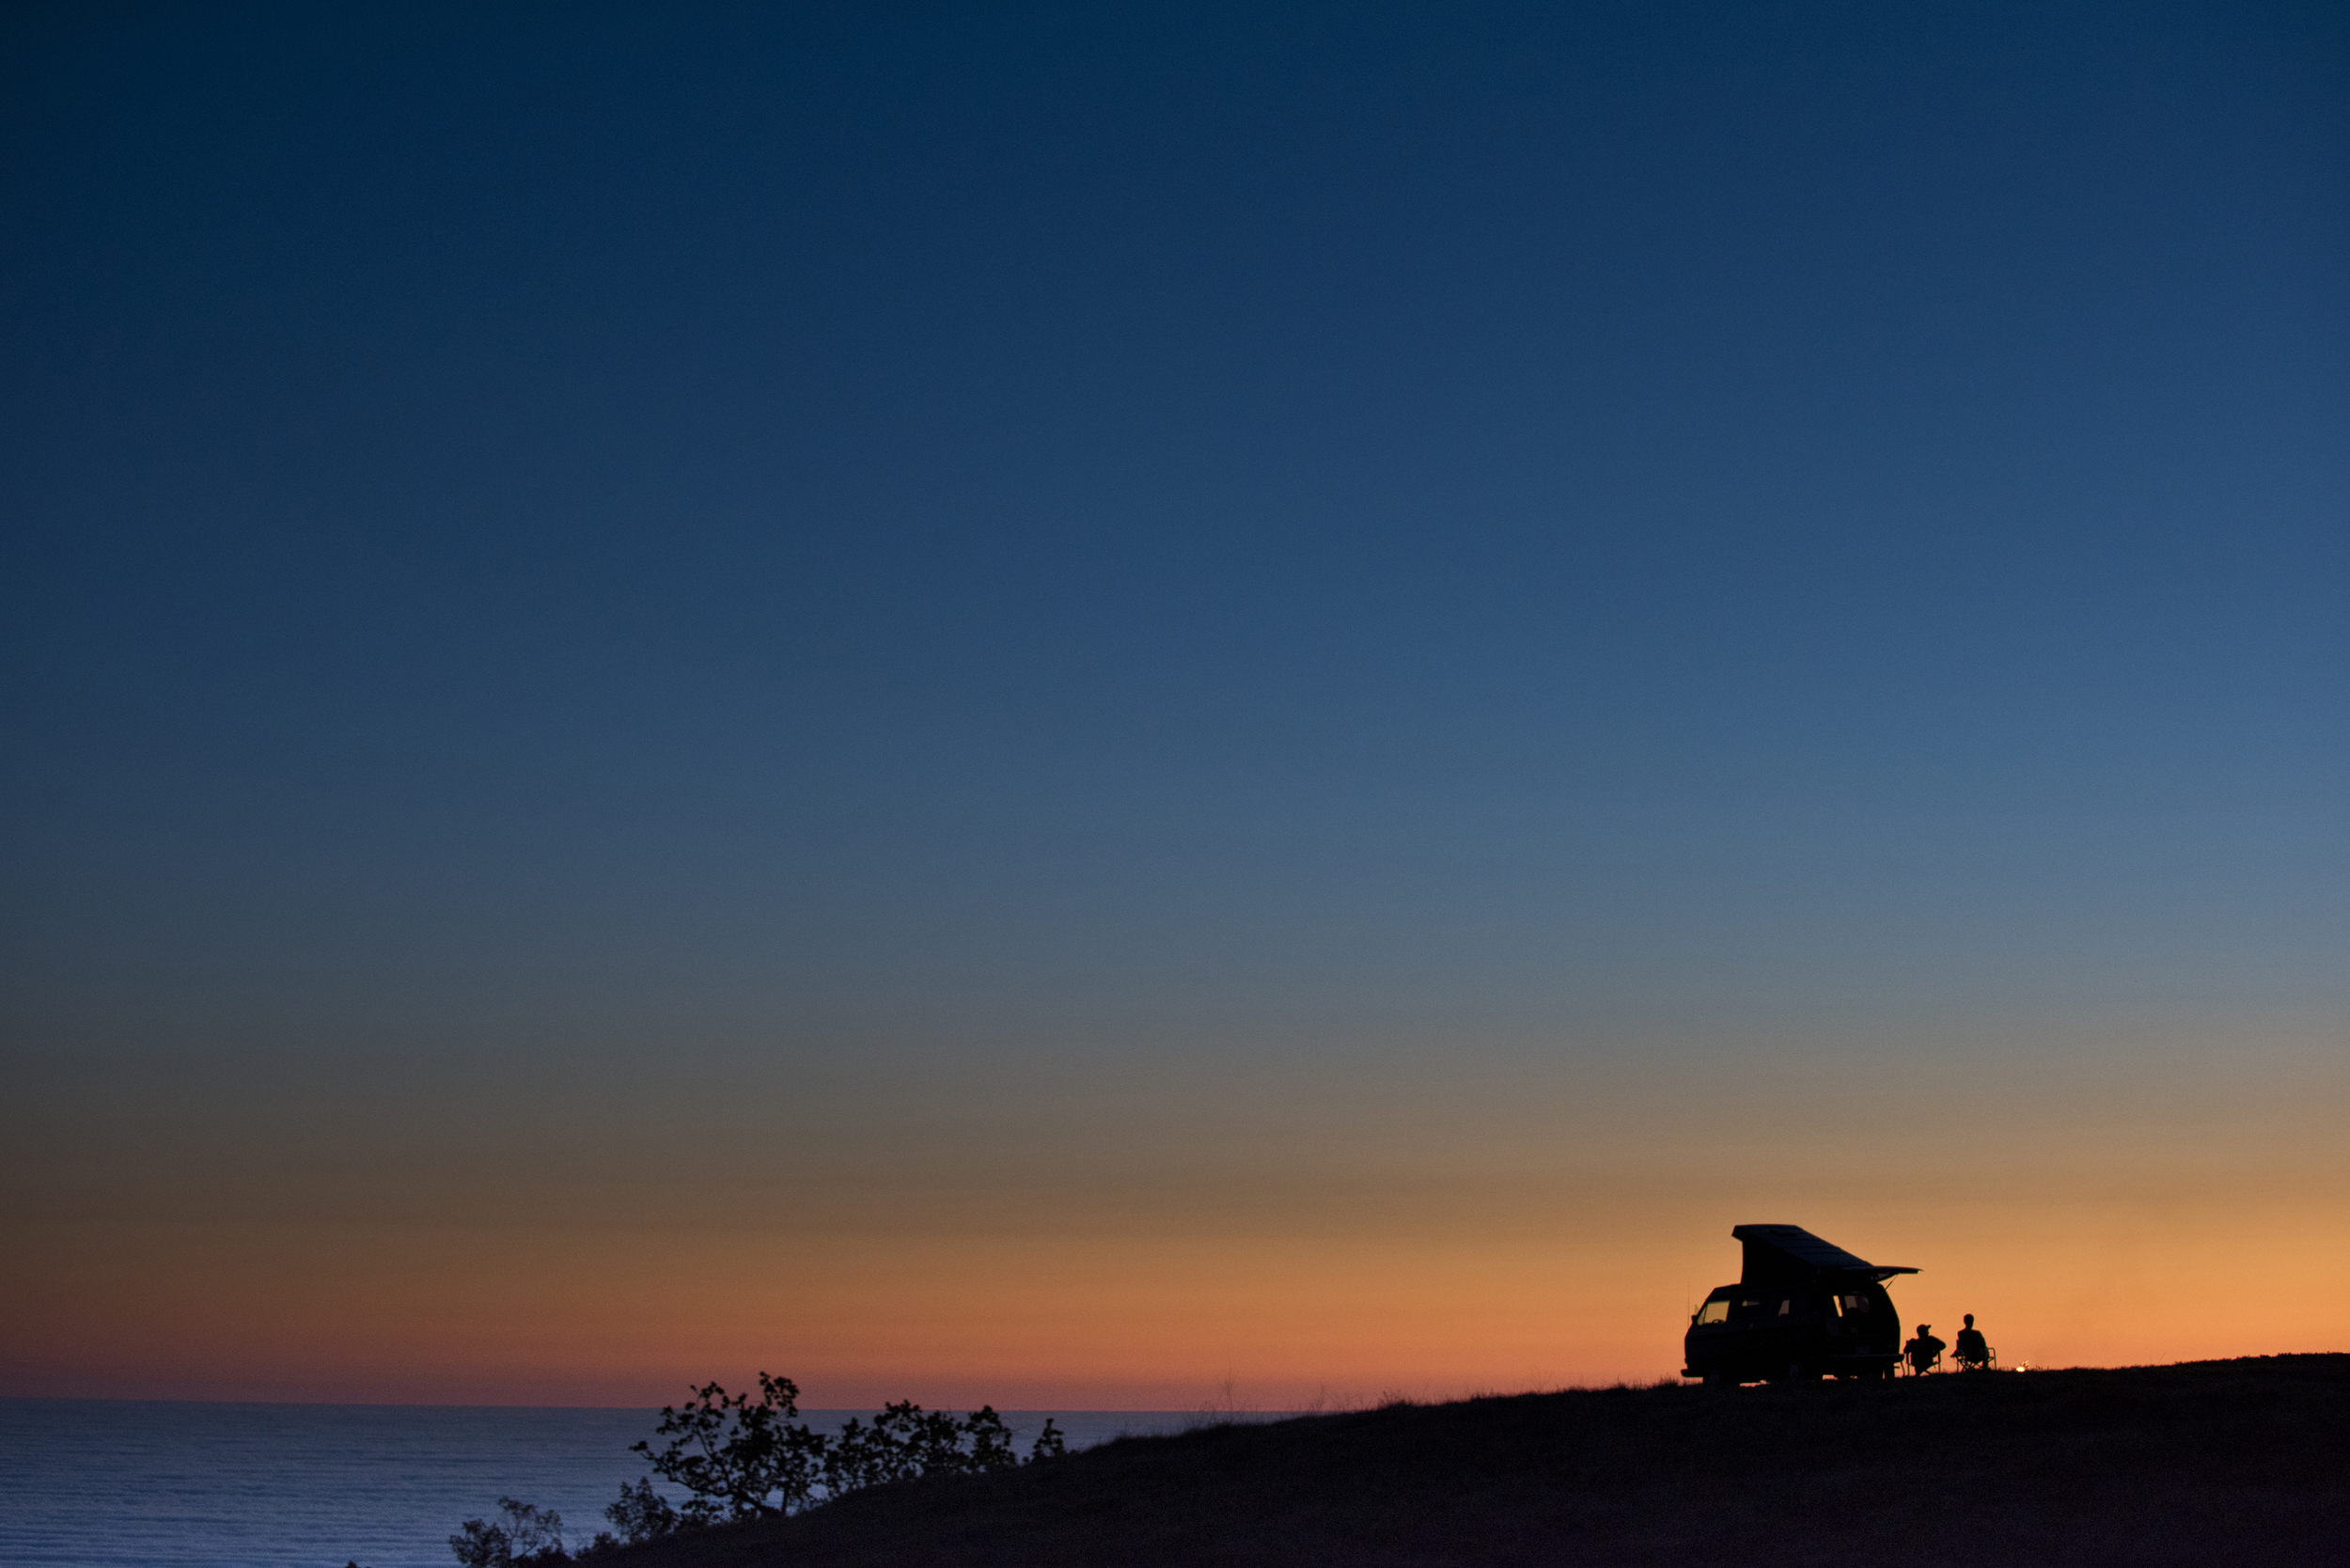
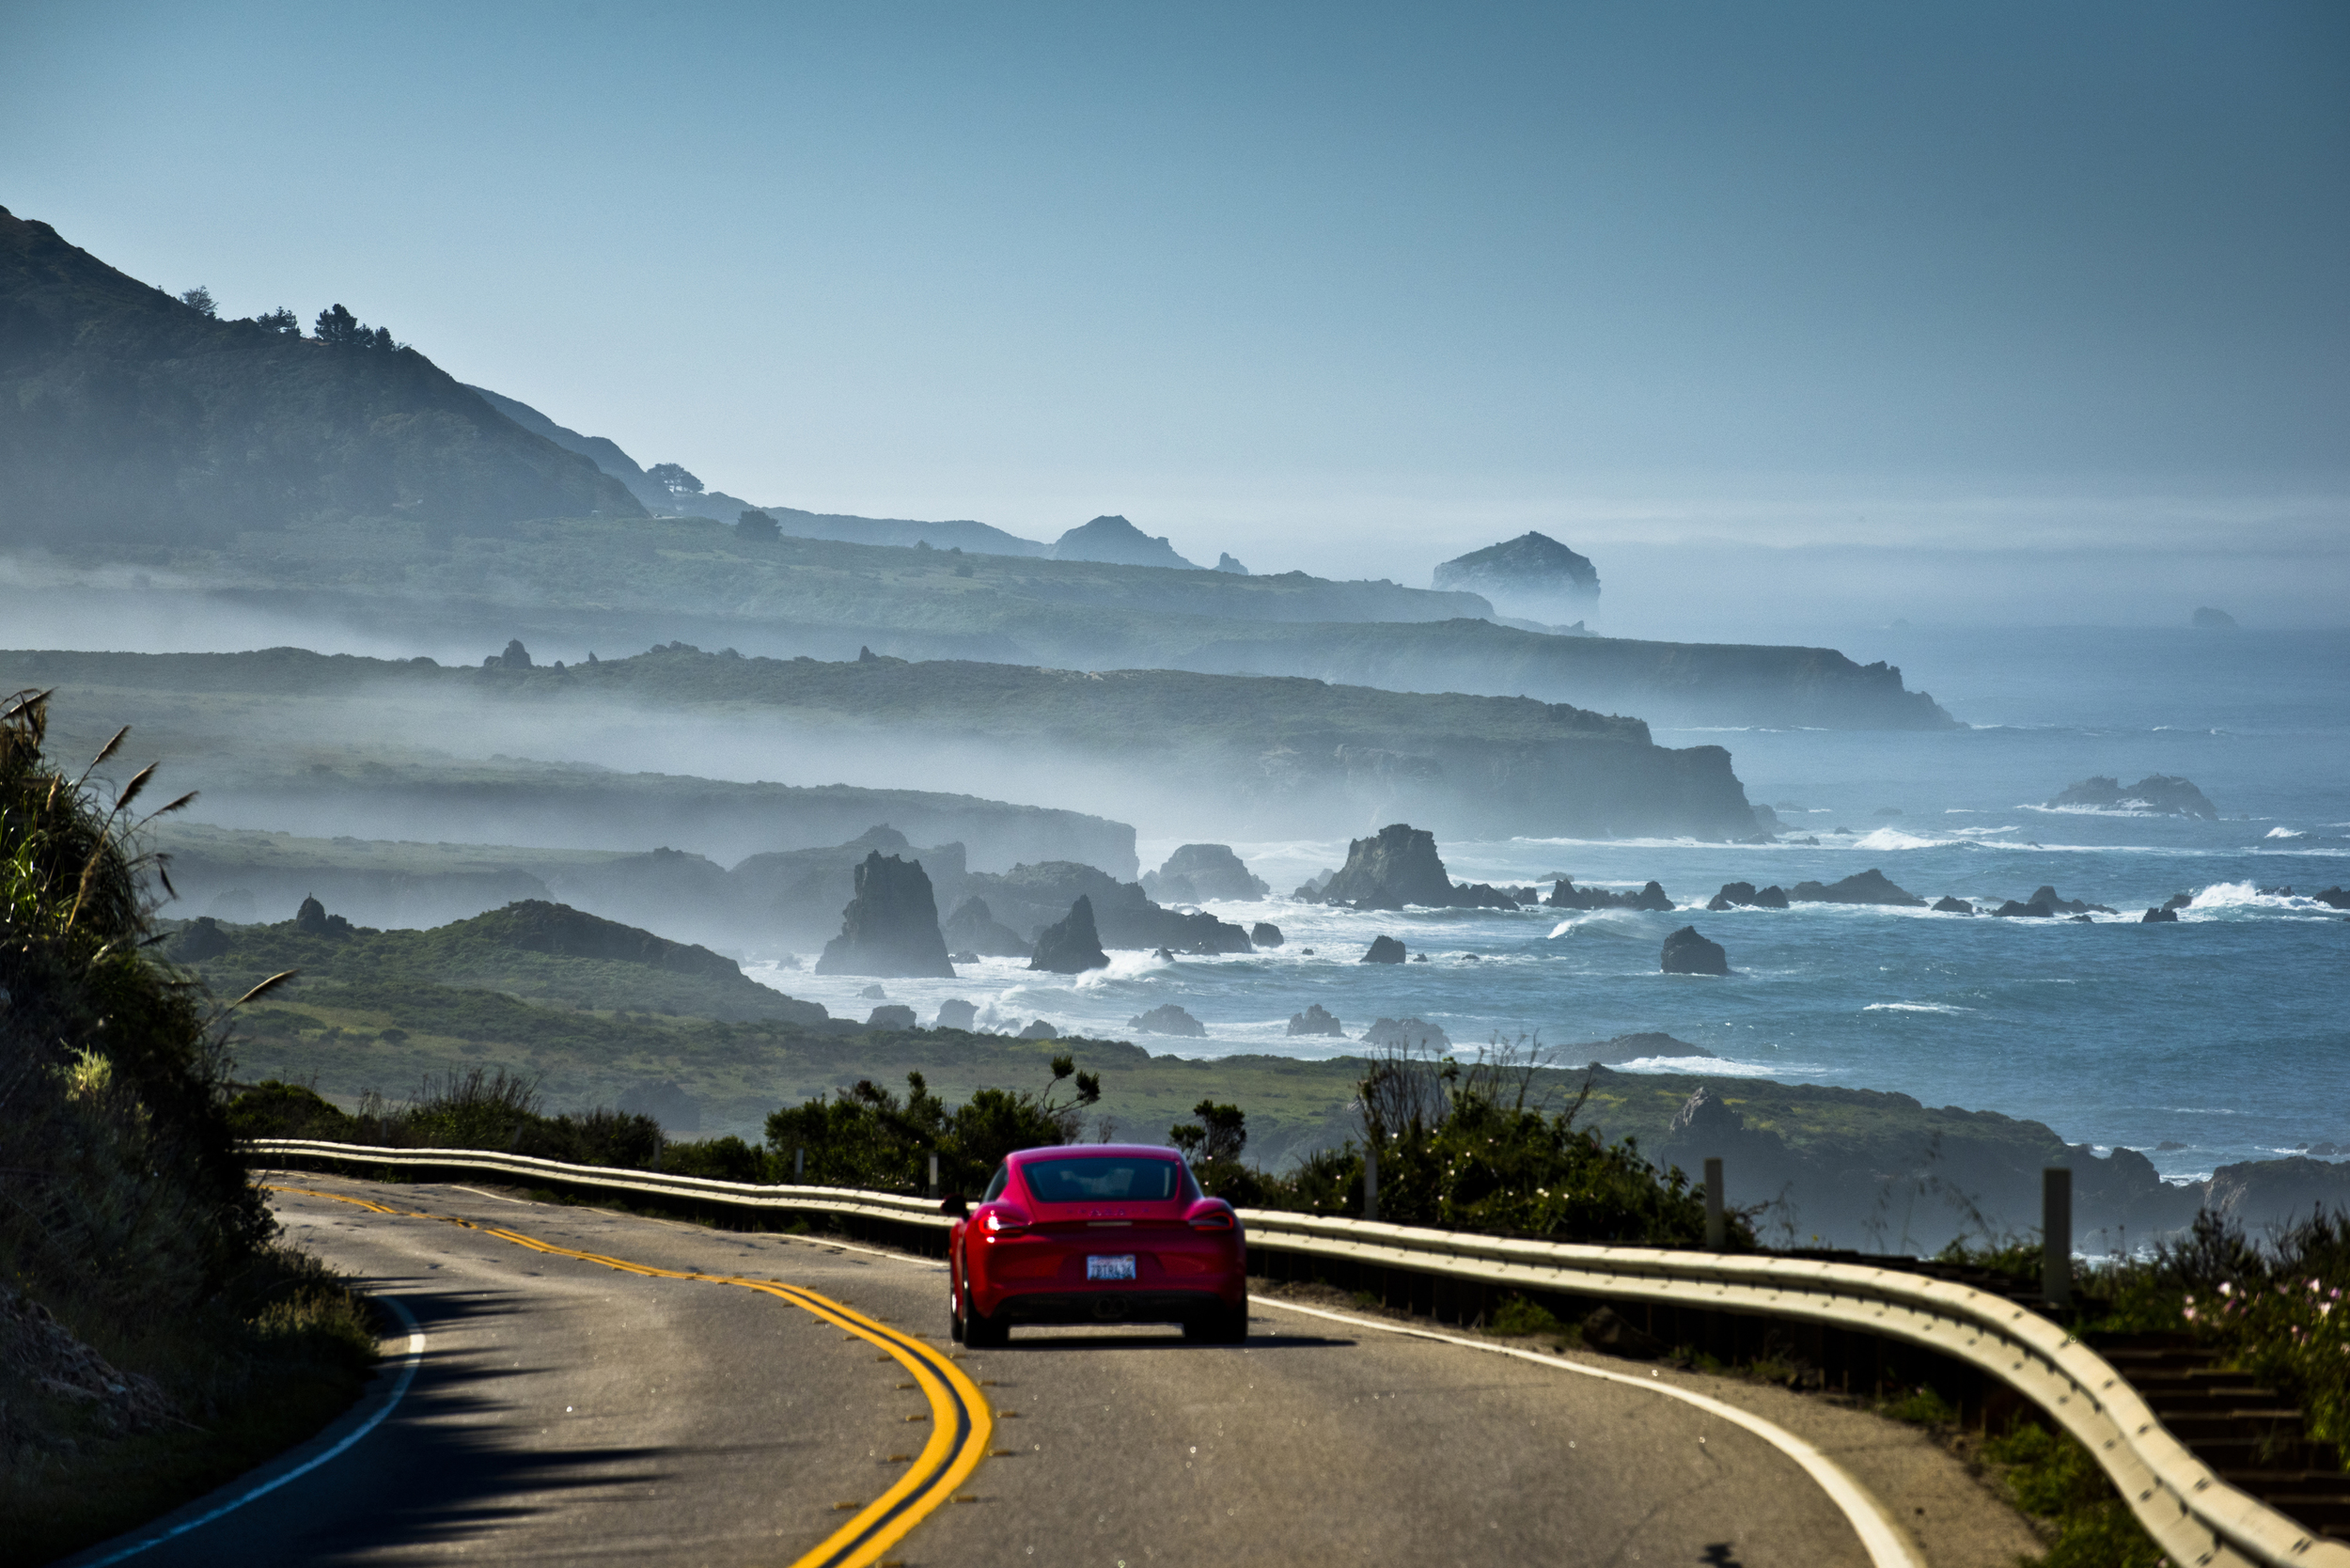
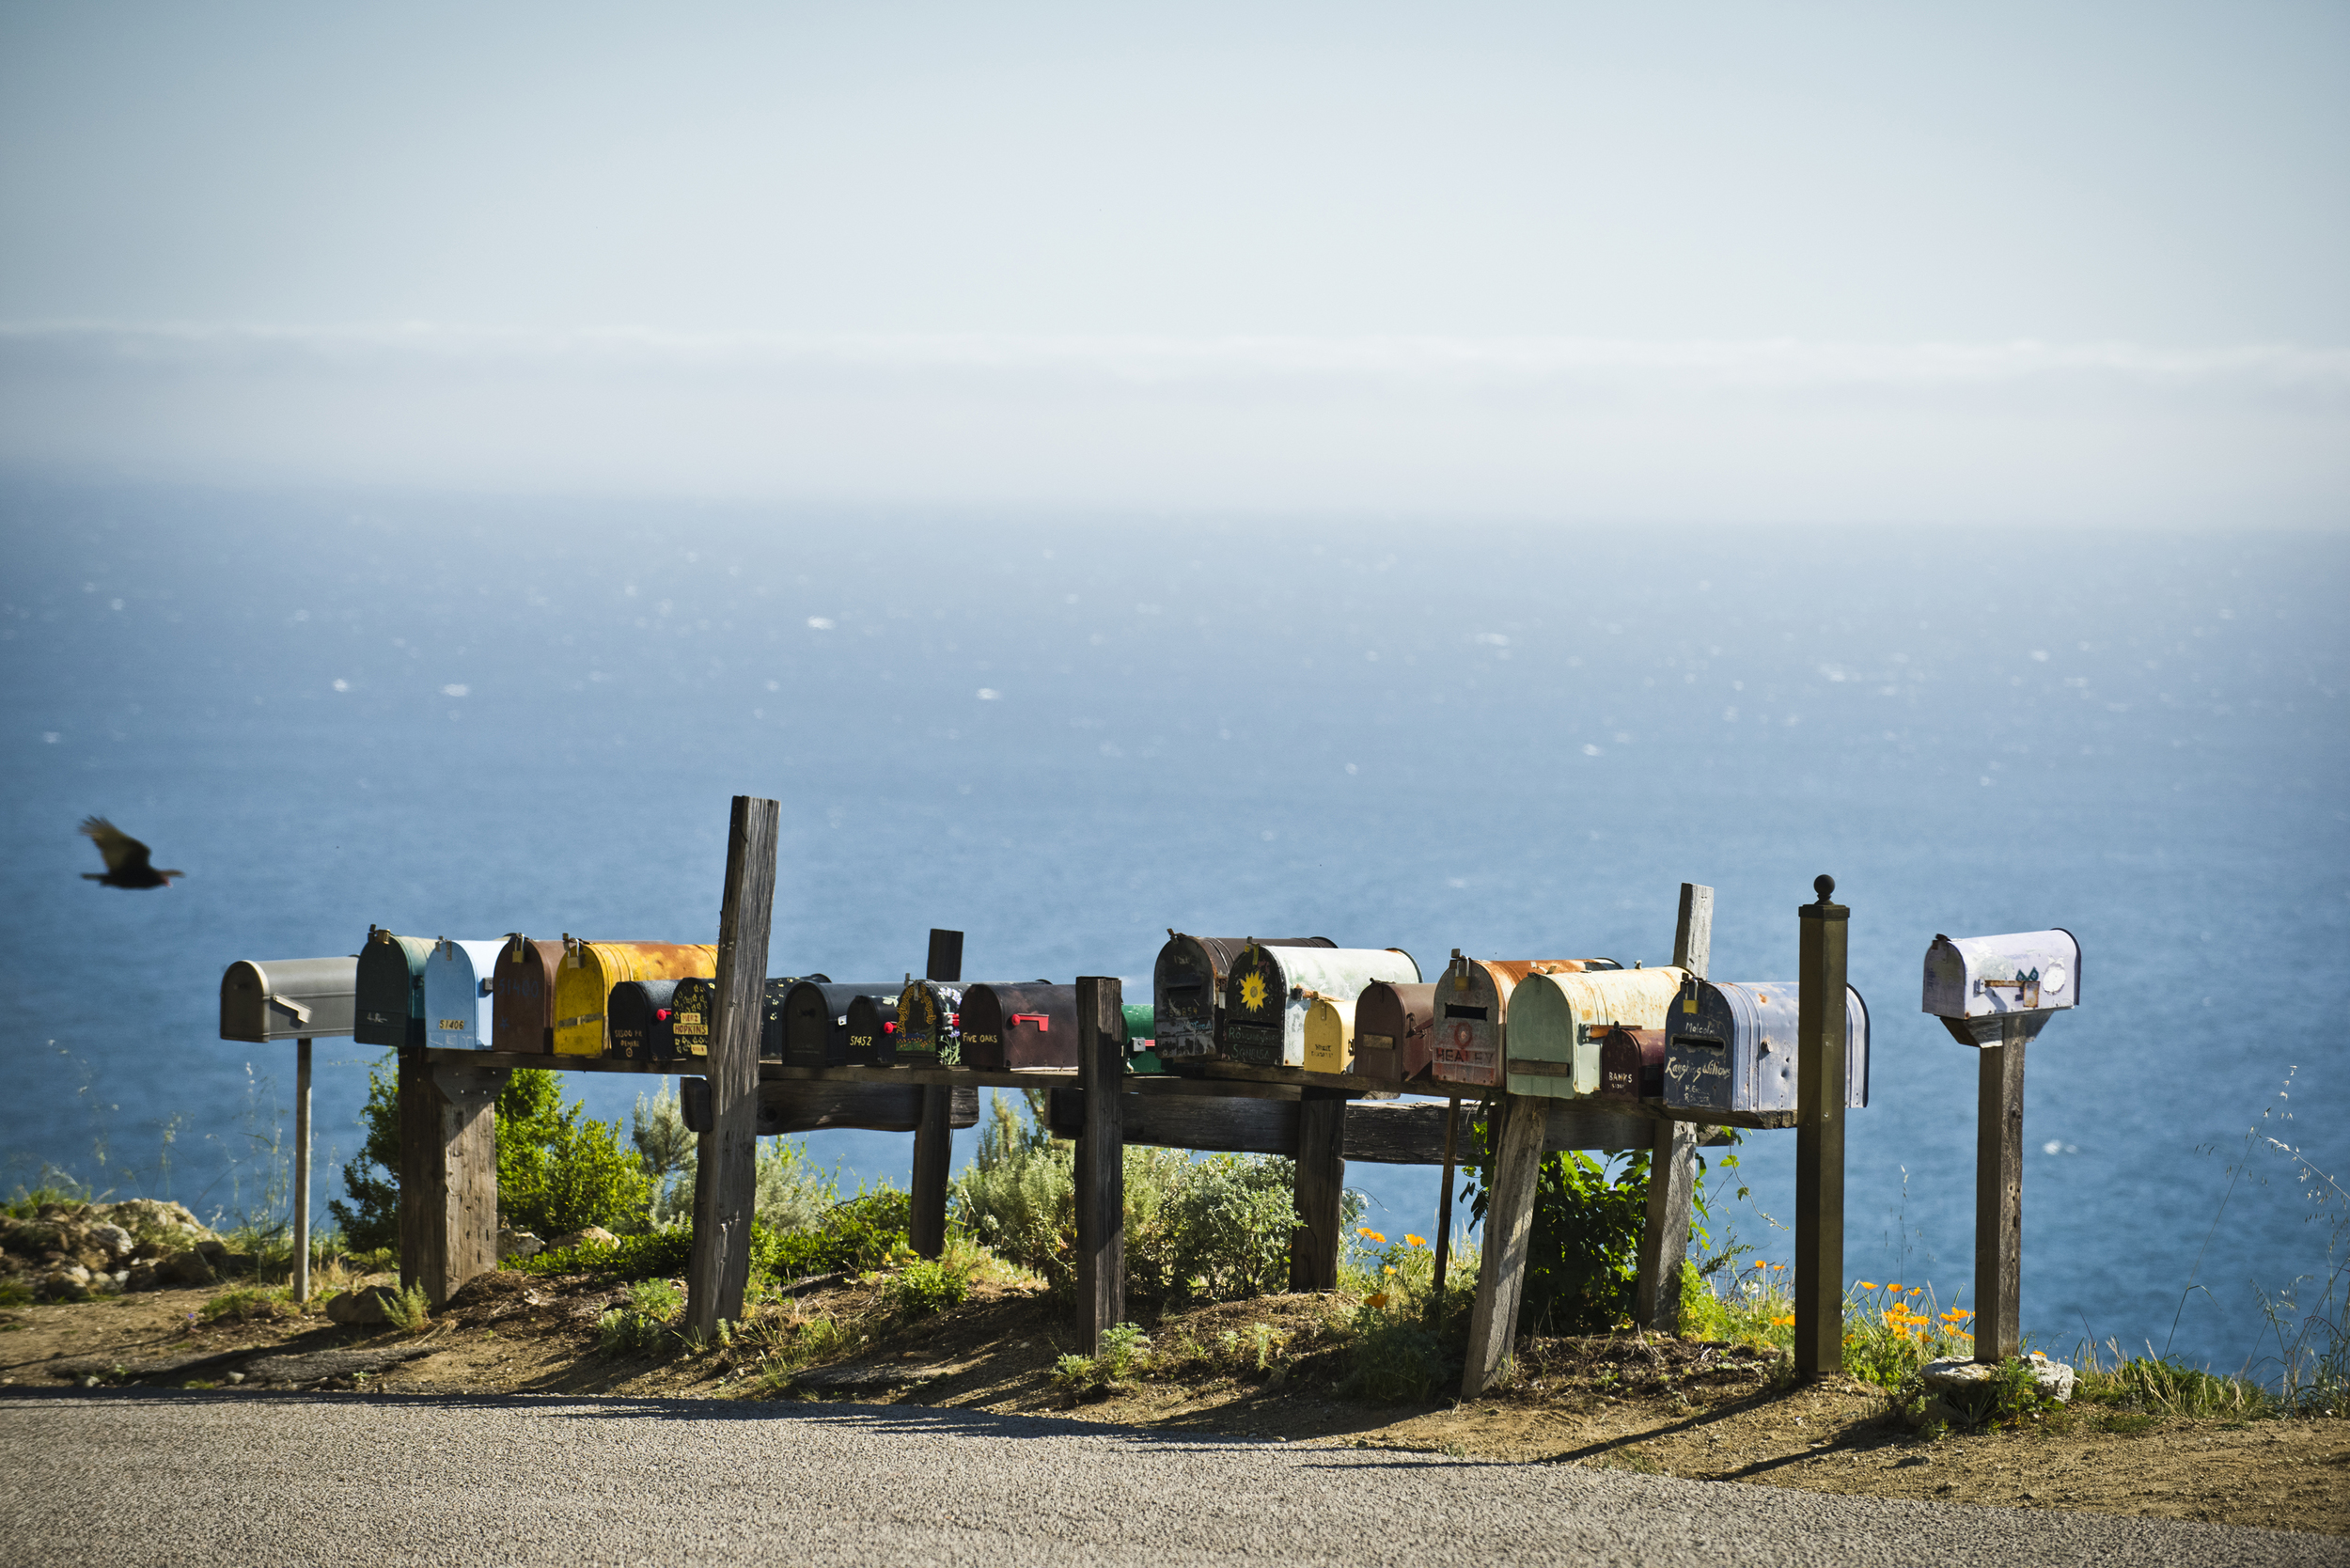
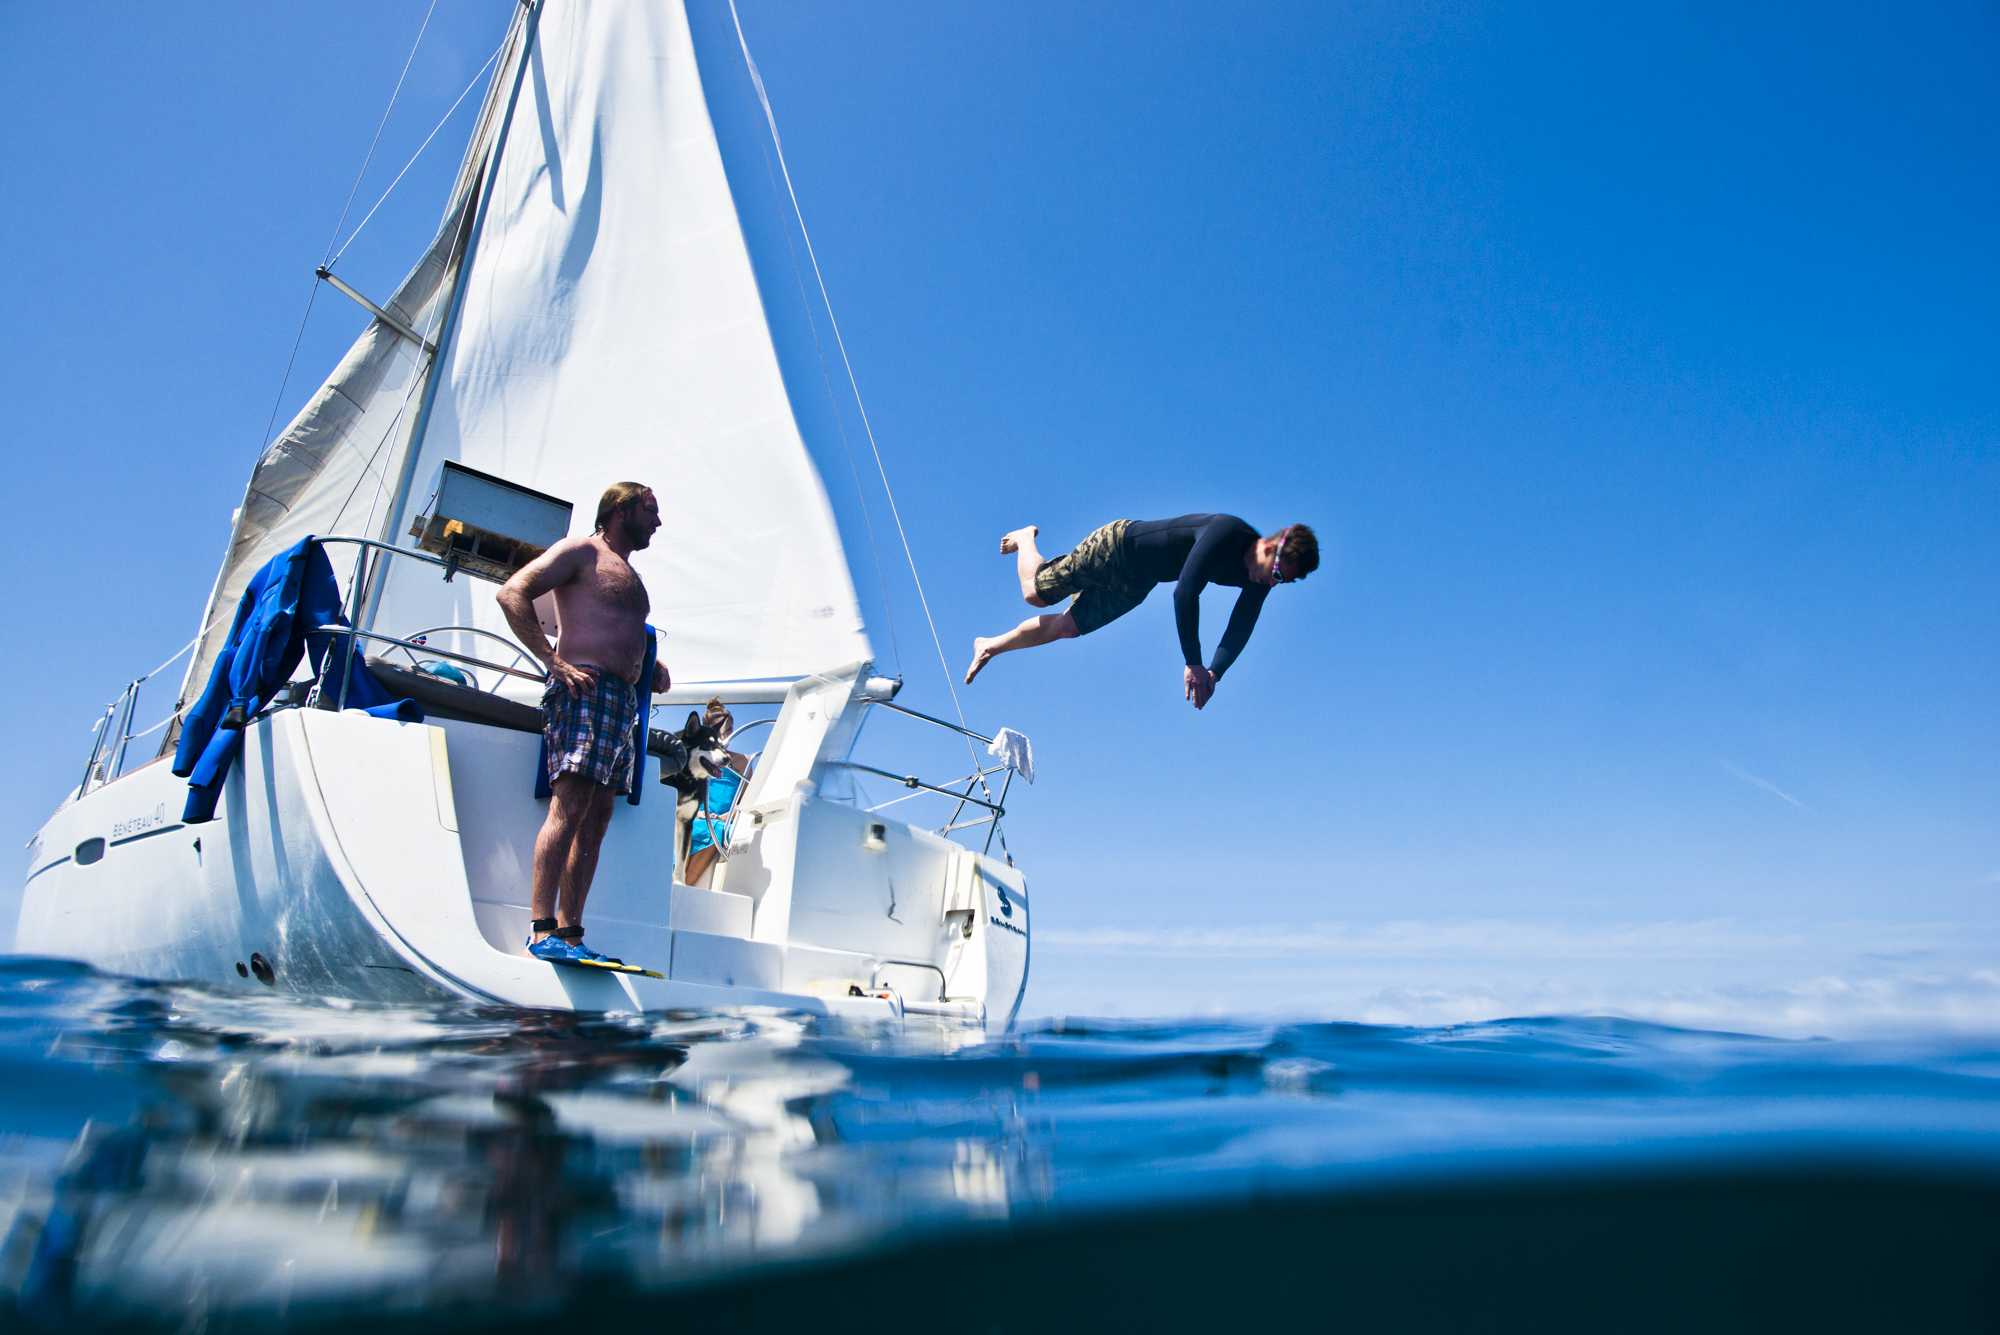
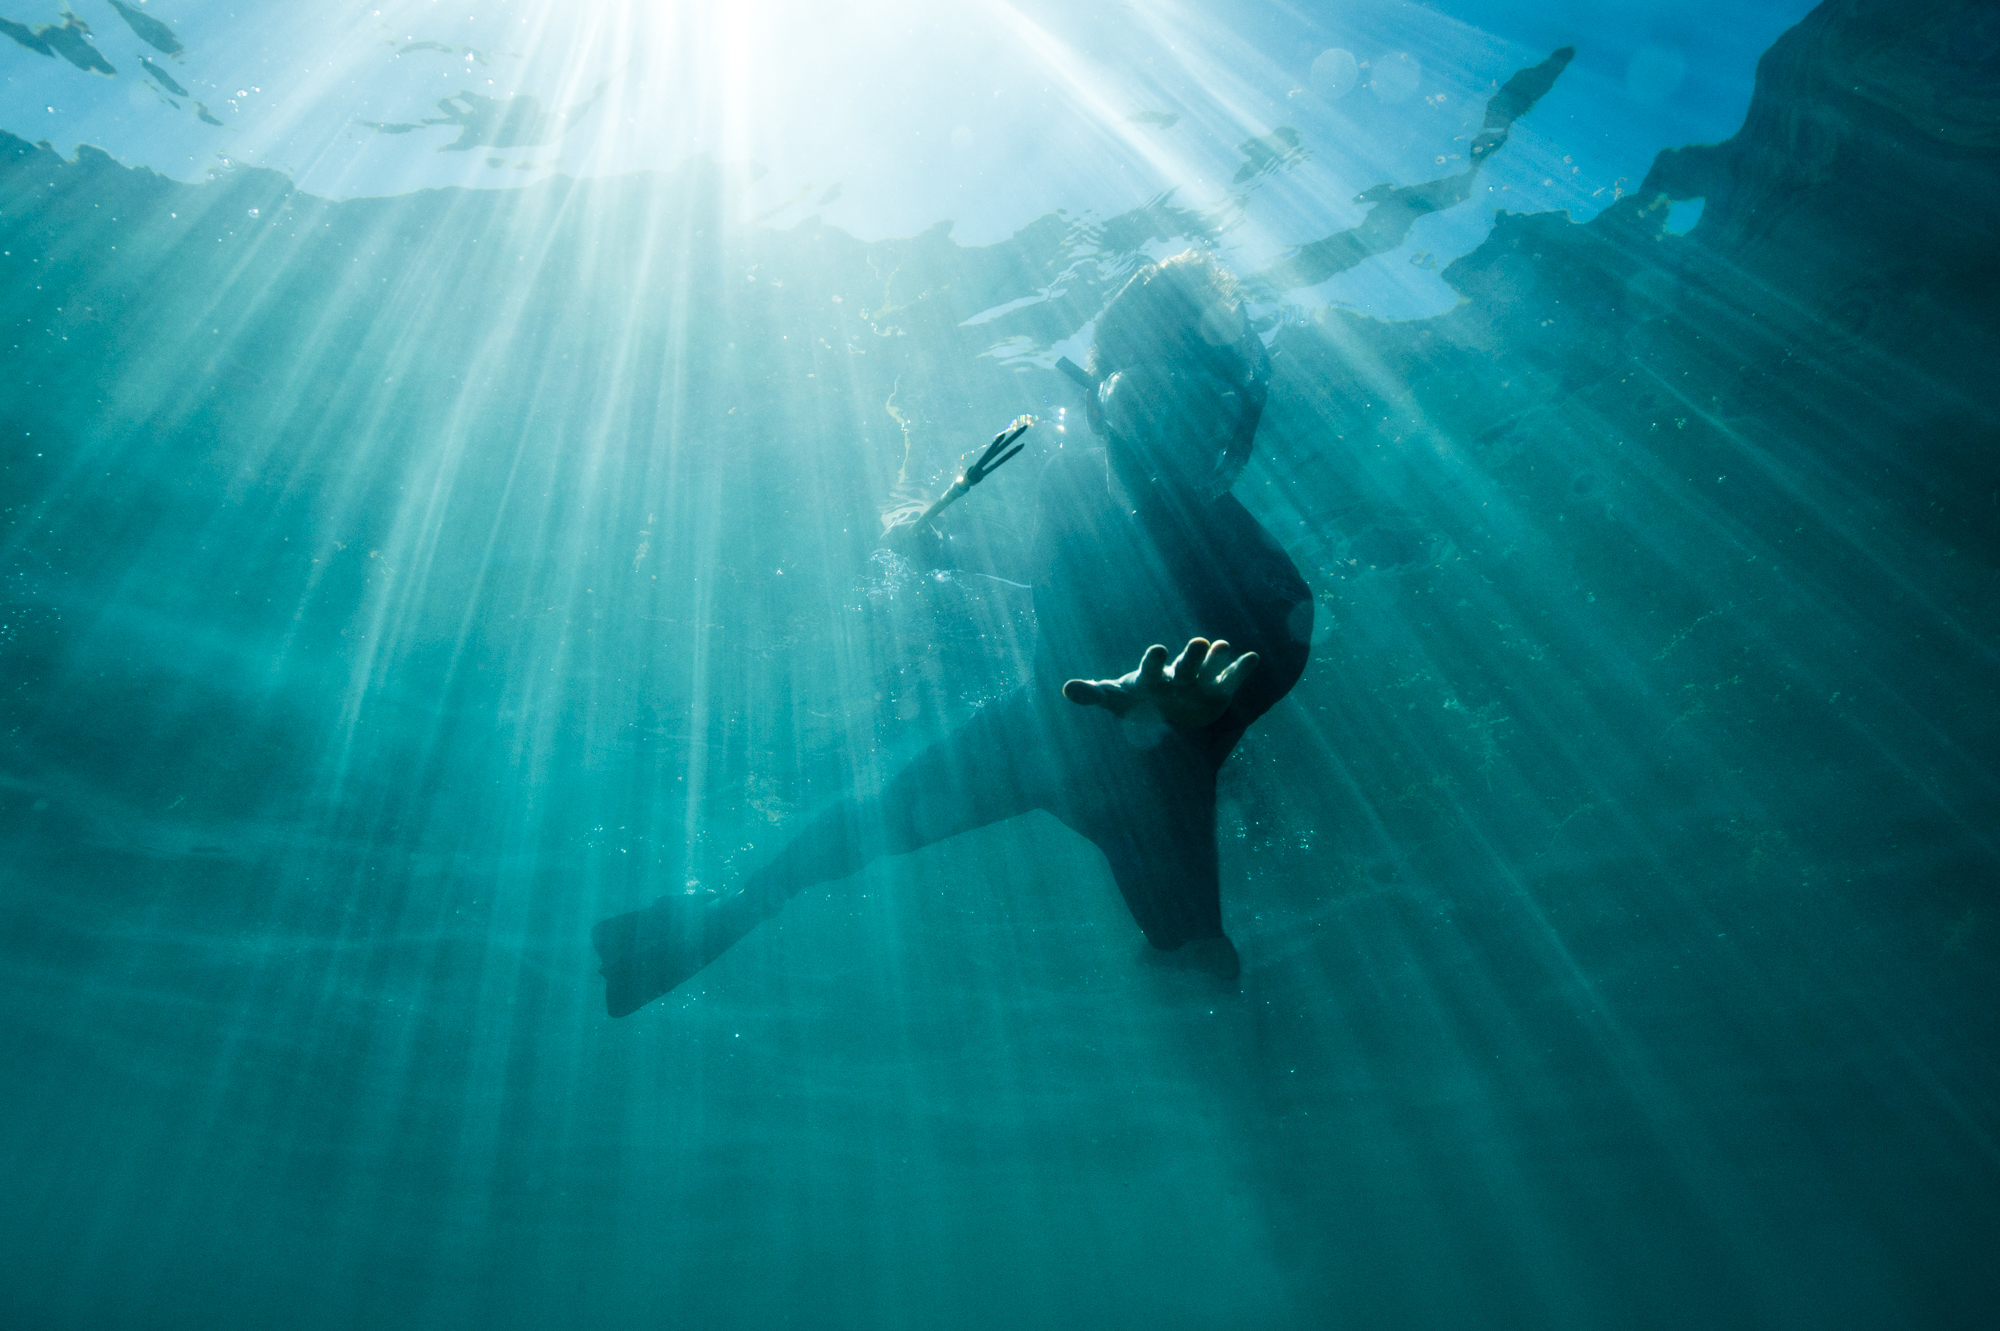
Posted a similar batch of images from this series a few month back, maybe even half a year ago. In that post I talked about the need to live with images for while before you realize what you had seen during the shoot, what’s good, and what’s shit. Went back a week ago and looked at that gallery of images and decided I did not like them at all, and one of the reasons is because they were all black and white. After seeing one of the images by chance in color, it occurred to me that the subtle colors of the locations that translate in the images are very effective. They are real and tell a good story. My appreciation for more subtle colors is growing quite a bit. Especially after spending time on Instagram and seeing how people feel the need to have everything perfect. Perfect isn’t real.
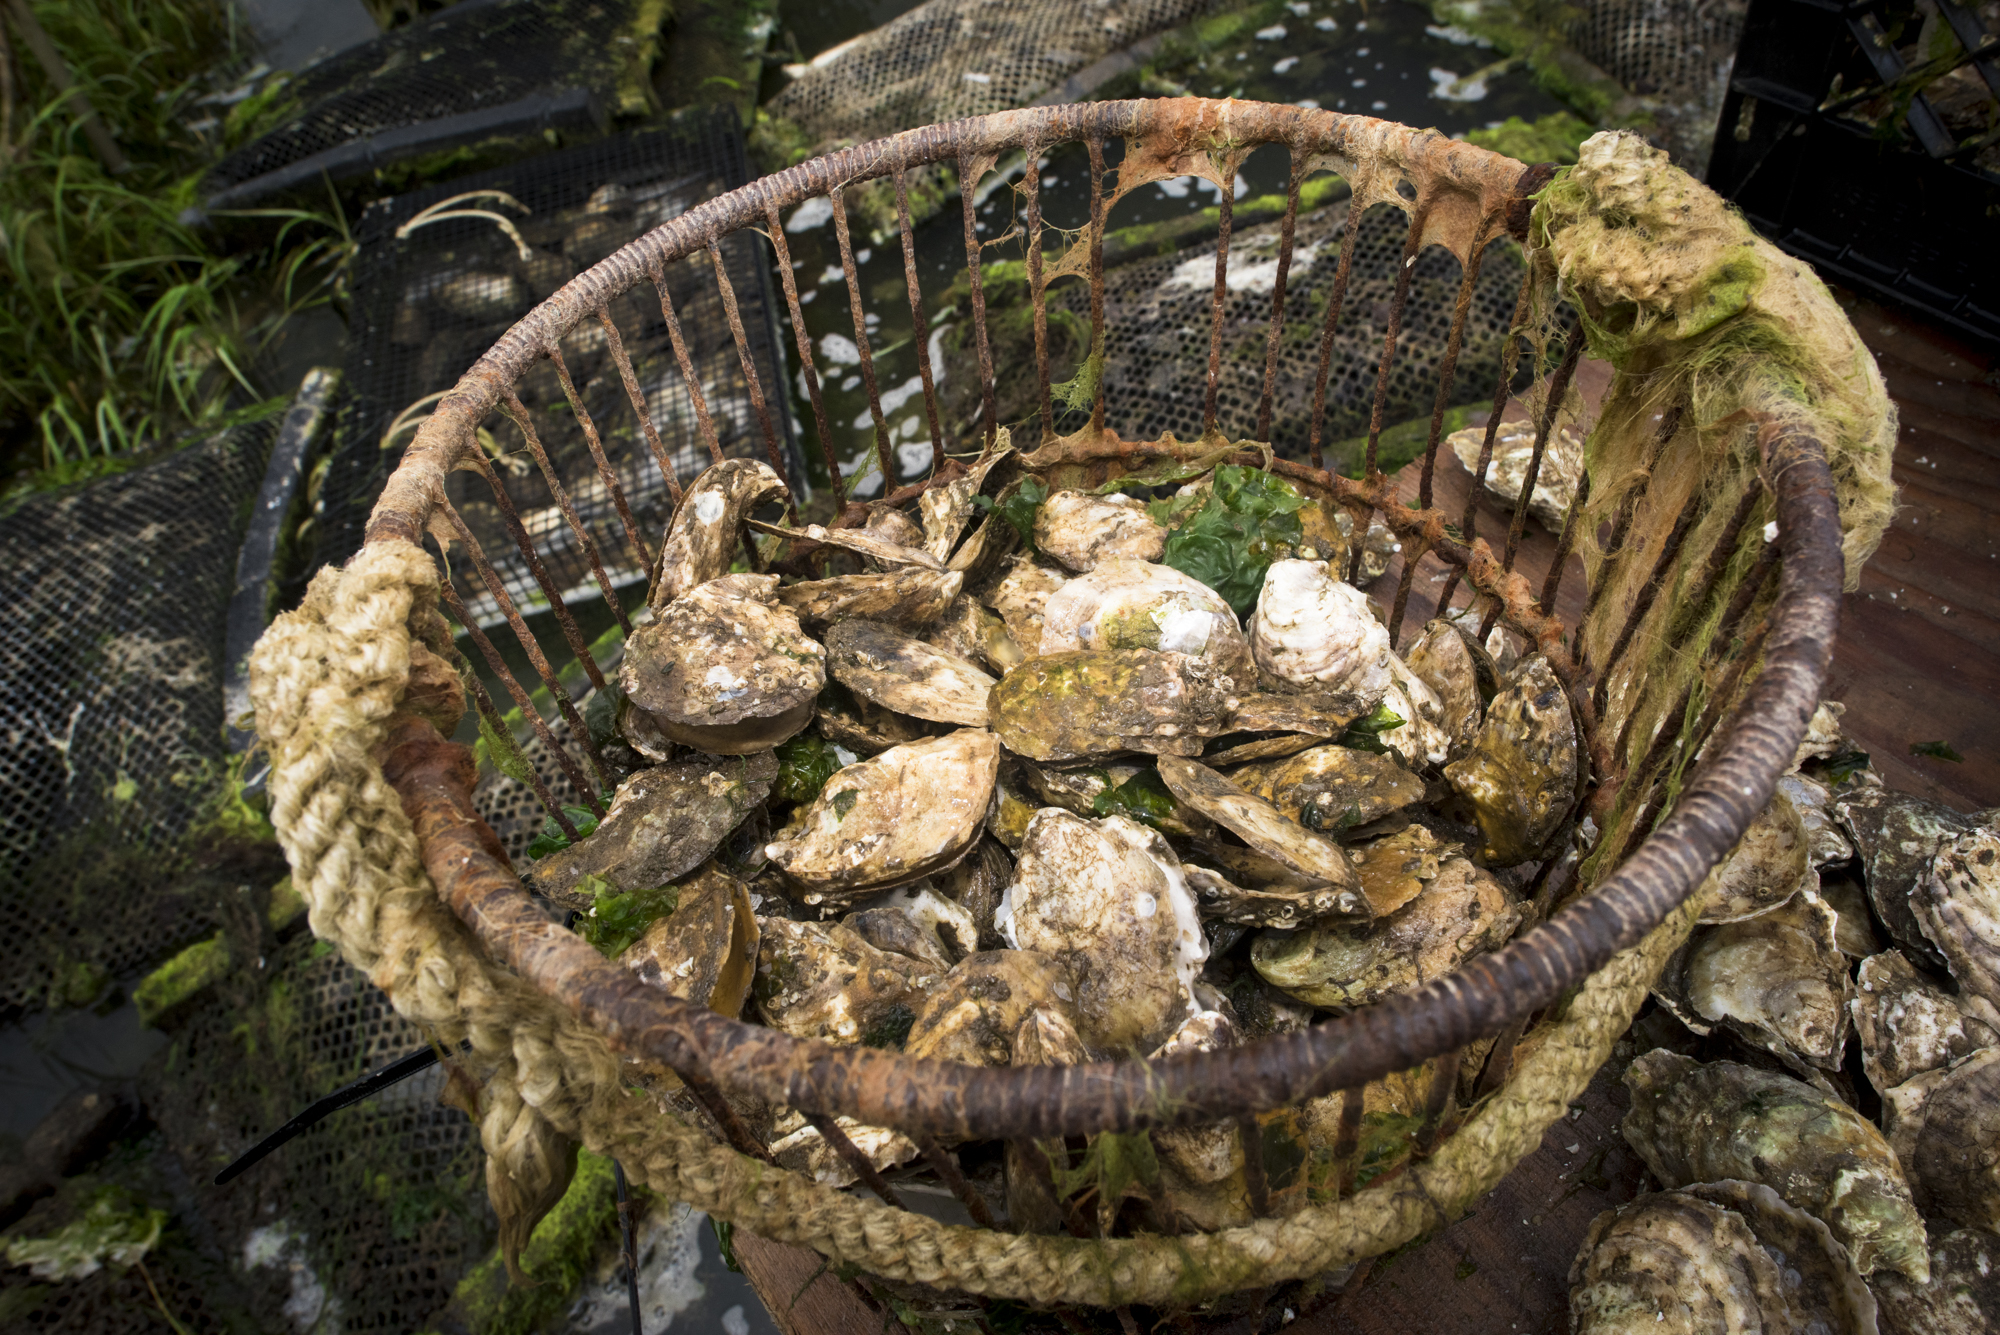
Cape Cod Oysters
Best Seafood on Cape Cod - Oysters
Cape Cod has been my families summer destination for as long as I can remember. It takes up a huge place in my heart, and one that I can’t possibly explain to anyone who has never been. There is something so uniquely special about it. A quality that you can’t find anywhere else in the world. Winter isn’t quite done yet, at least that’s what I’m telling myself as the snowboarding itch hasn’t totally been scratched. Then again, it never really is. Still though, I’ve found myself already thinking about Cape Cod, a lot. Among the many things I look forward to every year is the seafood. Even living in San Diego where we have access to top notch seafood, I still crave the east coast offerings. Oysters being one of them. I’ll never talk about the exact location of this oyster farm, as it’s the same place we go to harvest our own clams. A little hole I hope to be going for the rest of my life. Go find your own spot.
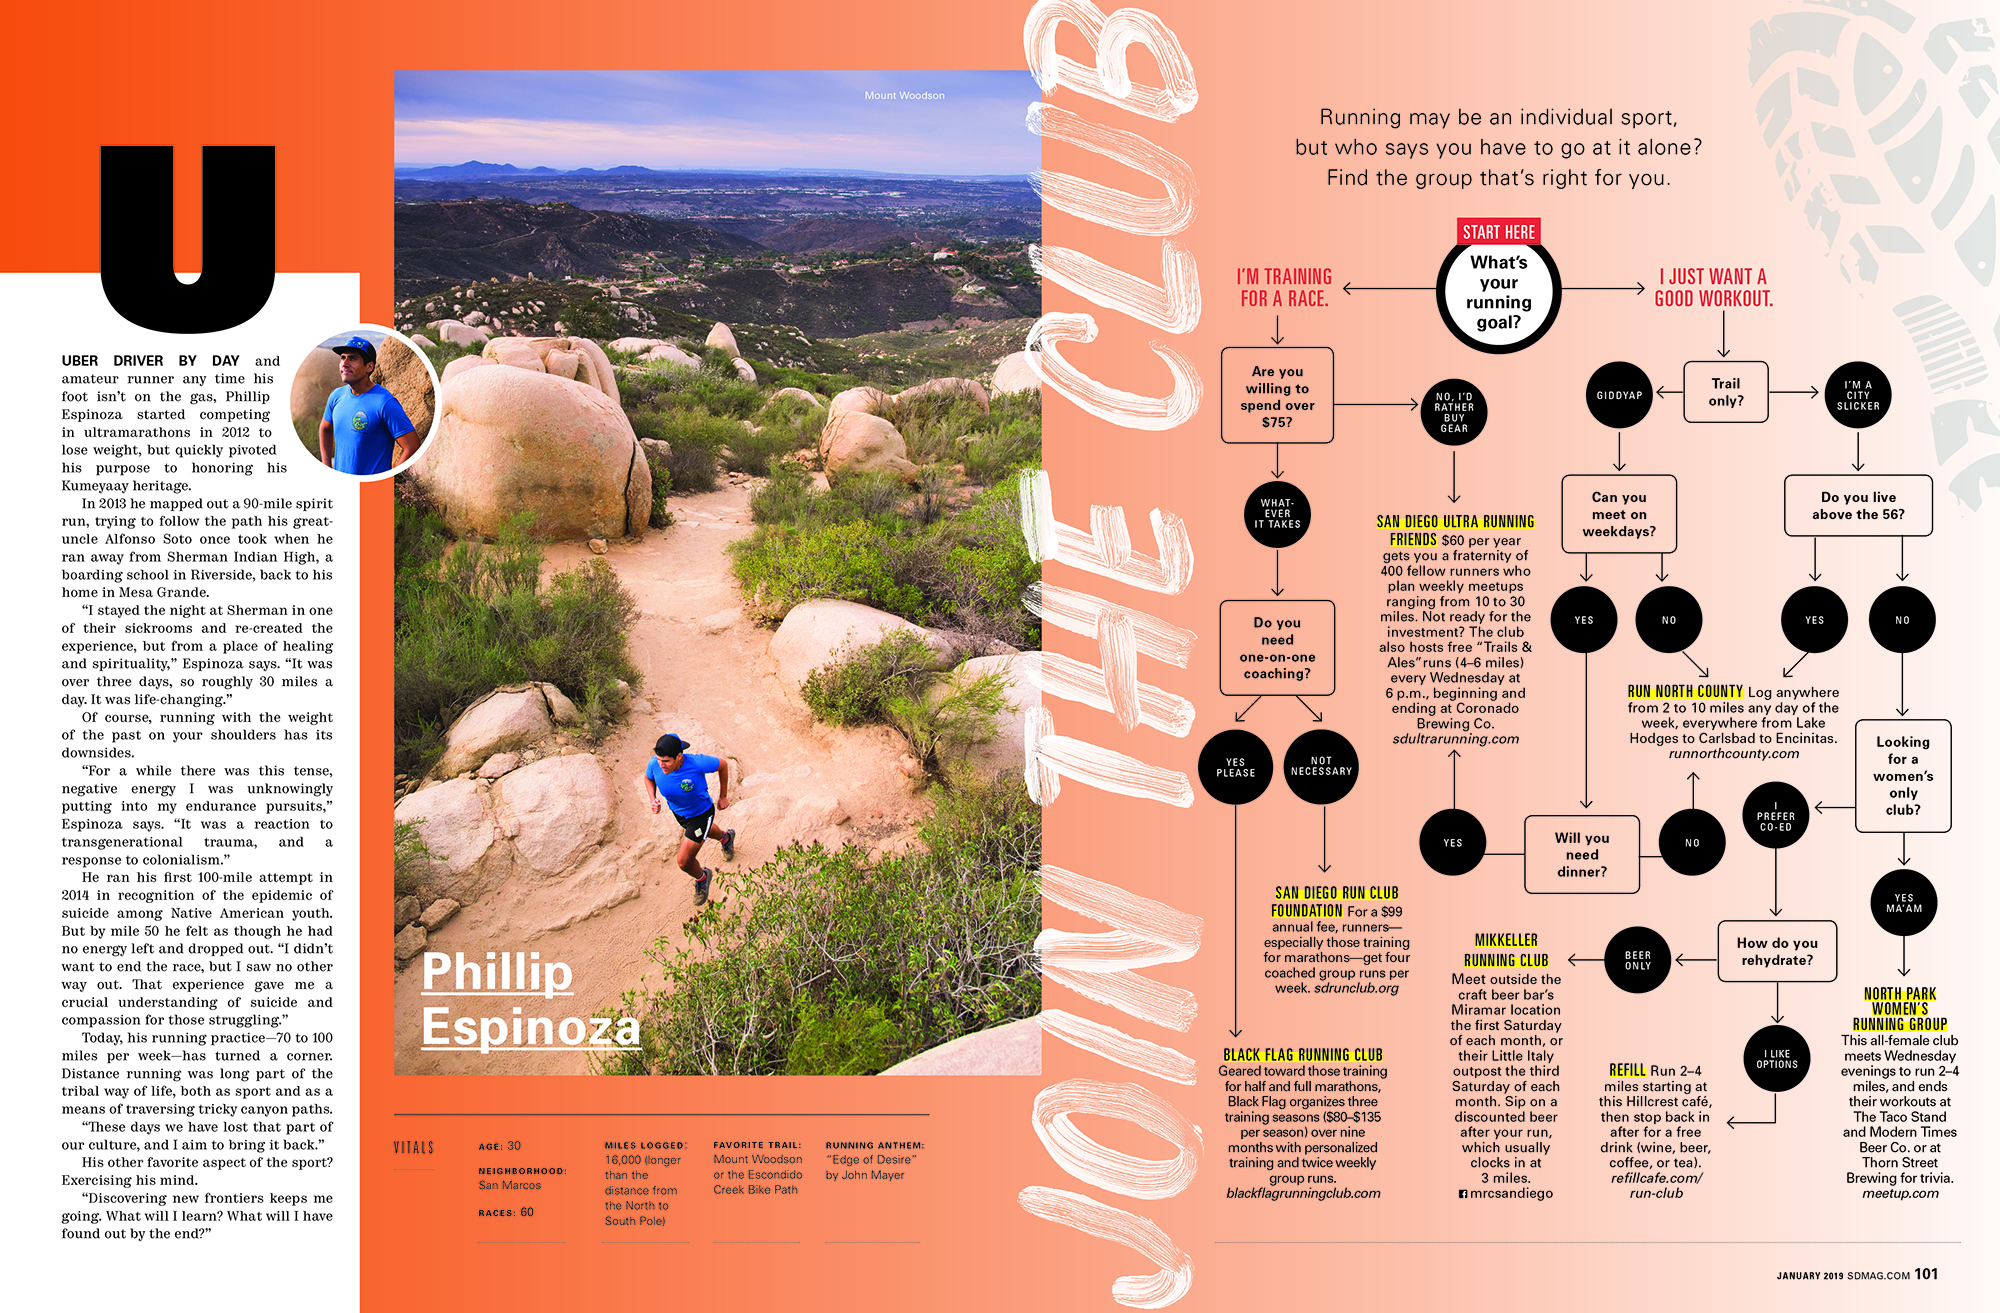
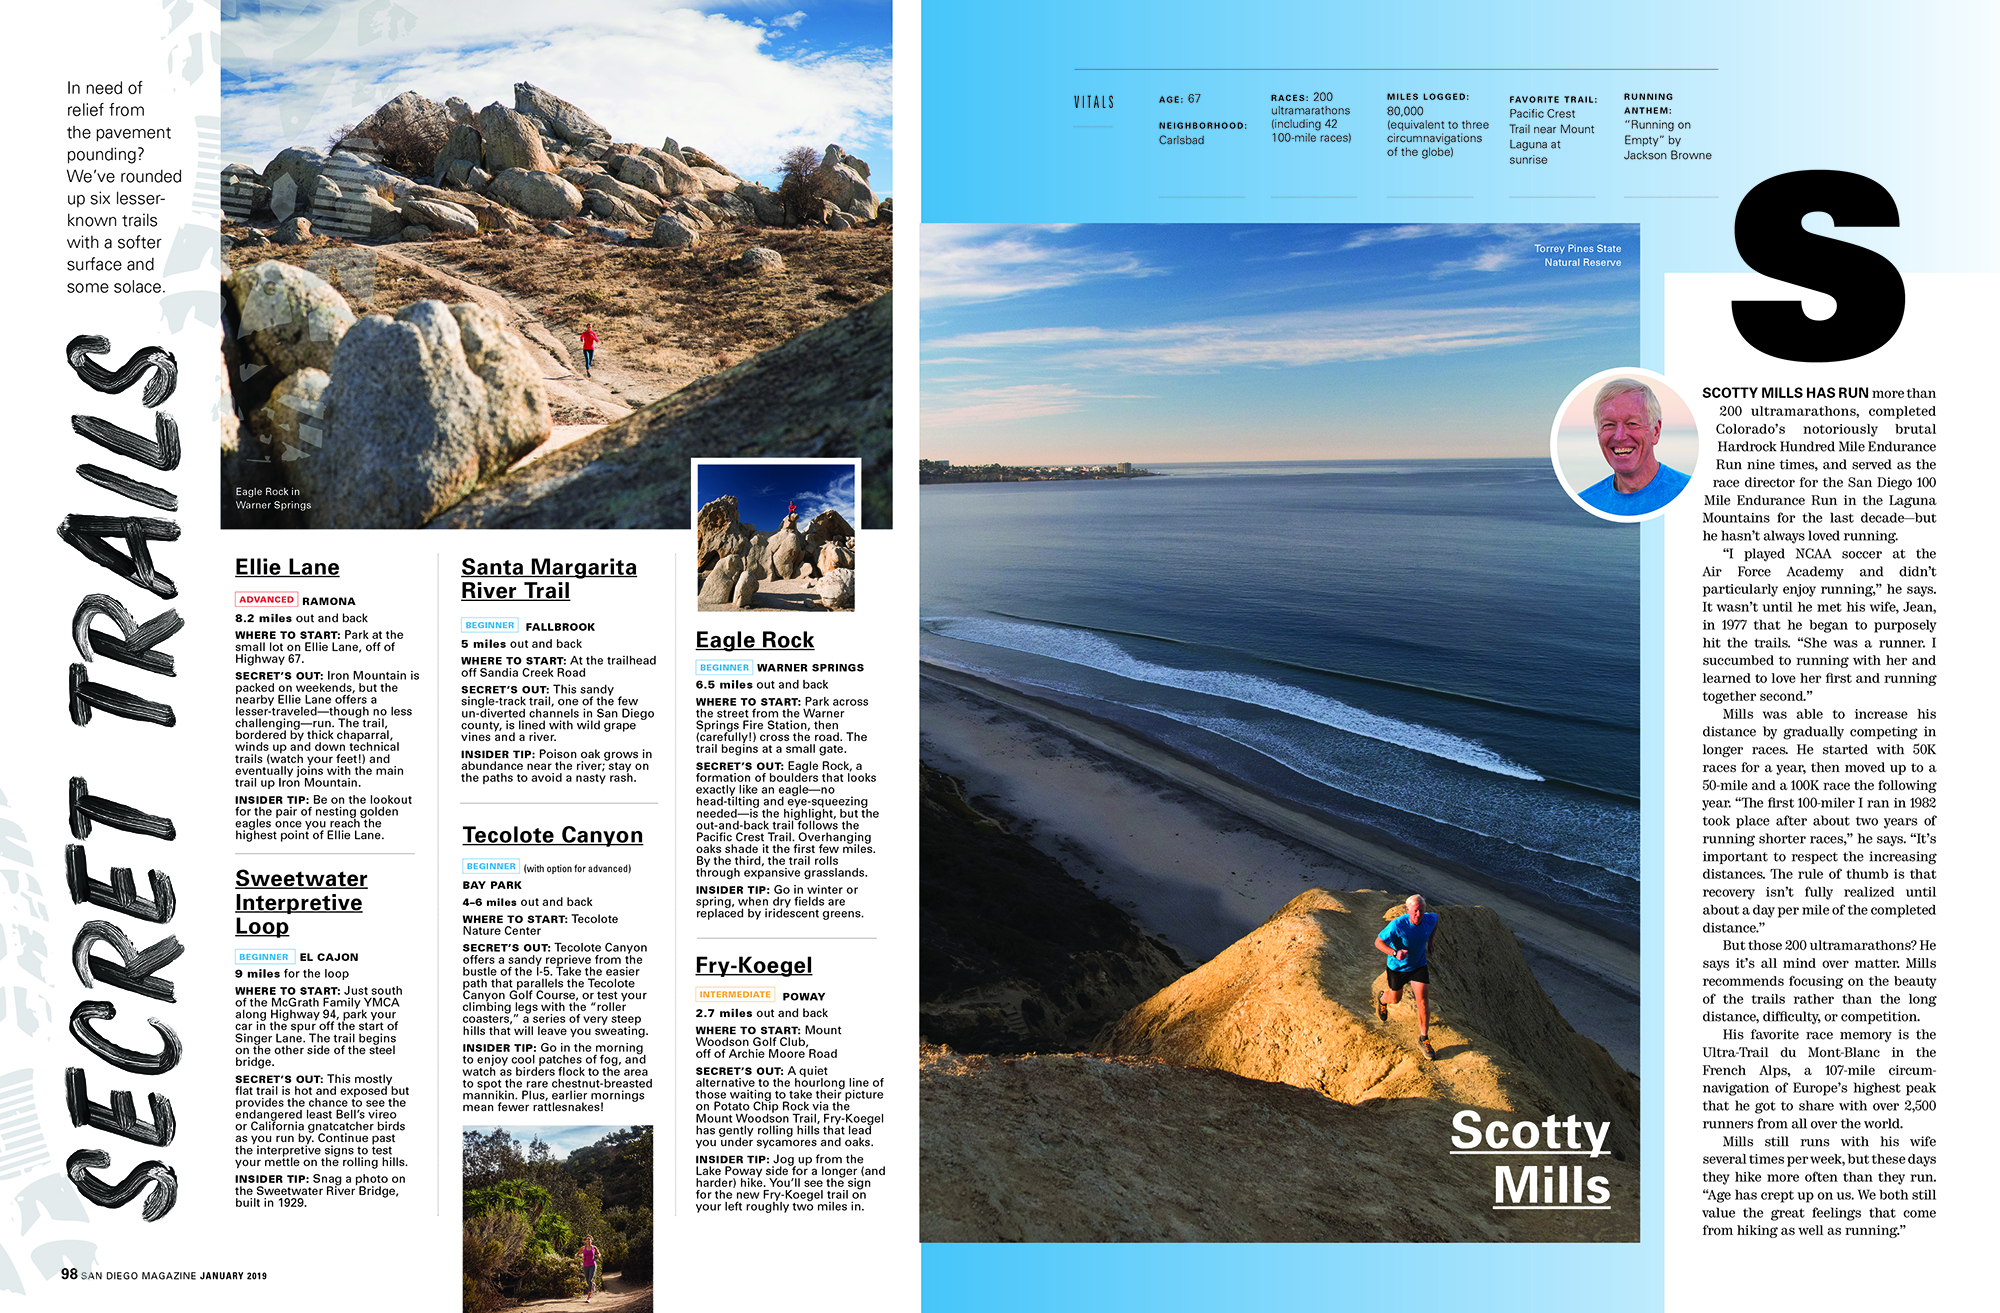
Trail Running - San Diego
Trail Running - San Diego - Photography
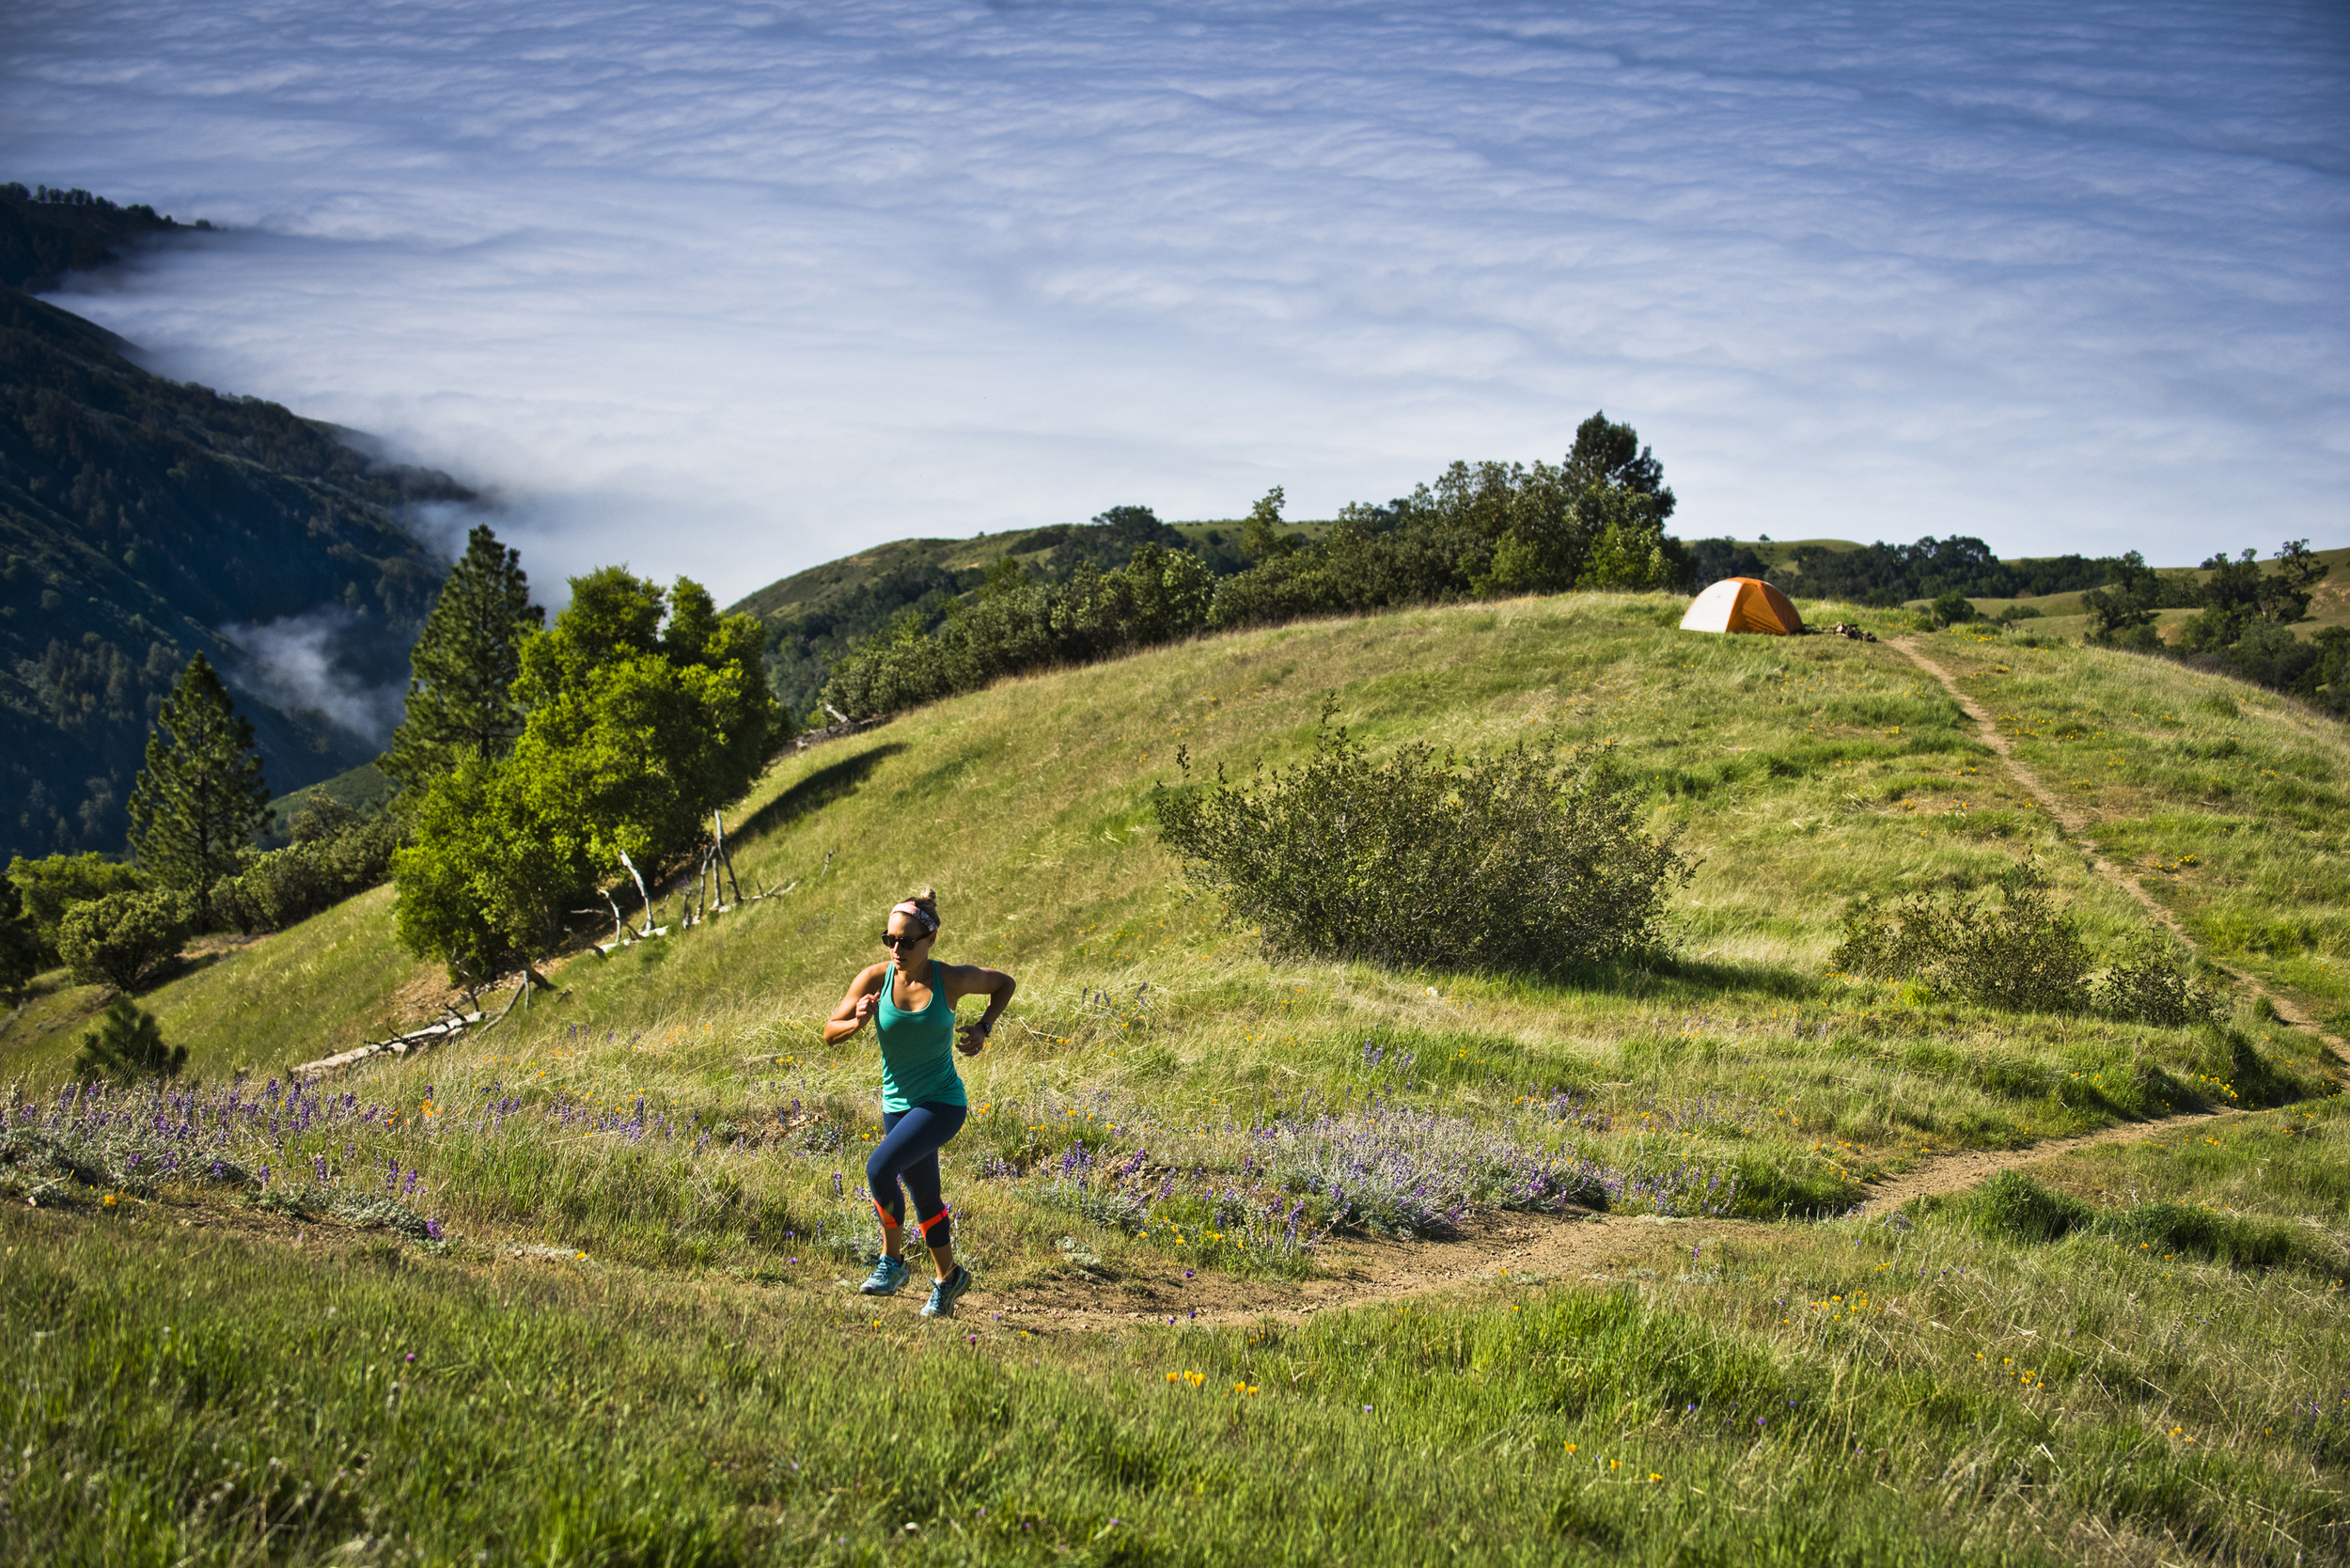
Had a great time last month shooting some trail running for San Diego Magazine. Besides being in beautiful locations, it was interesting talking to the guys who are both ultra-runners. Hearing about their experiences, techniques, and eating habits was very eye opening. Looking at these images again really makes me appreciate living in San Diego.
Bonus on this shoot was needing a last minute stand in runner for the 3rd location because of a cancelation, I was able to use Emily (wife). Eagle Rock is a very cool place that we were pumped to check out.
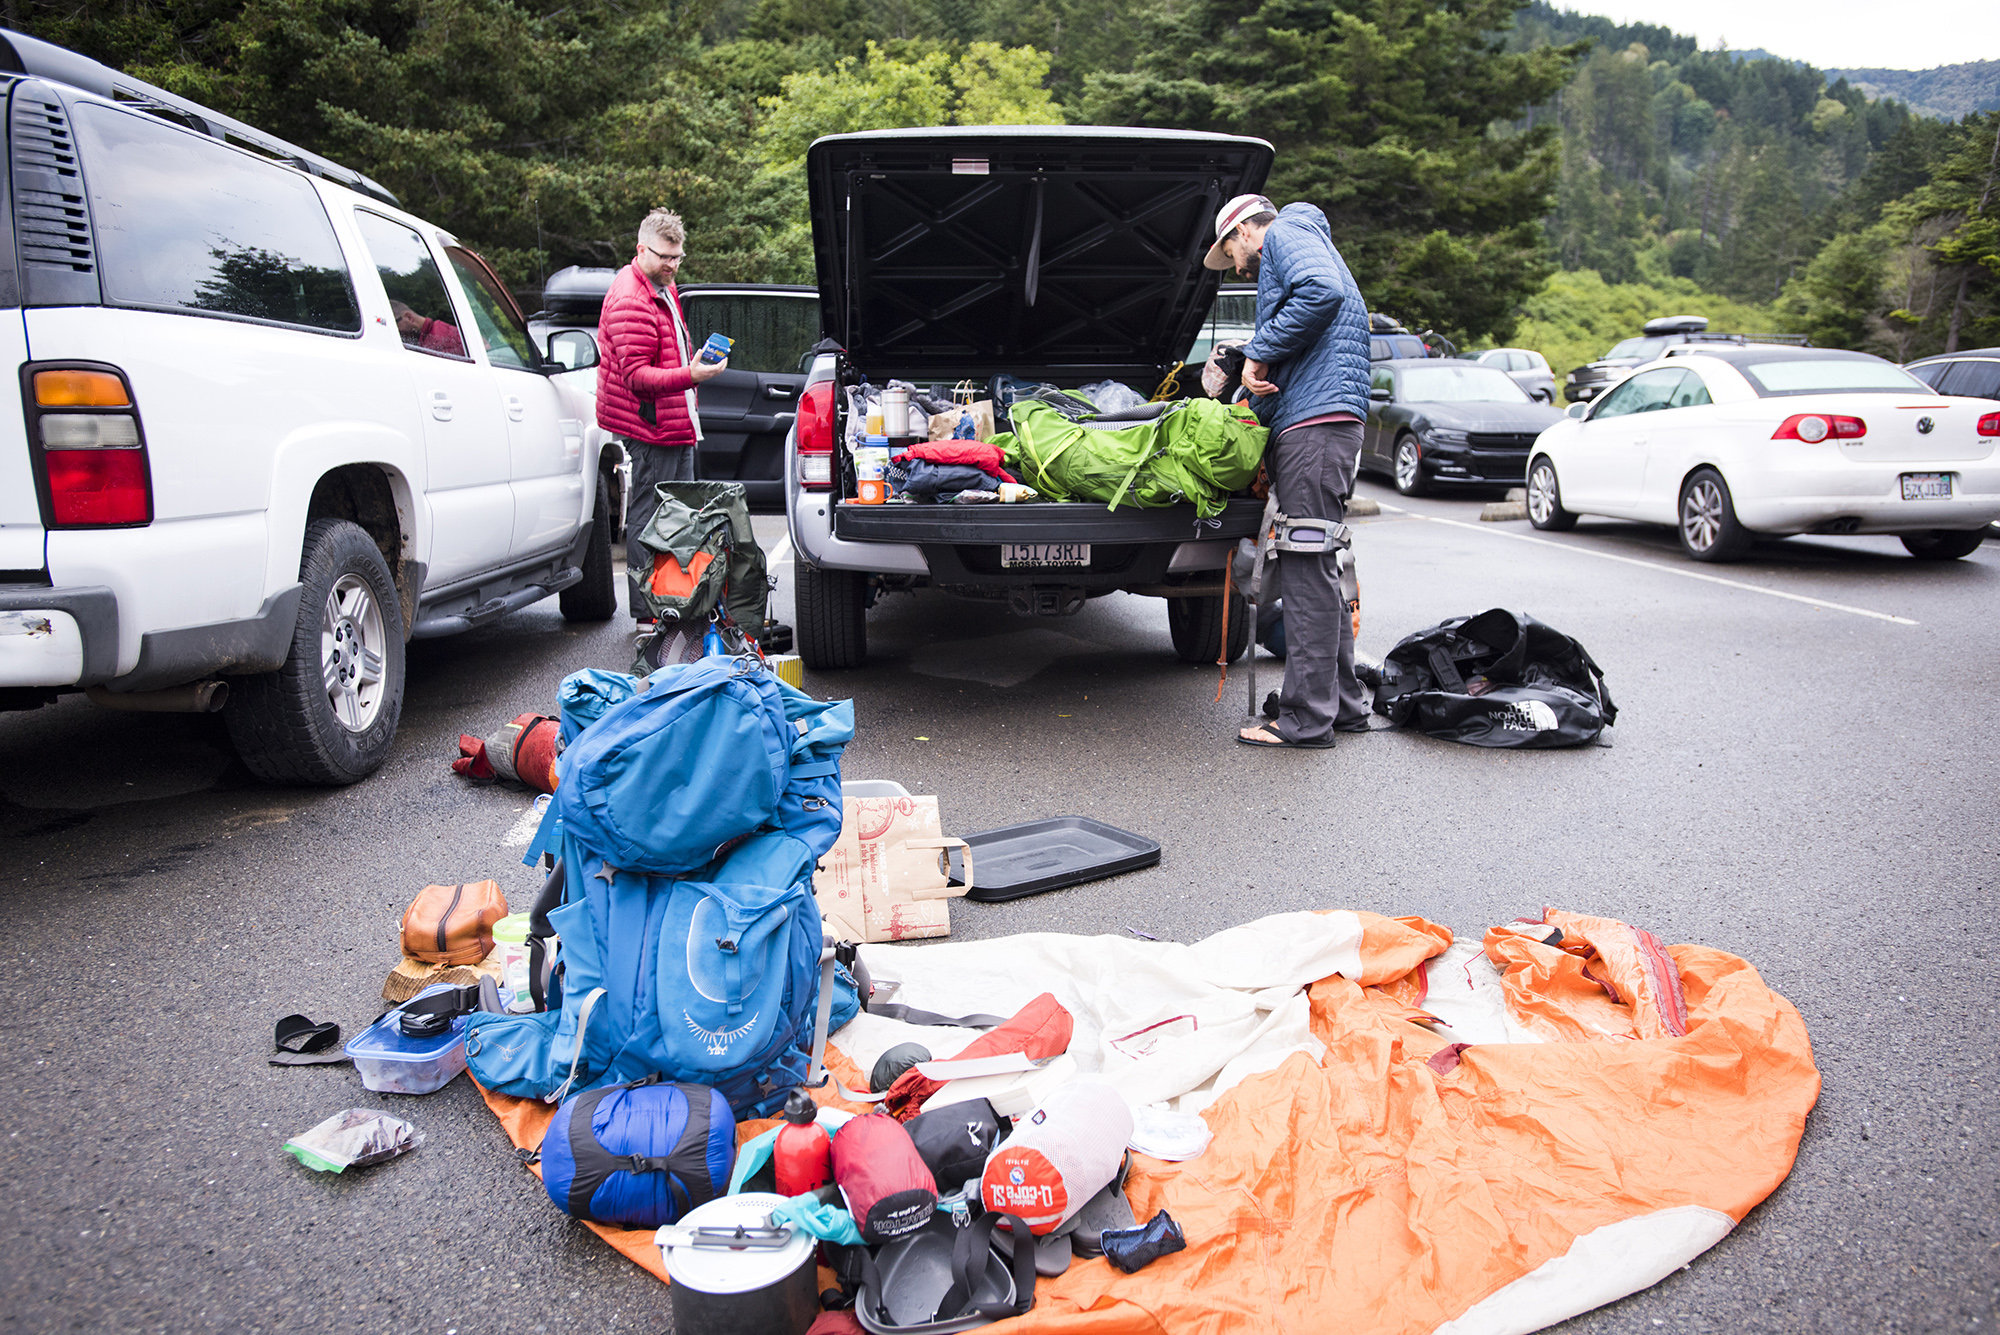
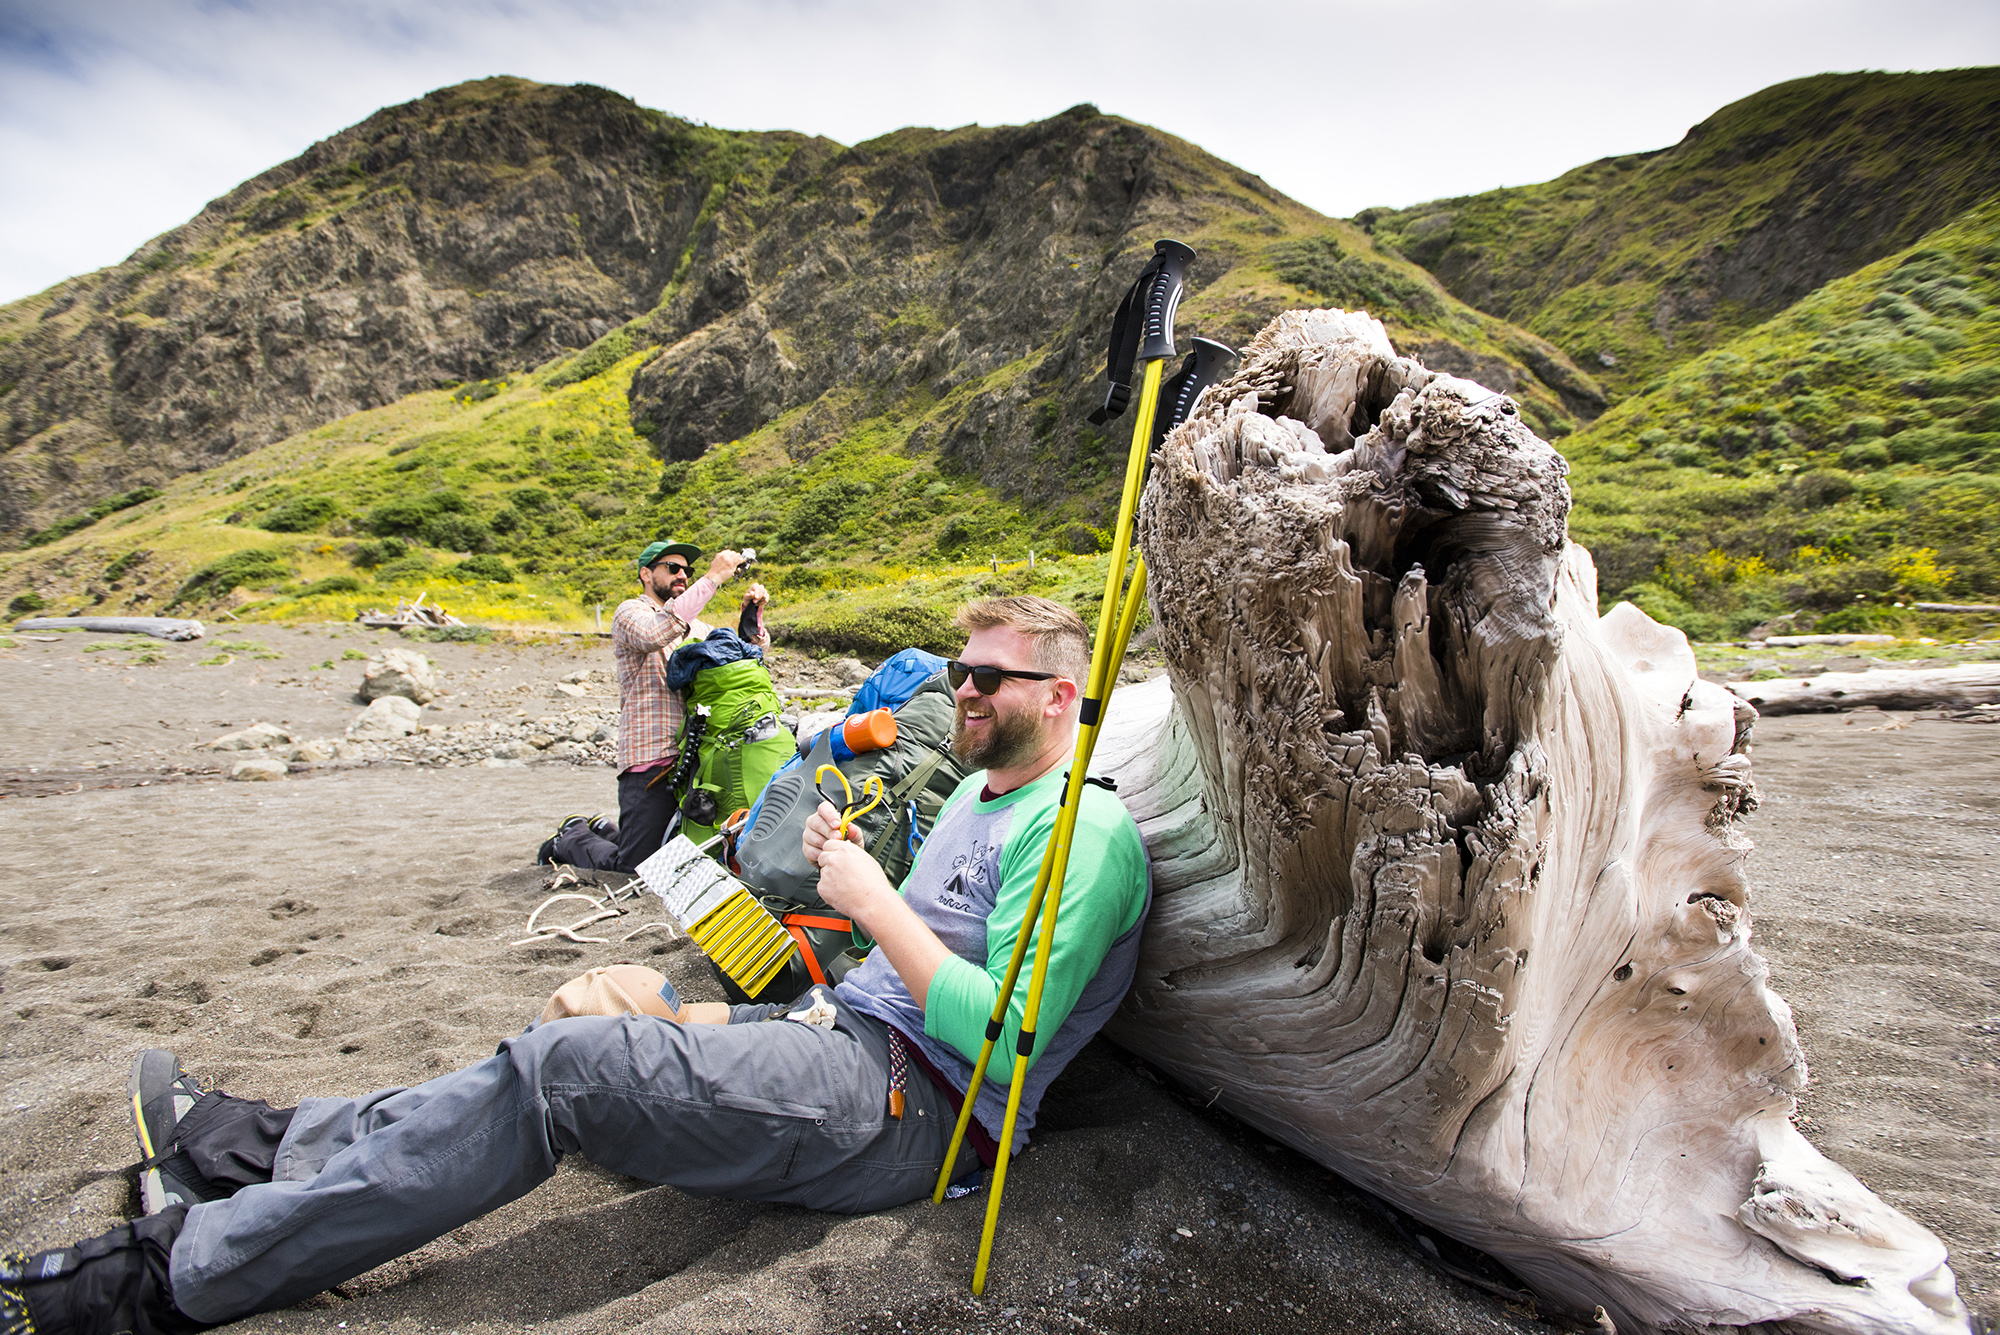
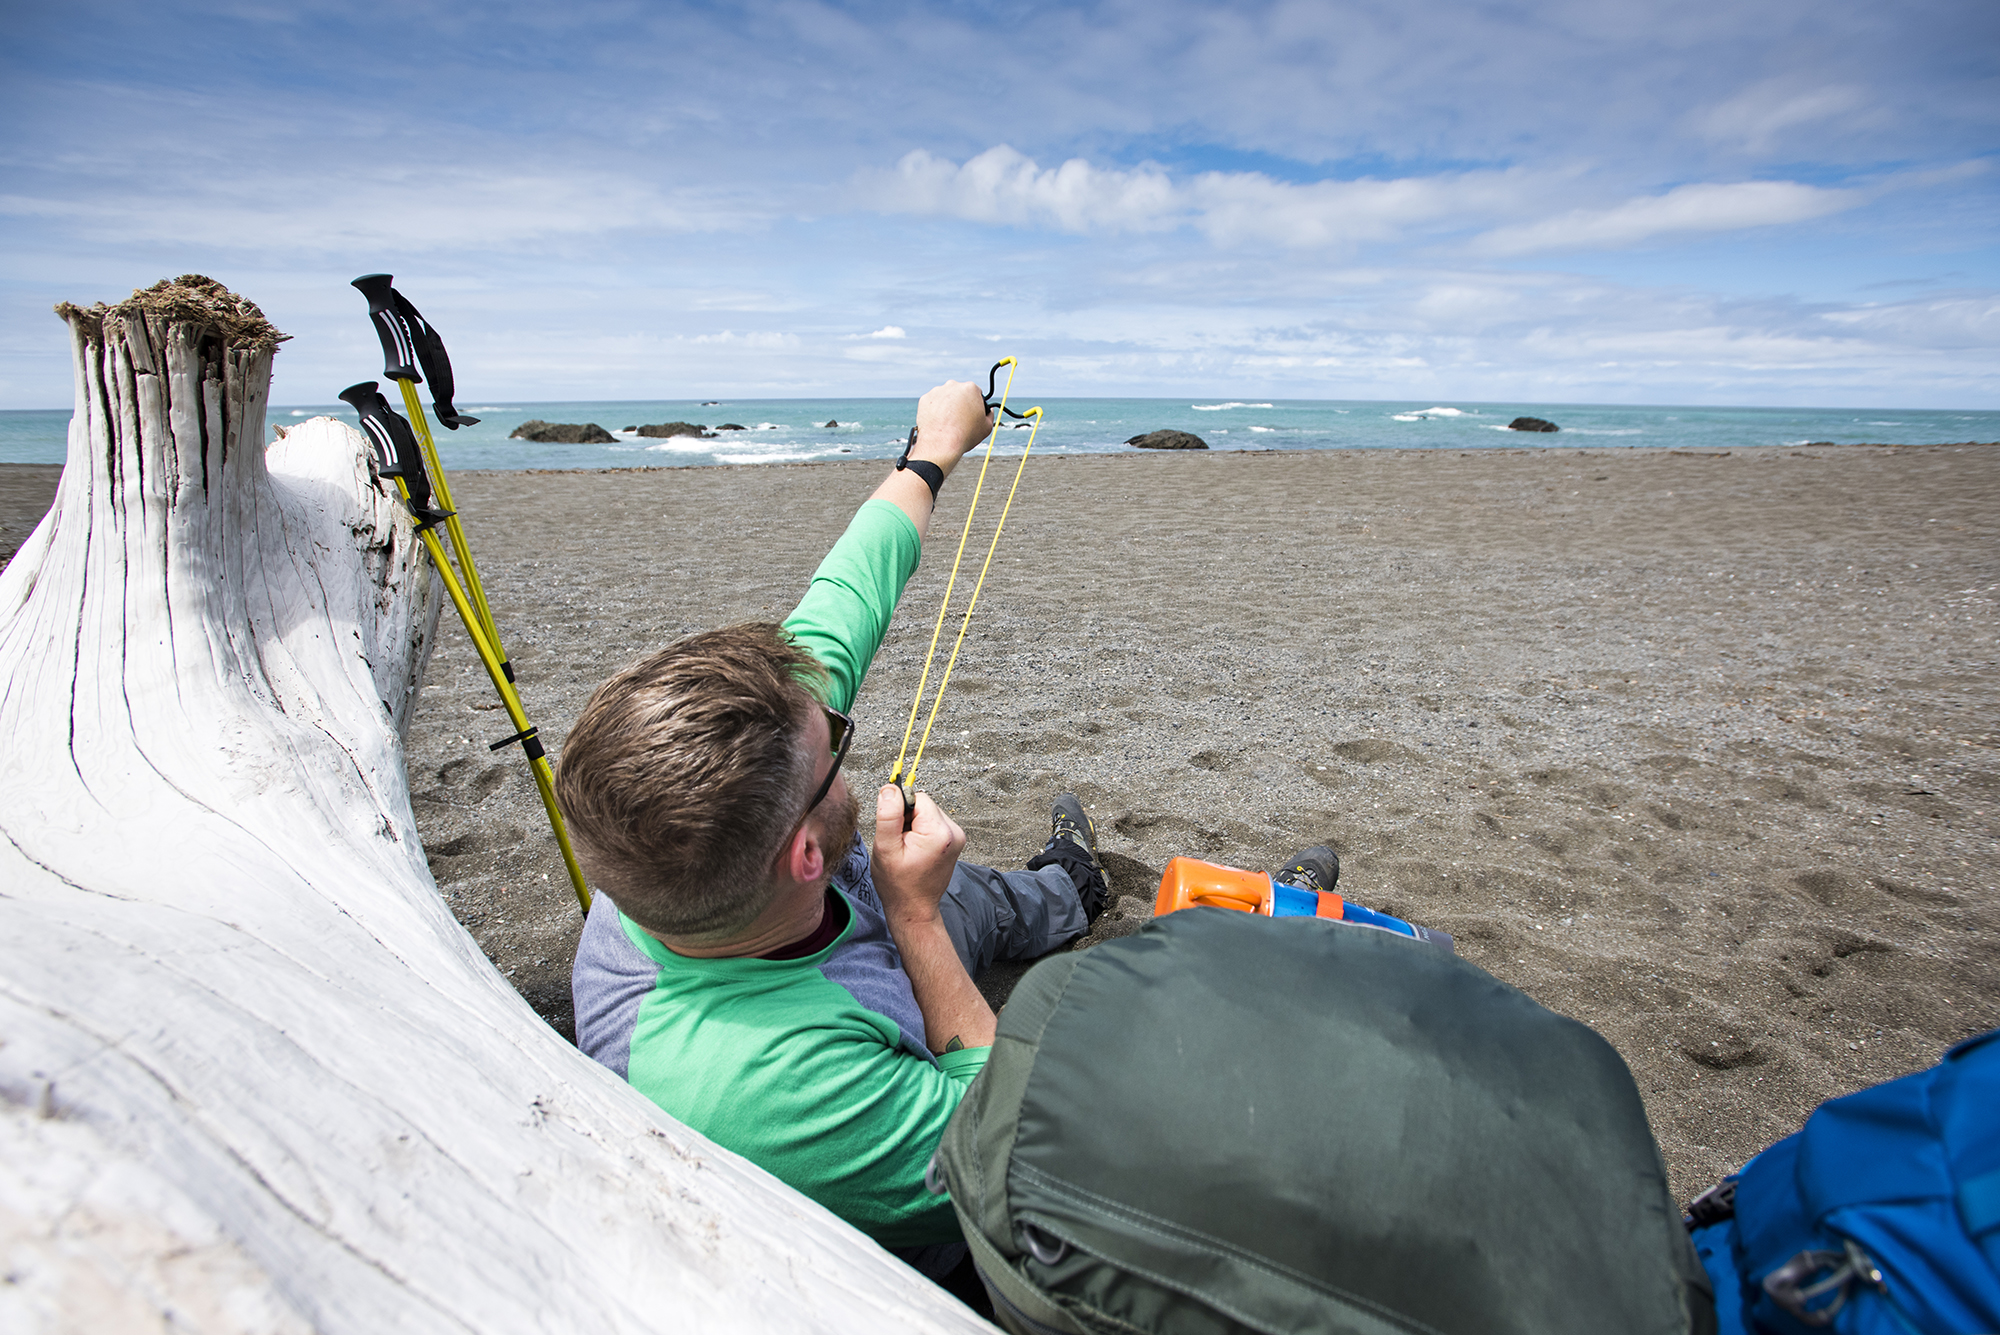
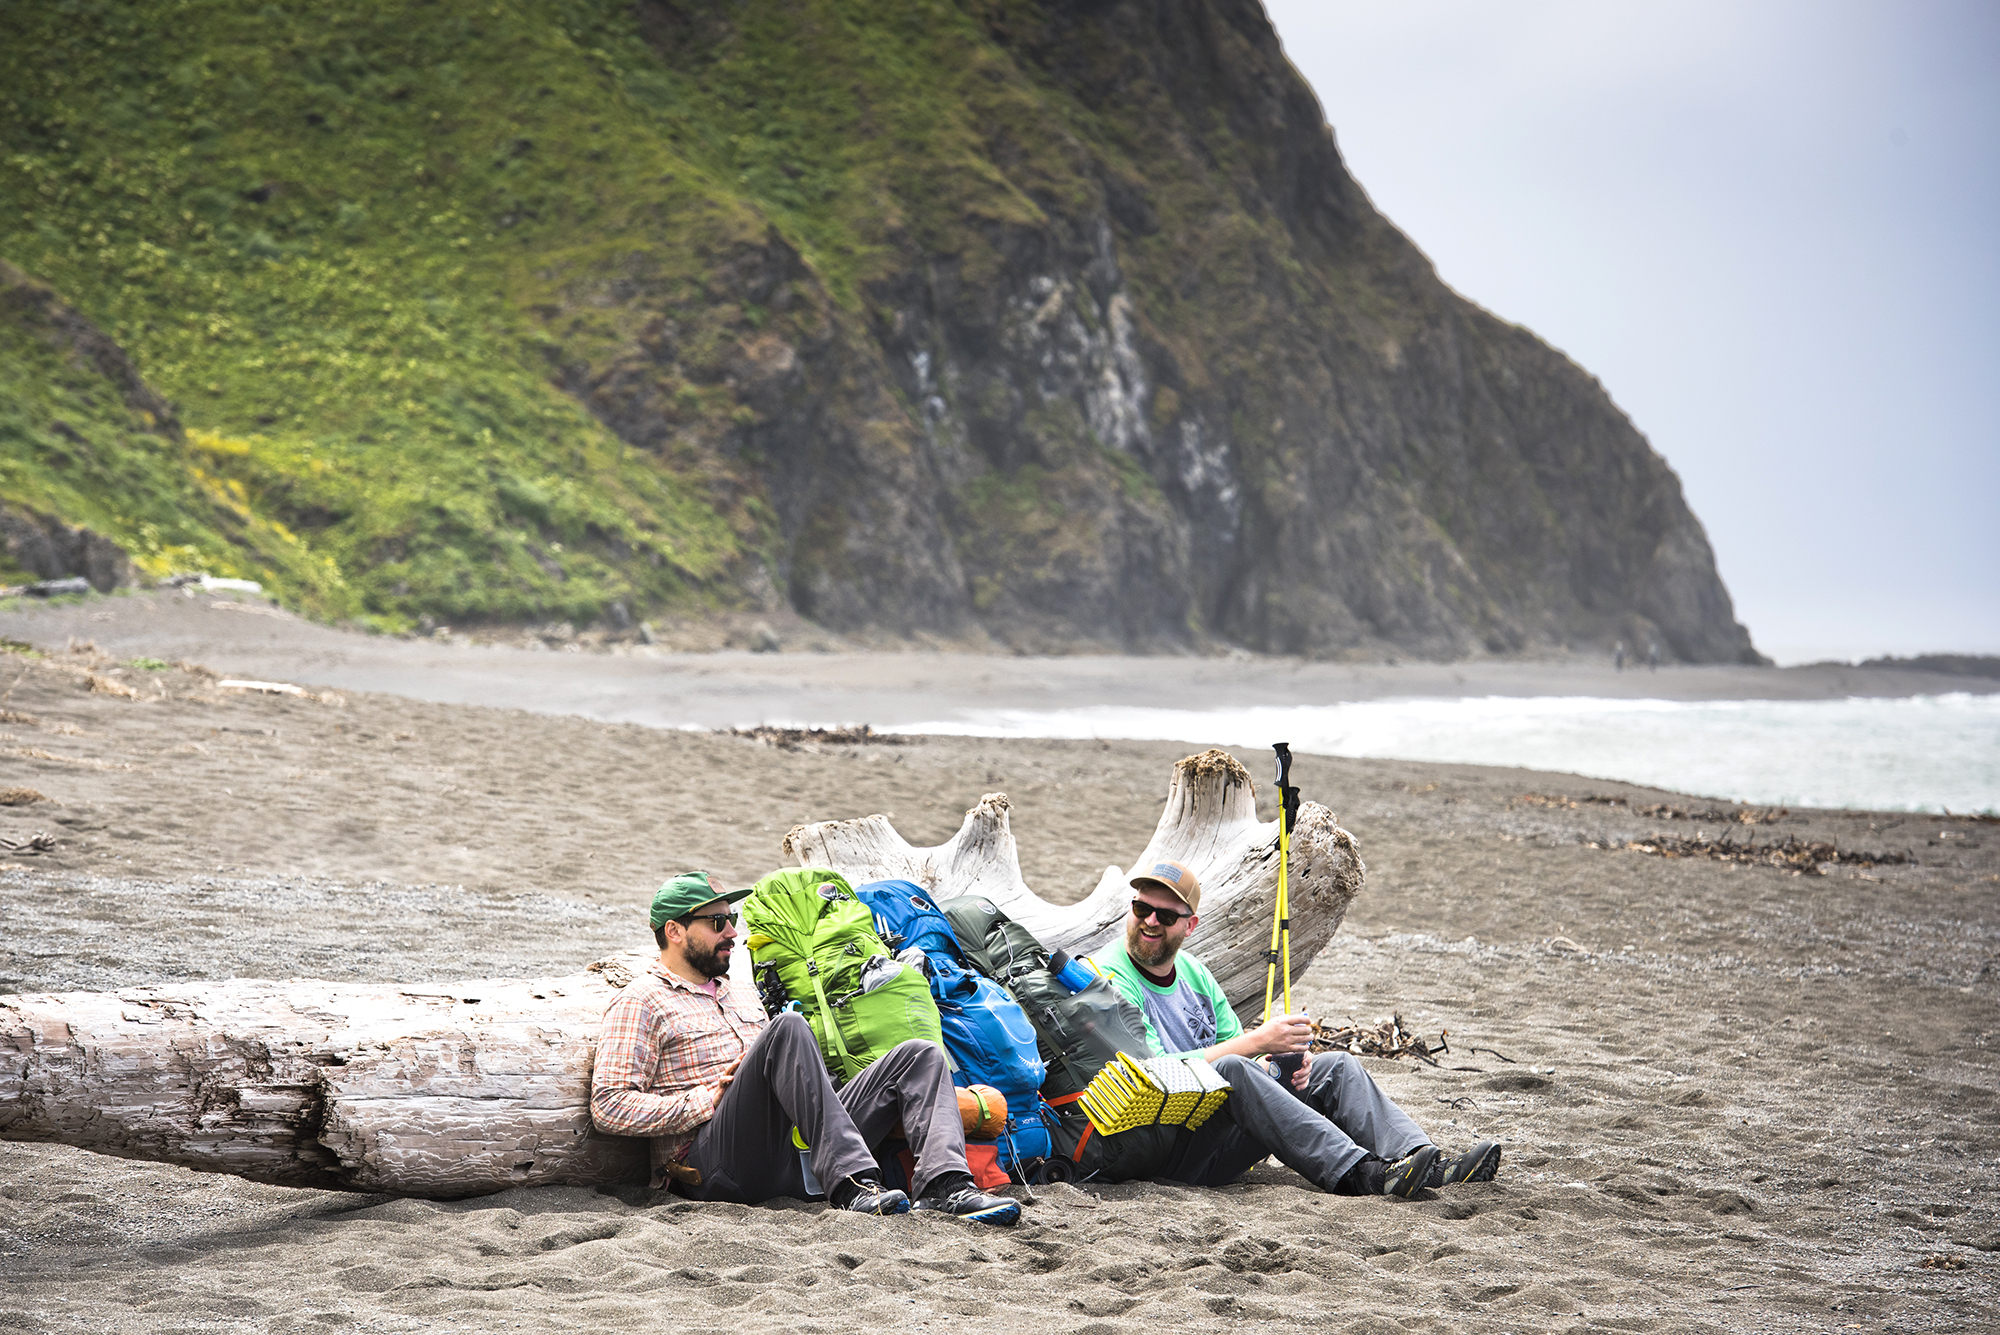
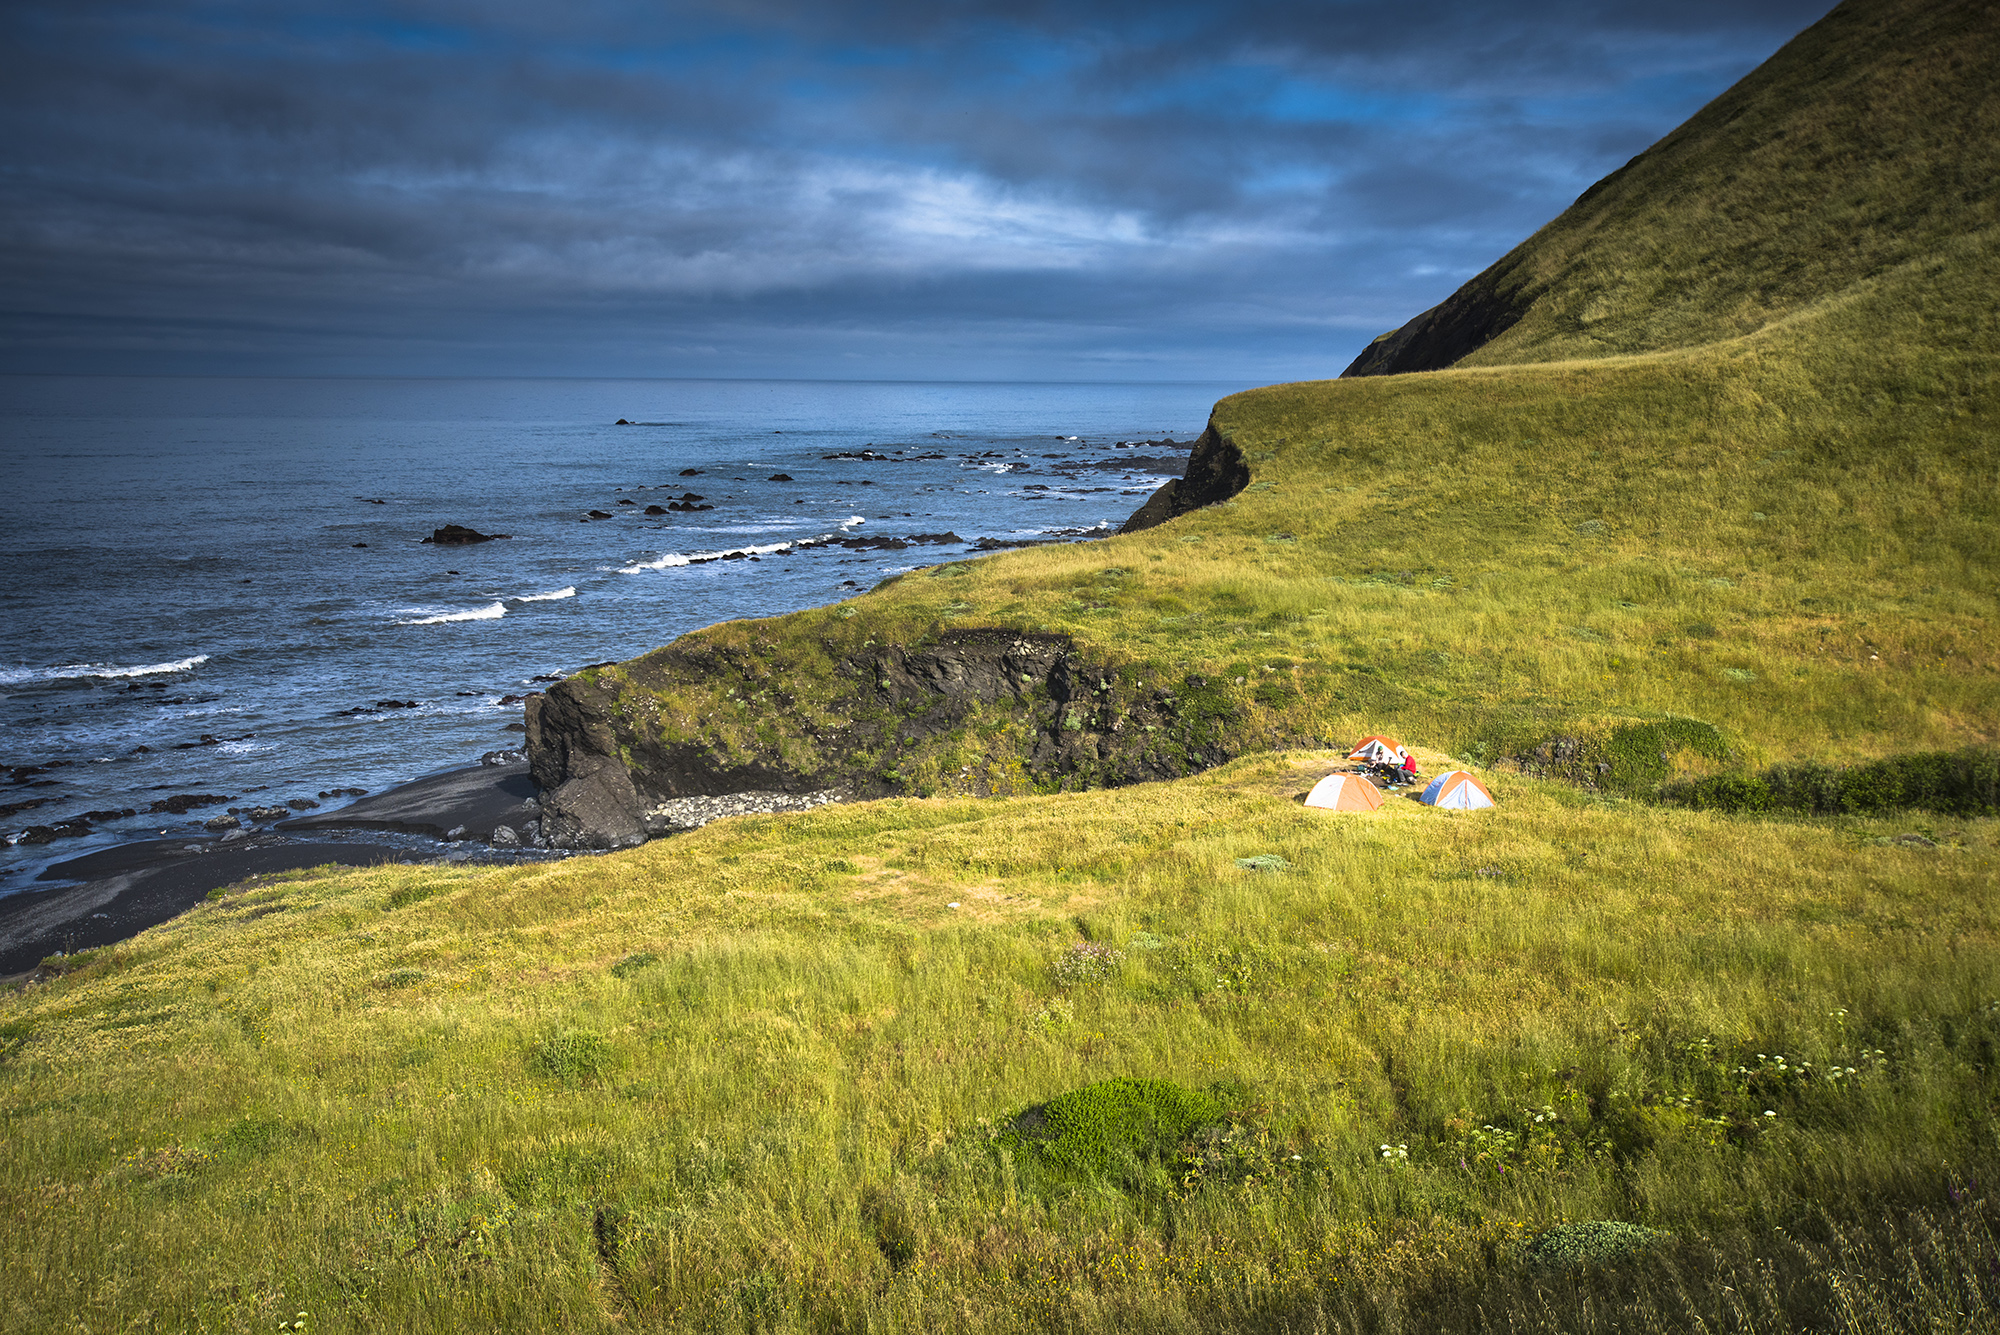
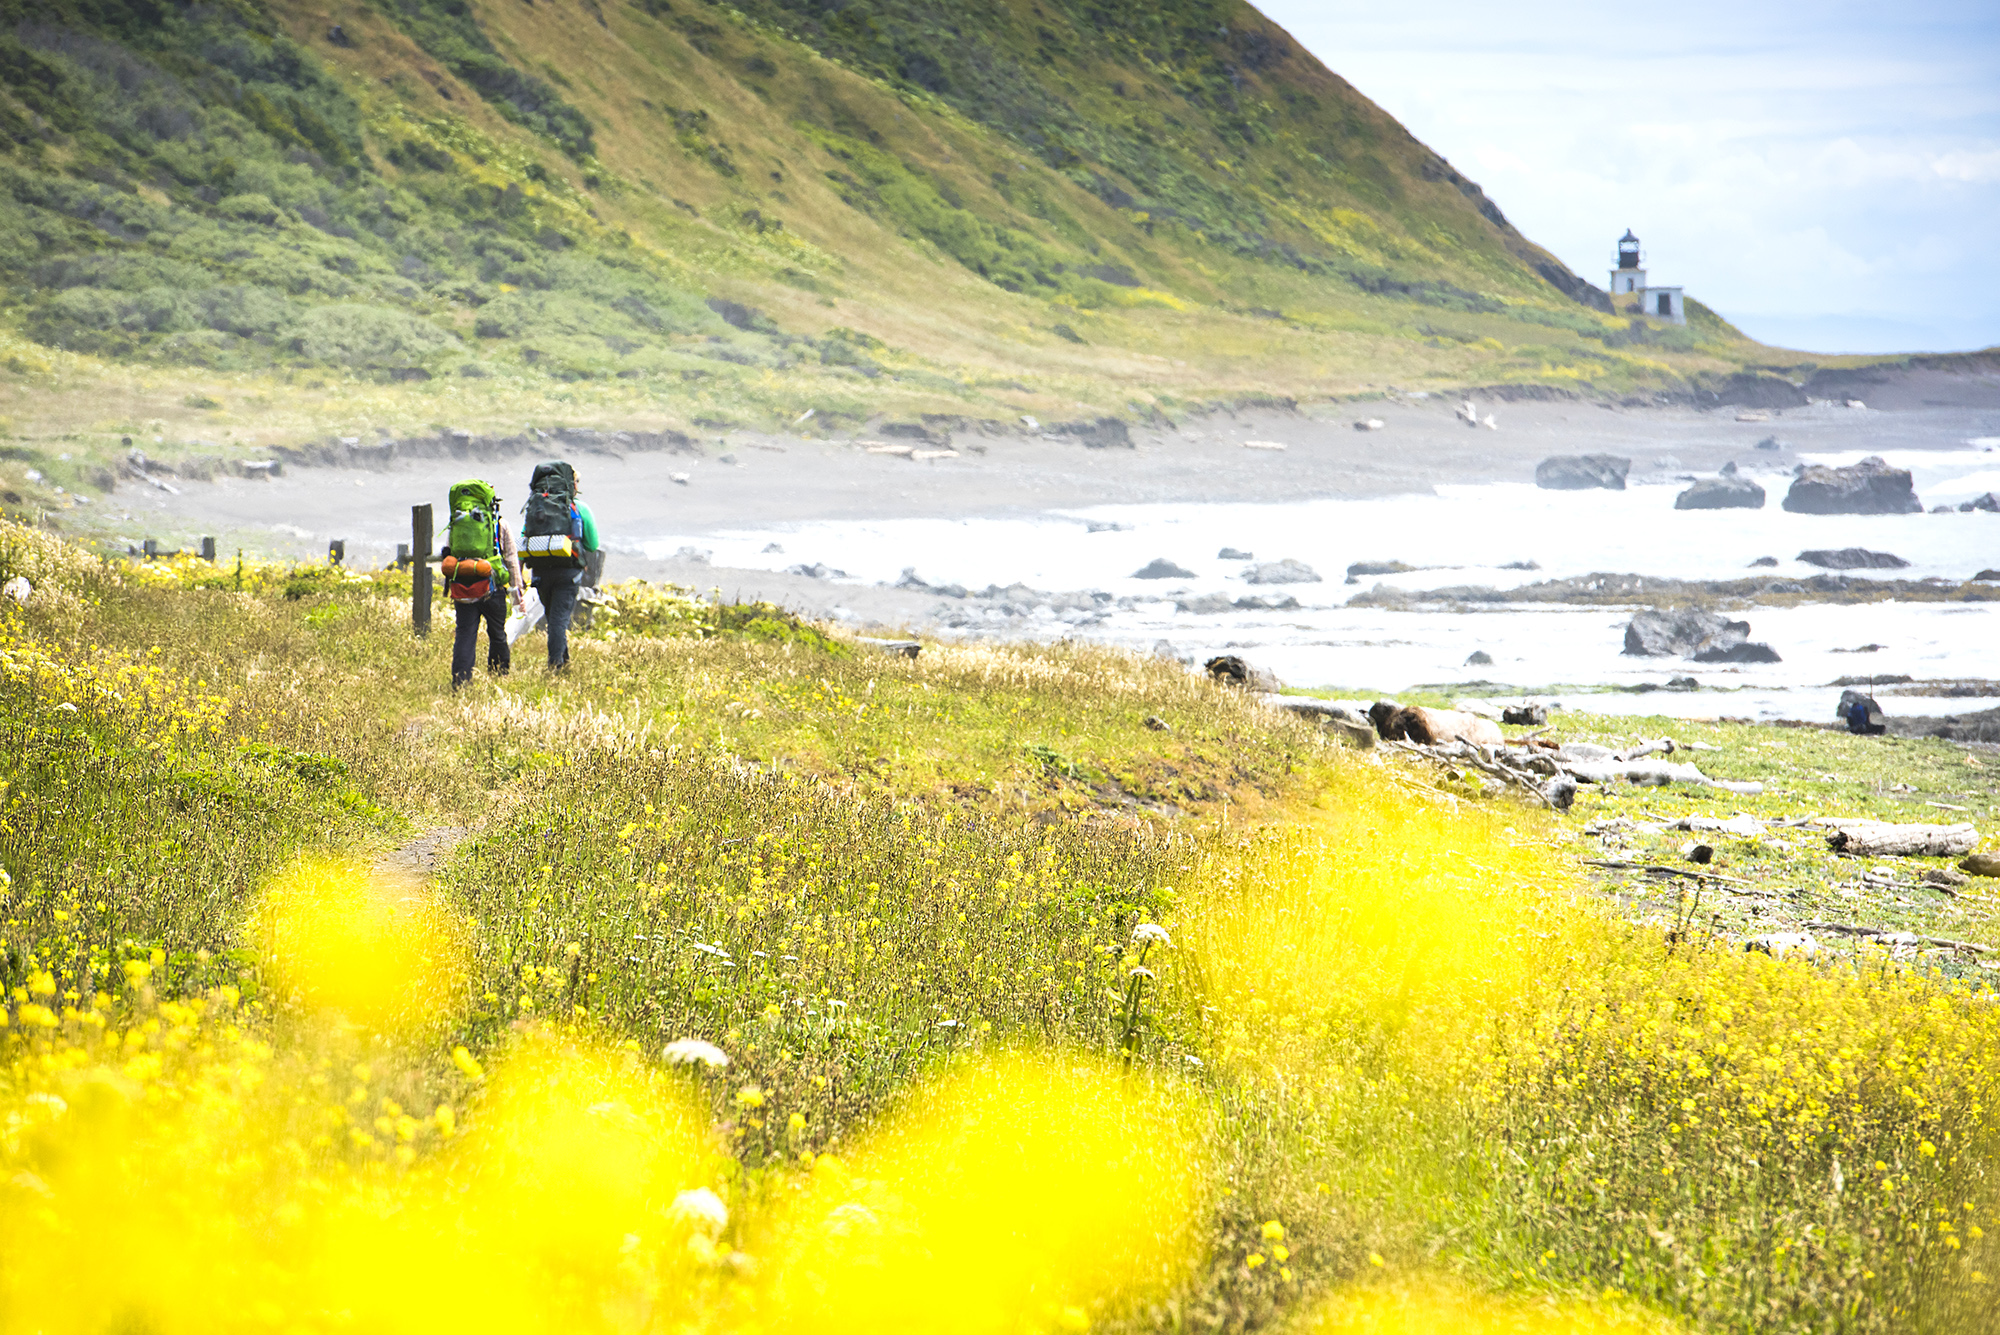
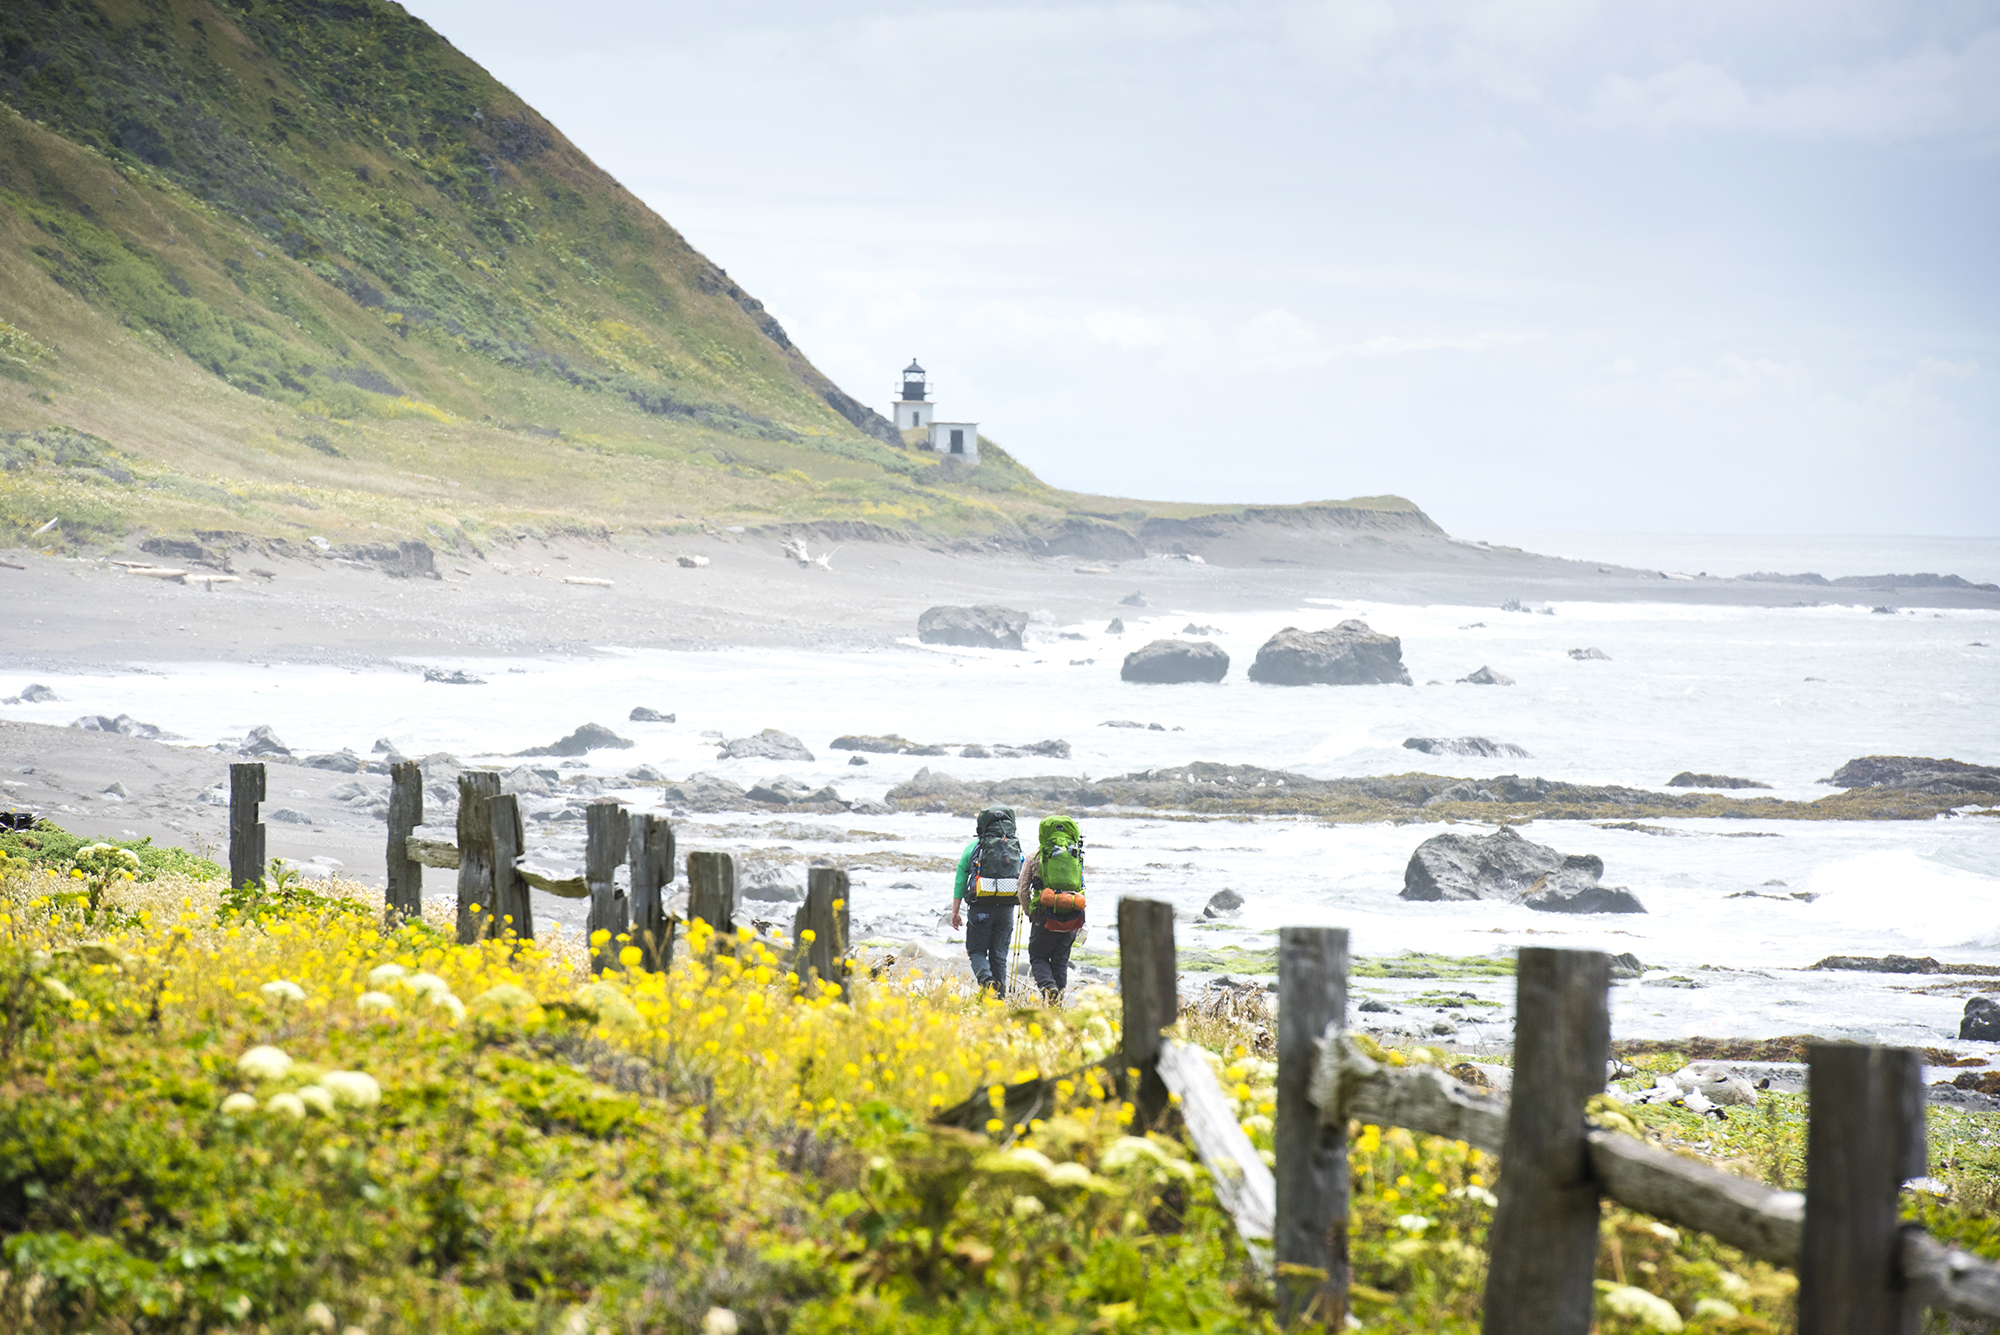
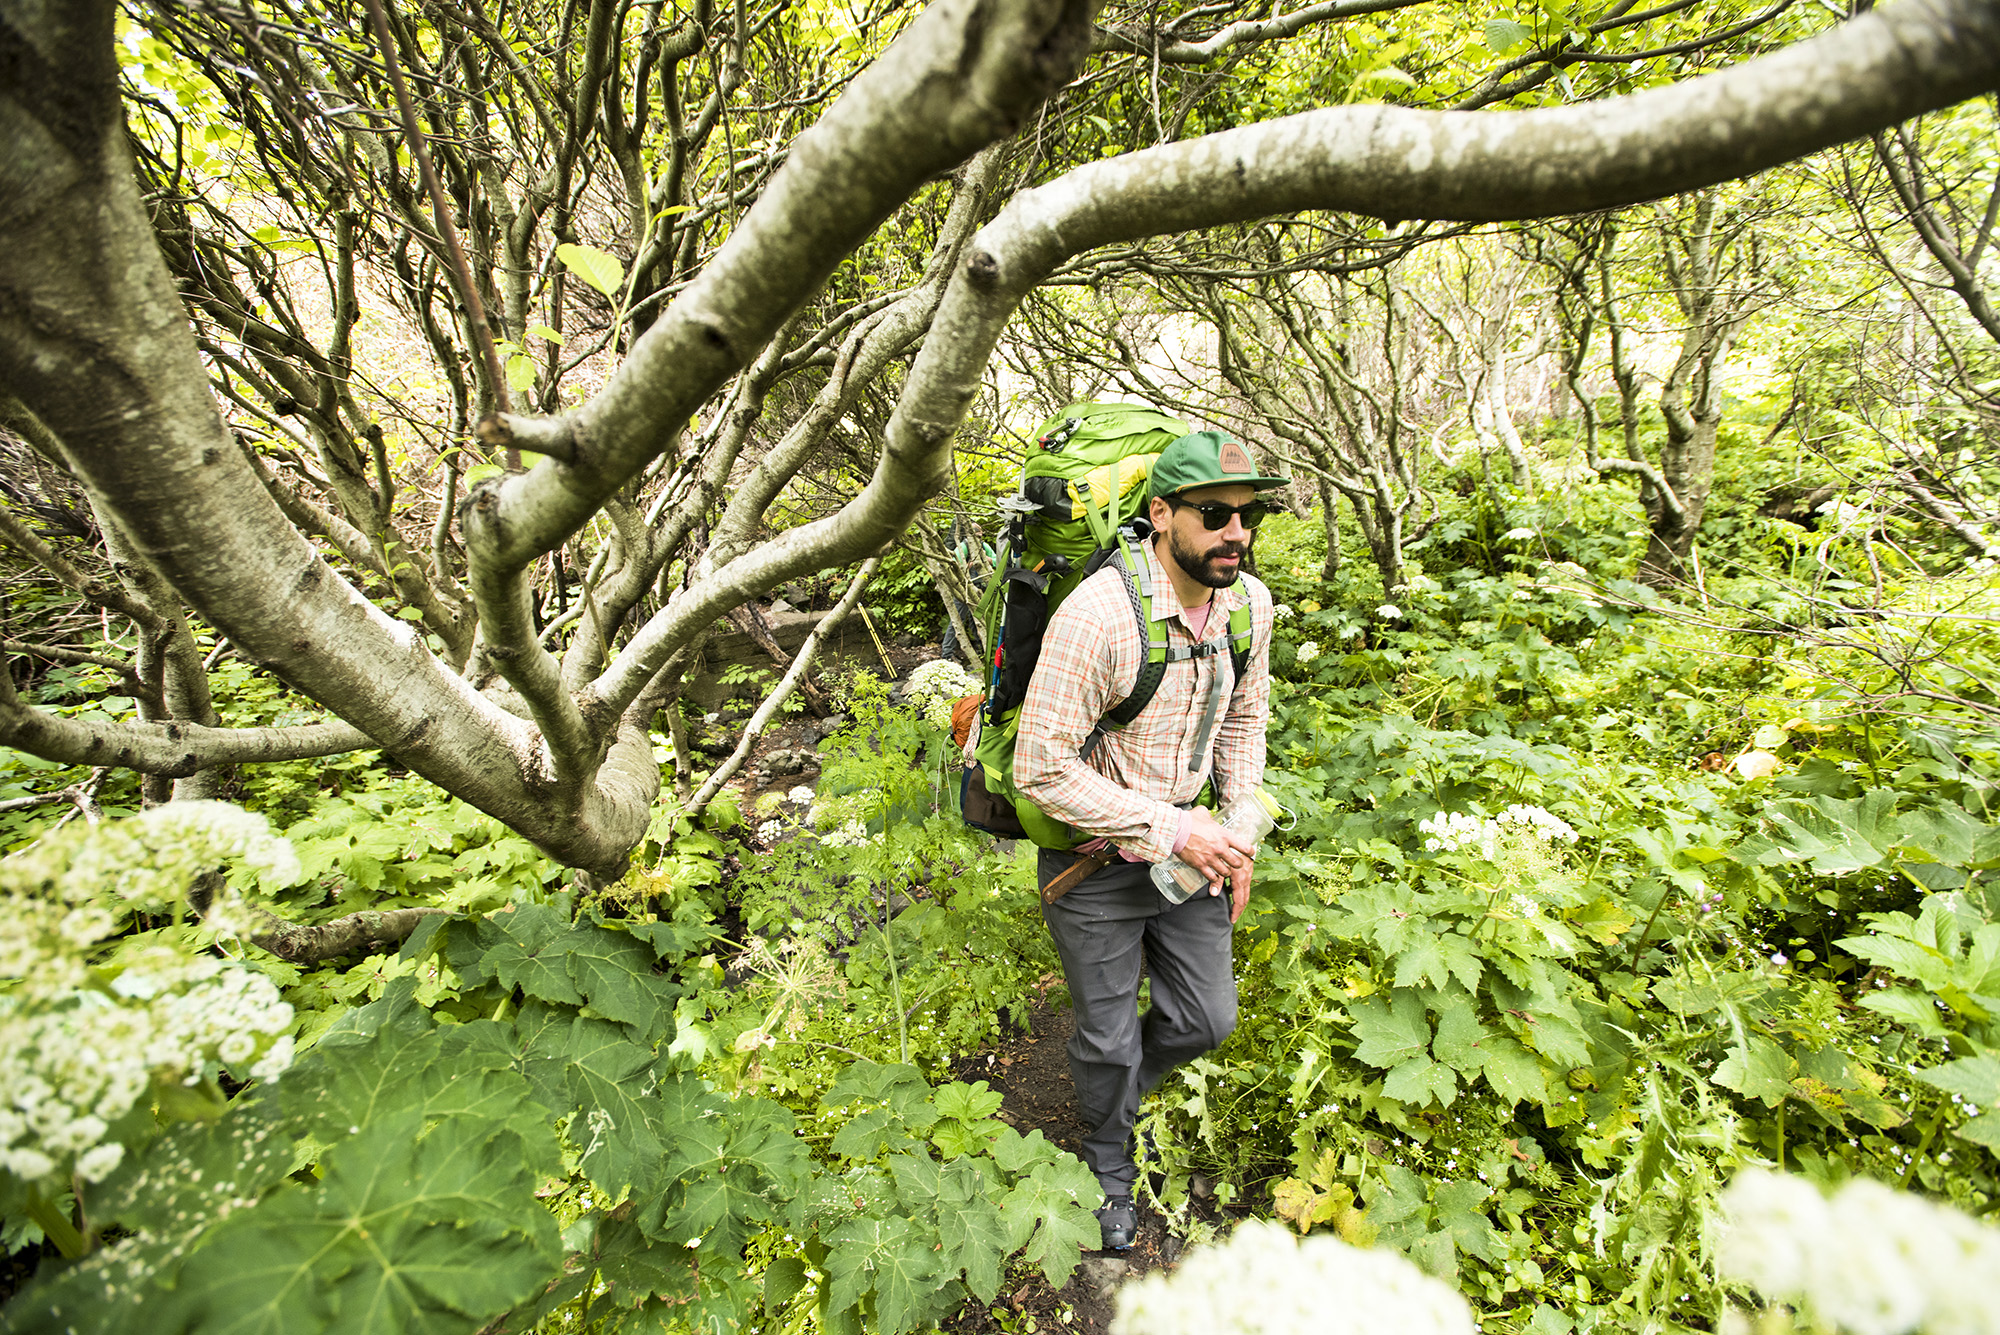
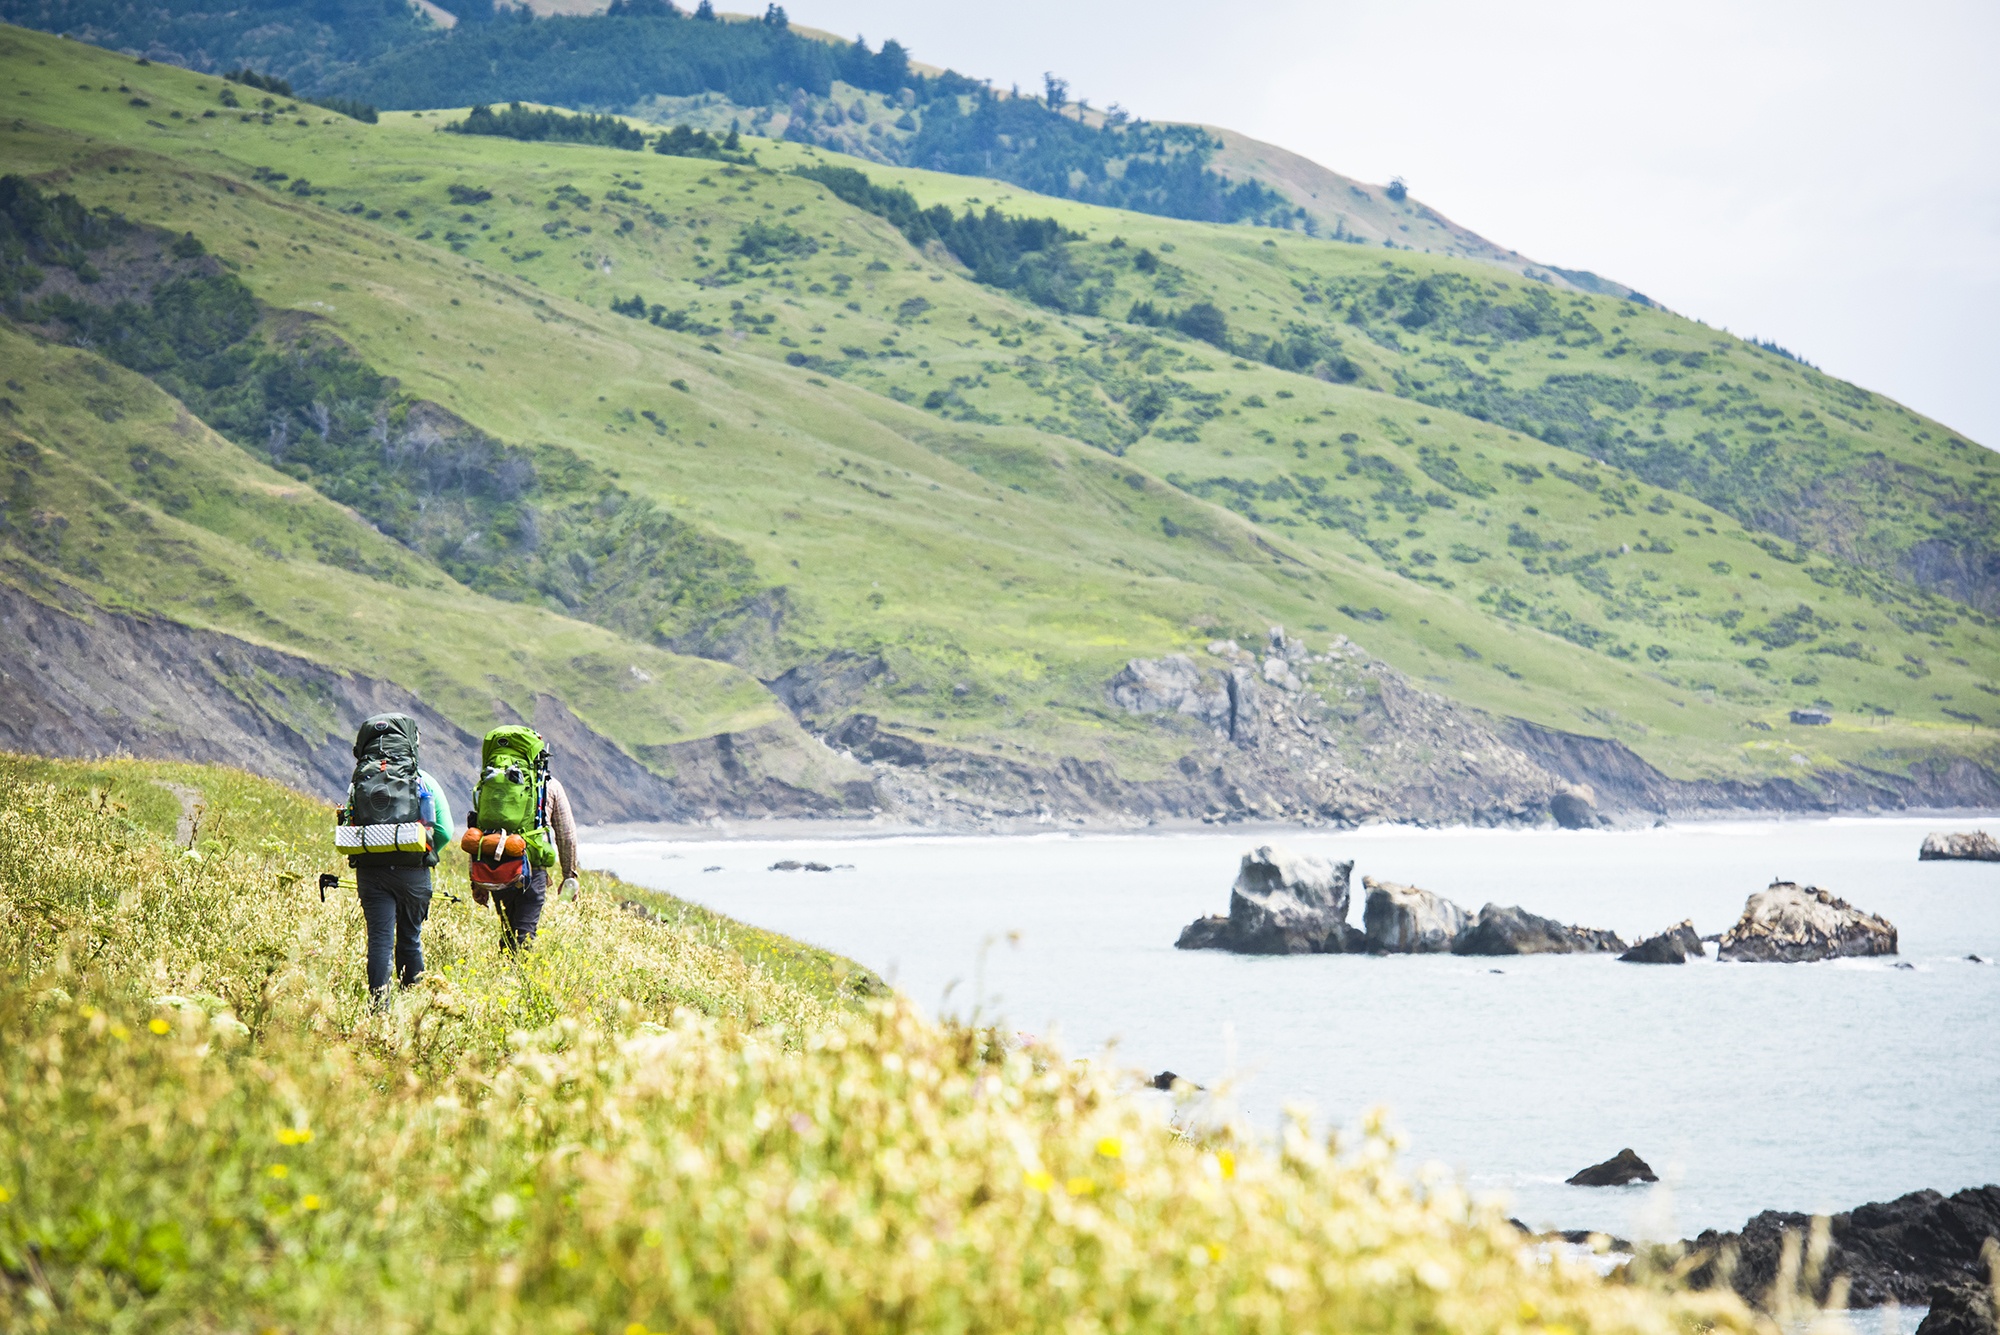
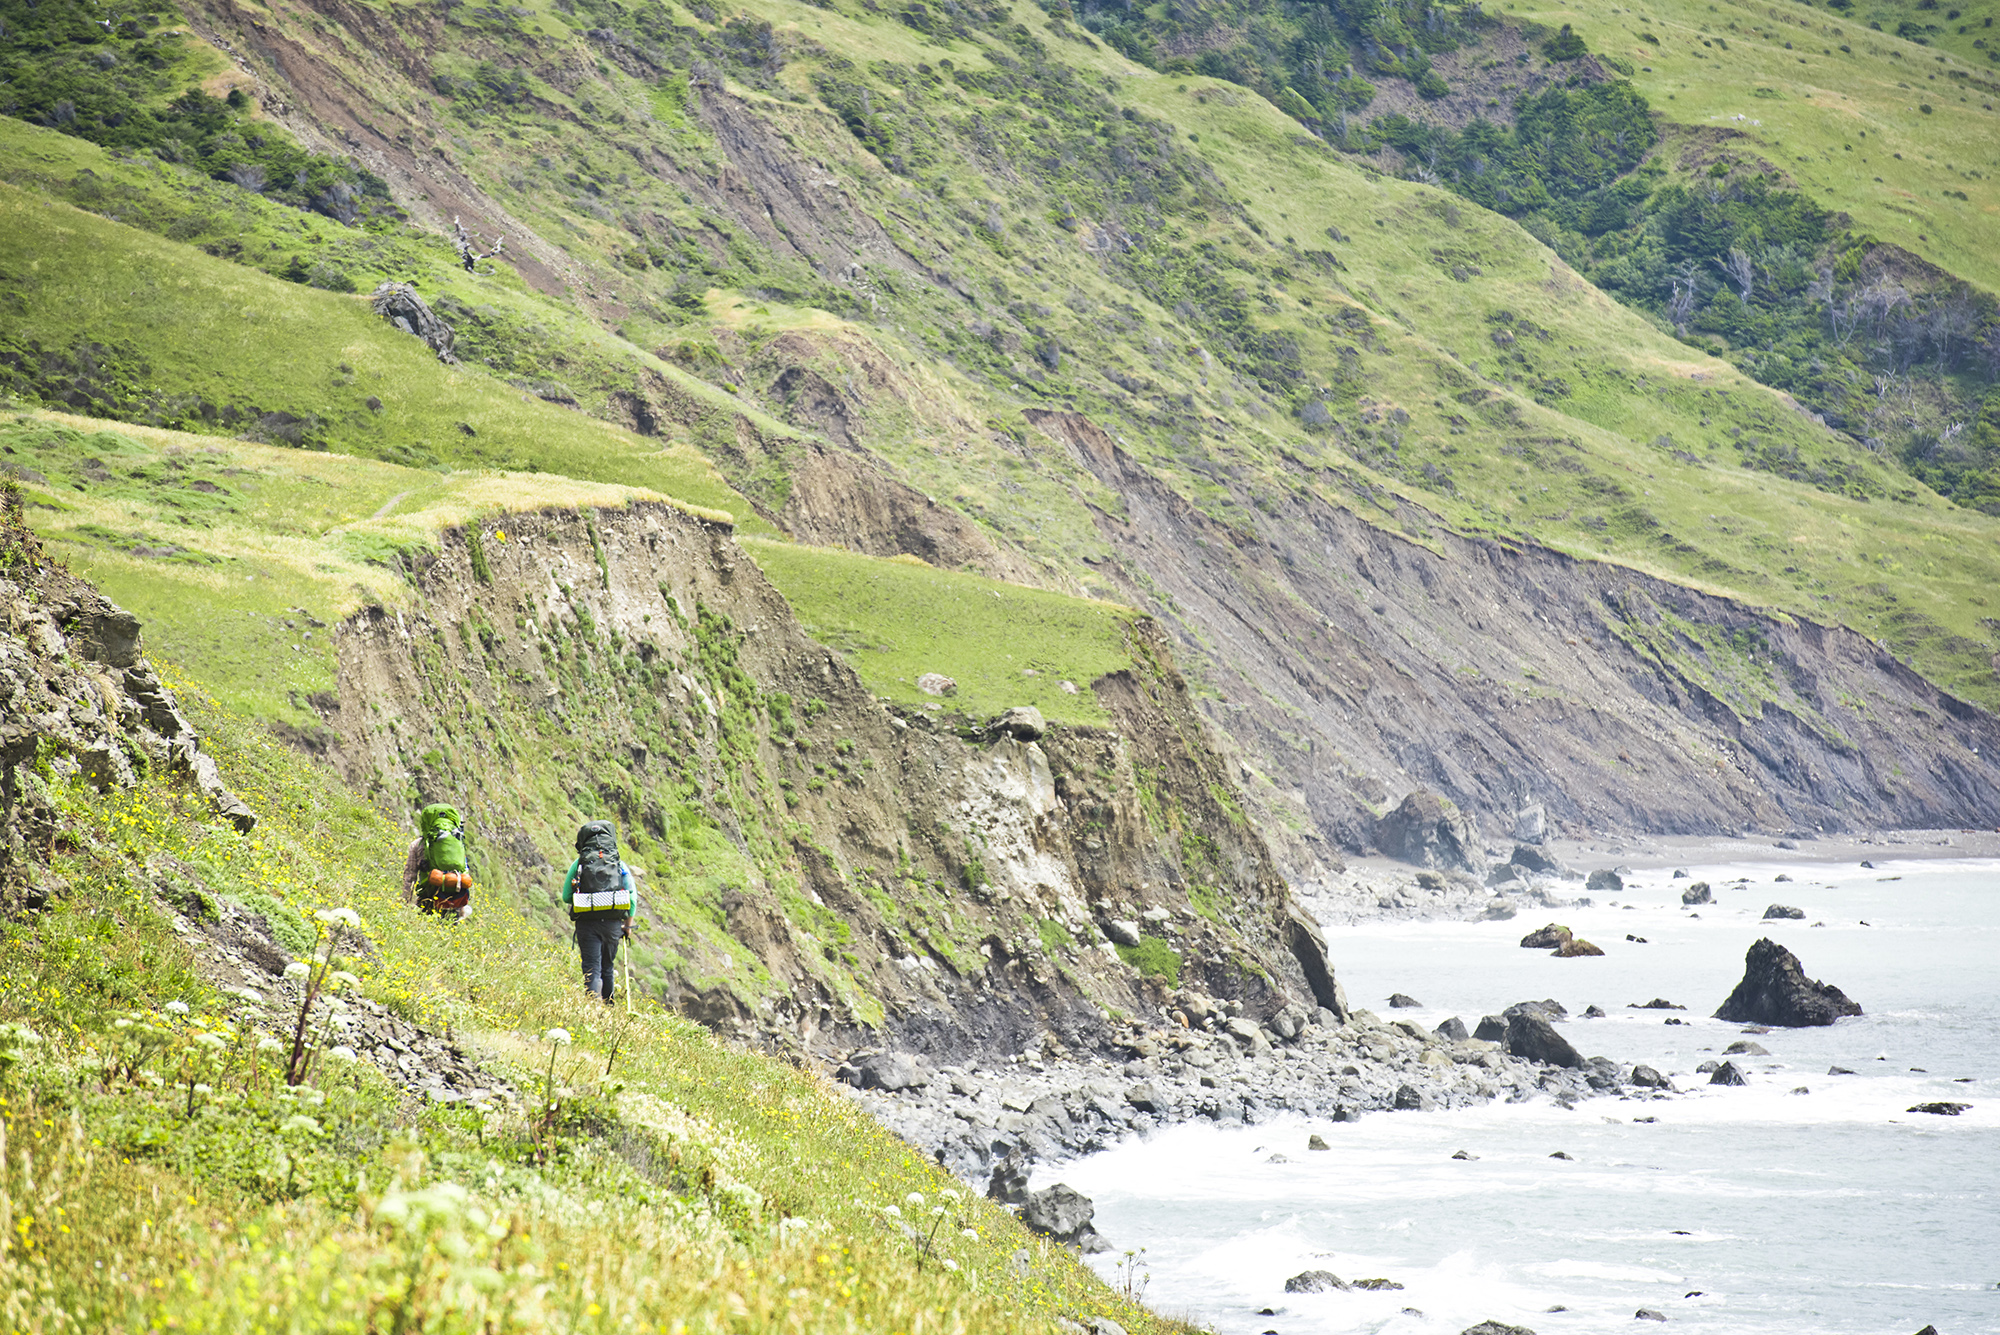
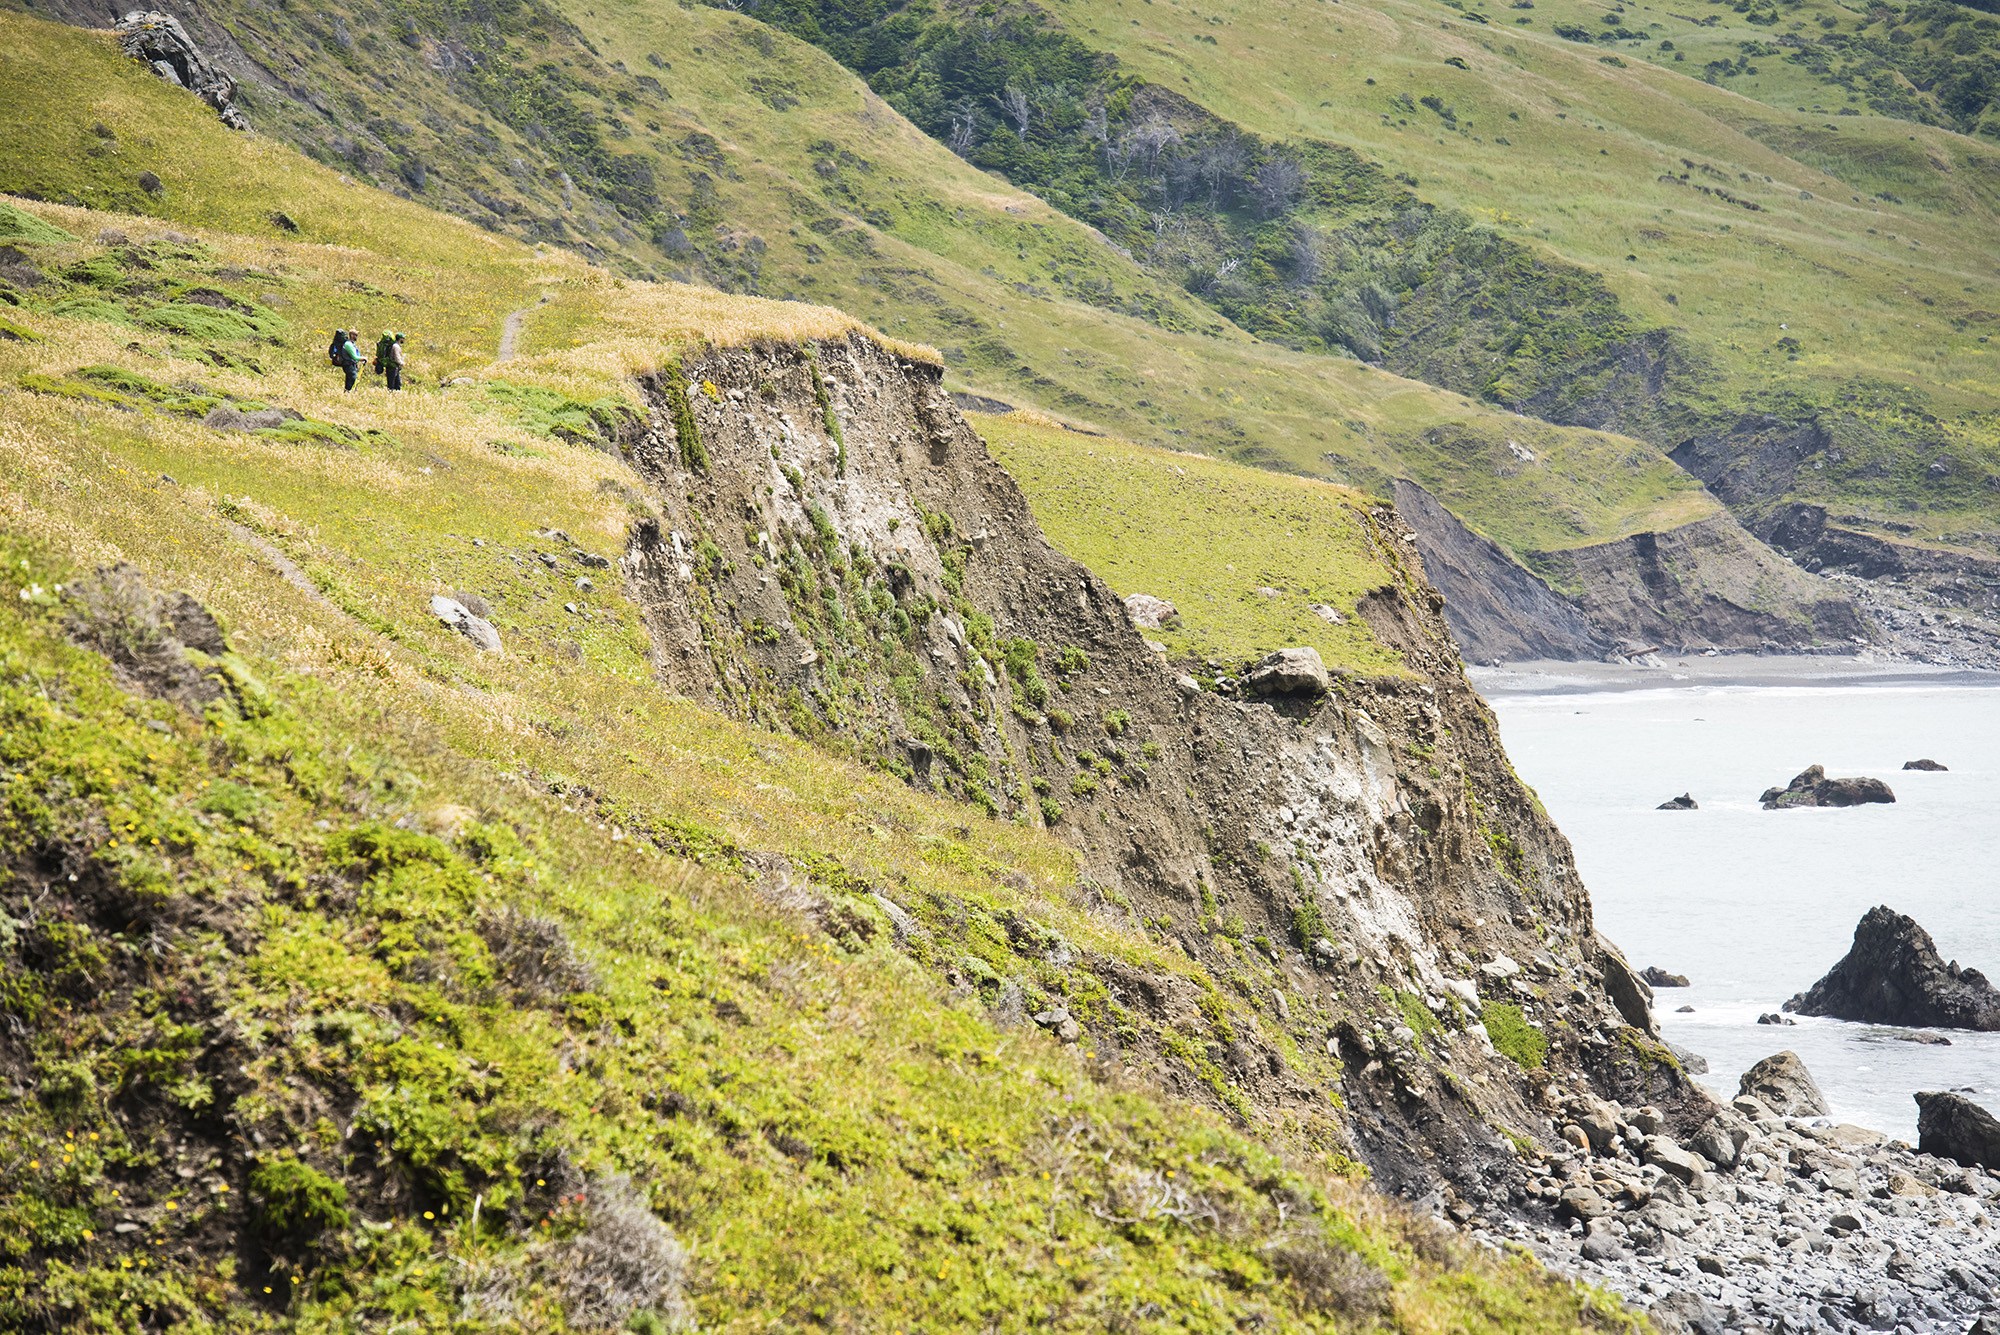
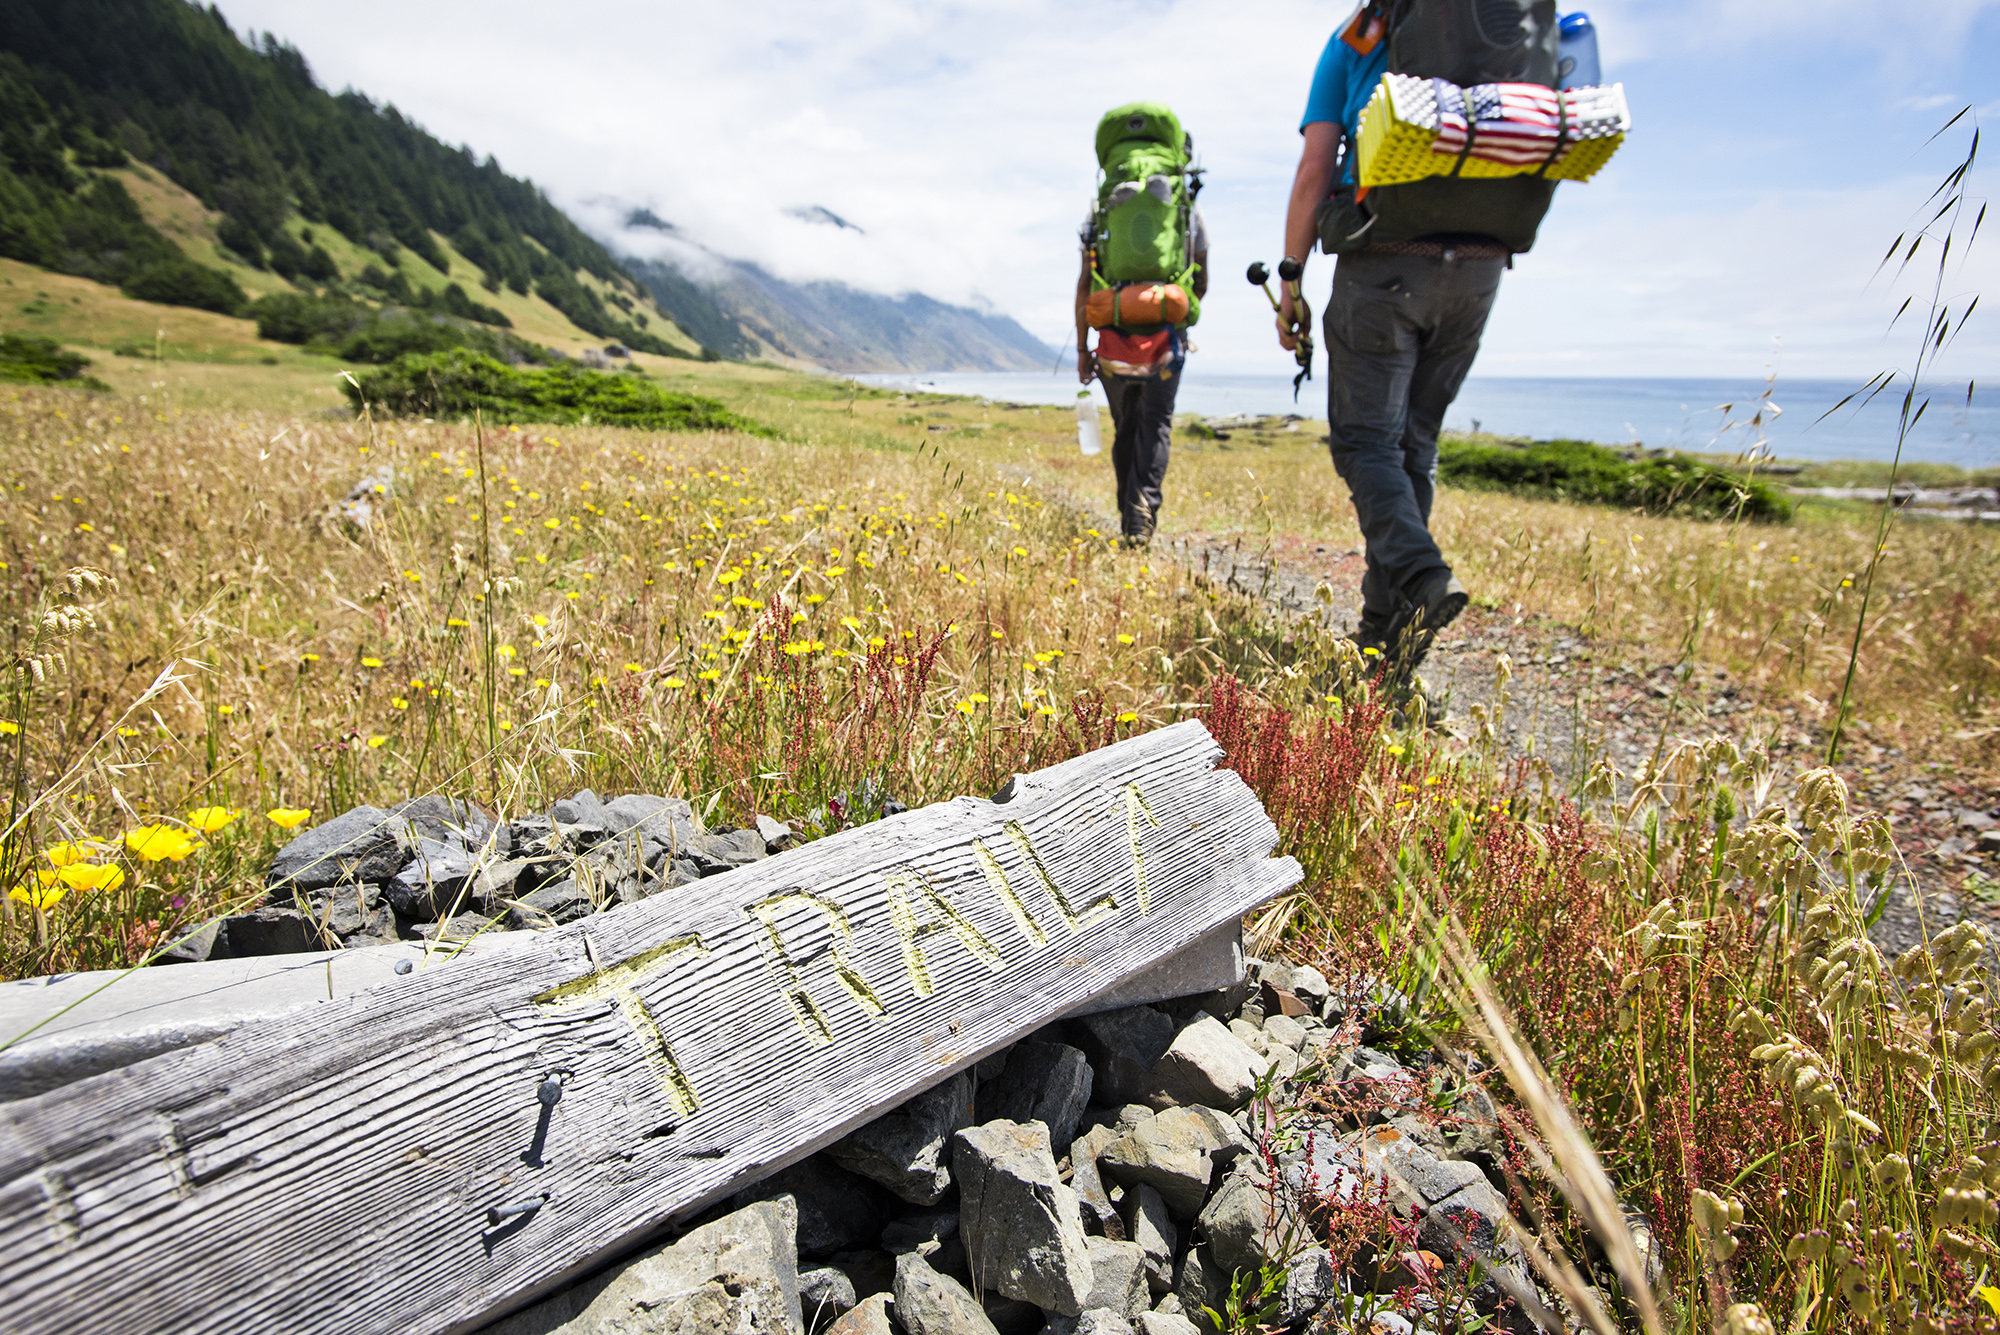
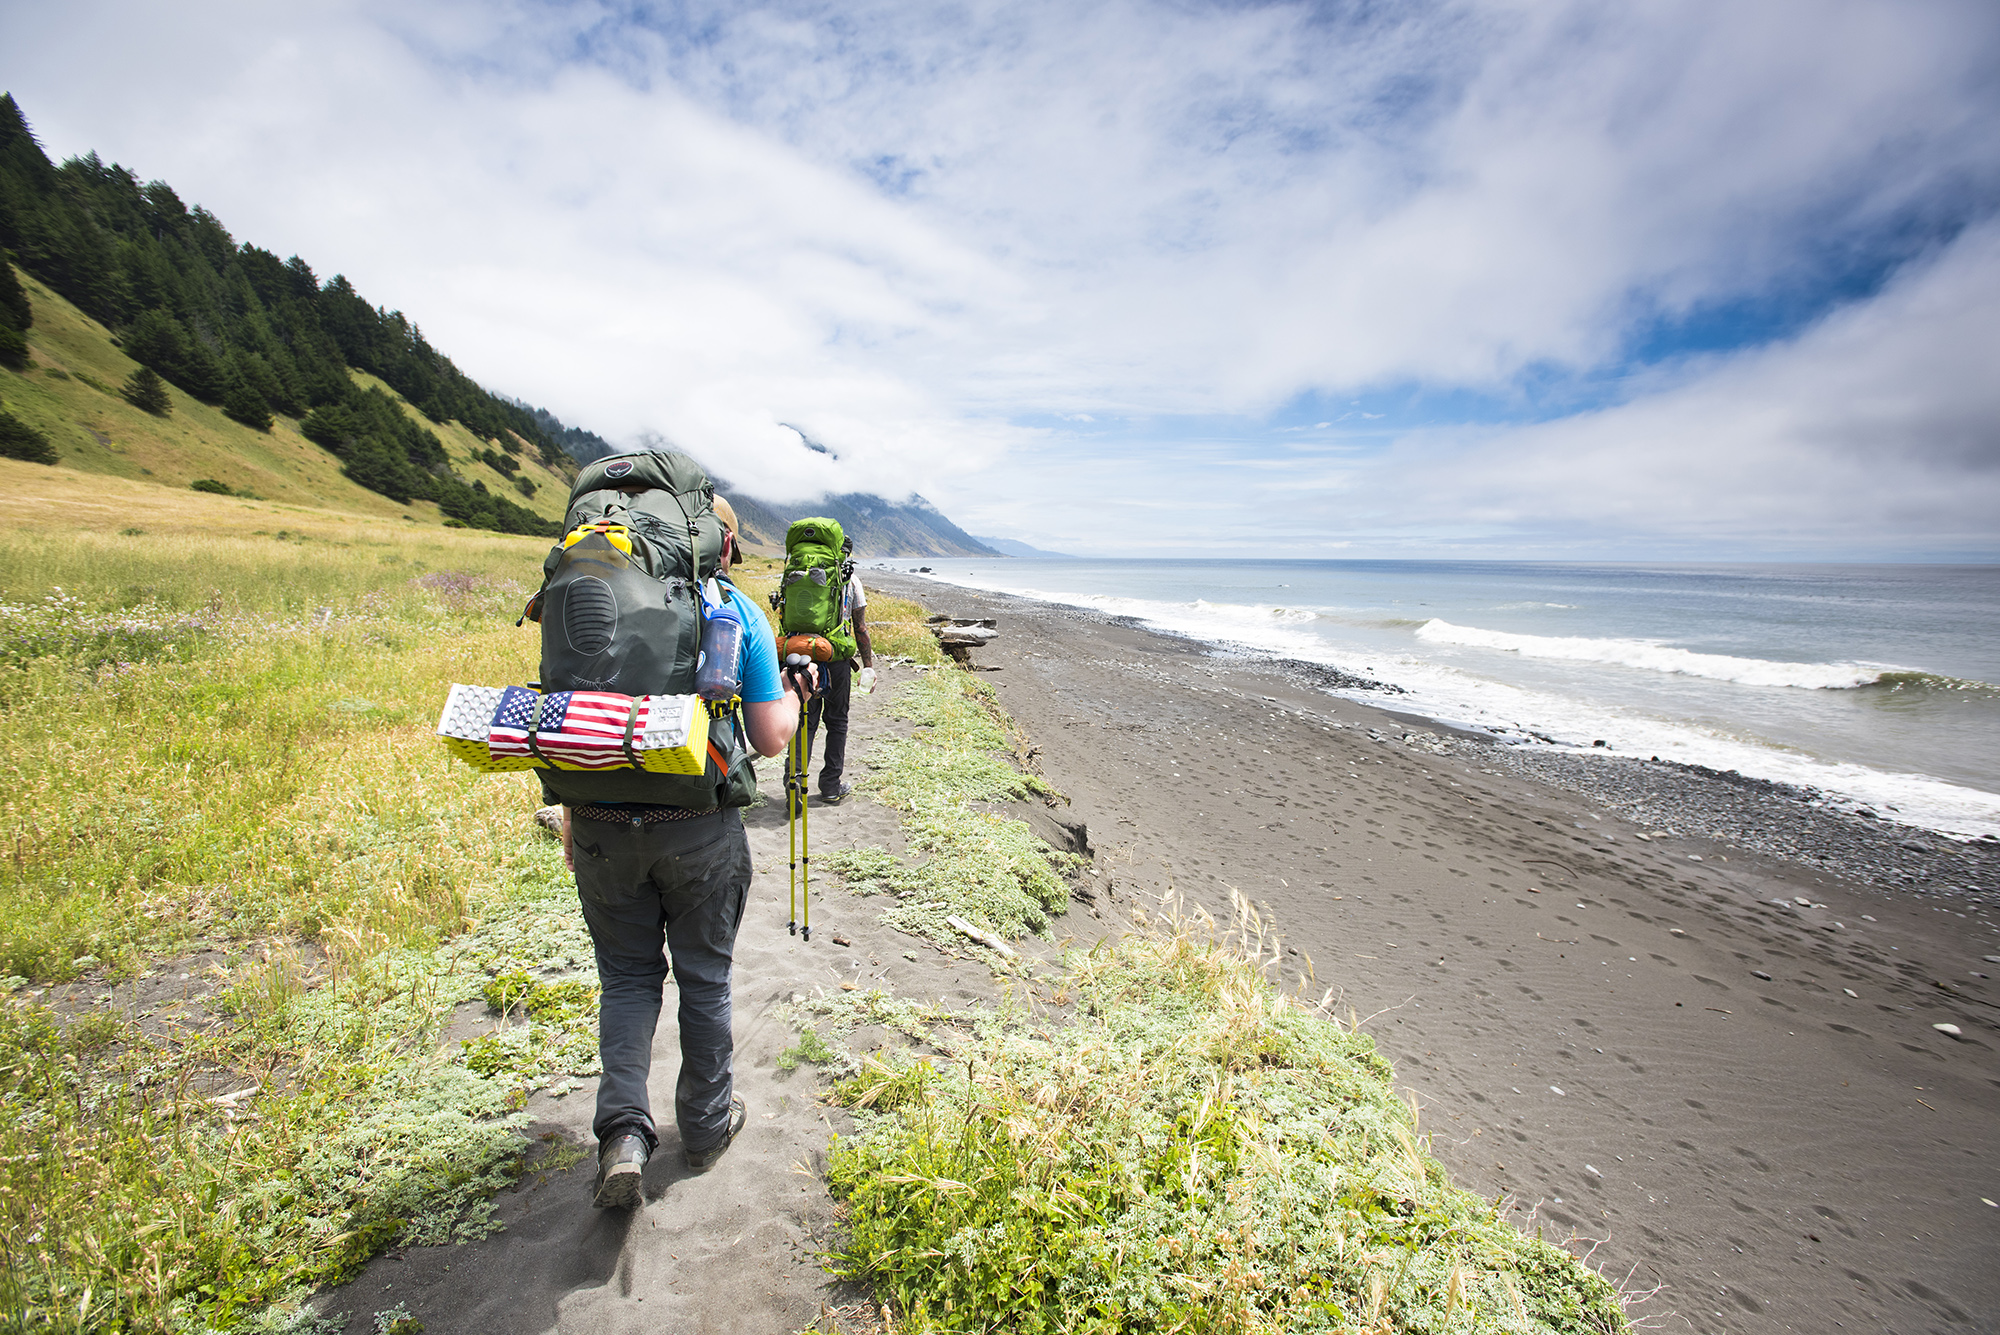
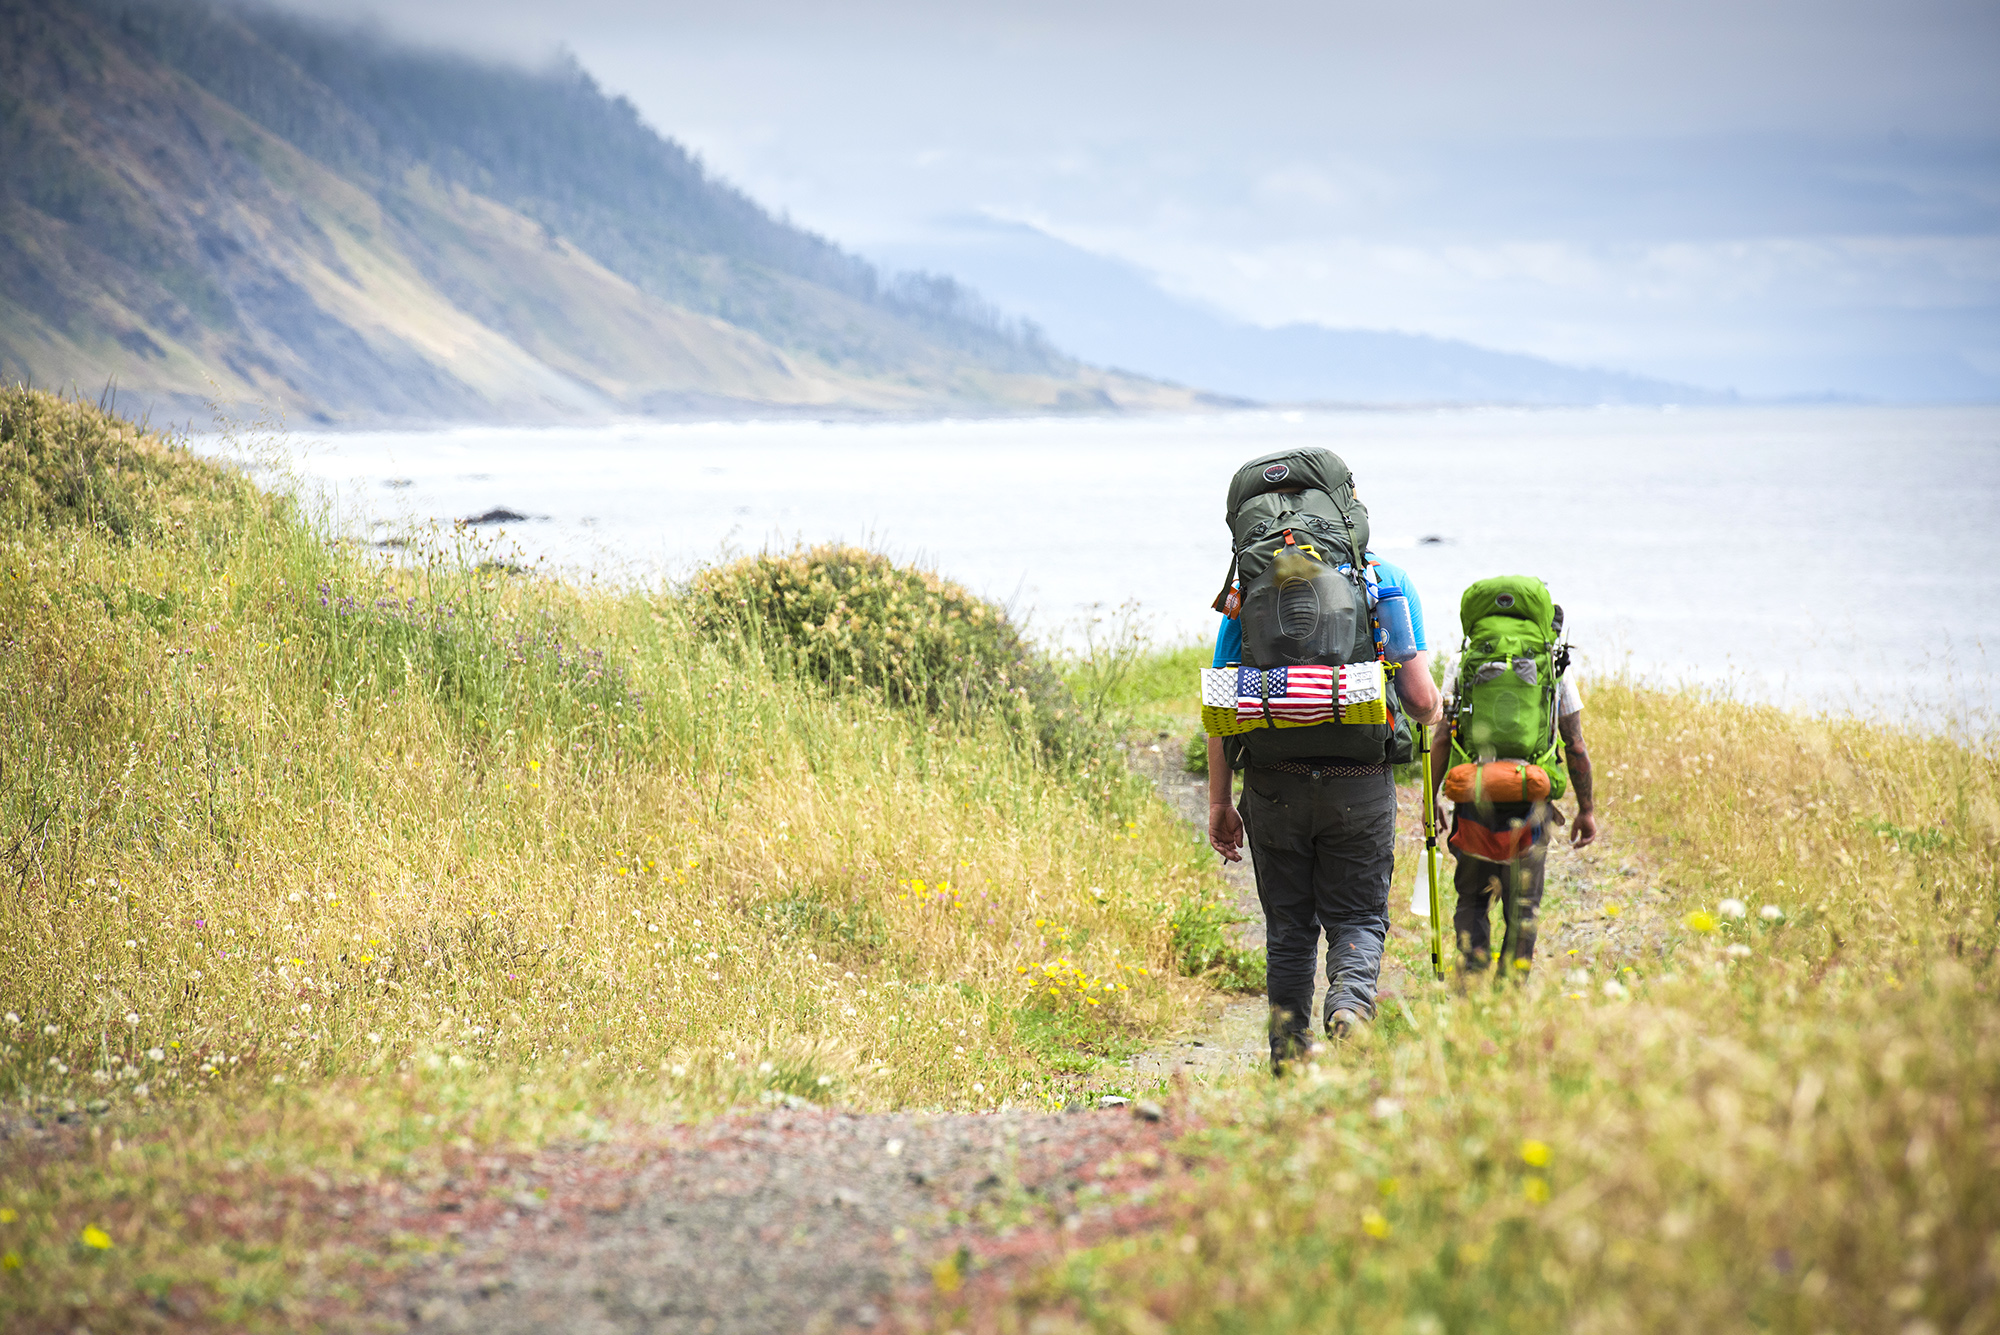
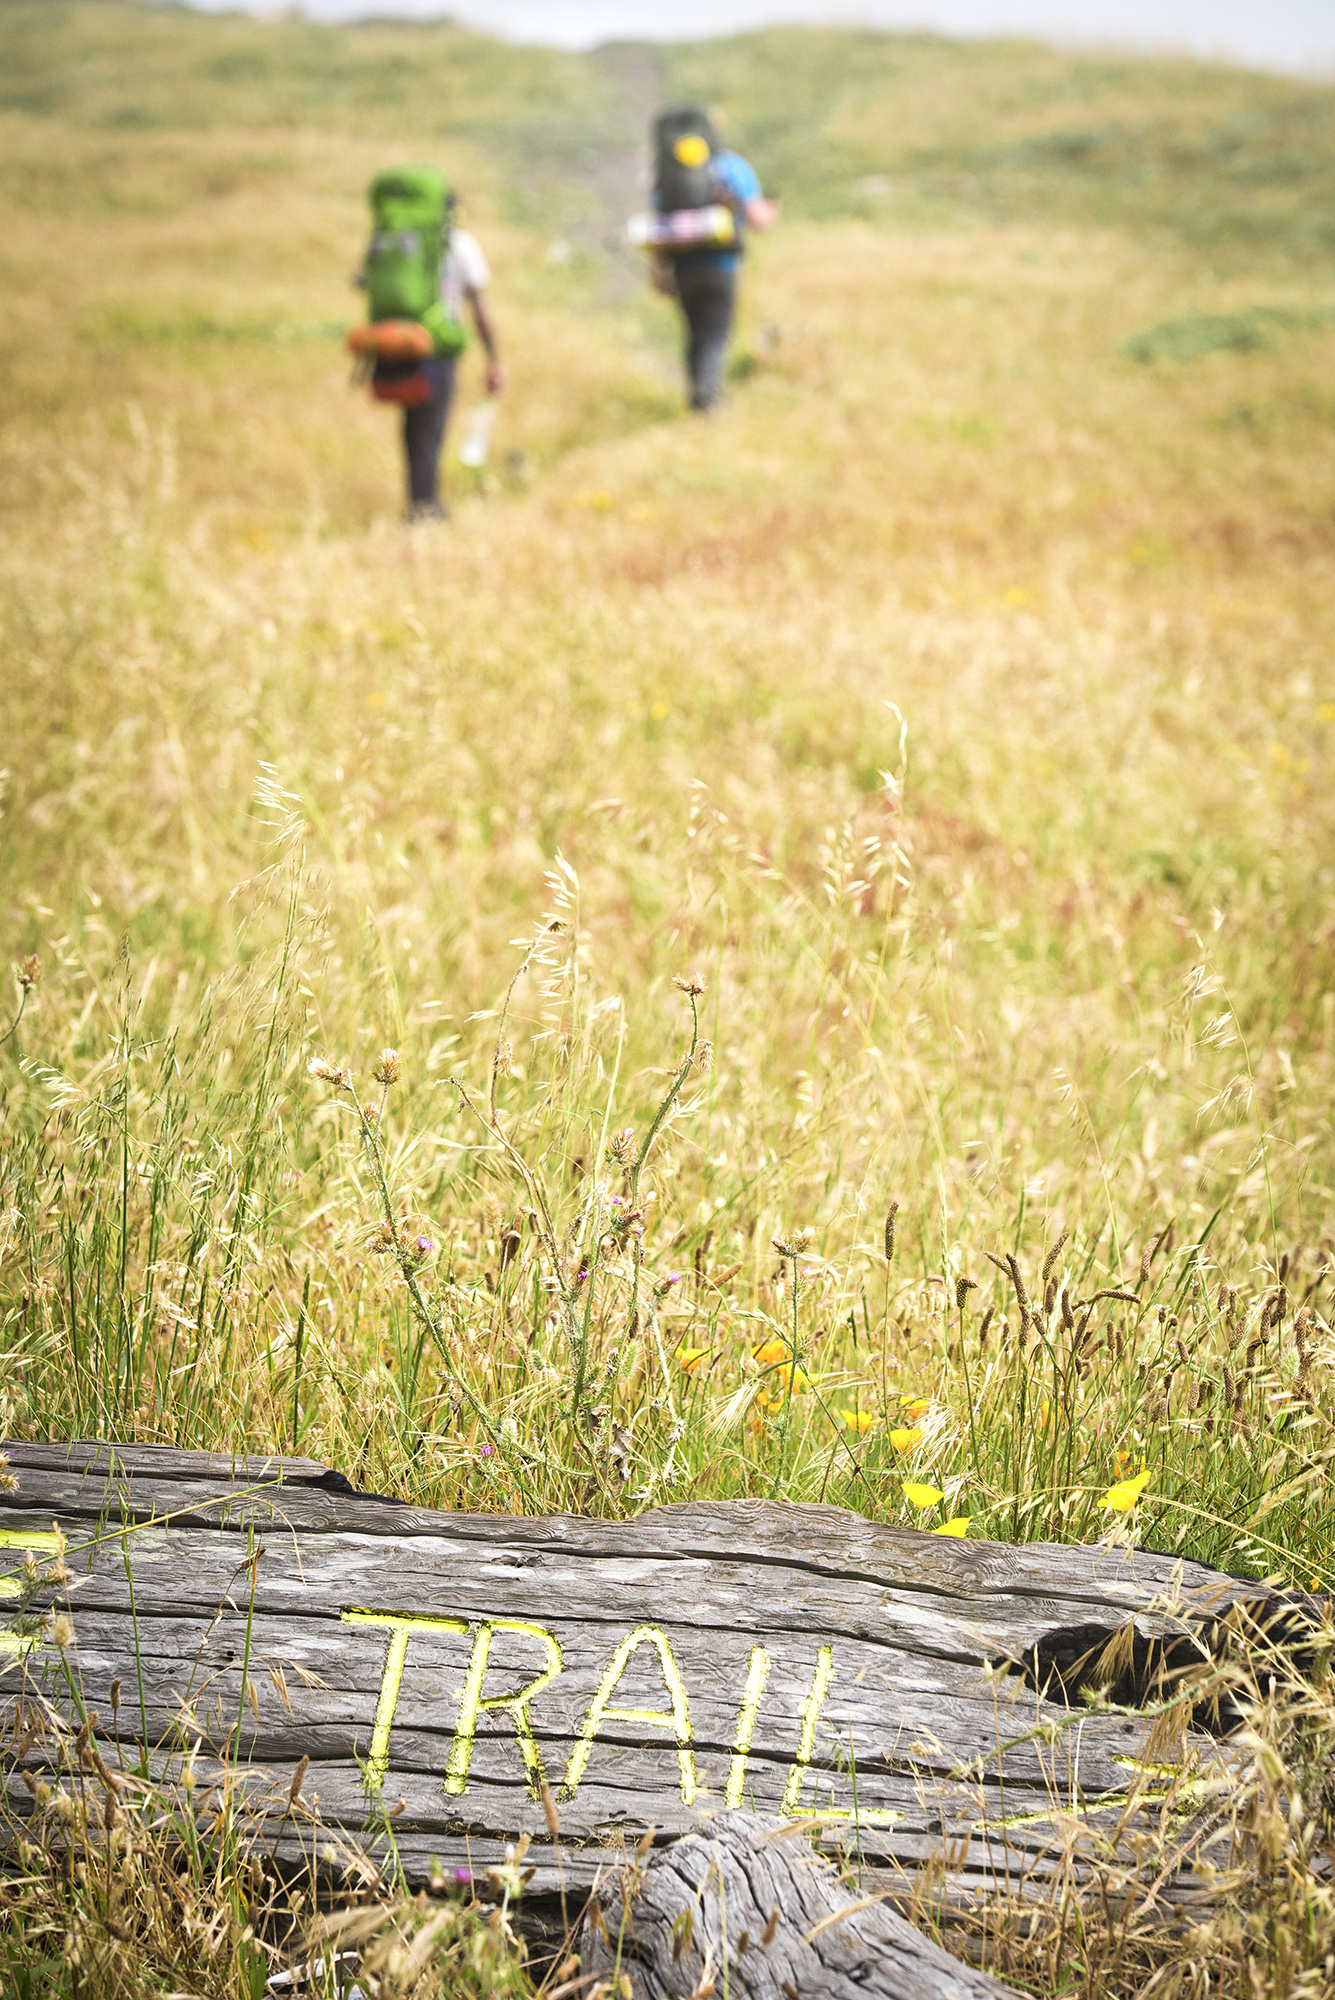
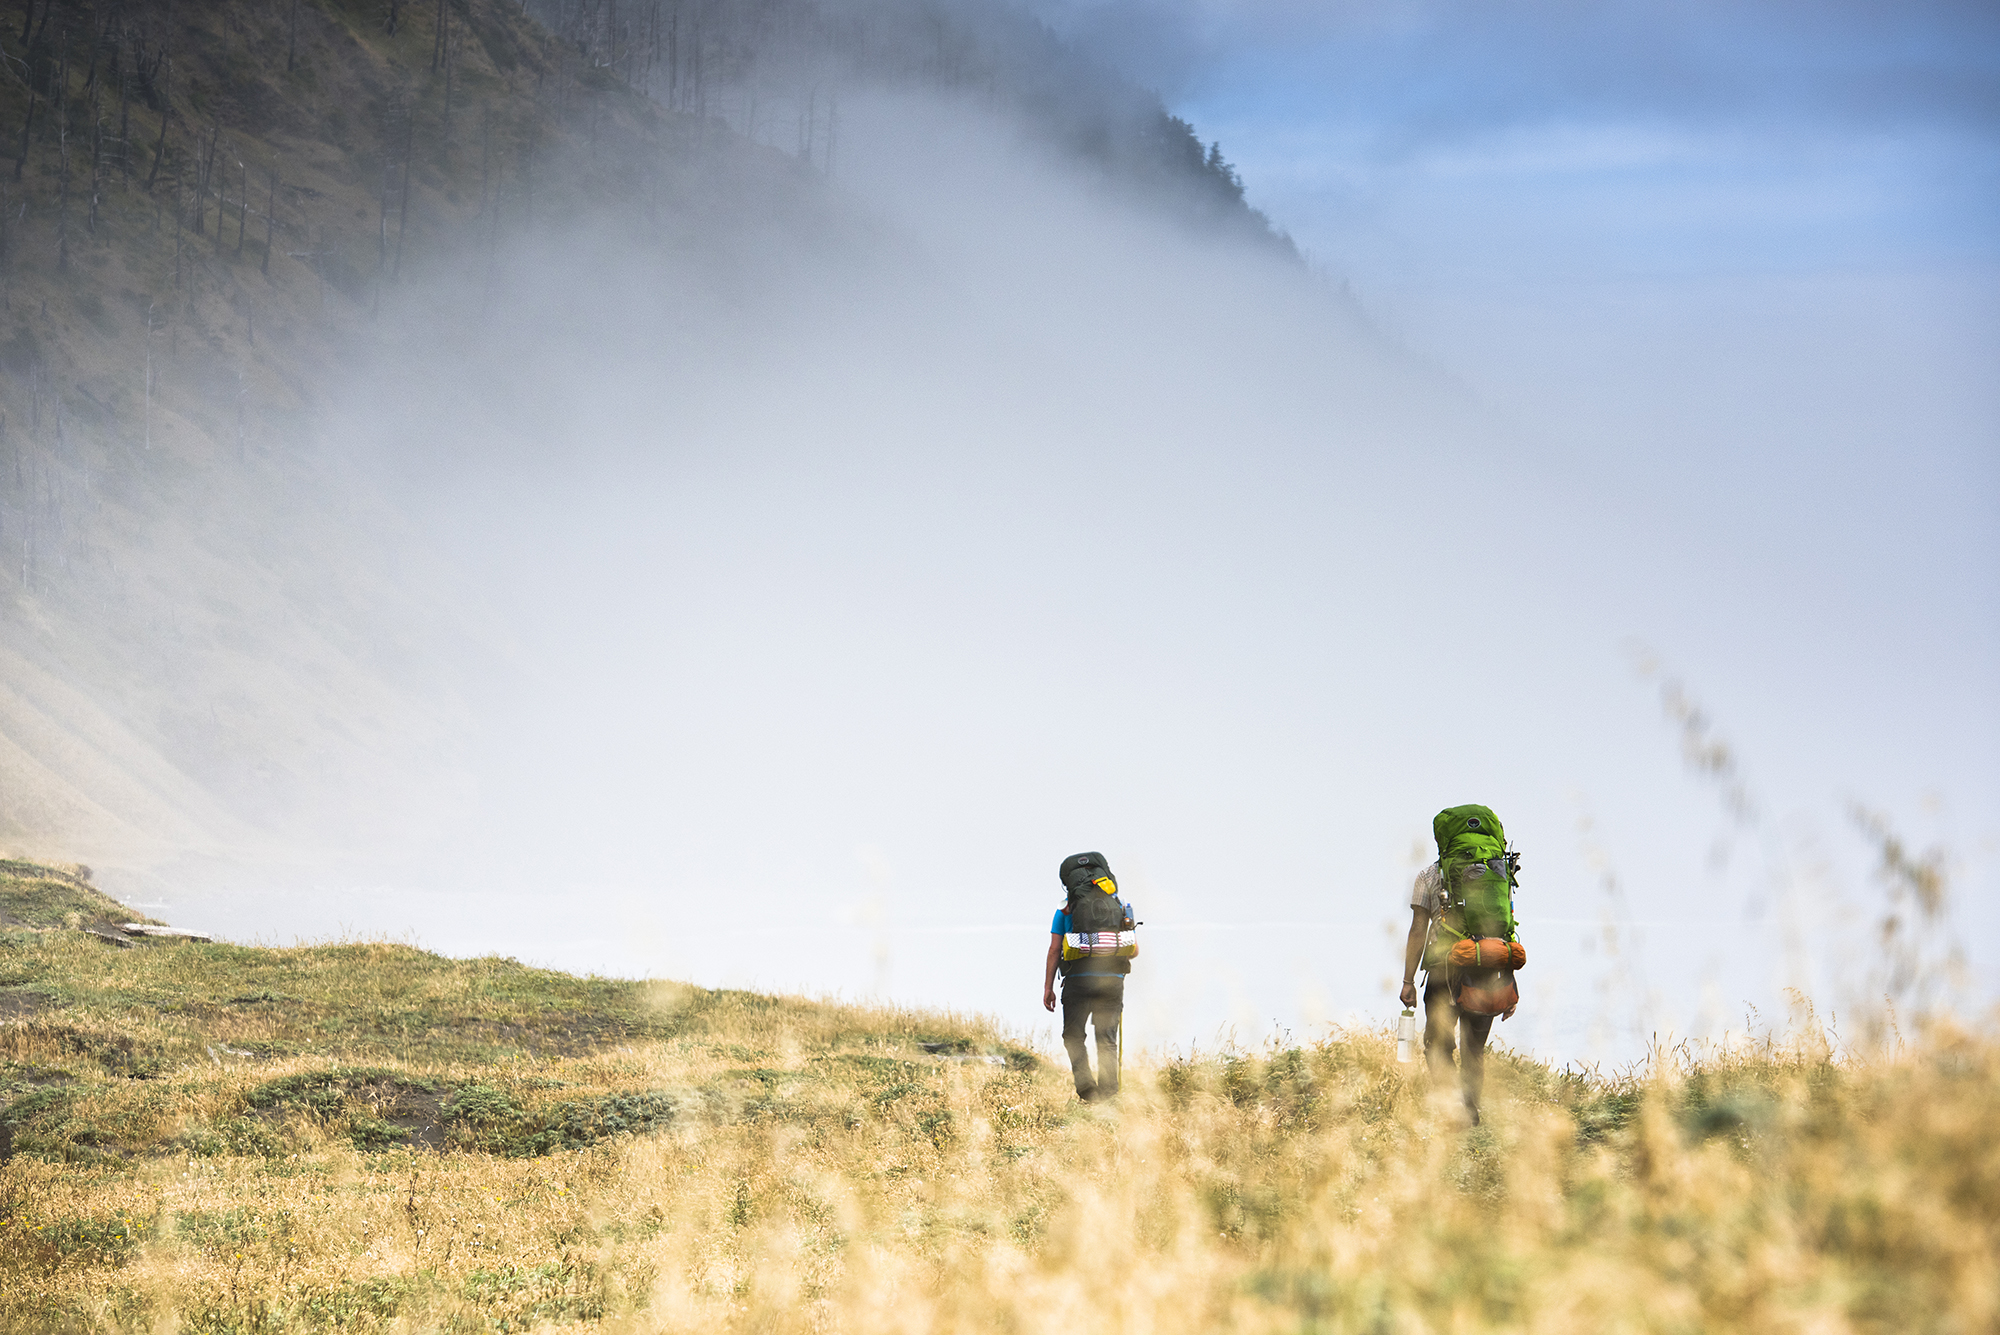
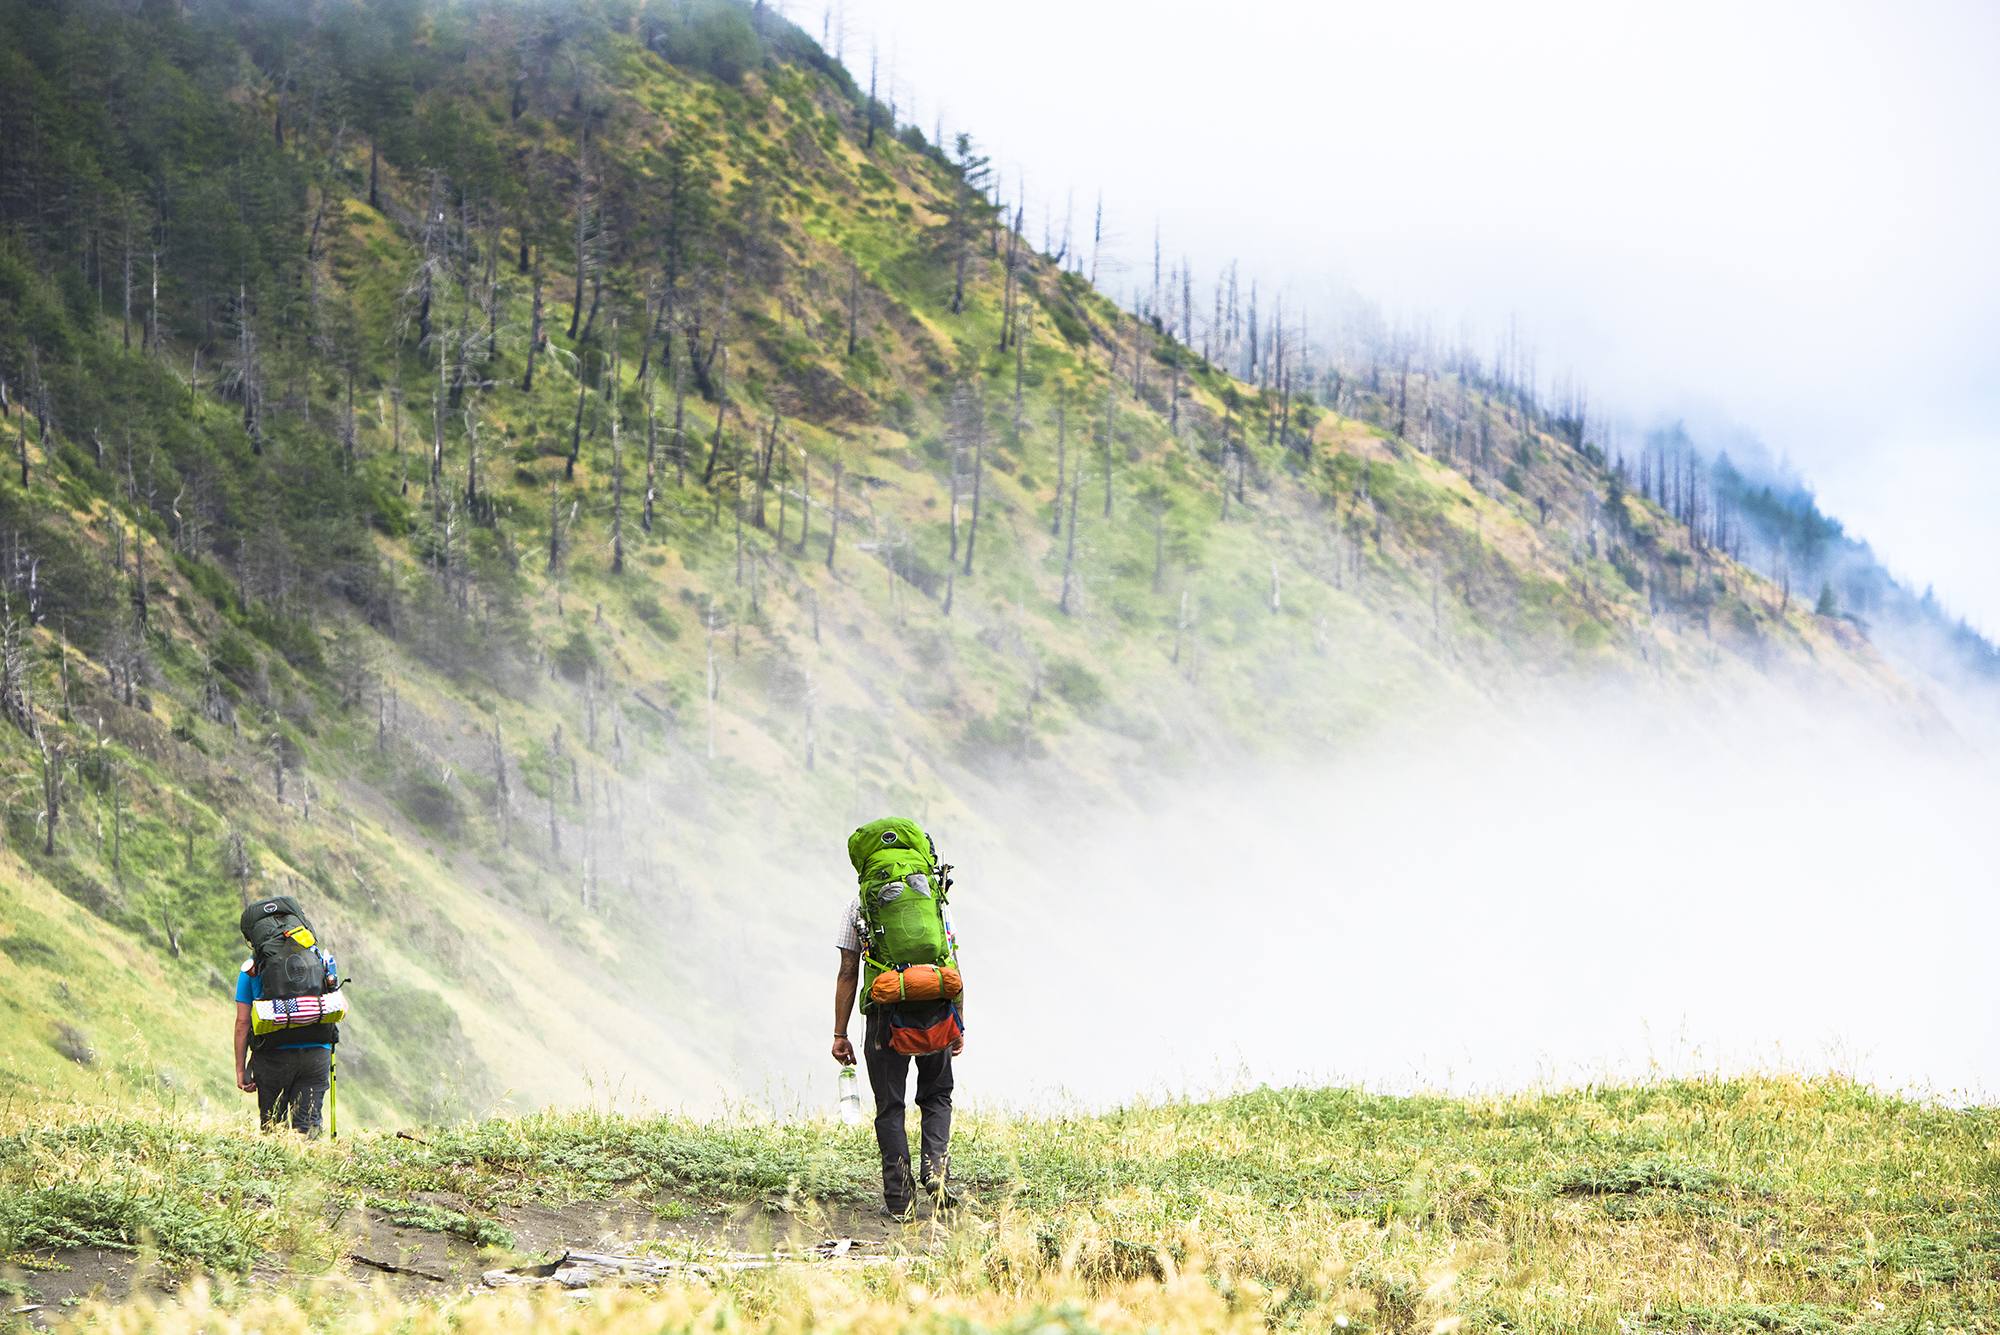
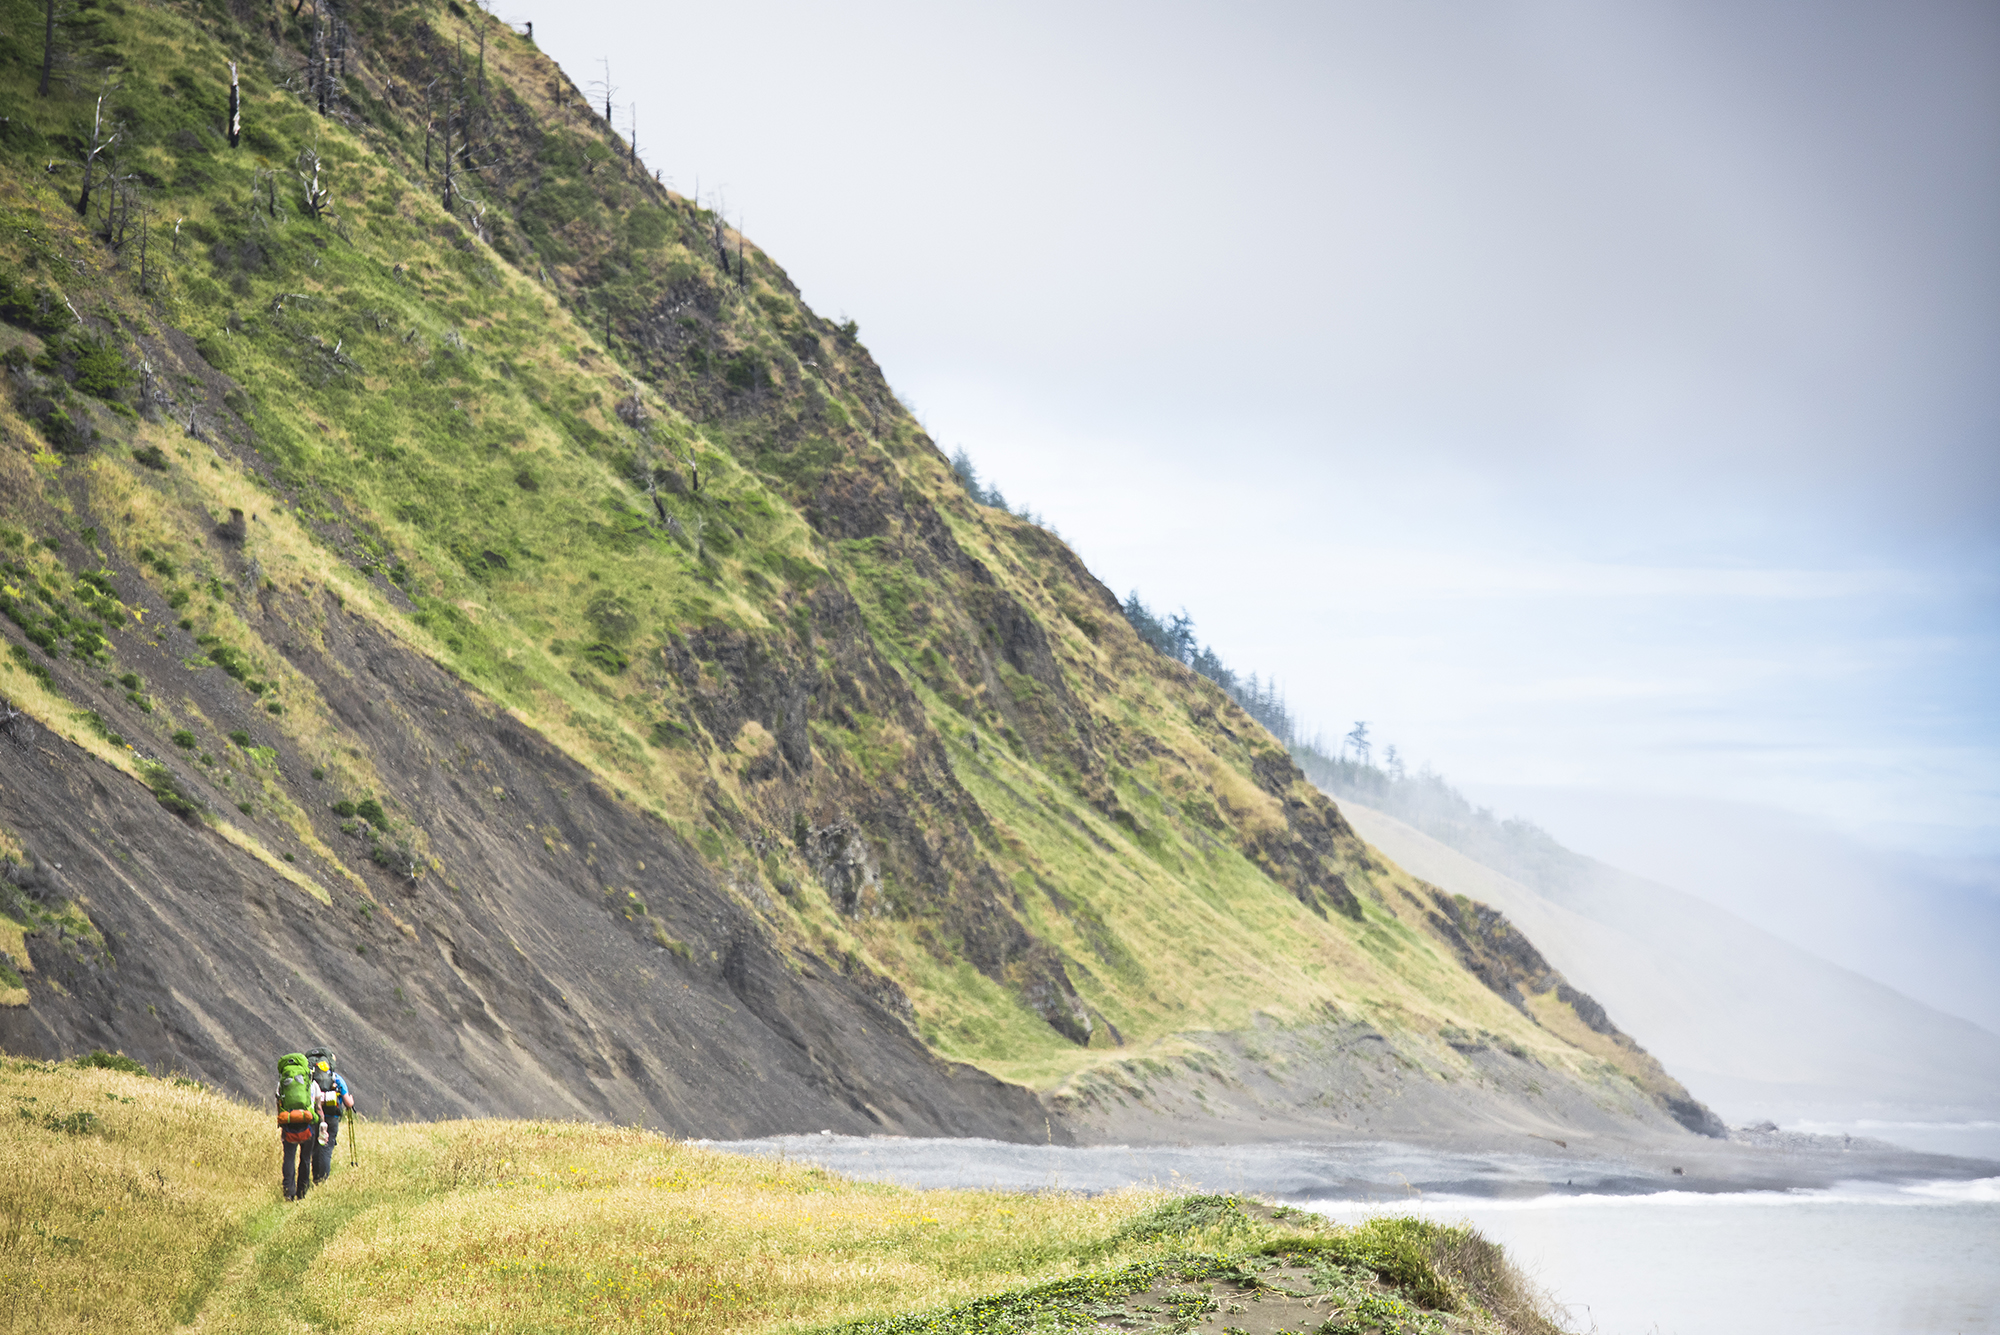
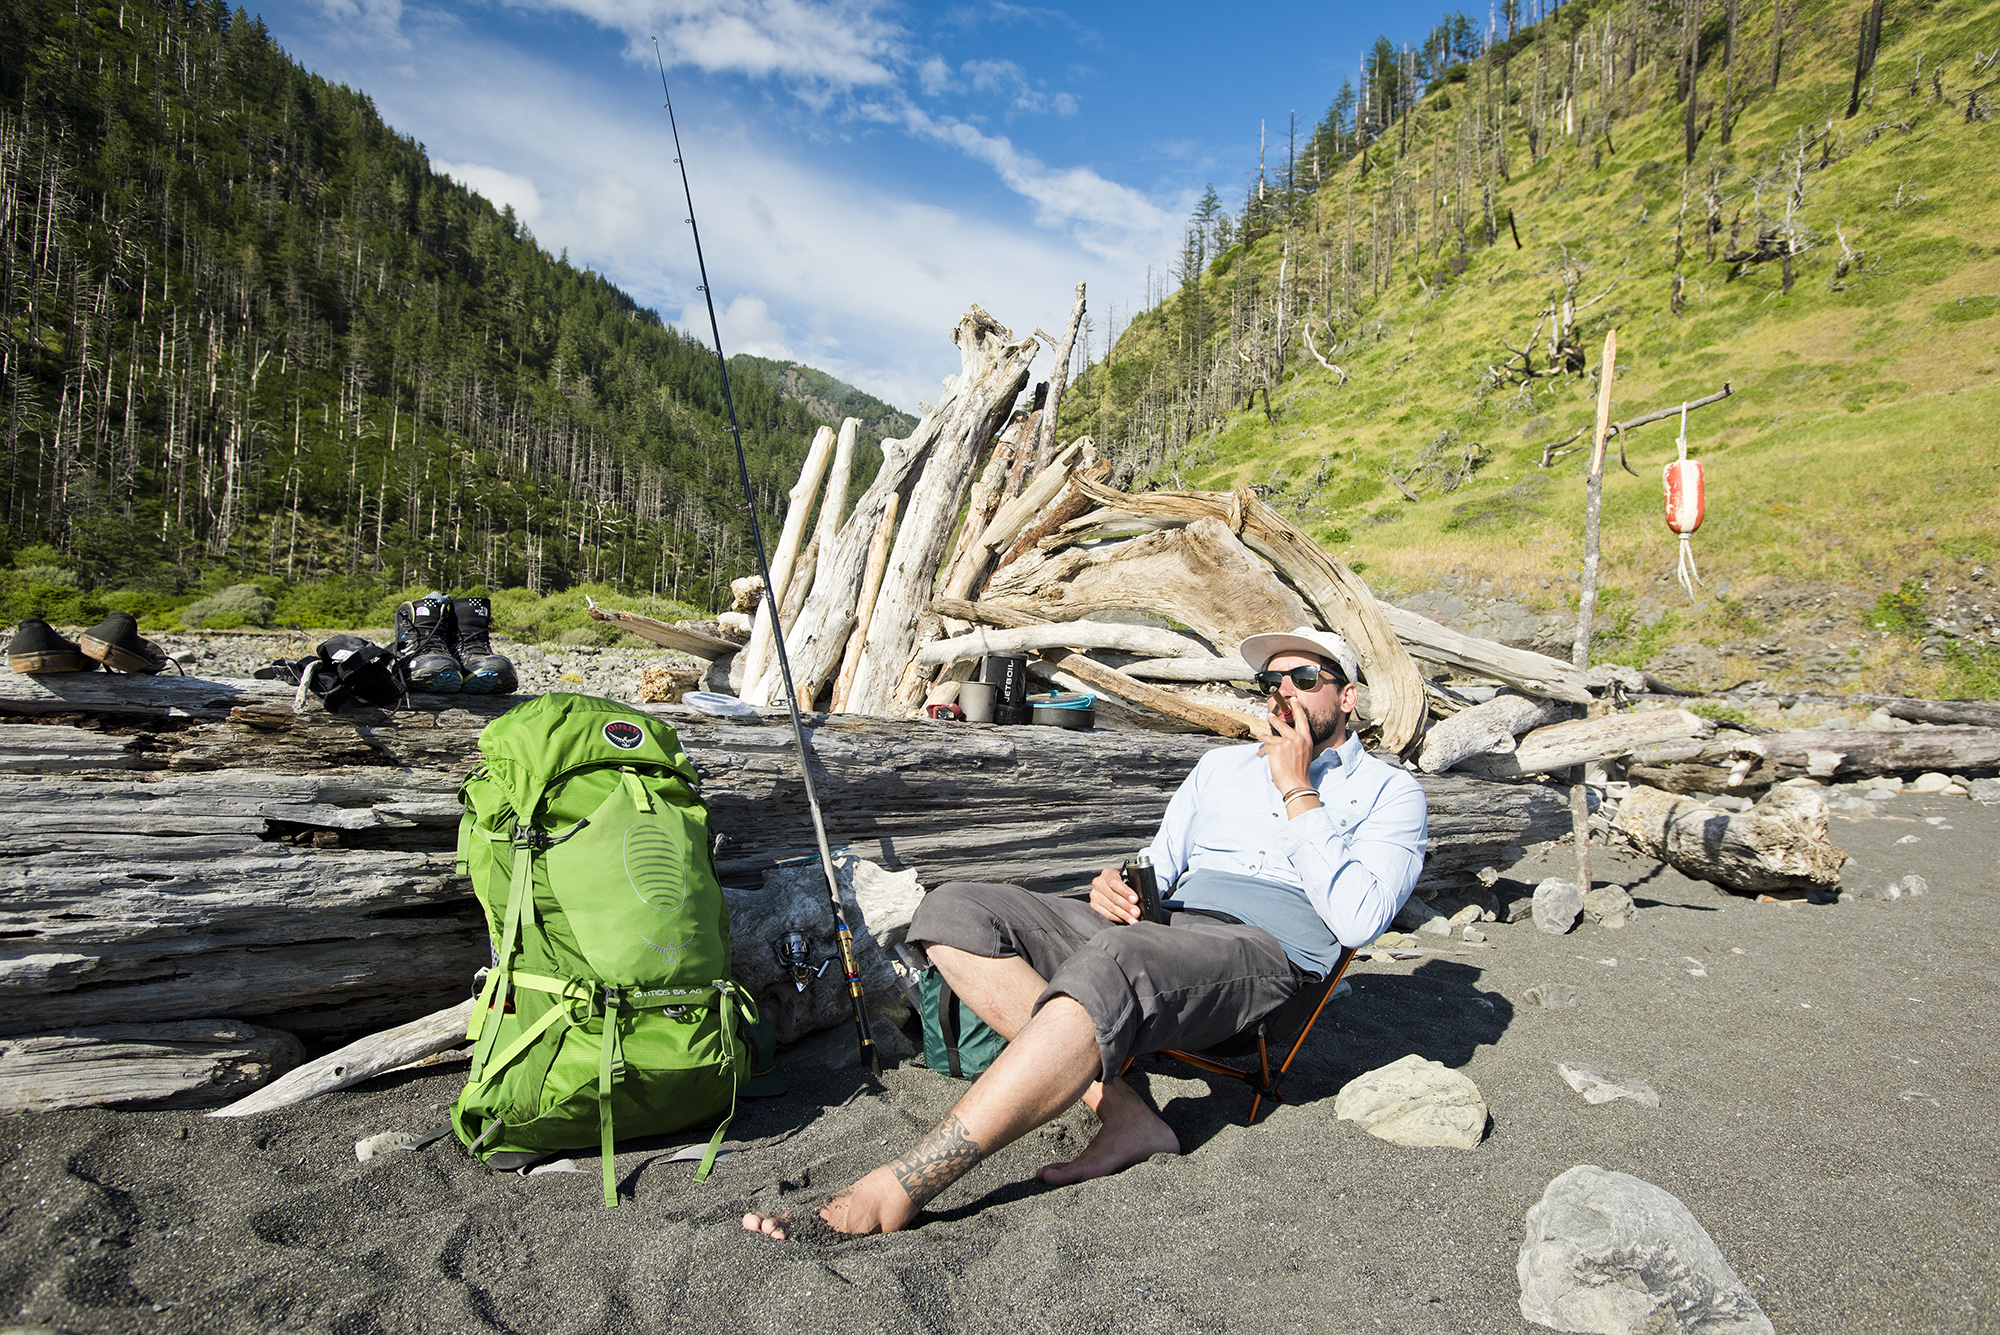
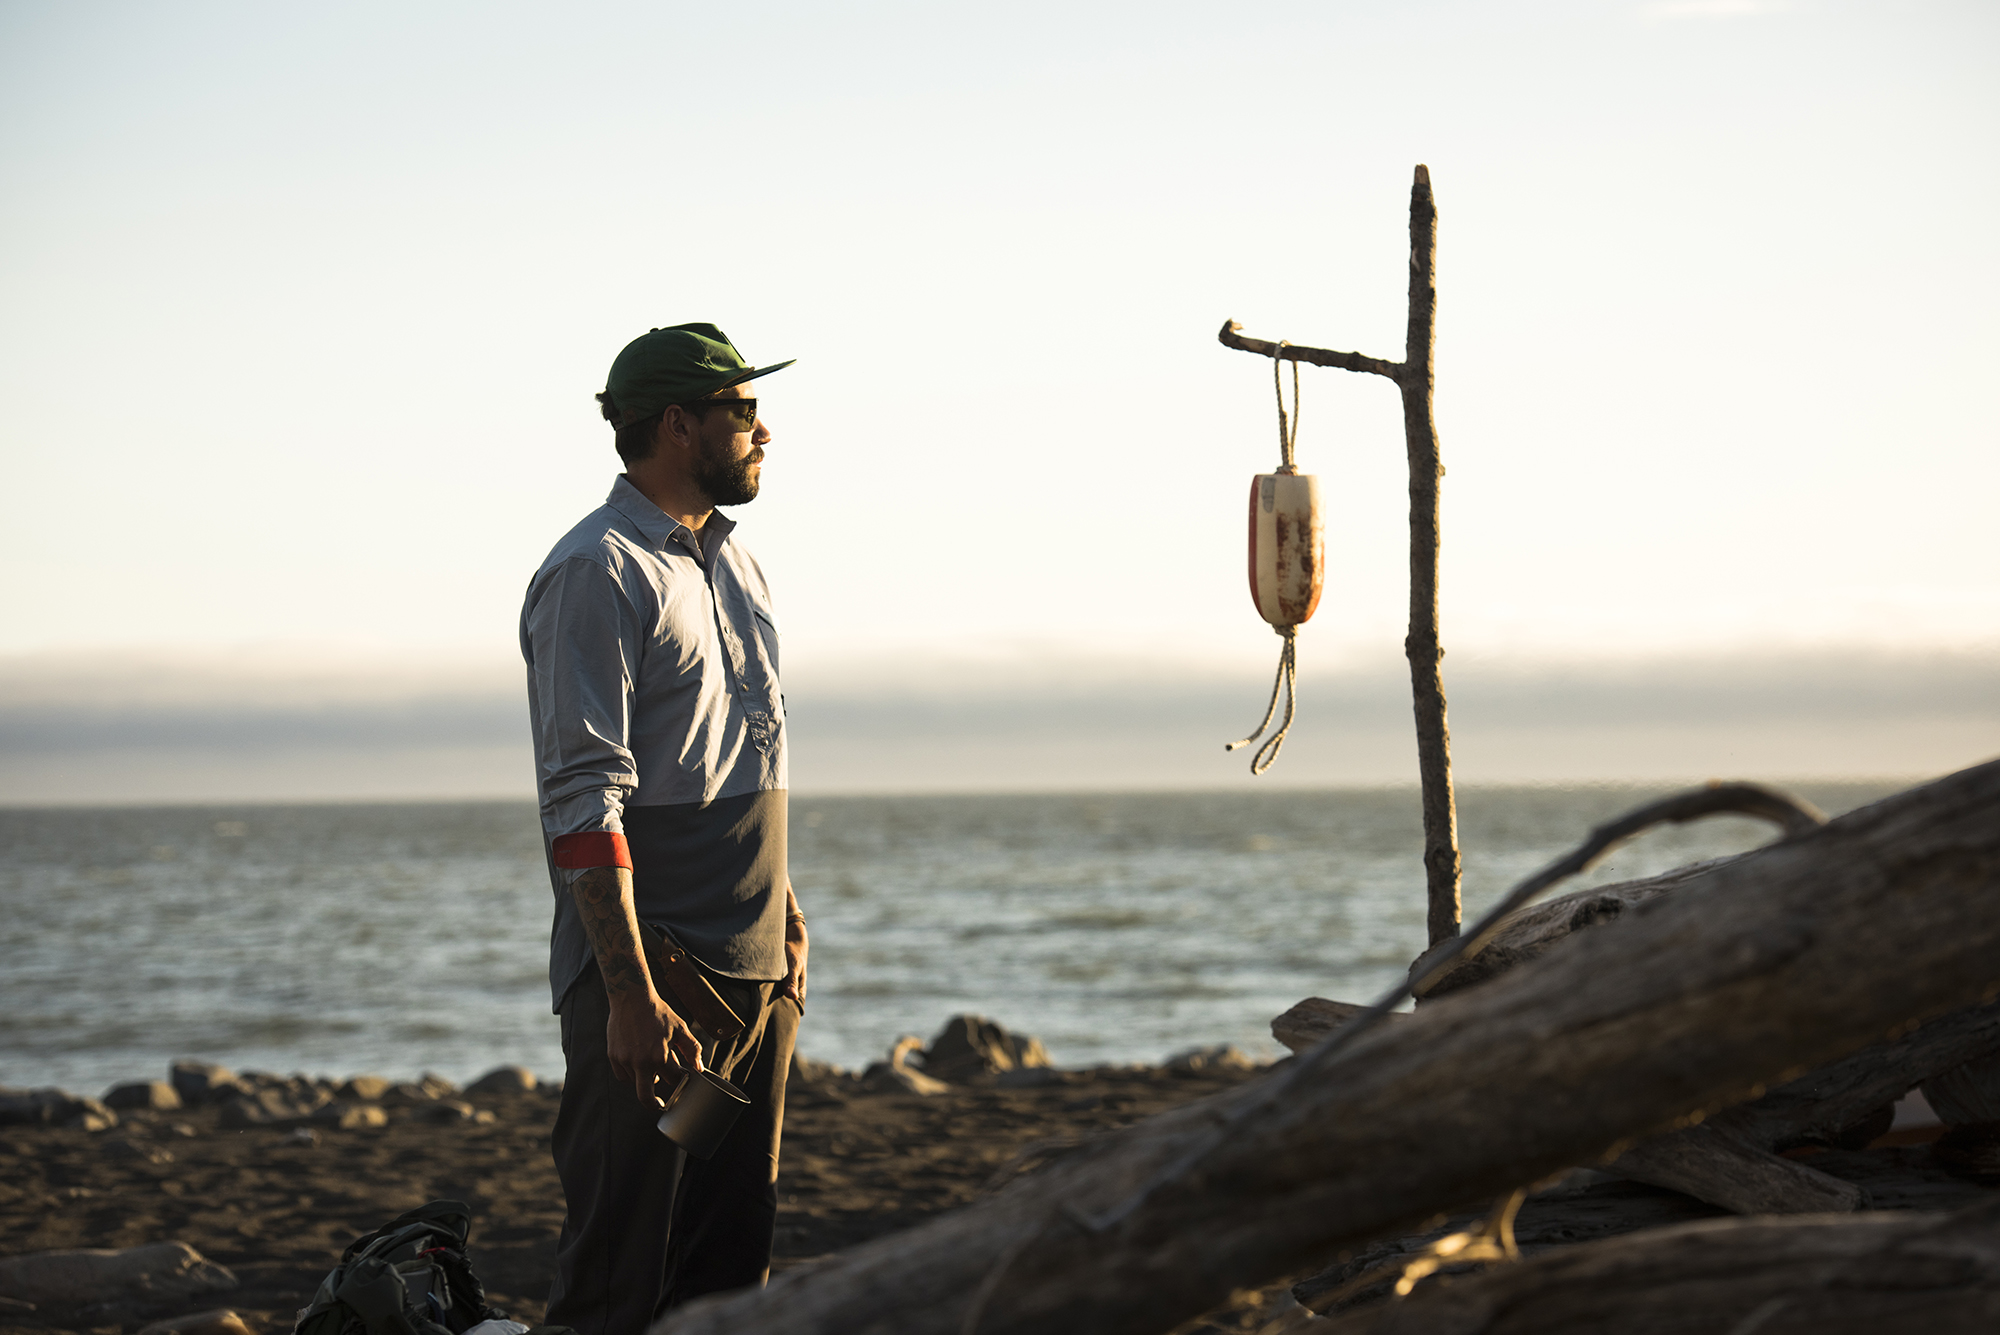
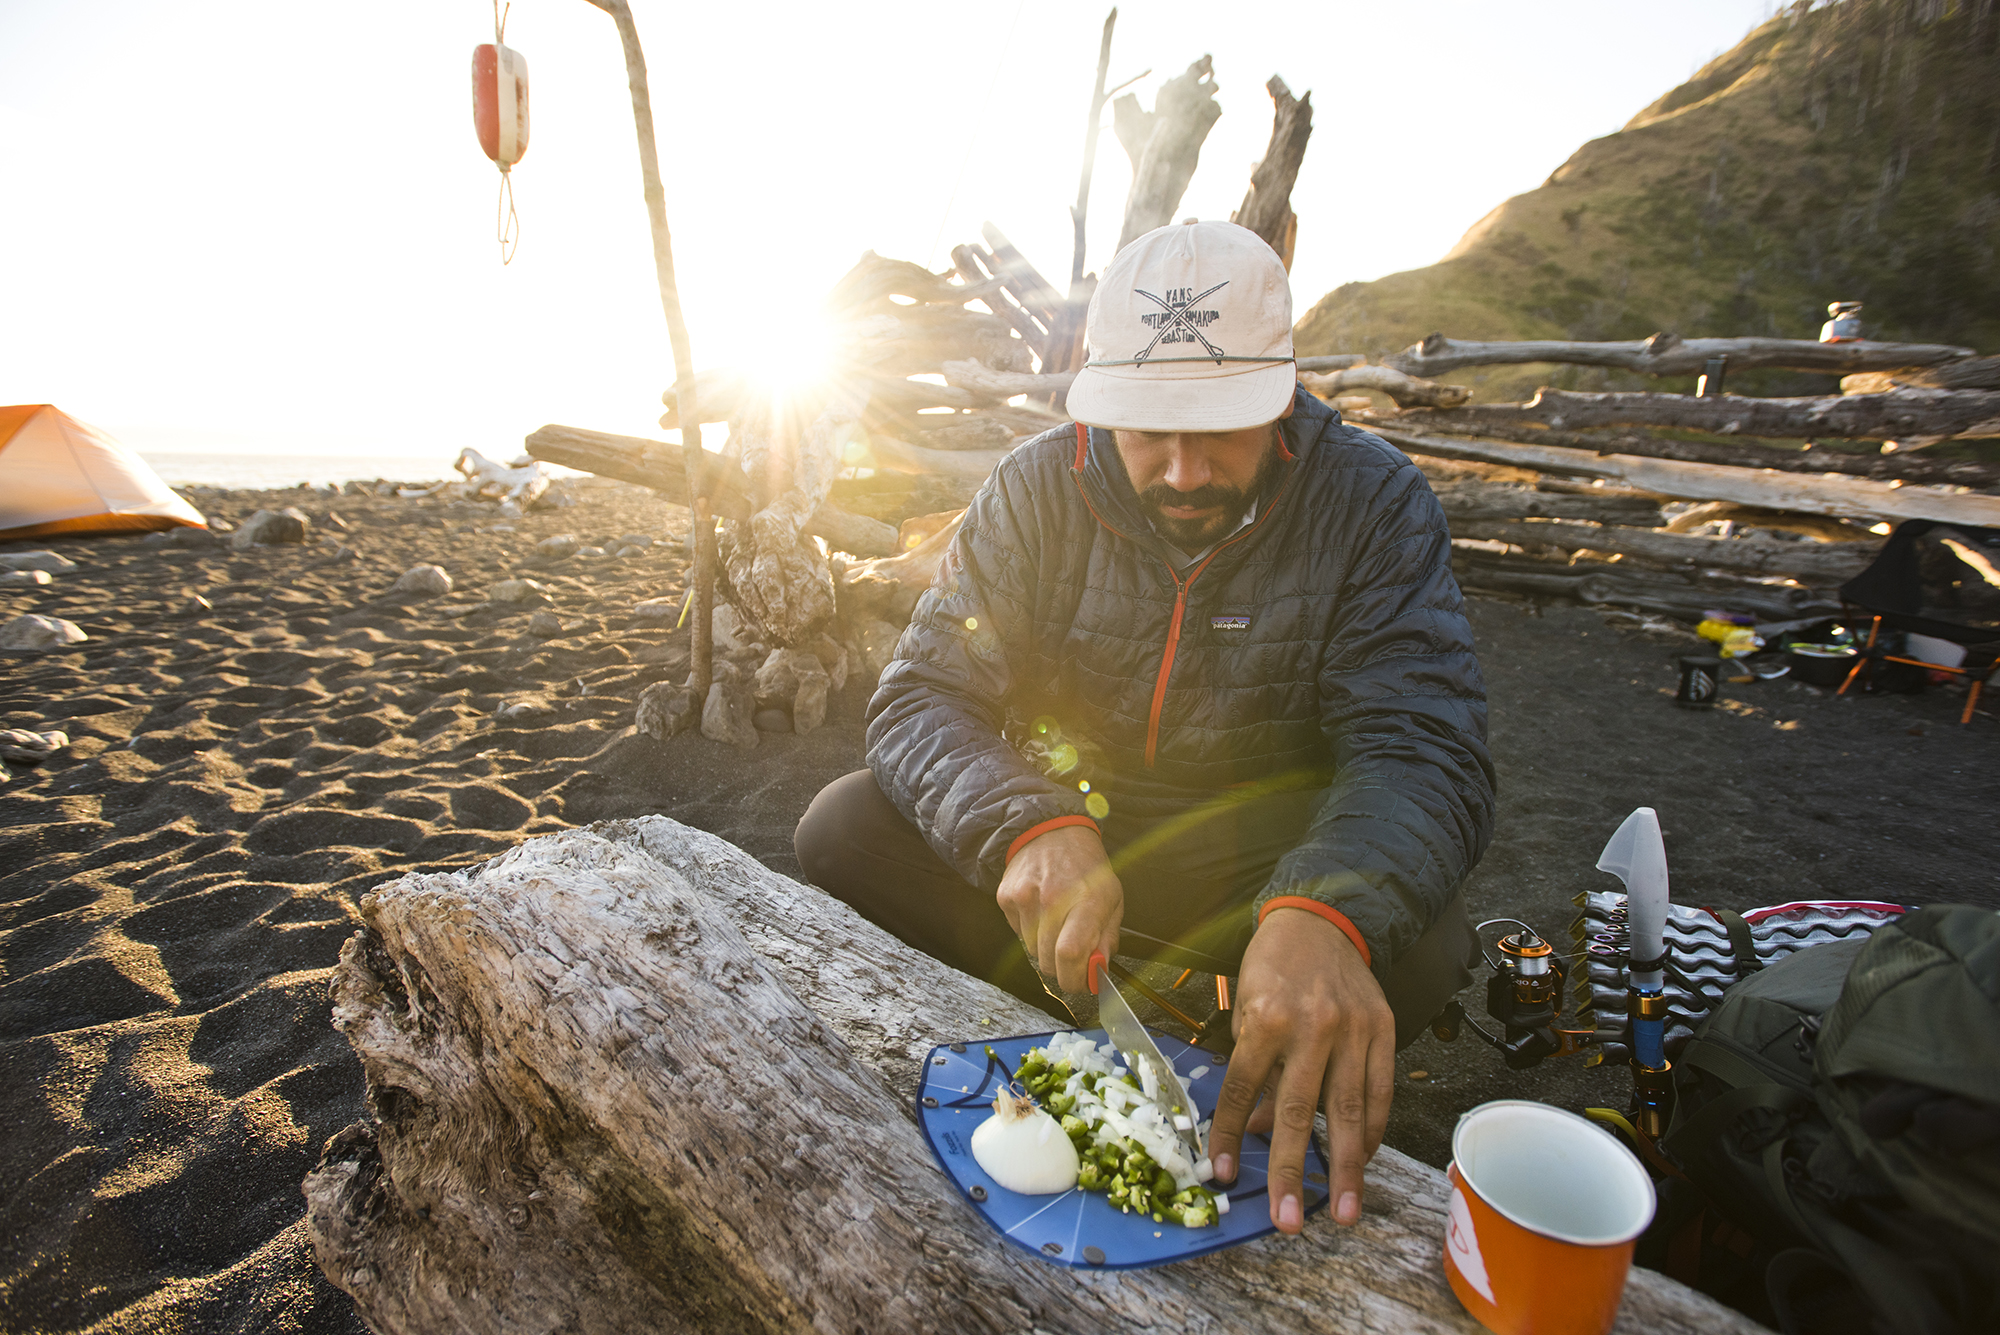
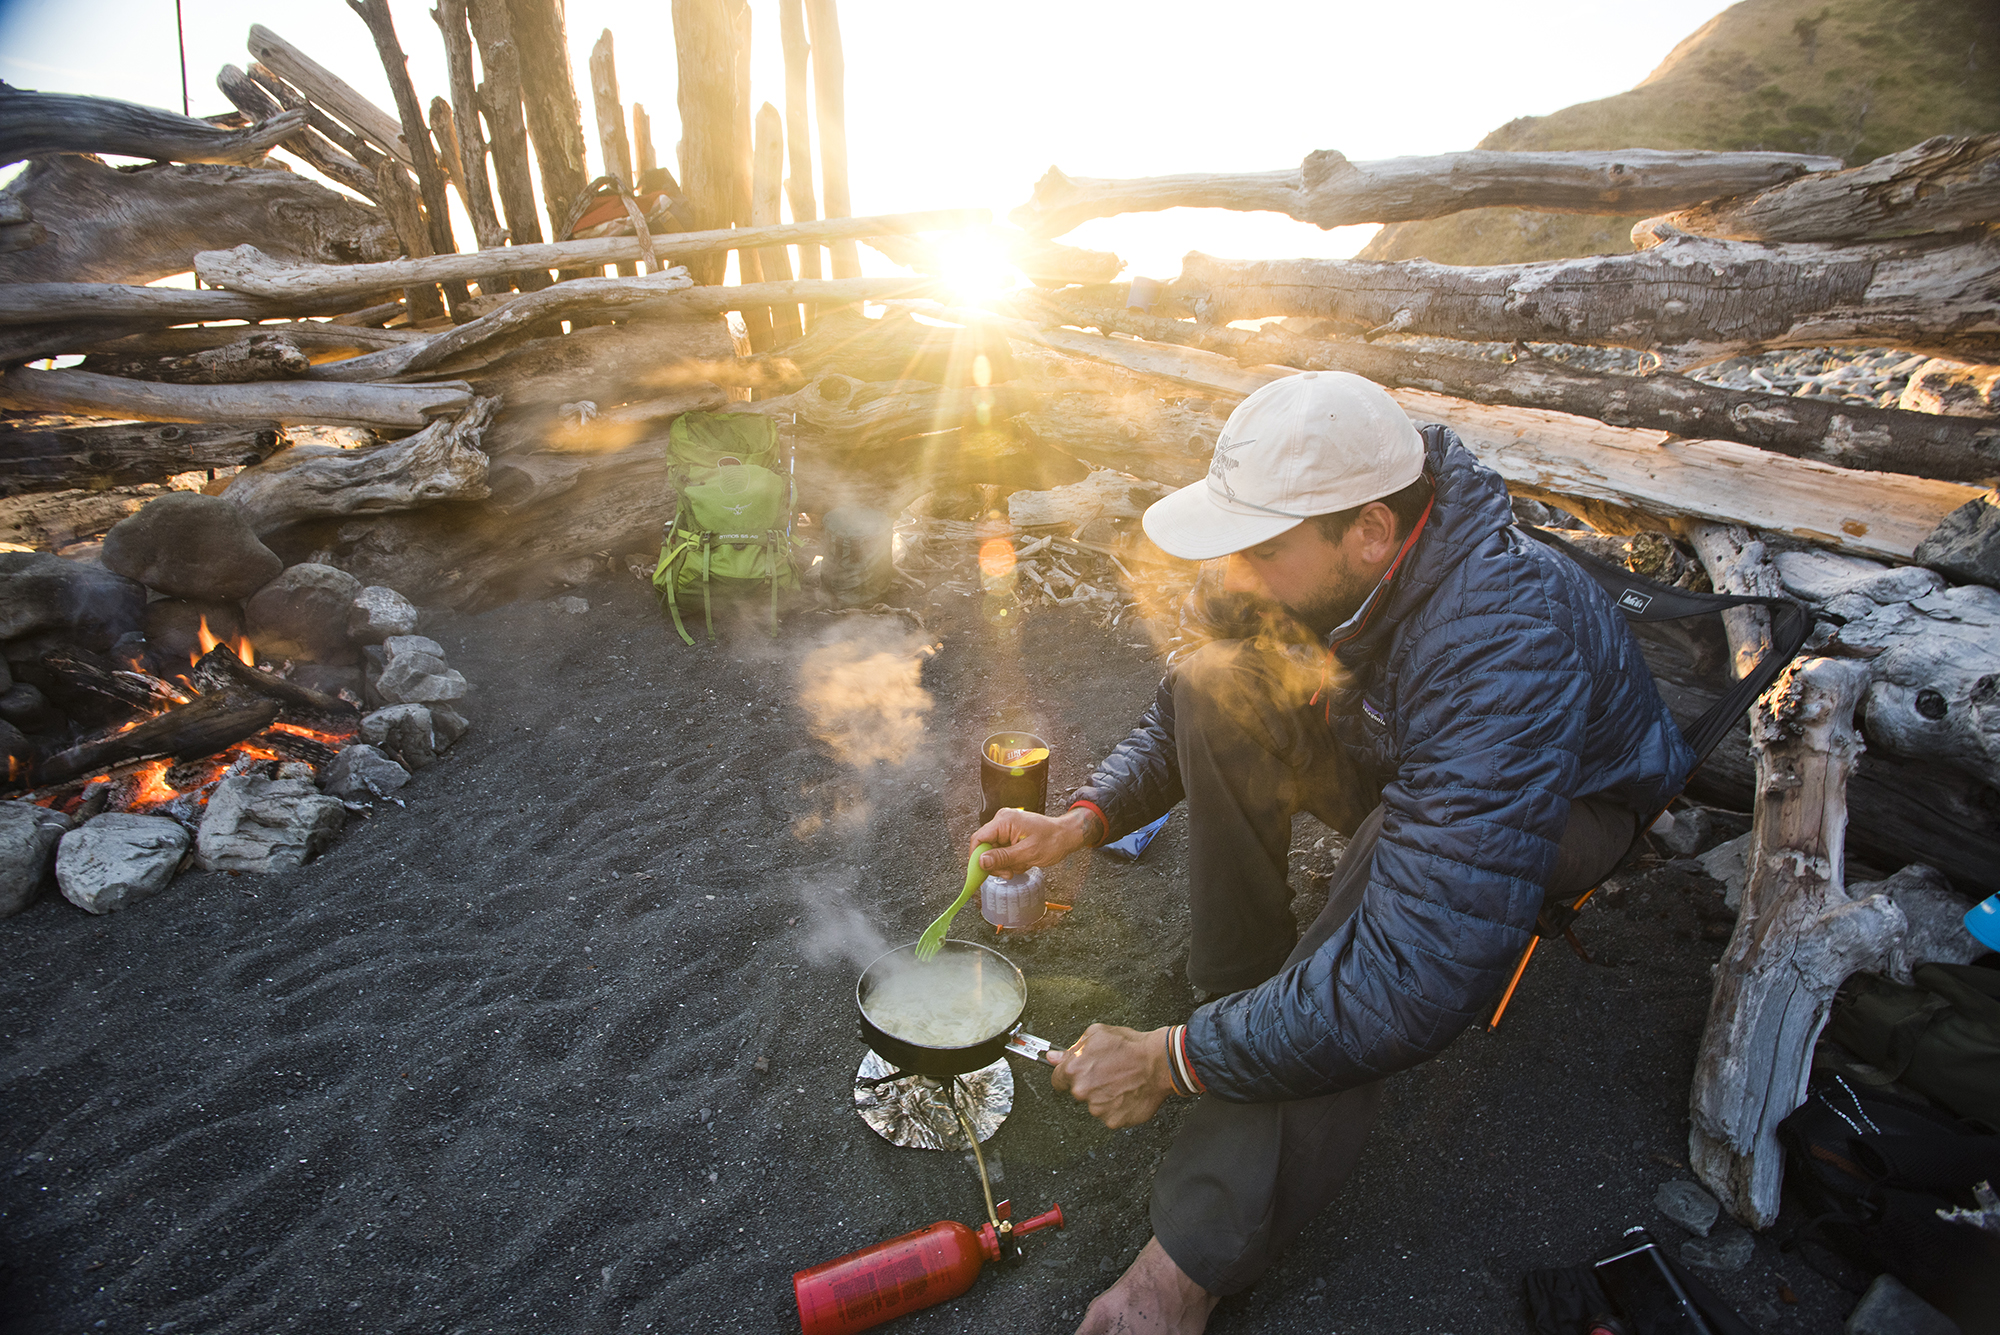
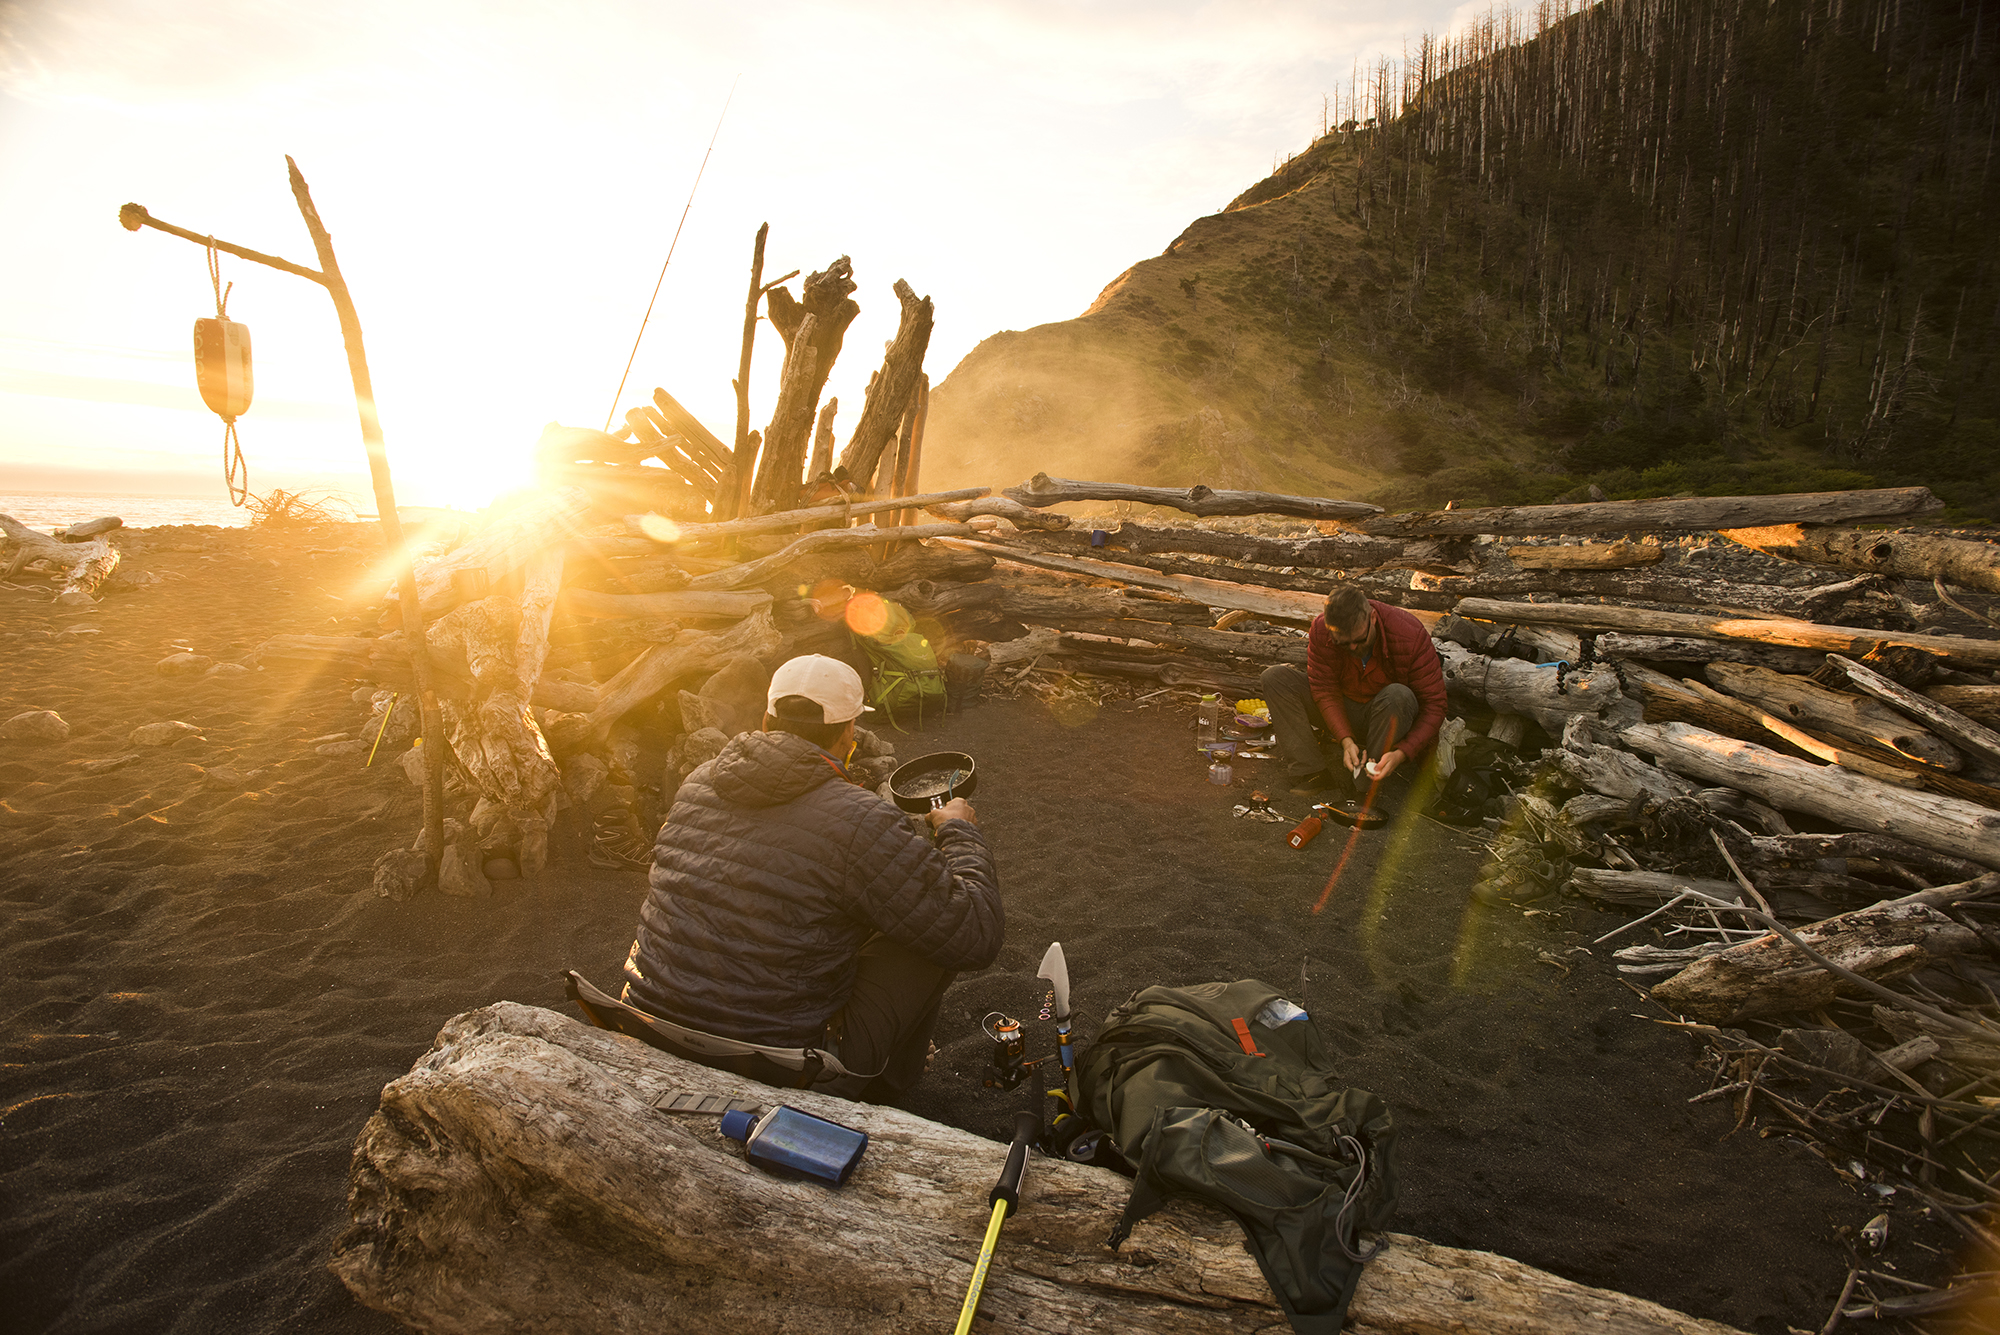
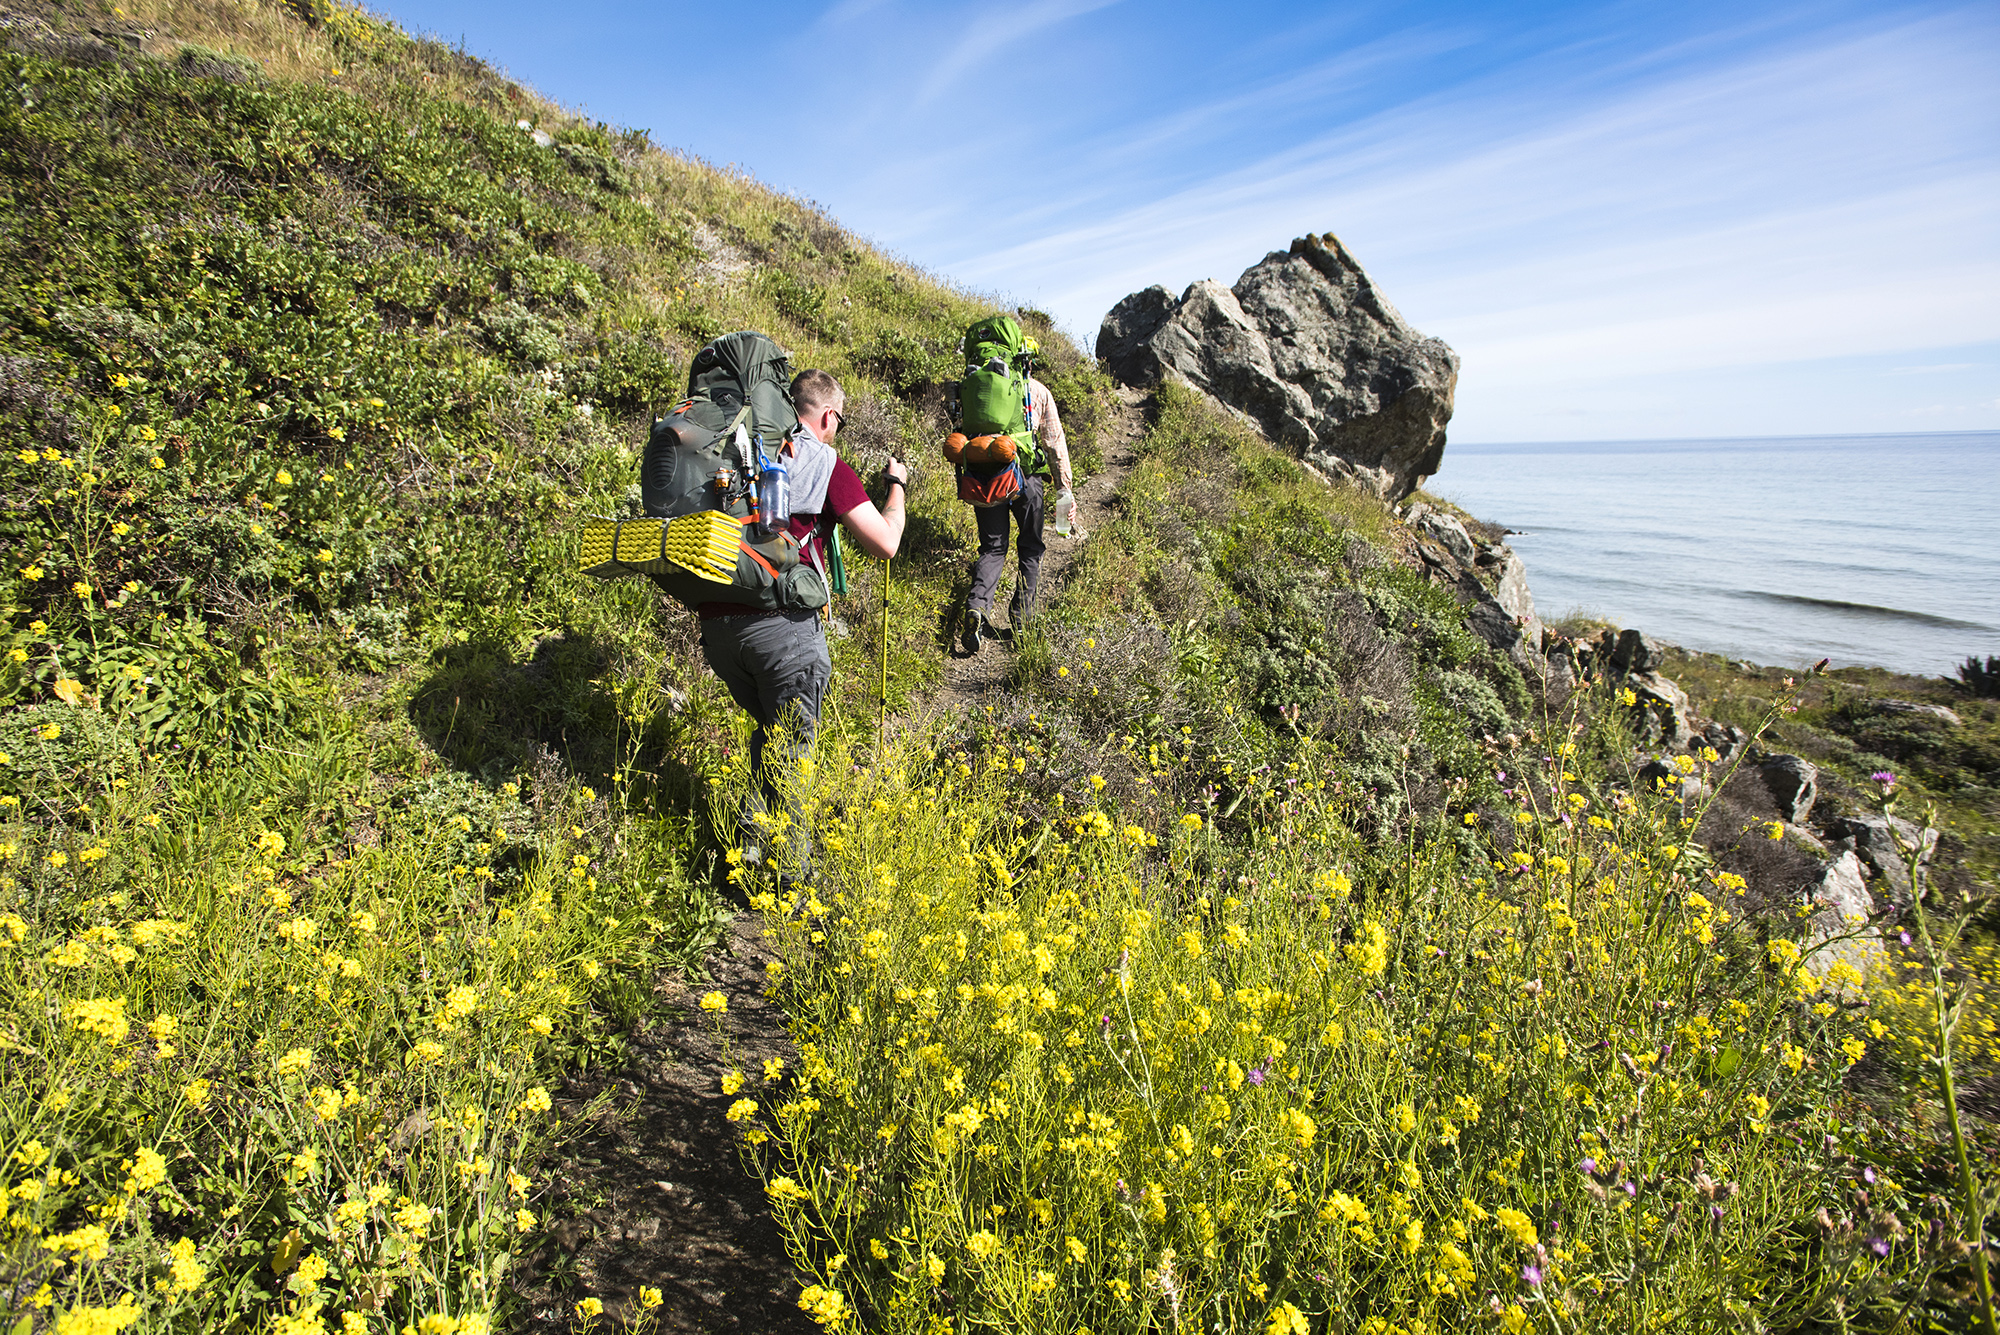
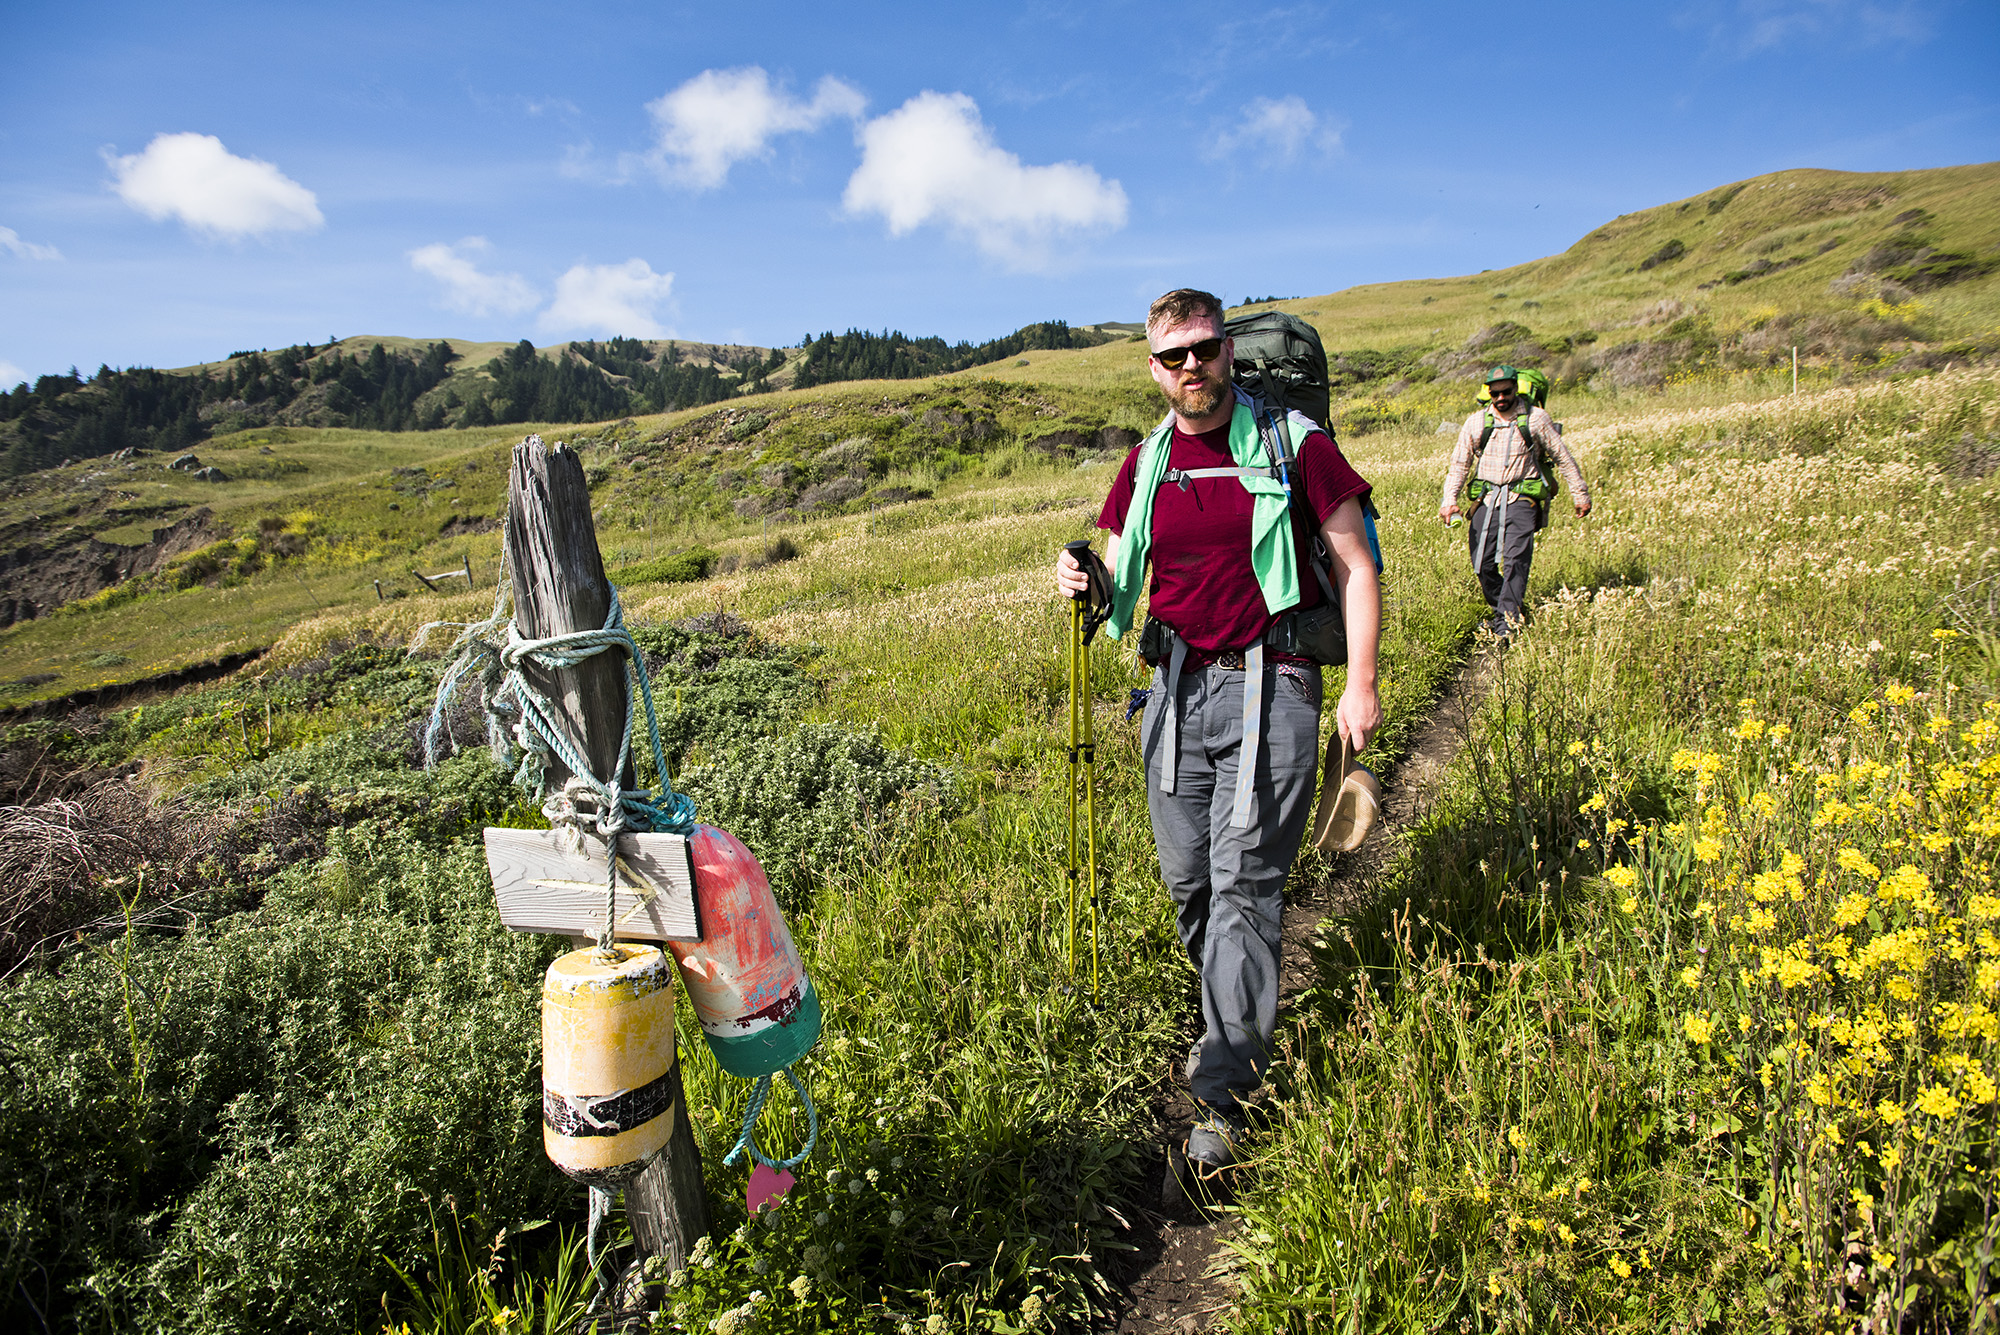
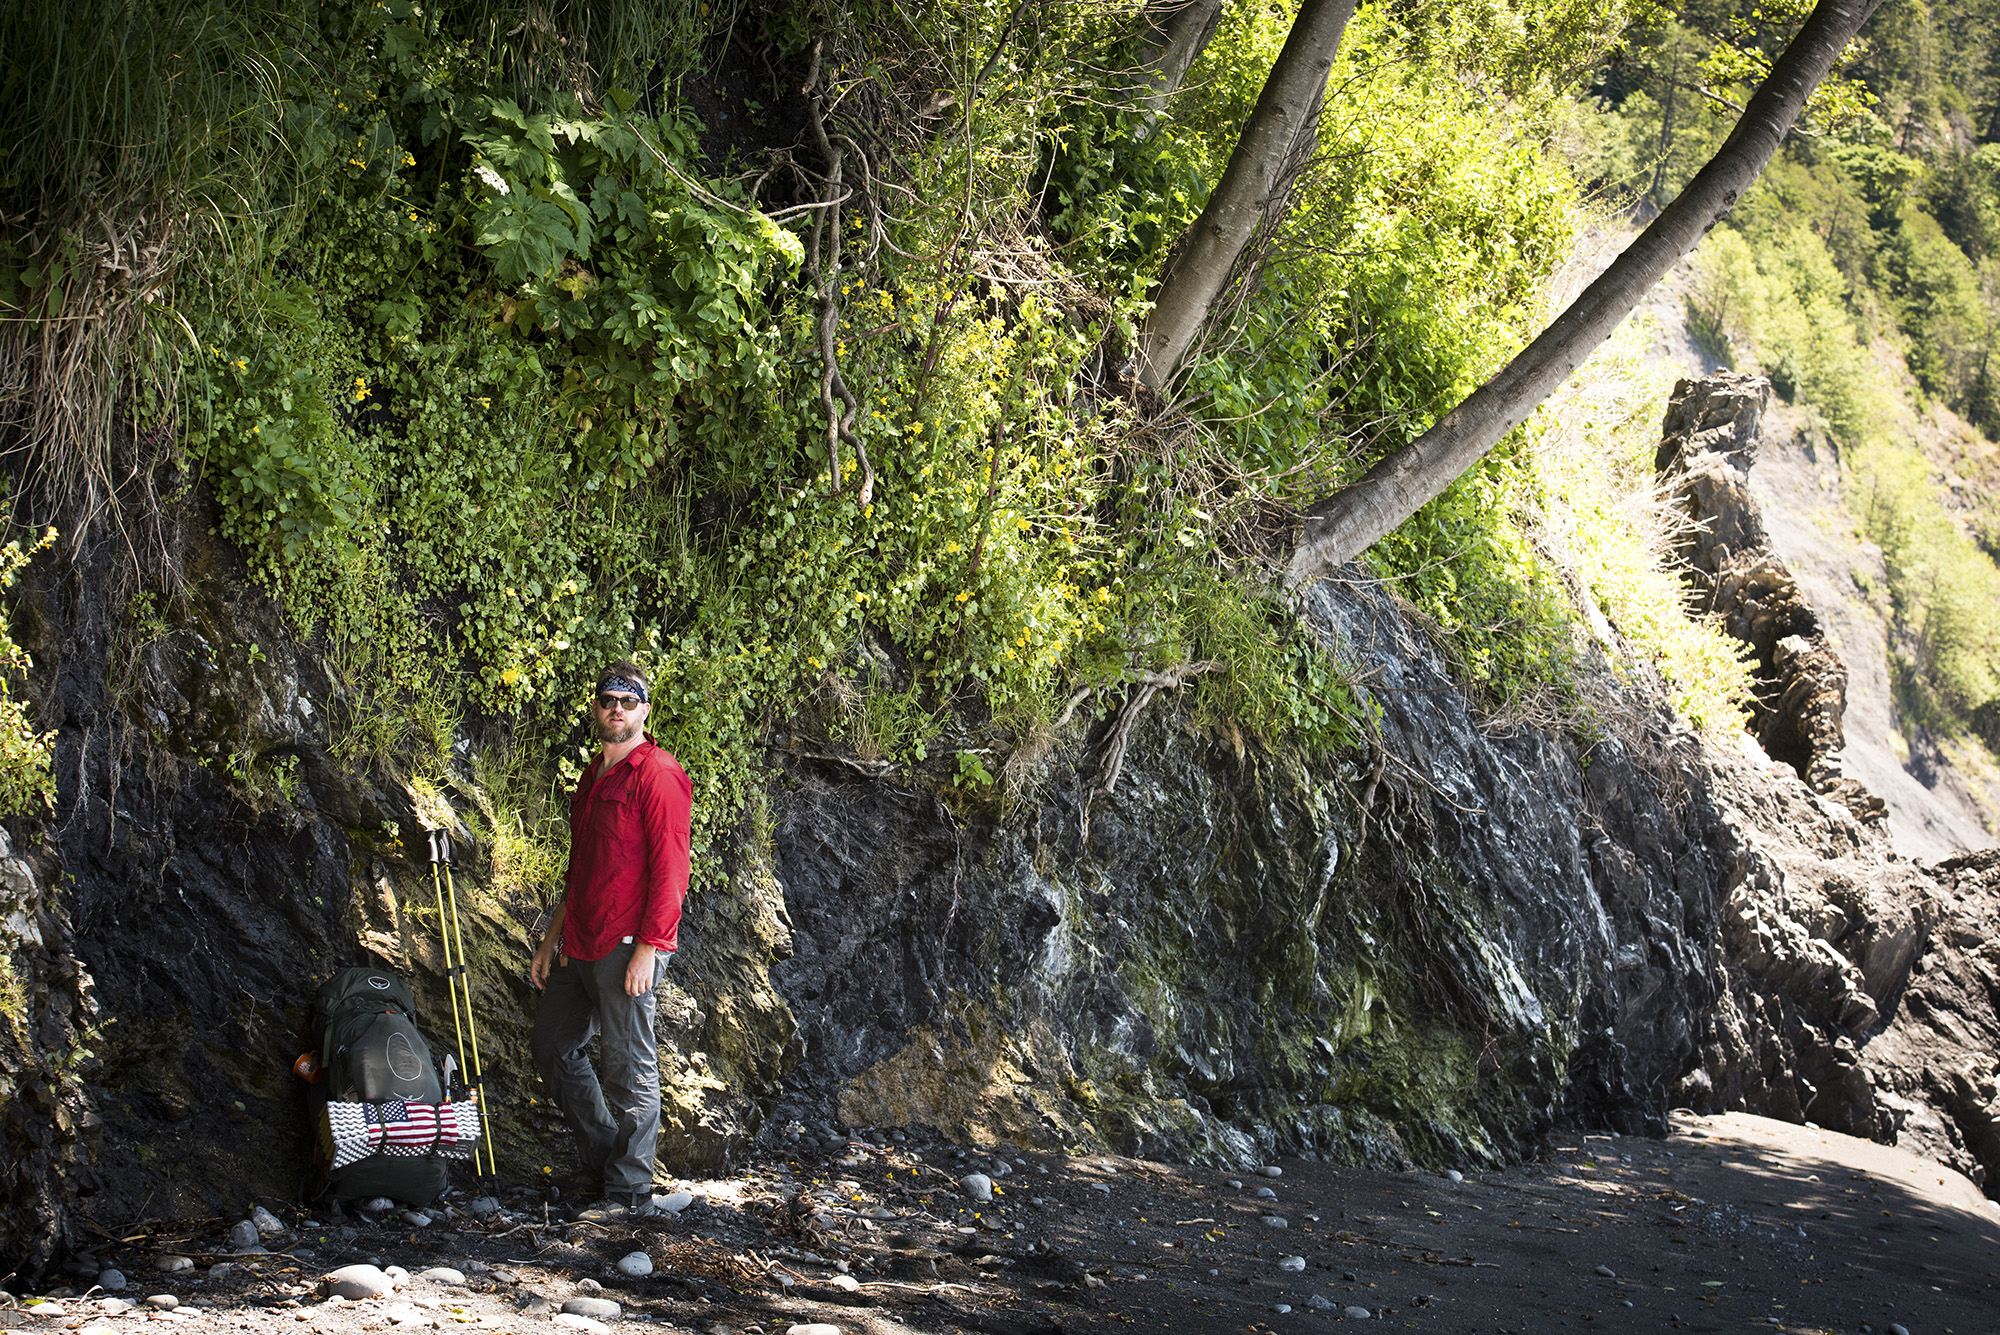
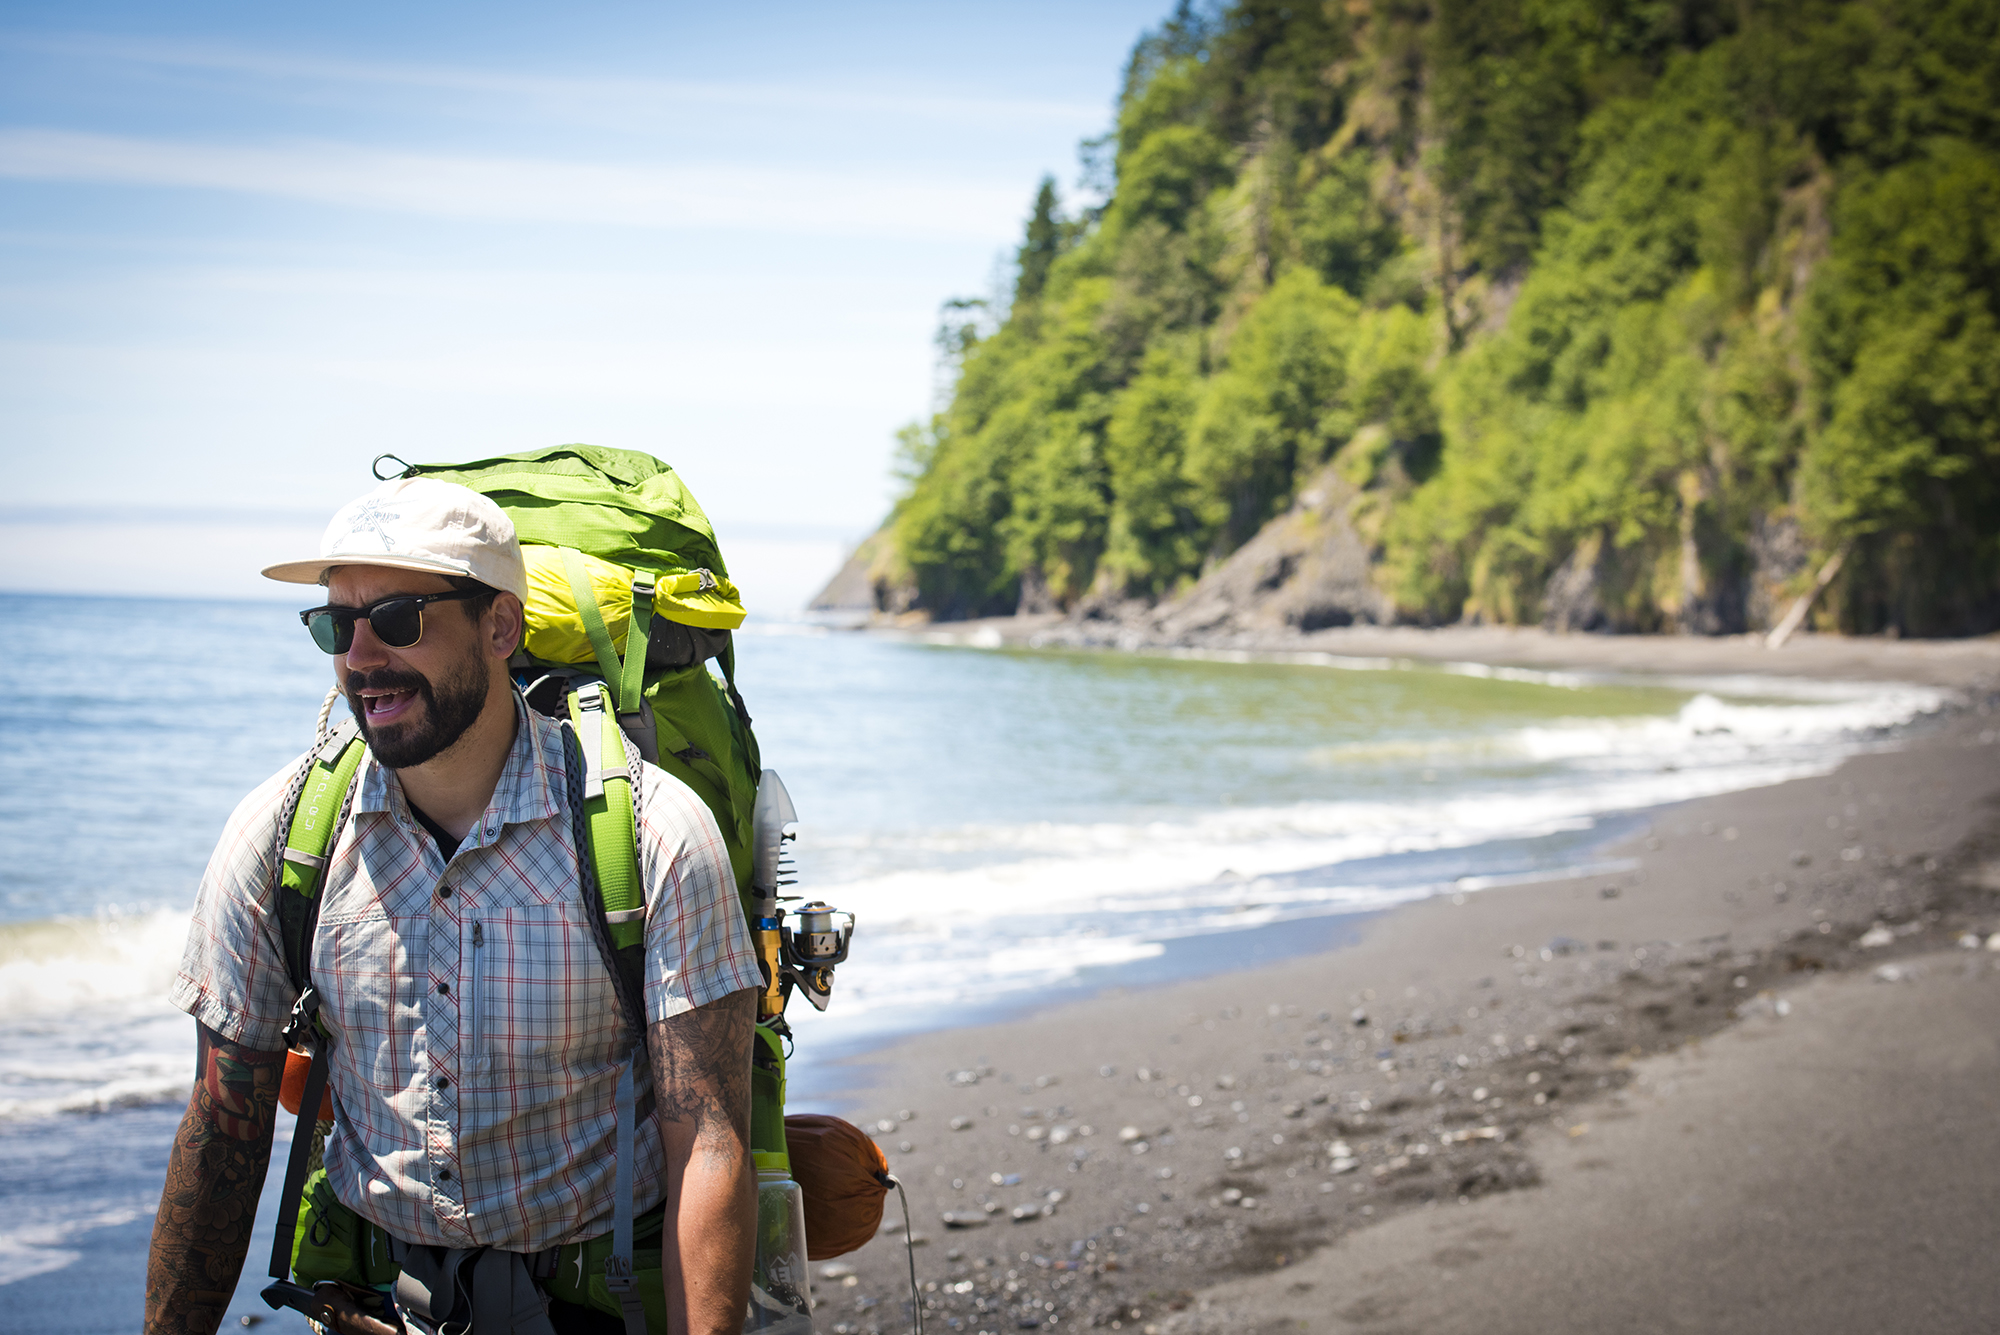
Backpacking the Lost Coast
How to Backpack The Lost Coast - Photos
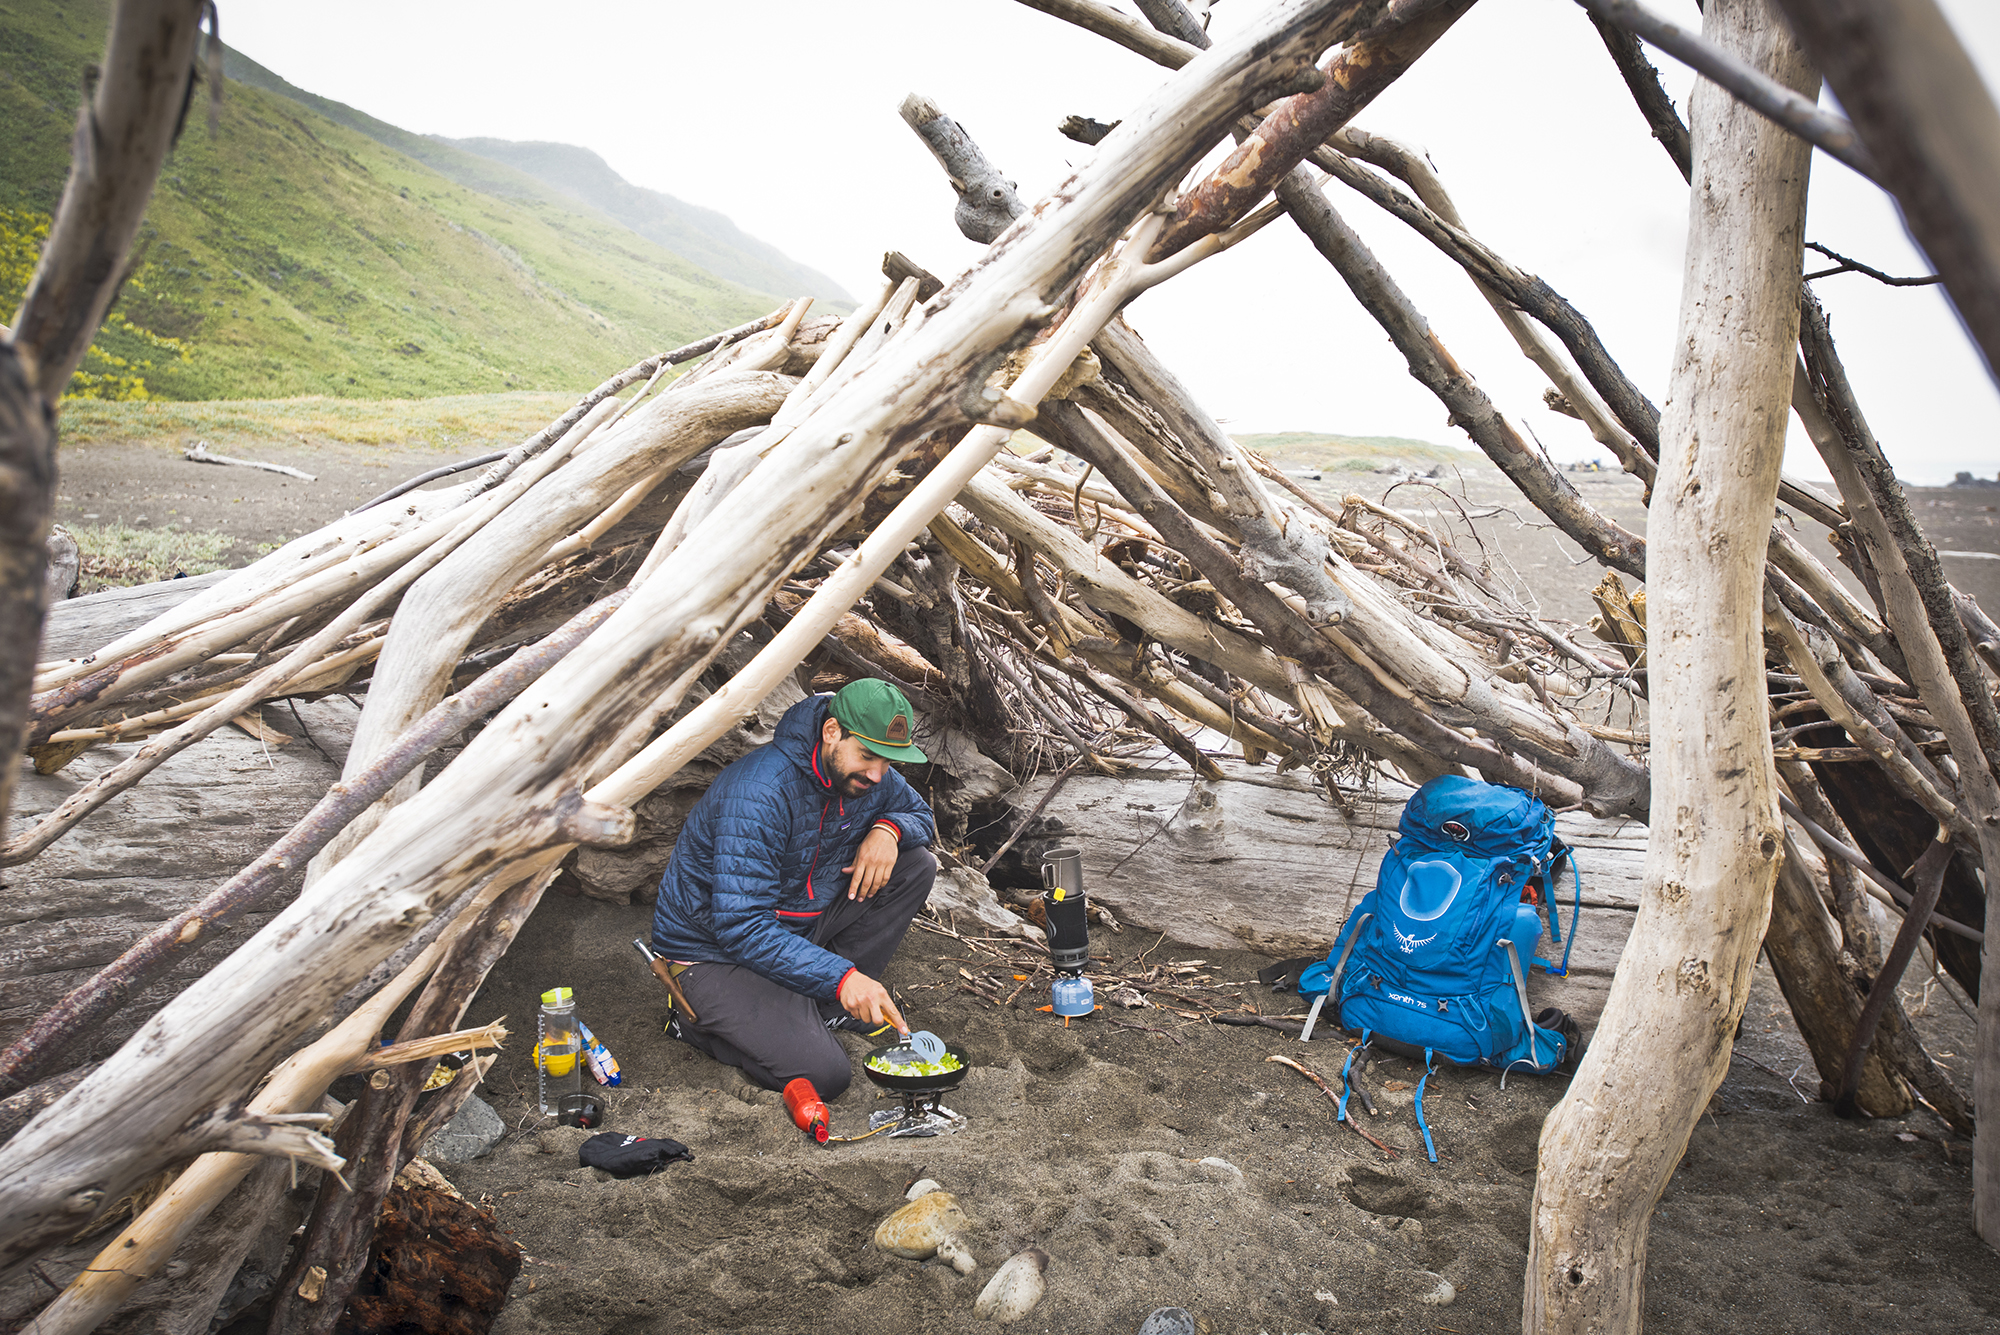
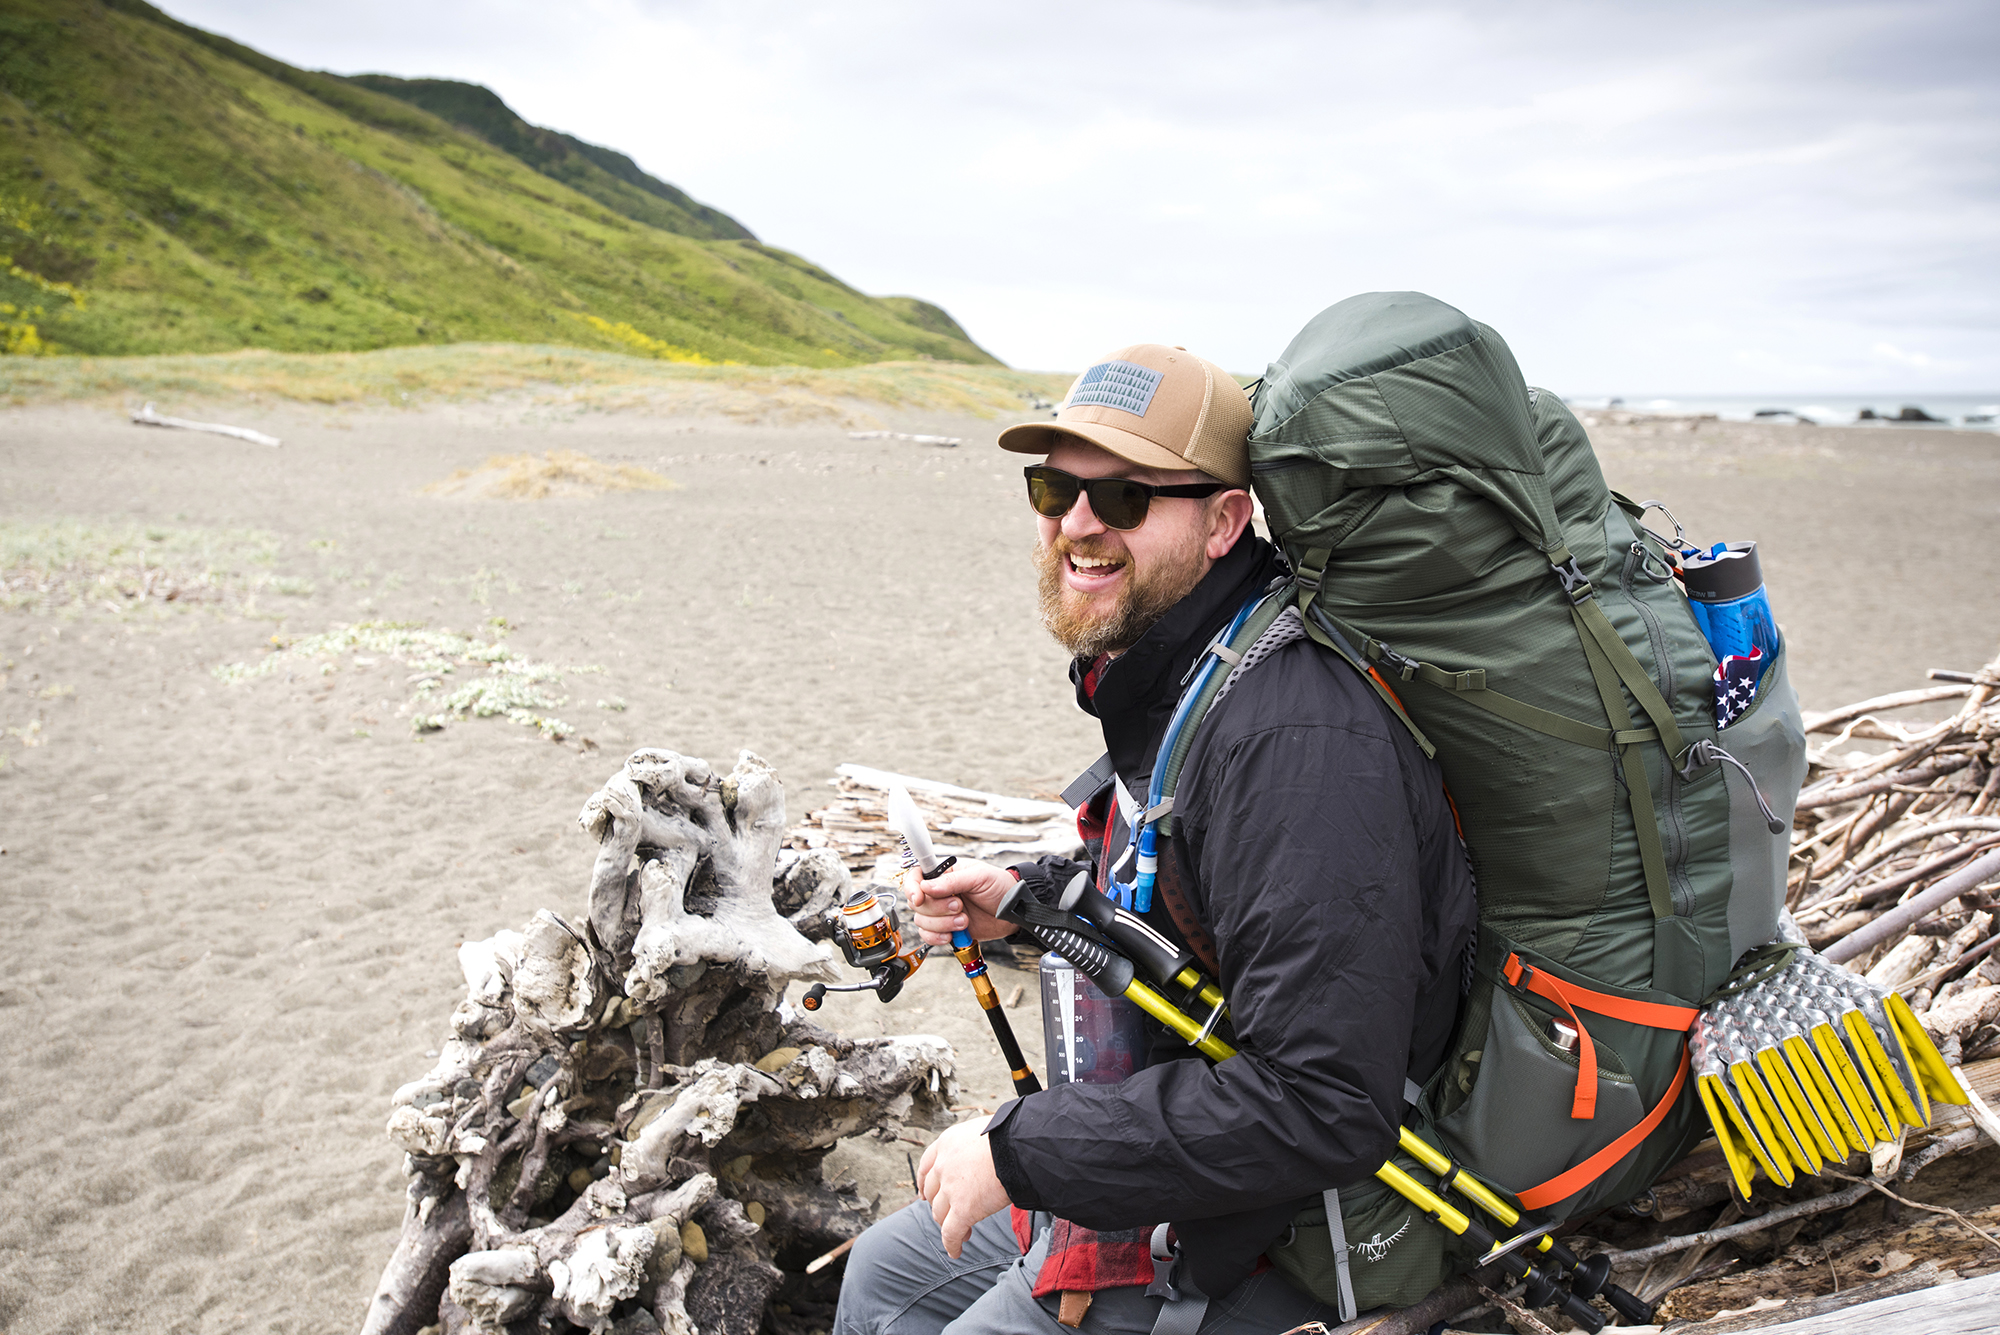
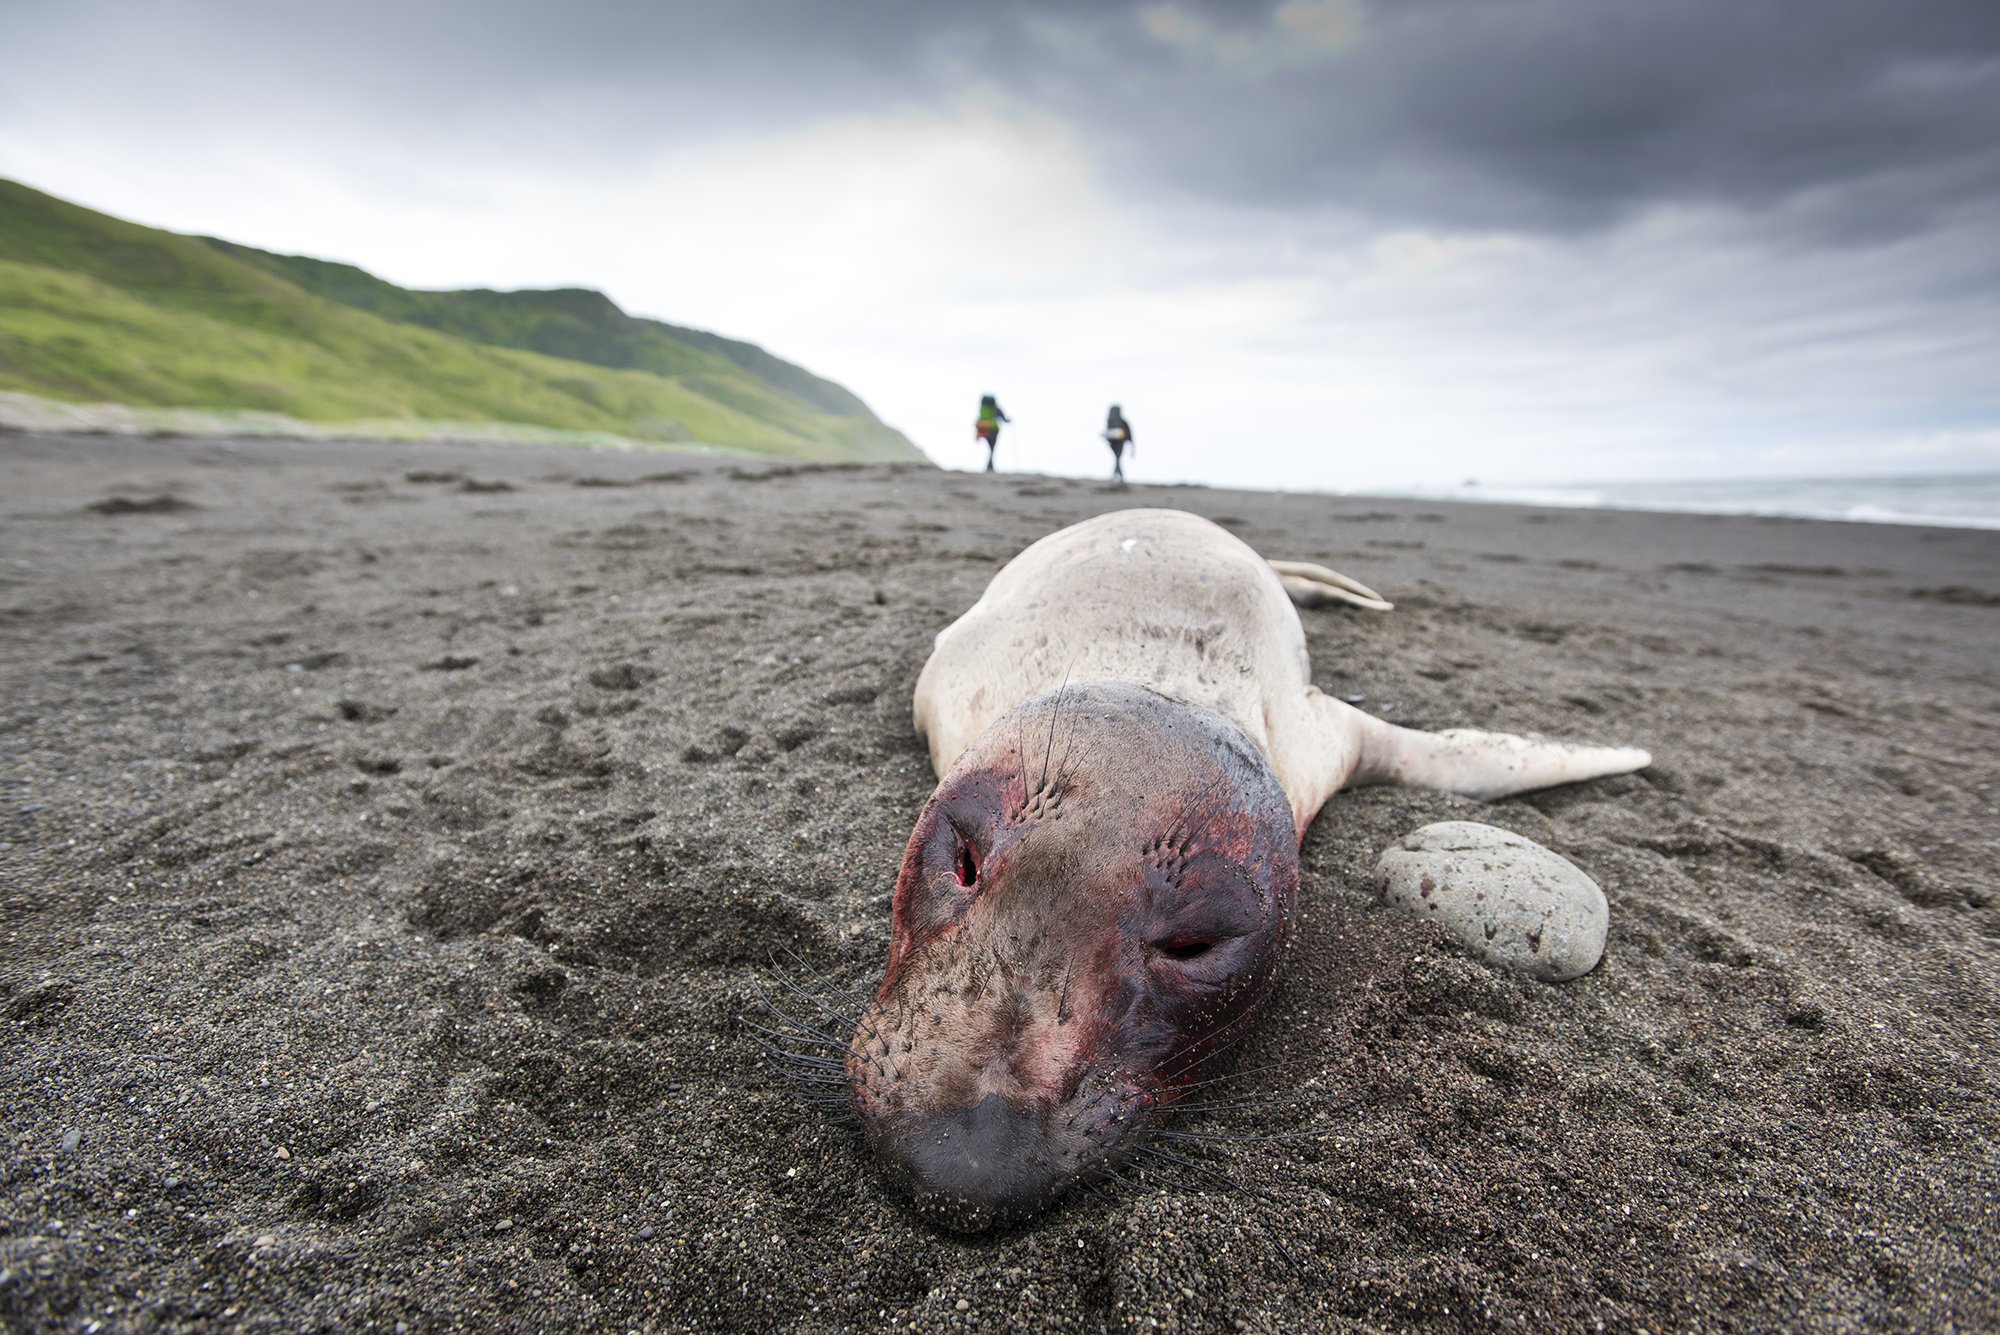
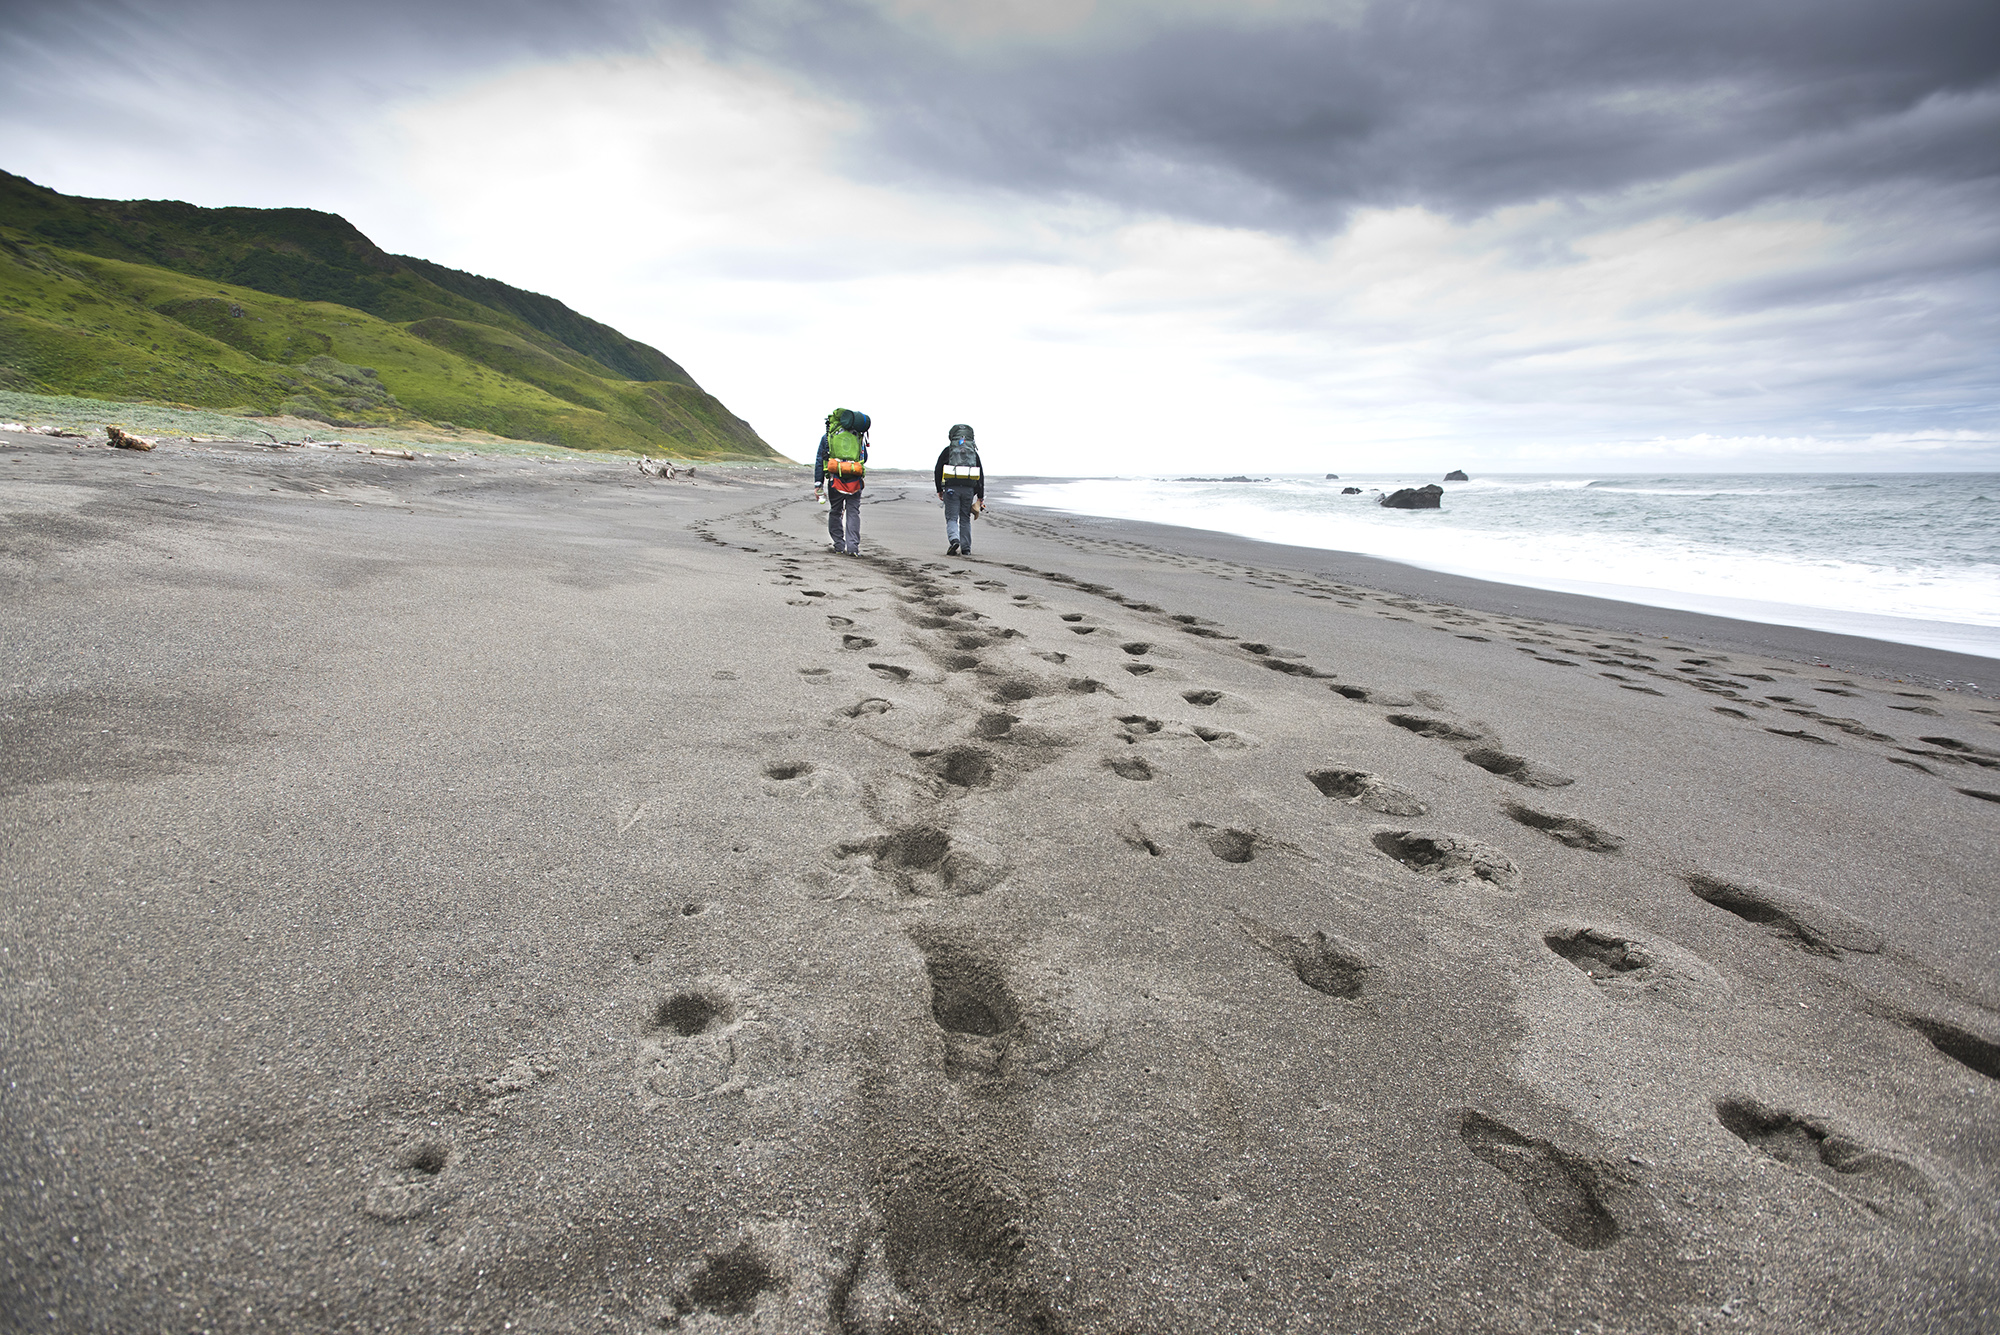
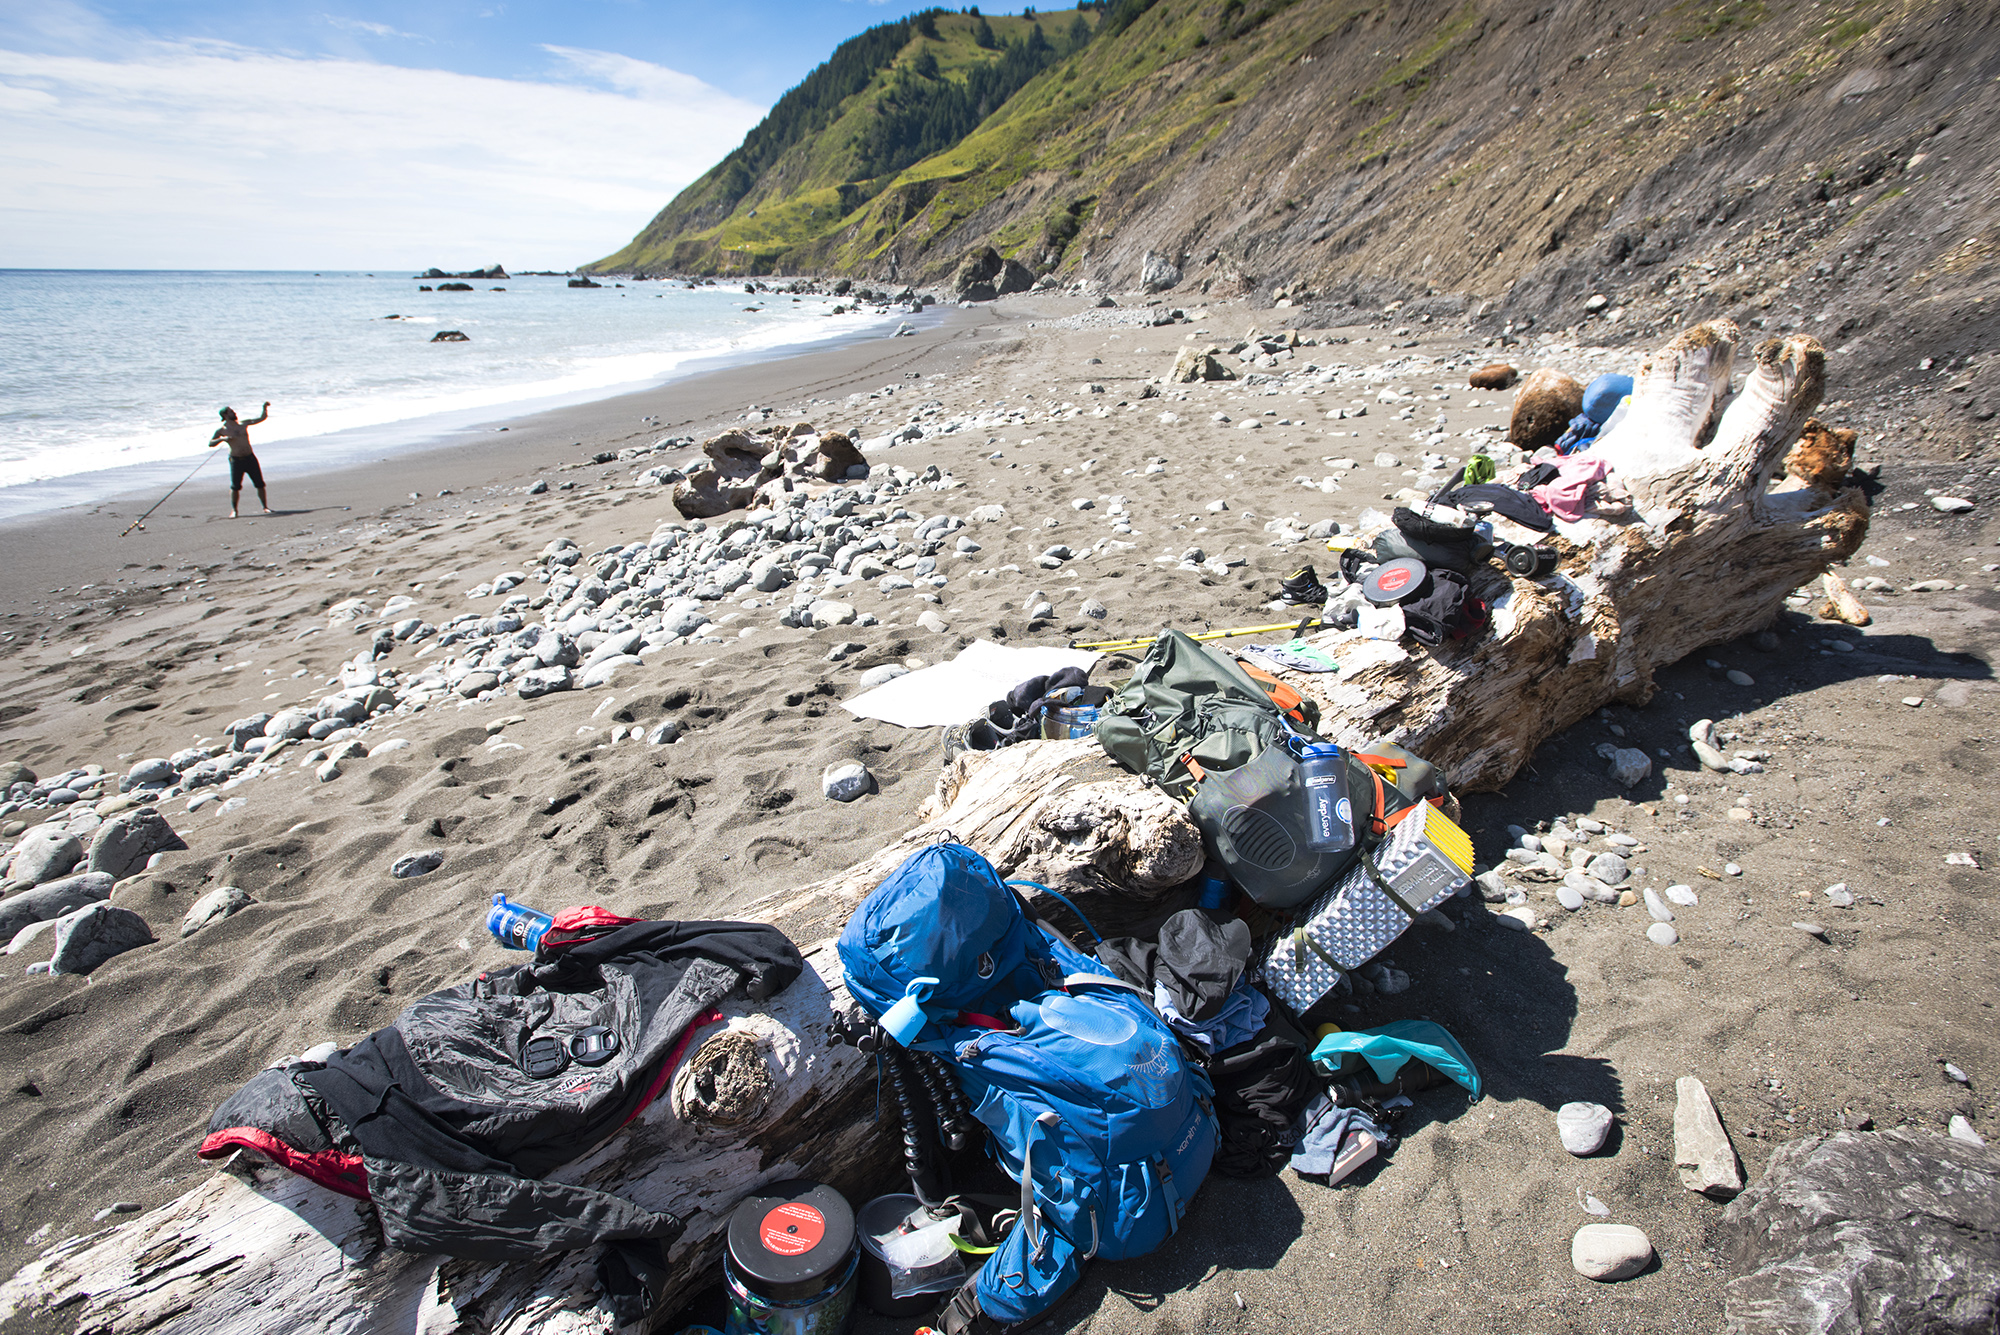
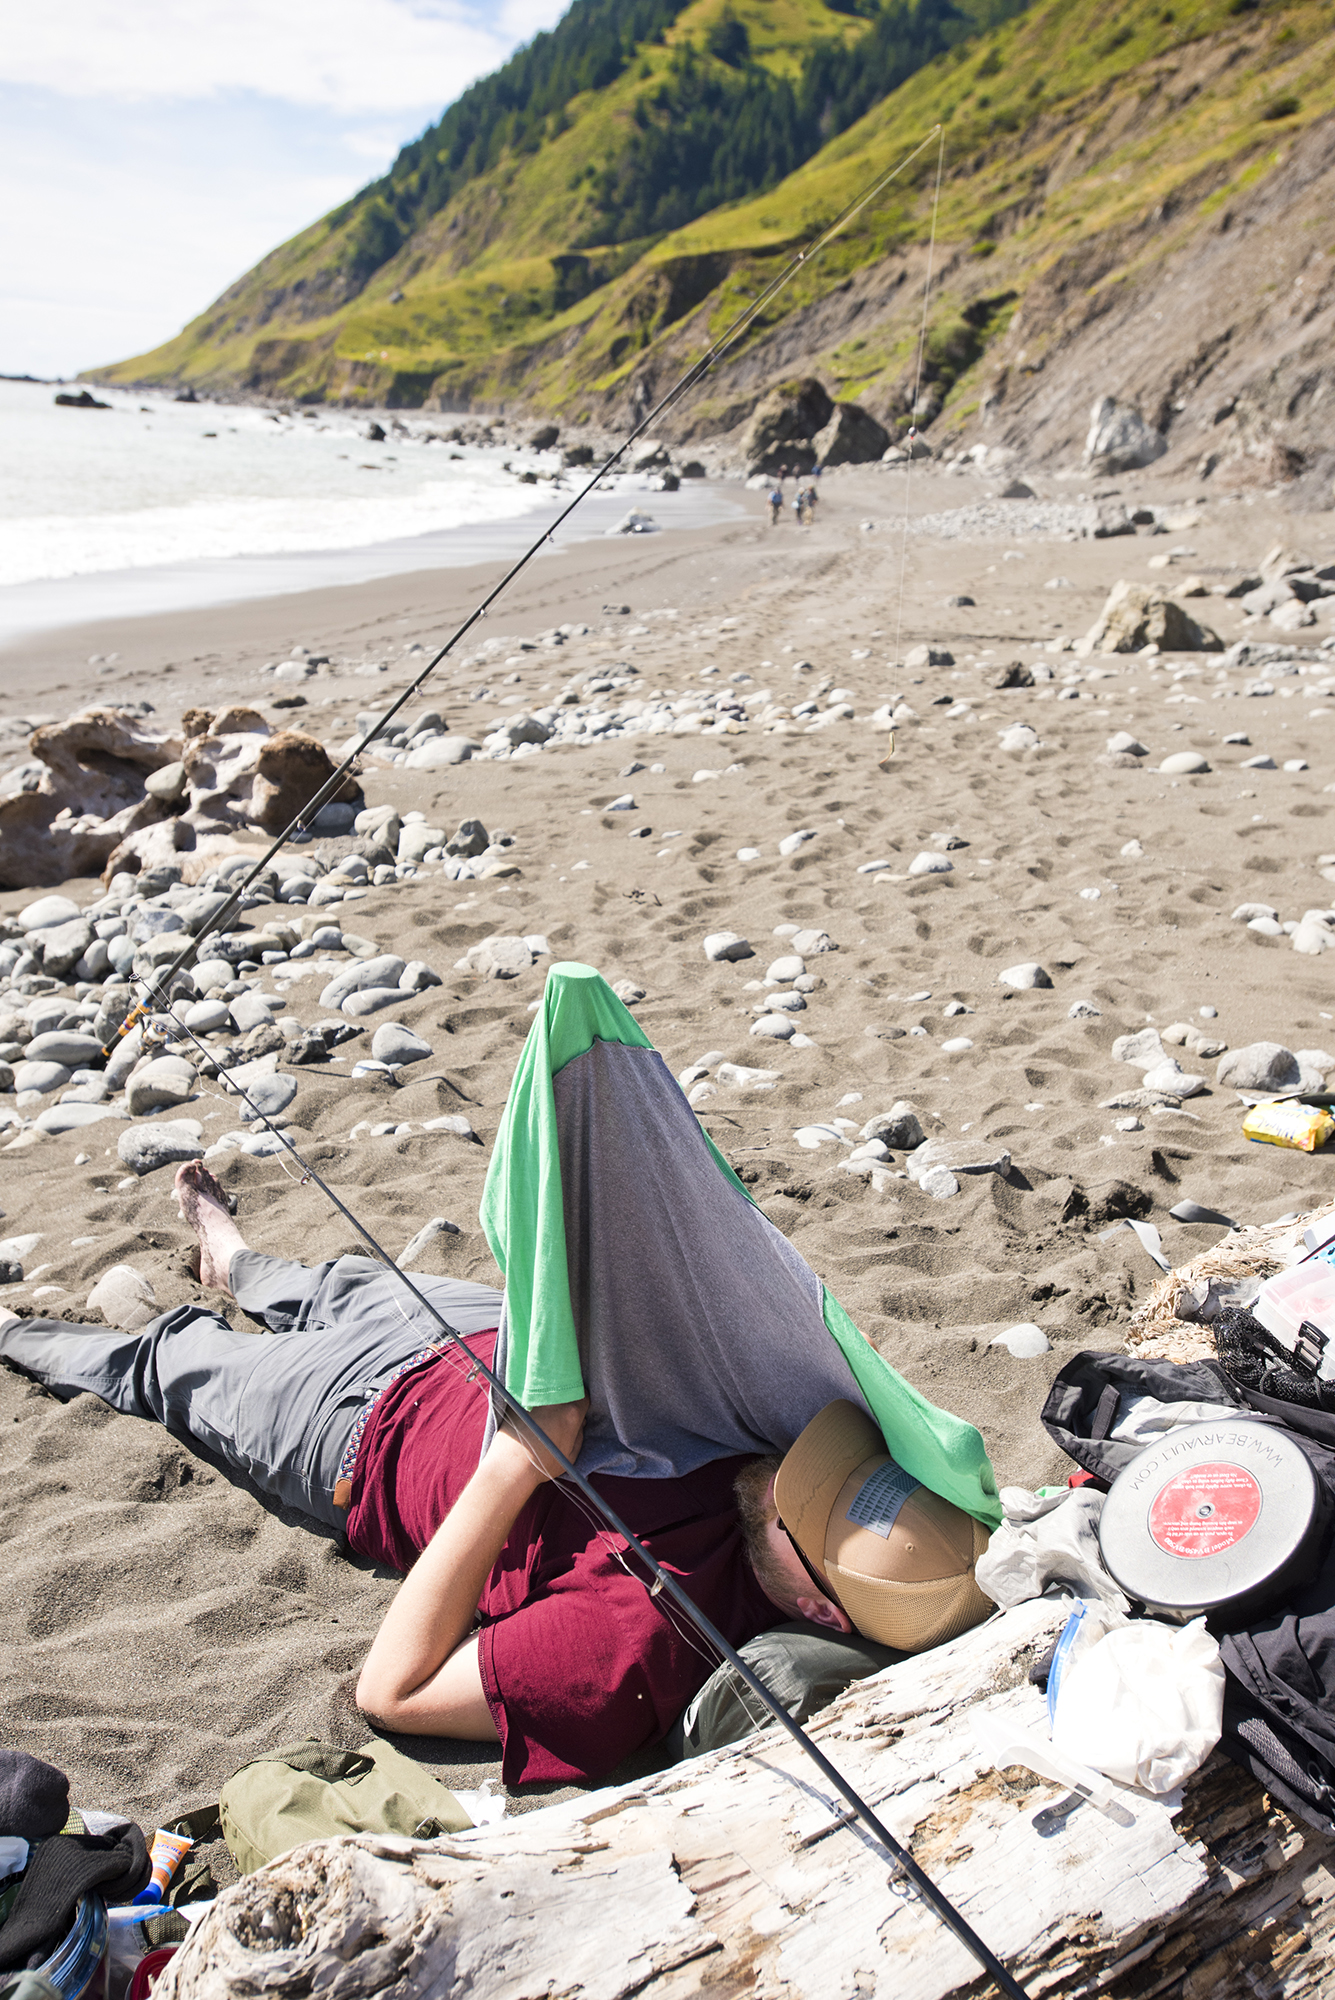
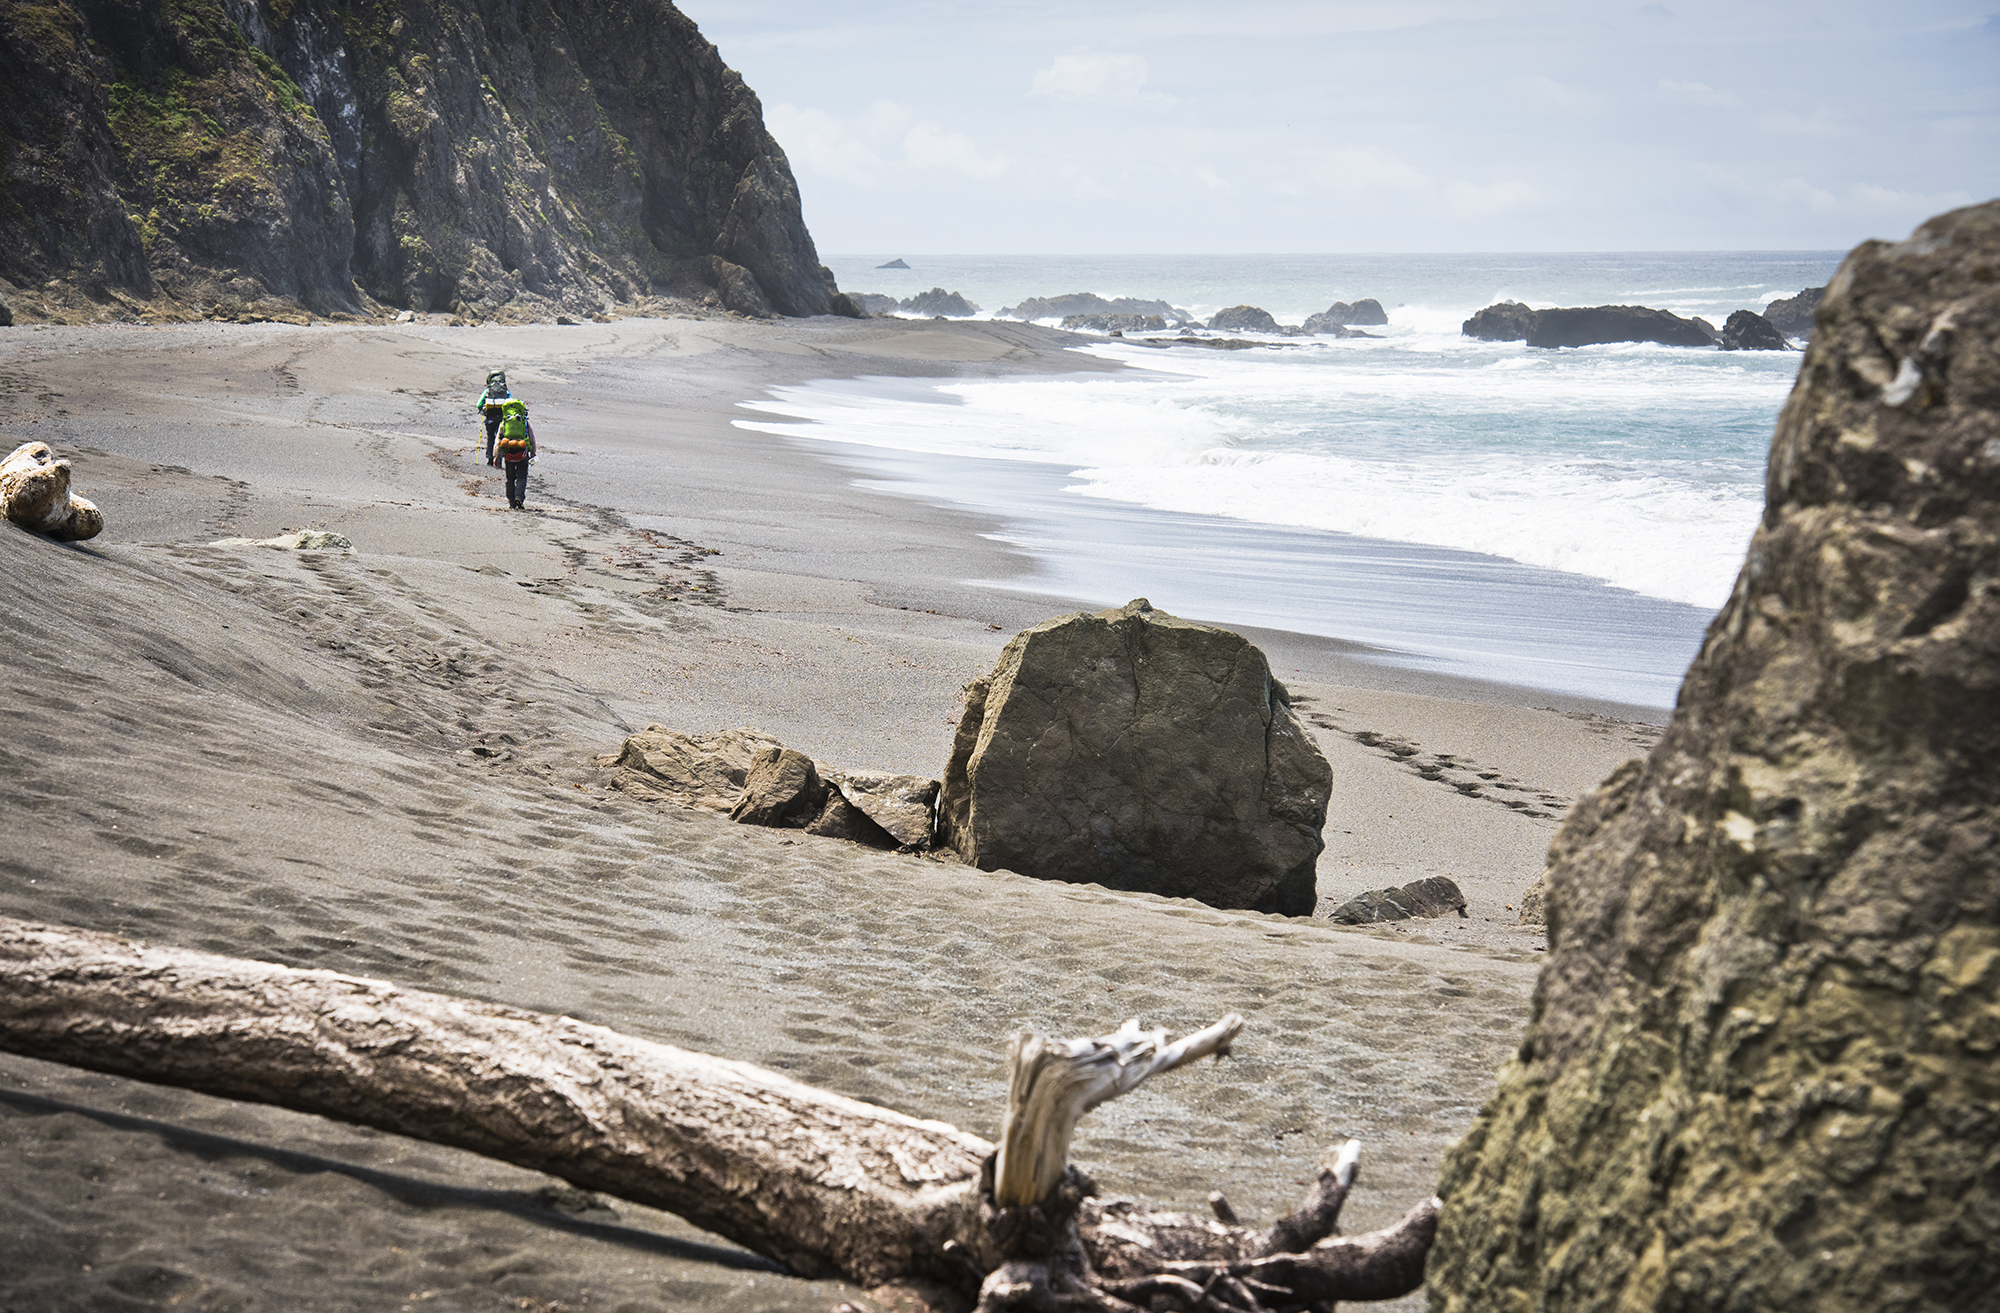
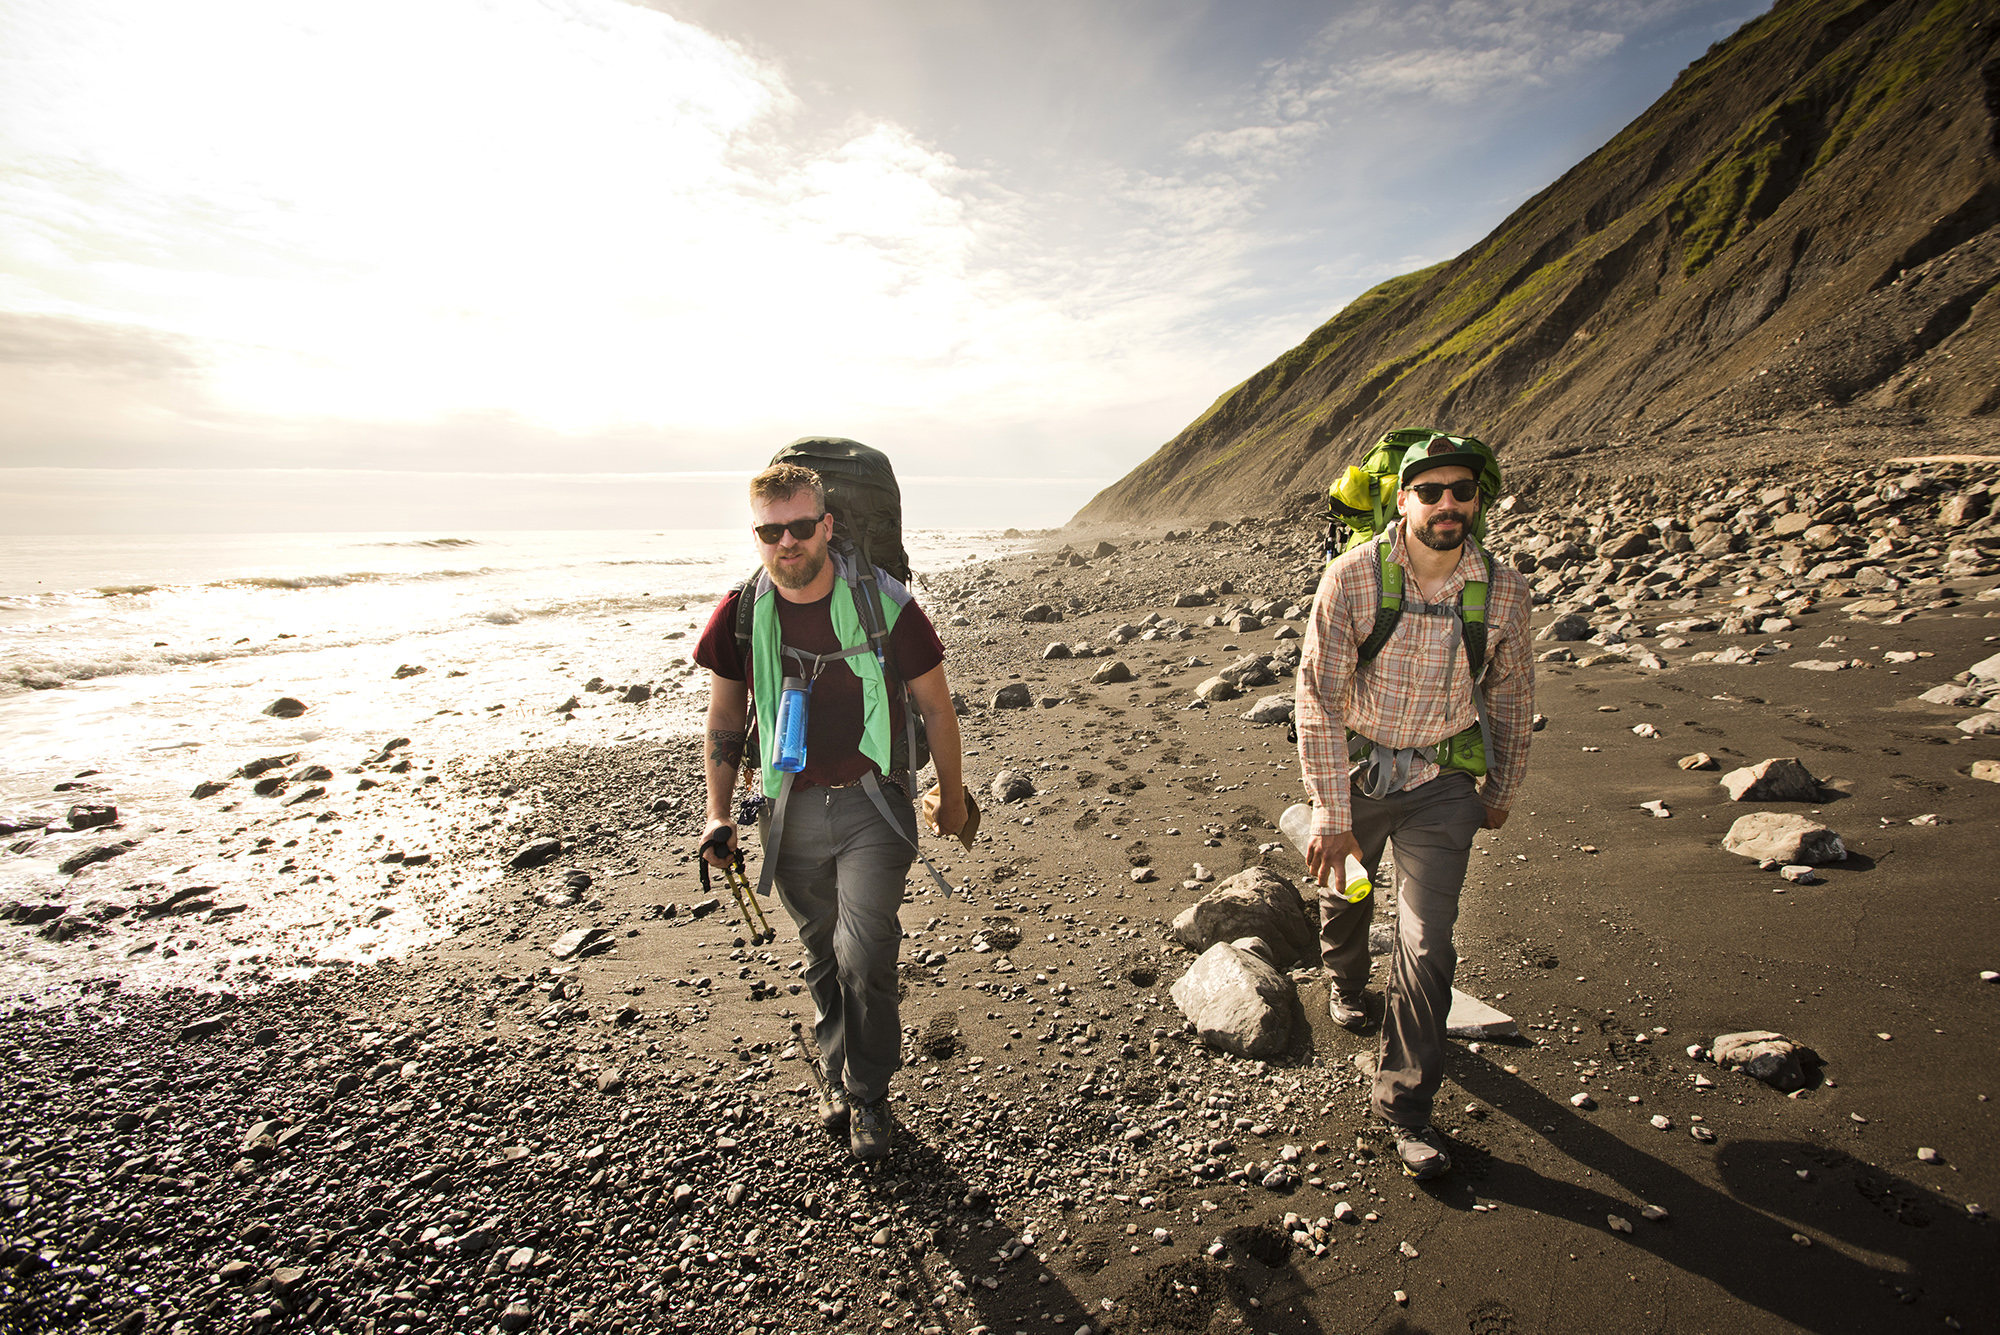
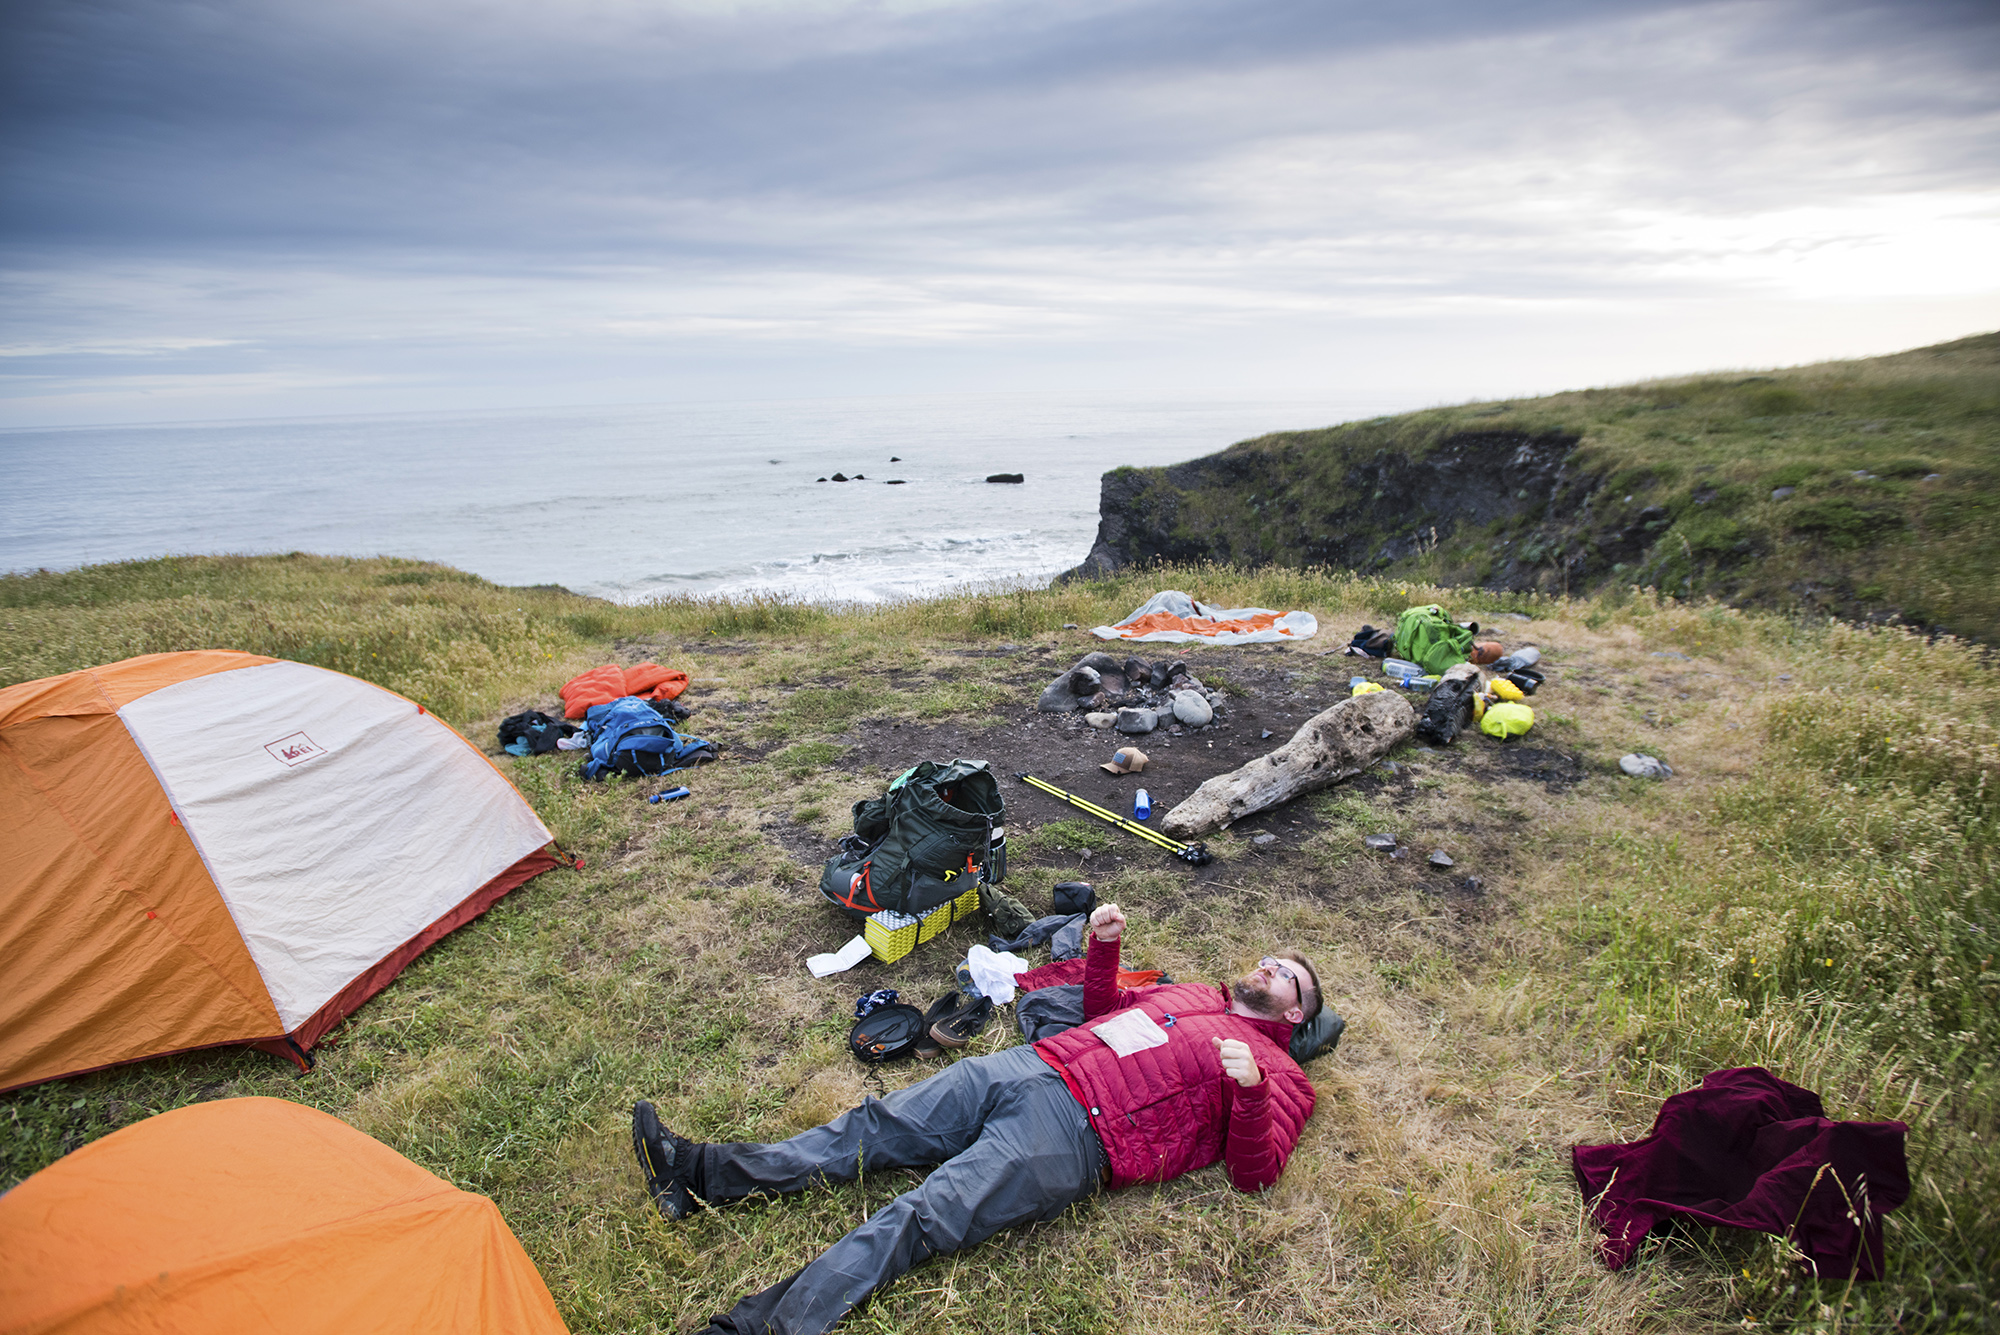
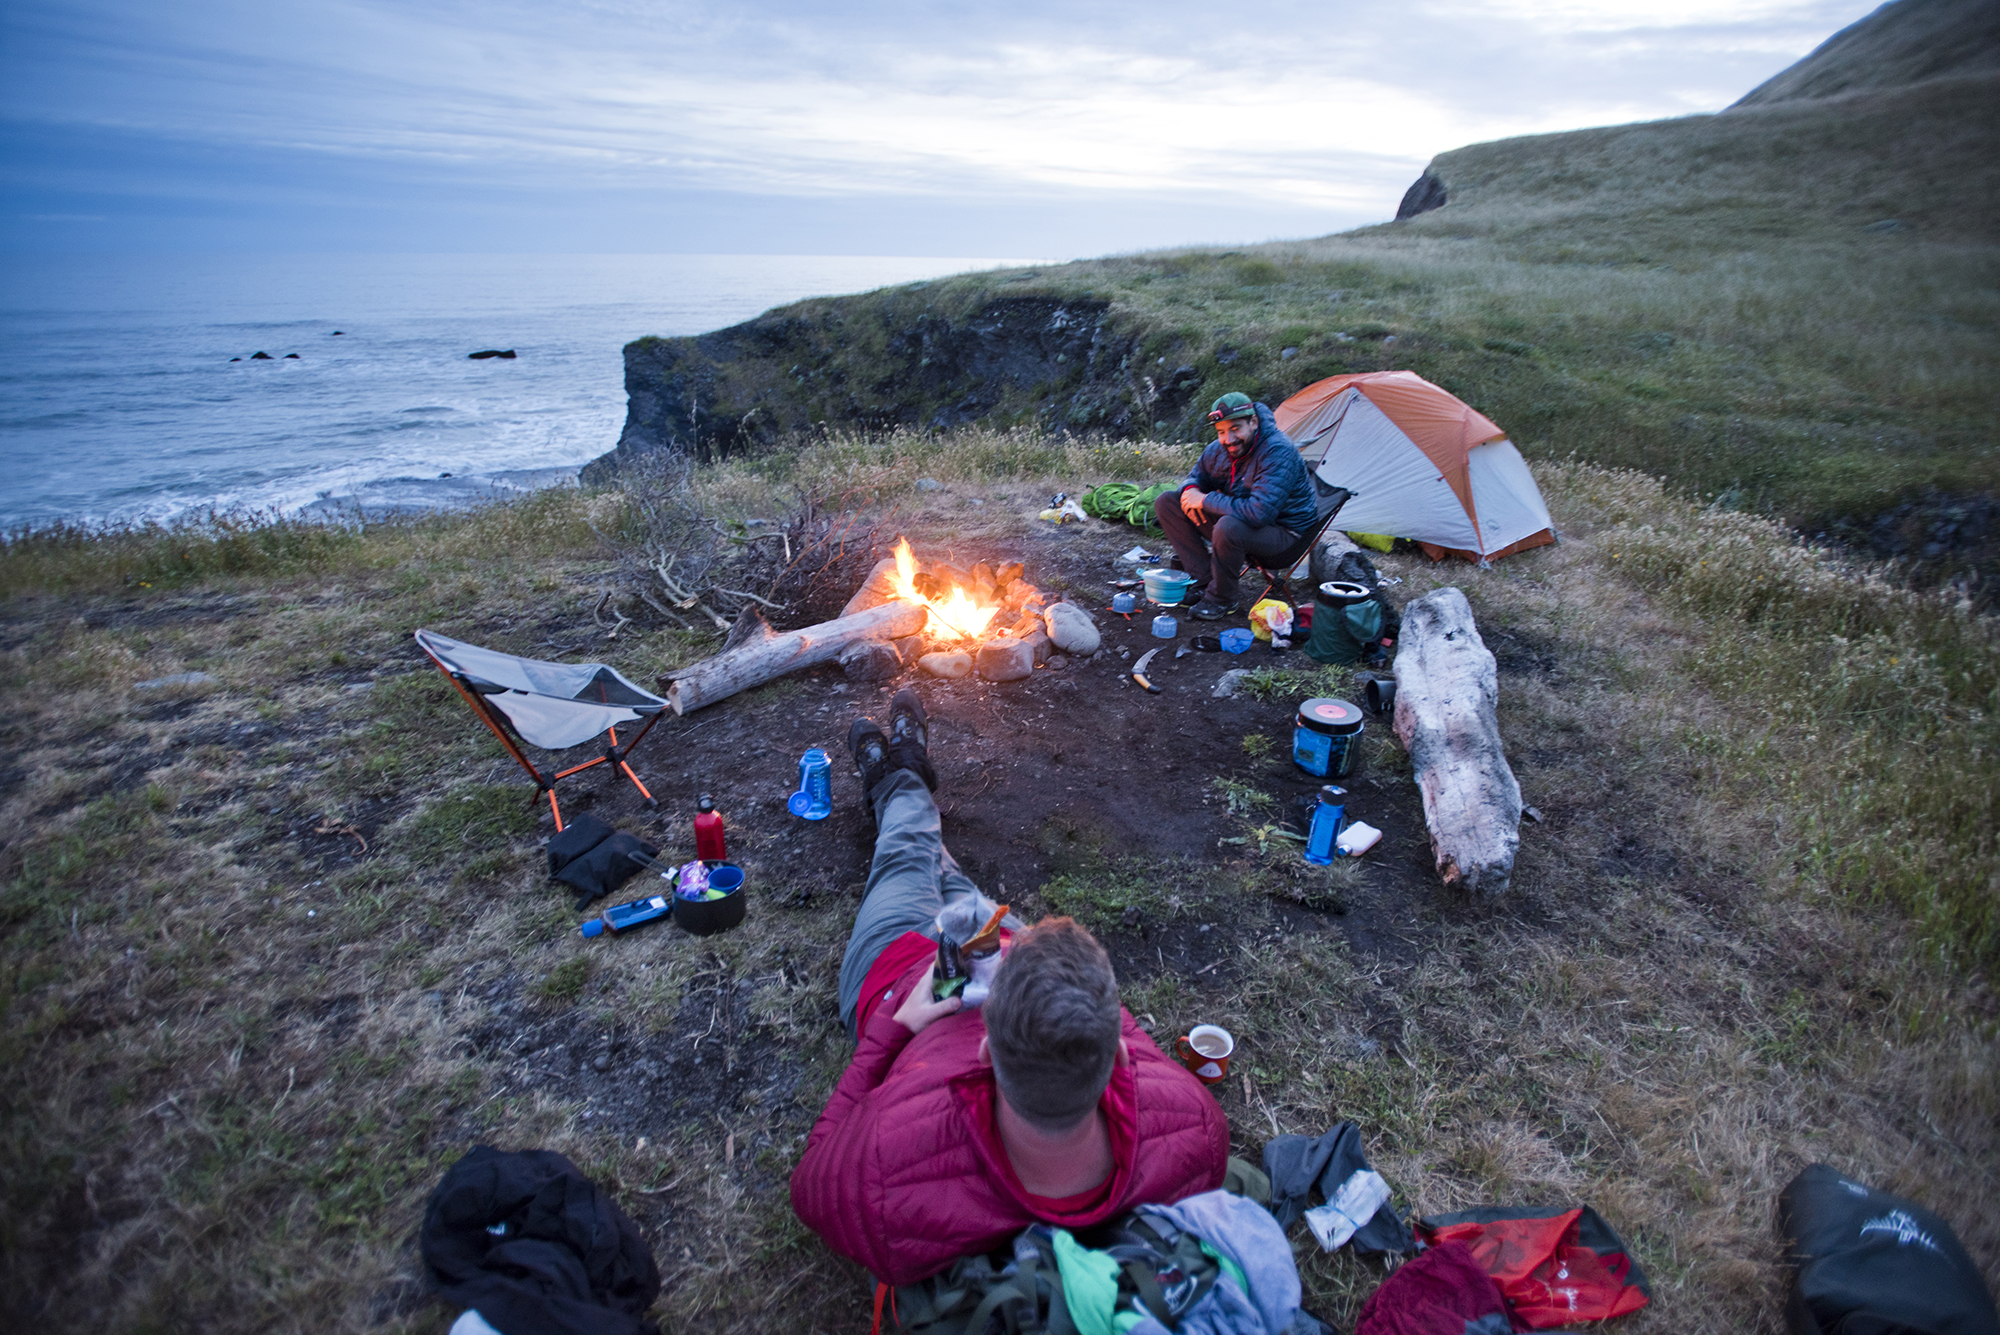
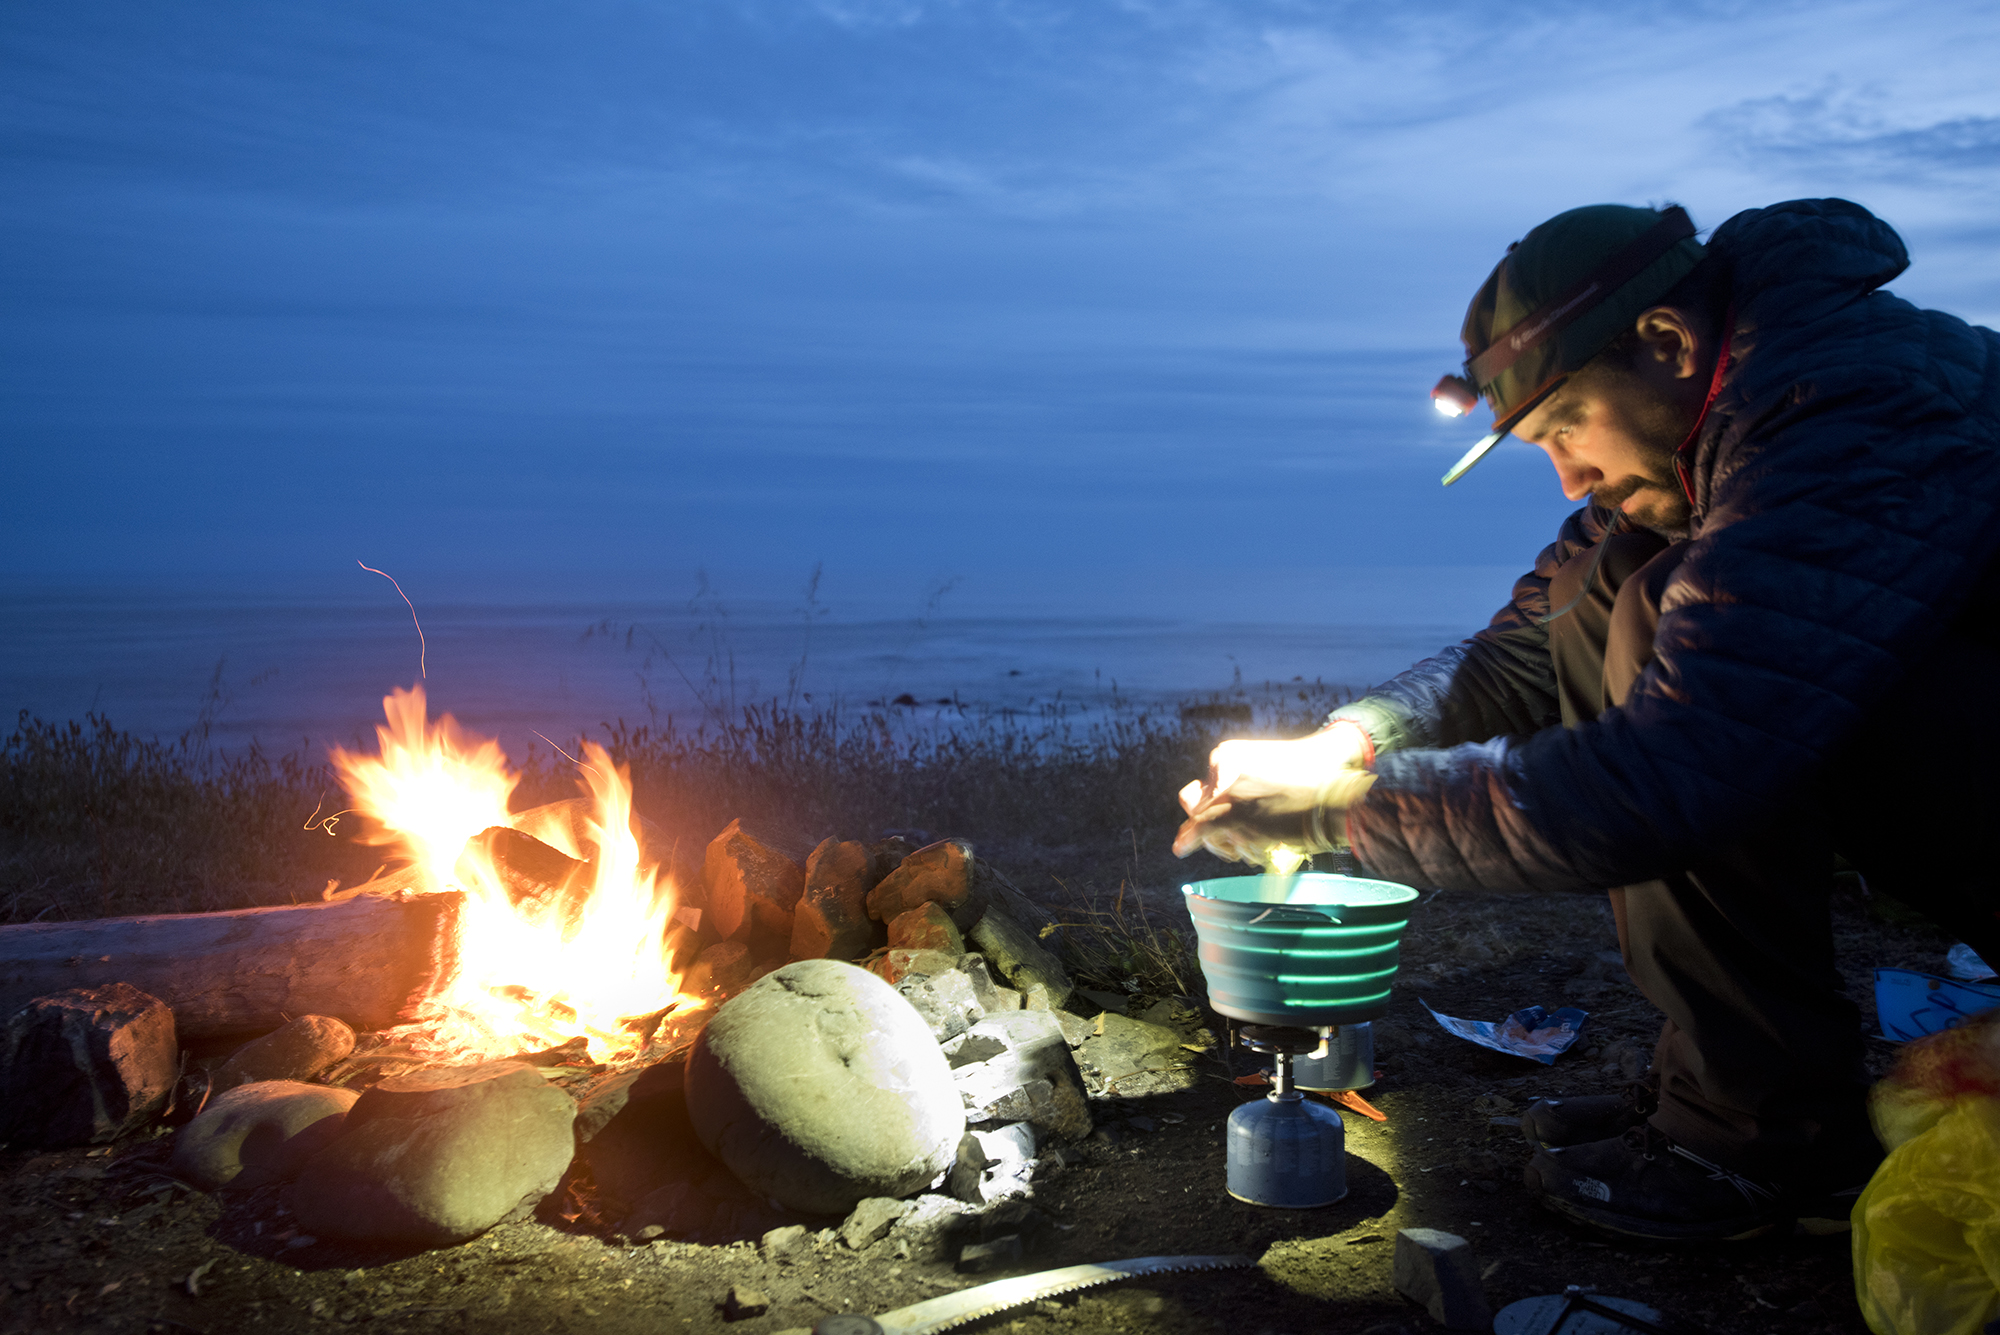
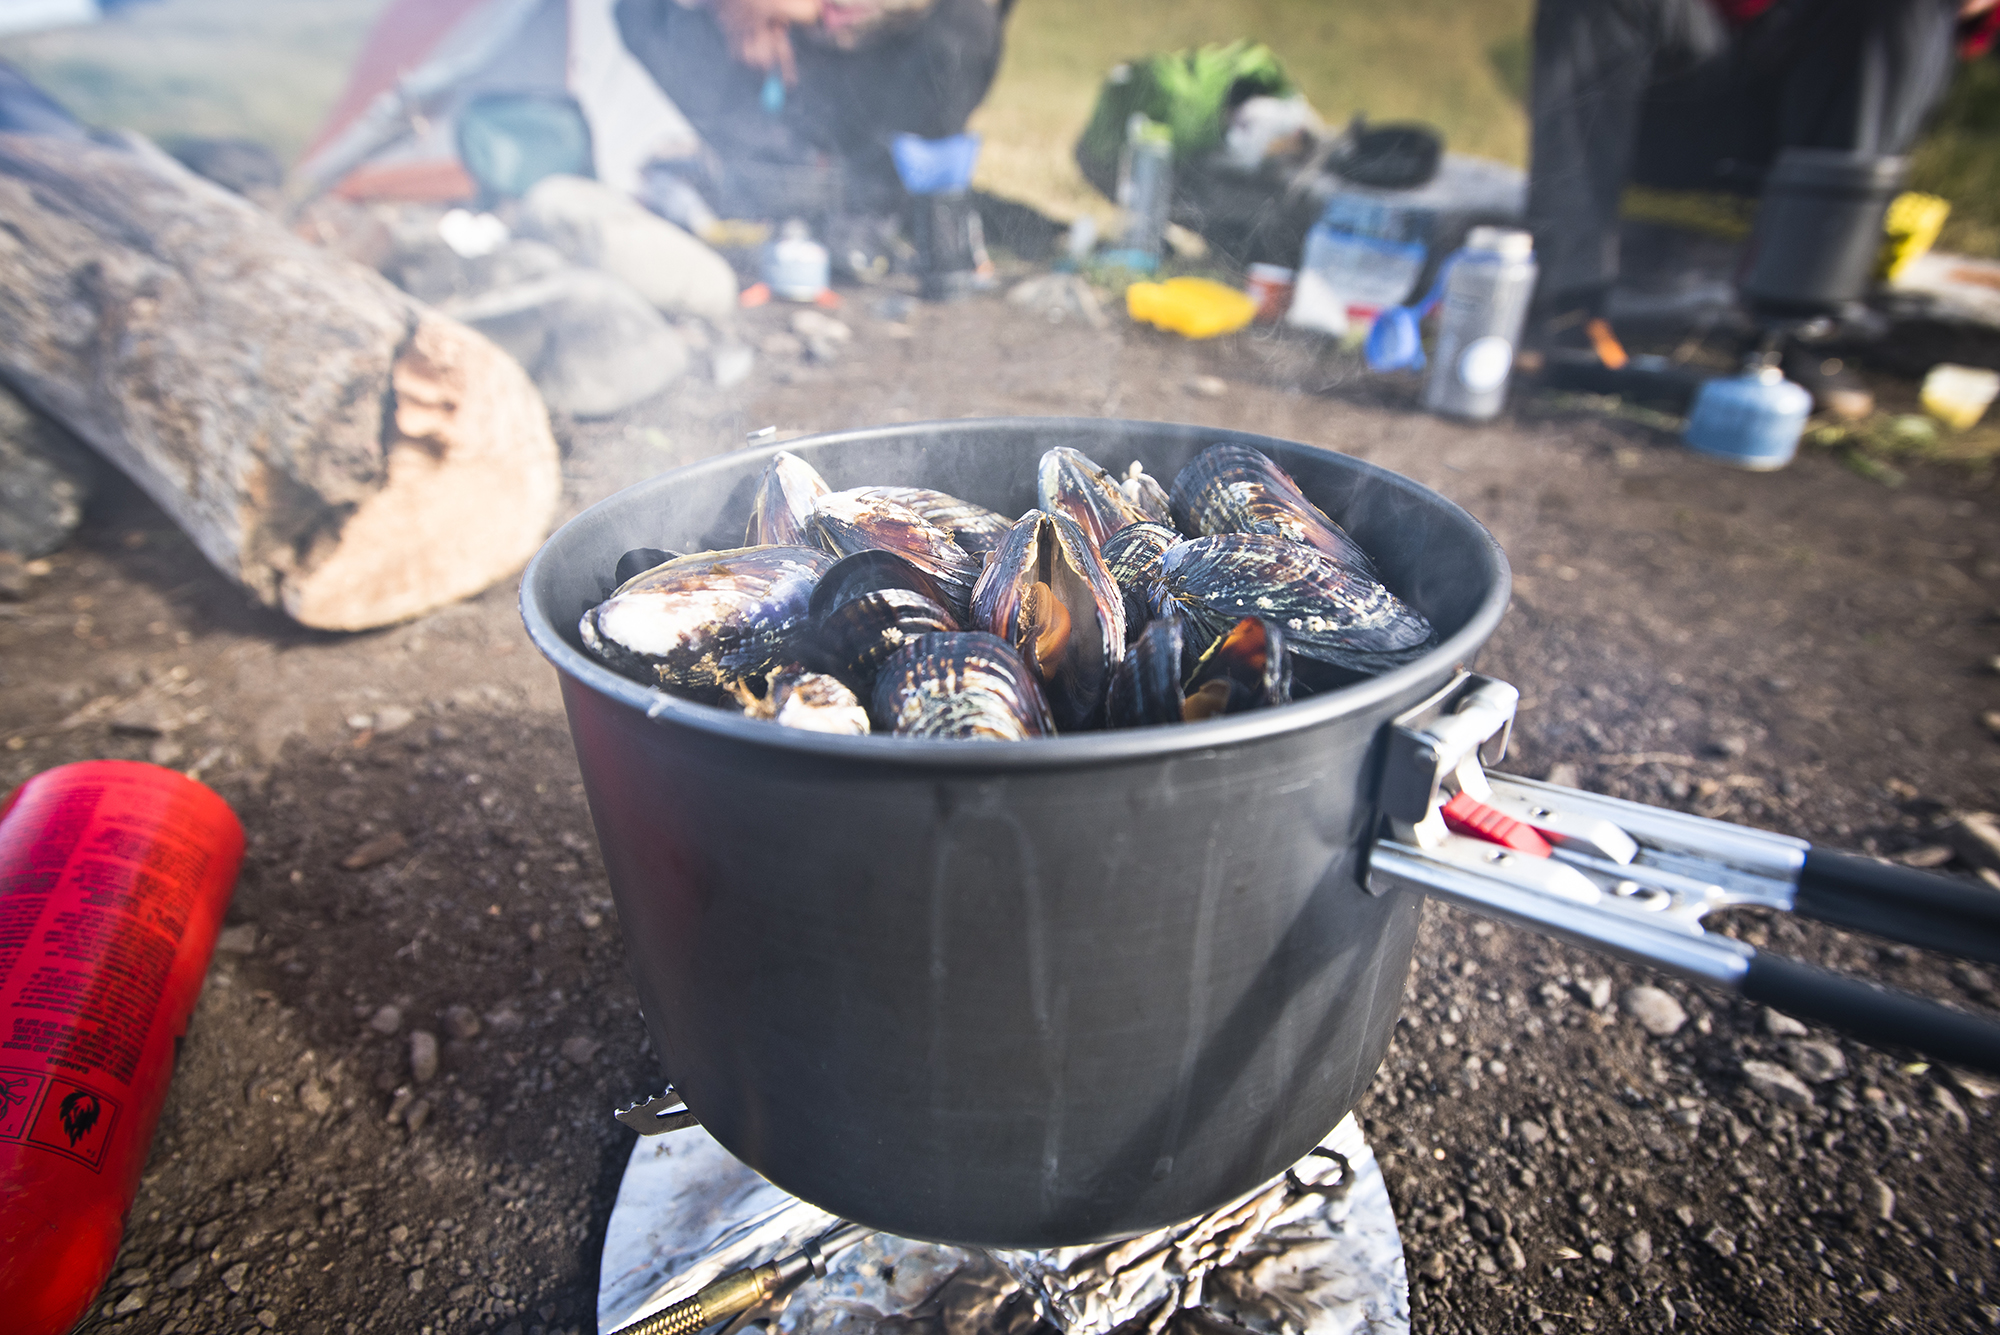
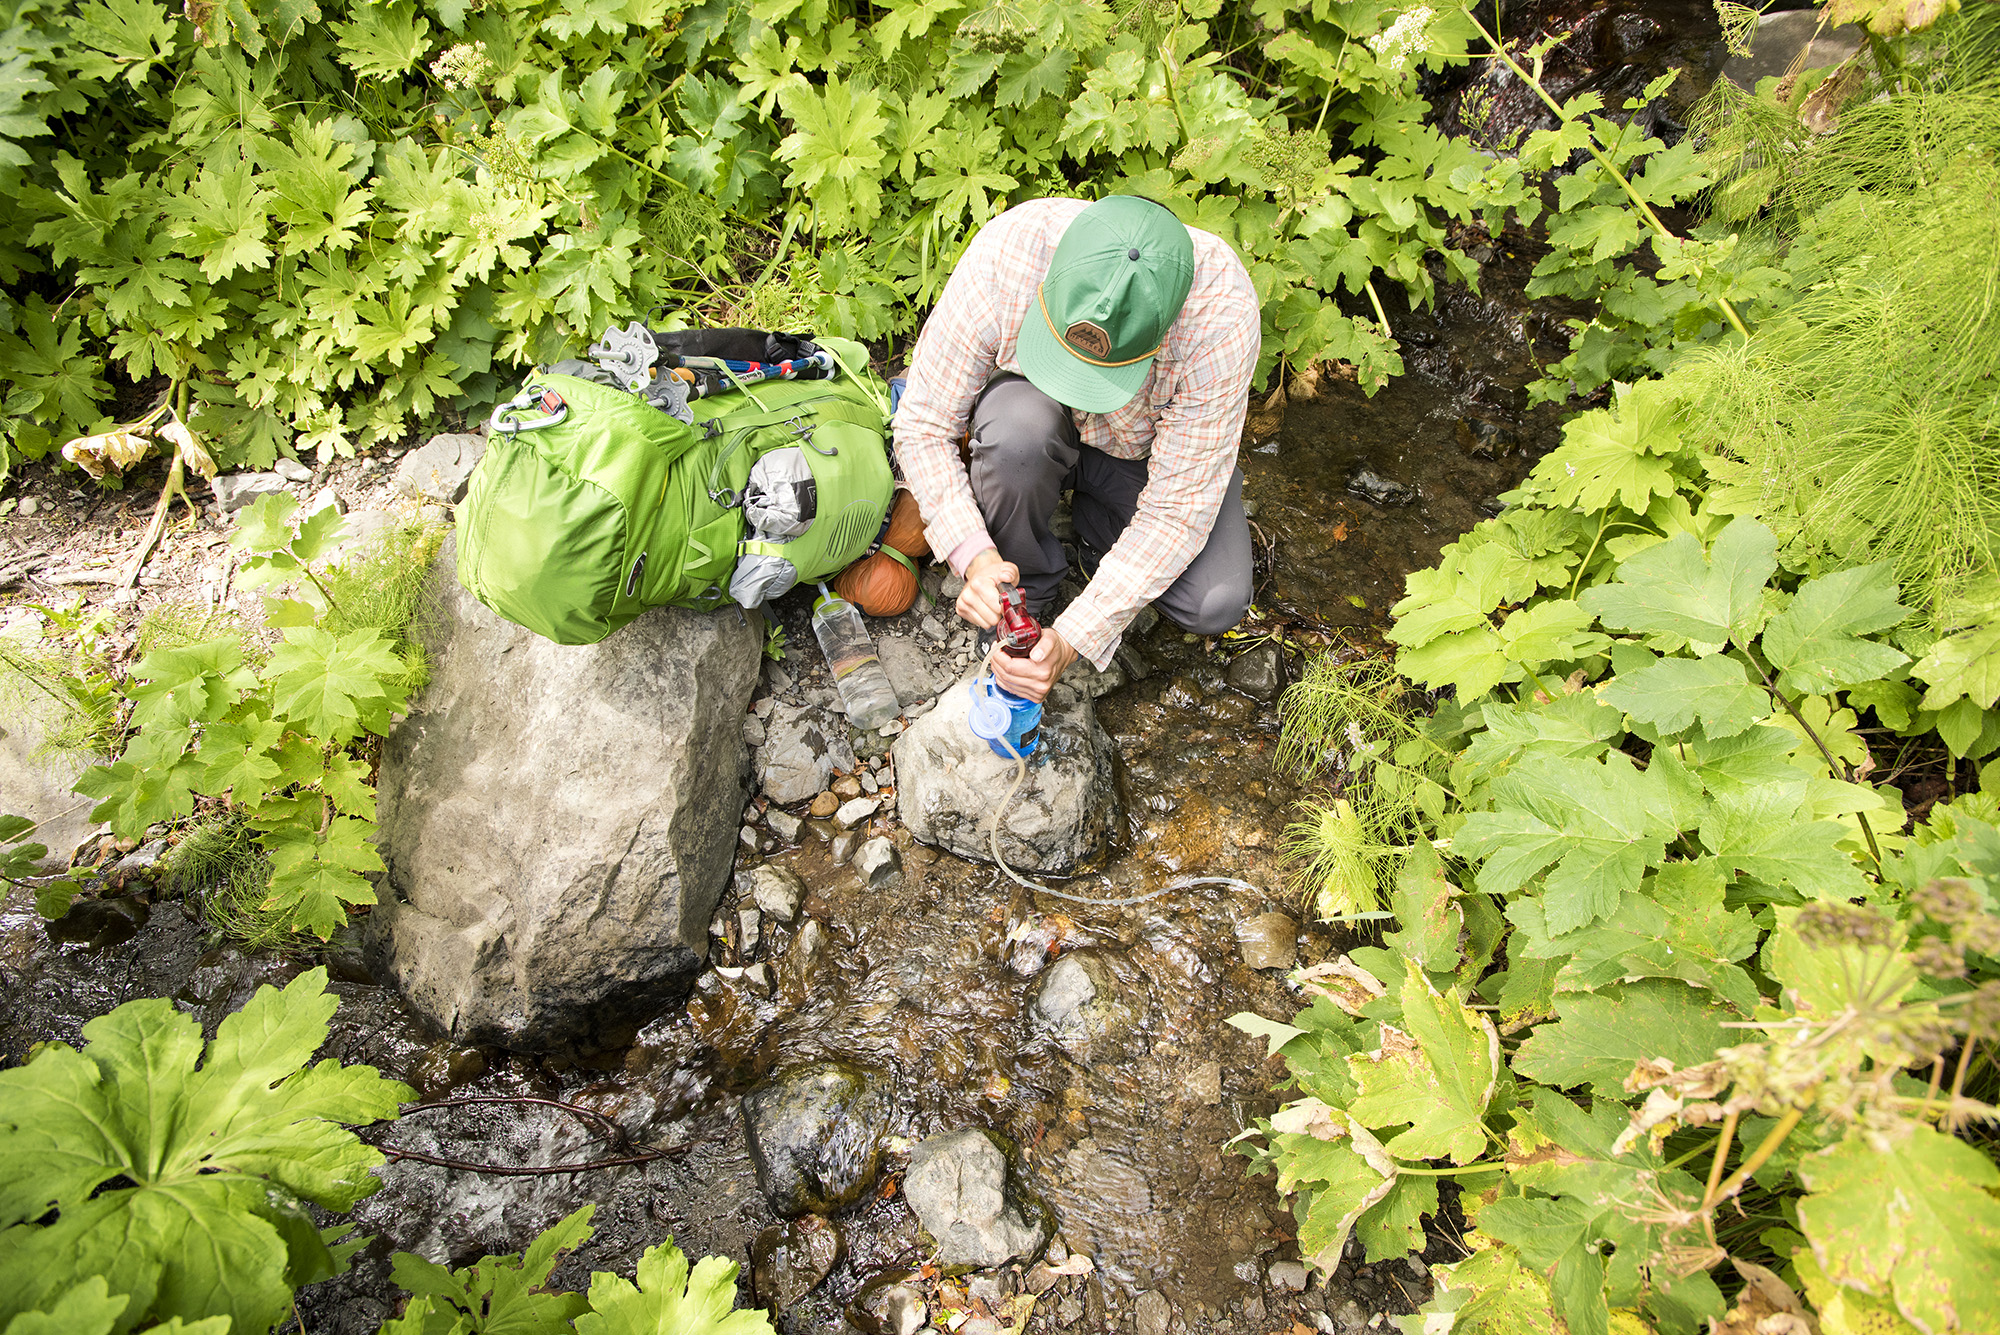
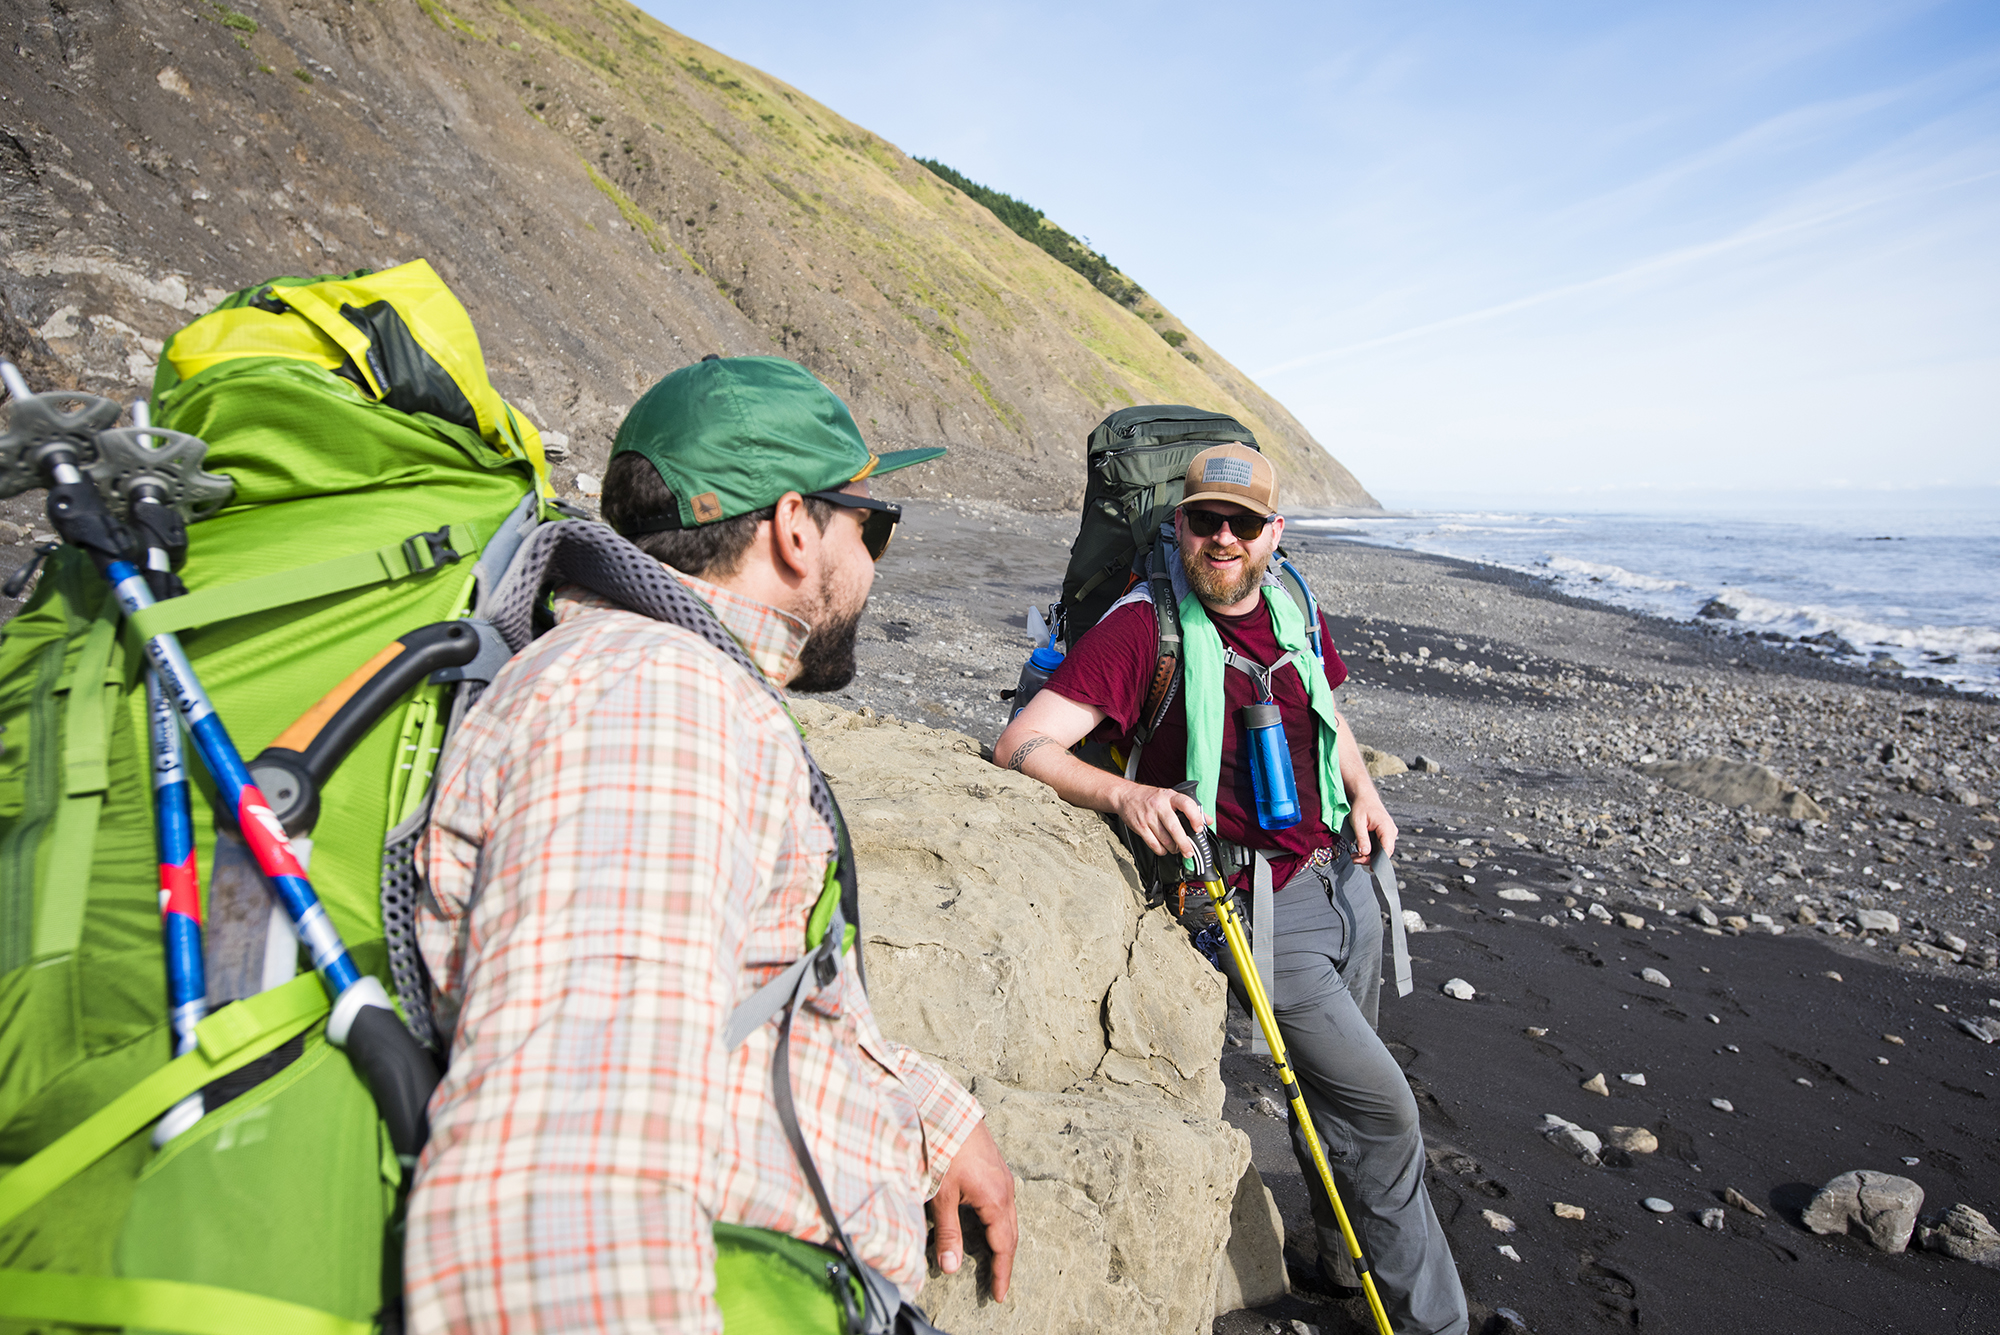
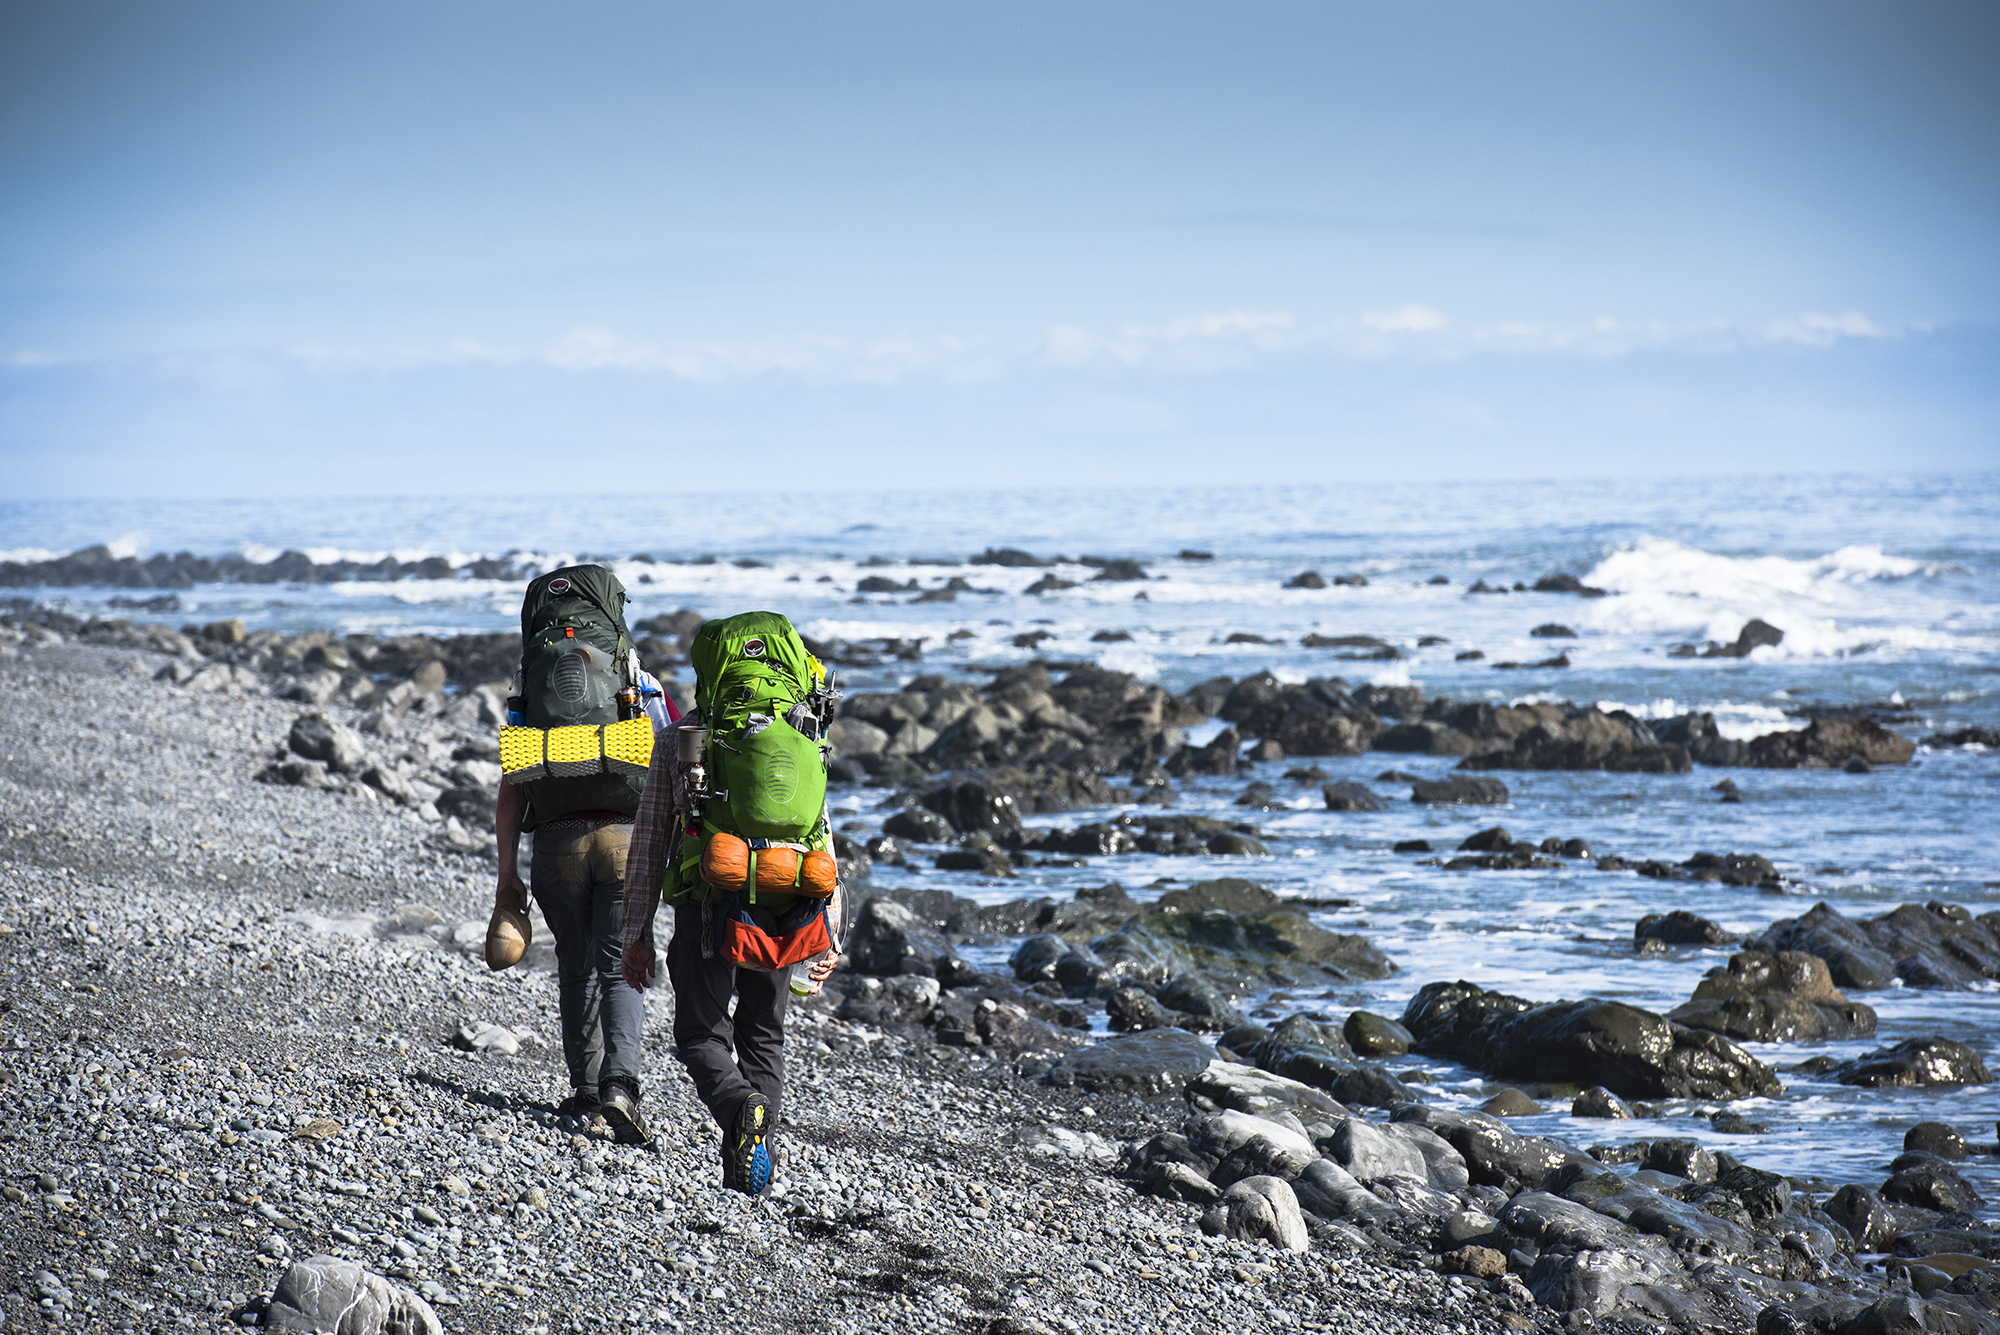
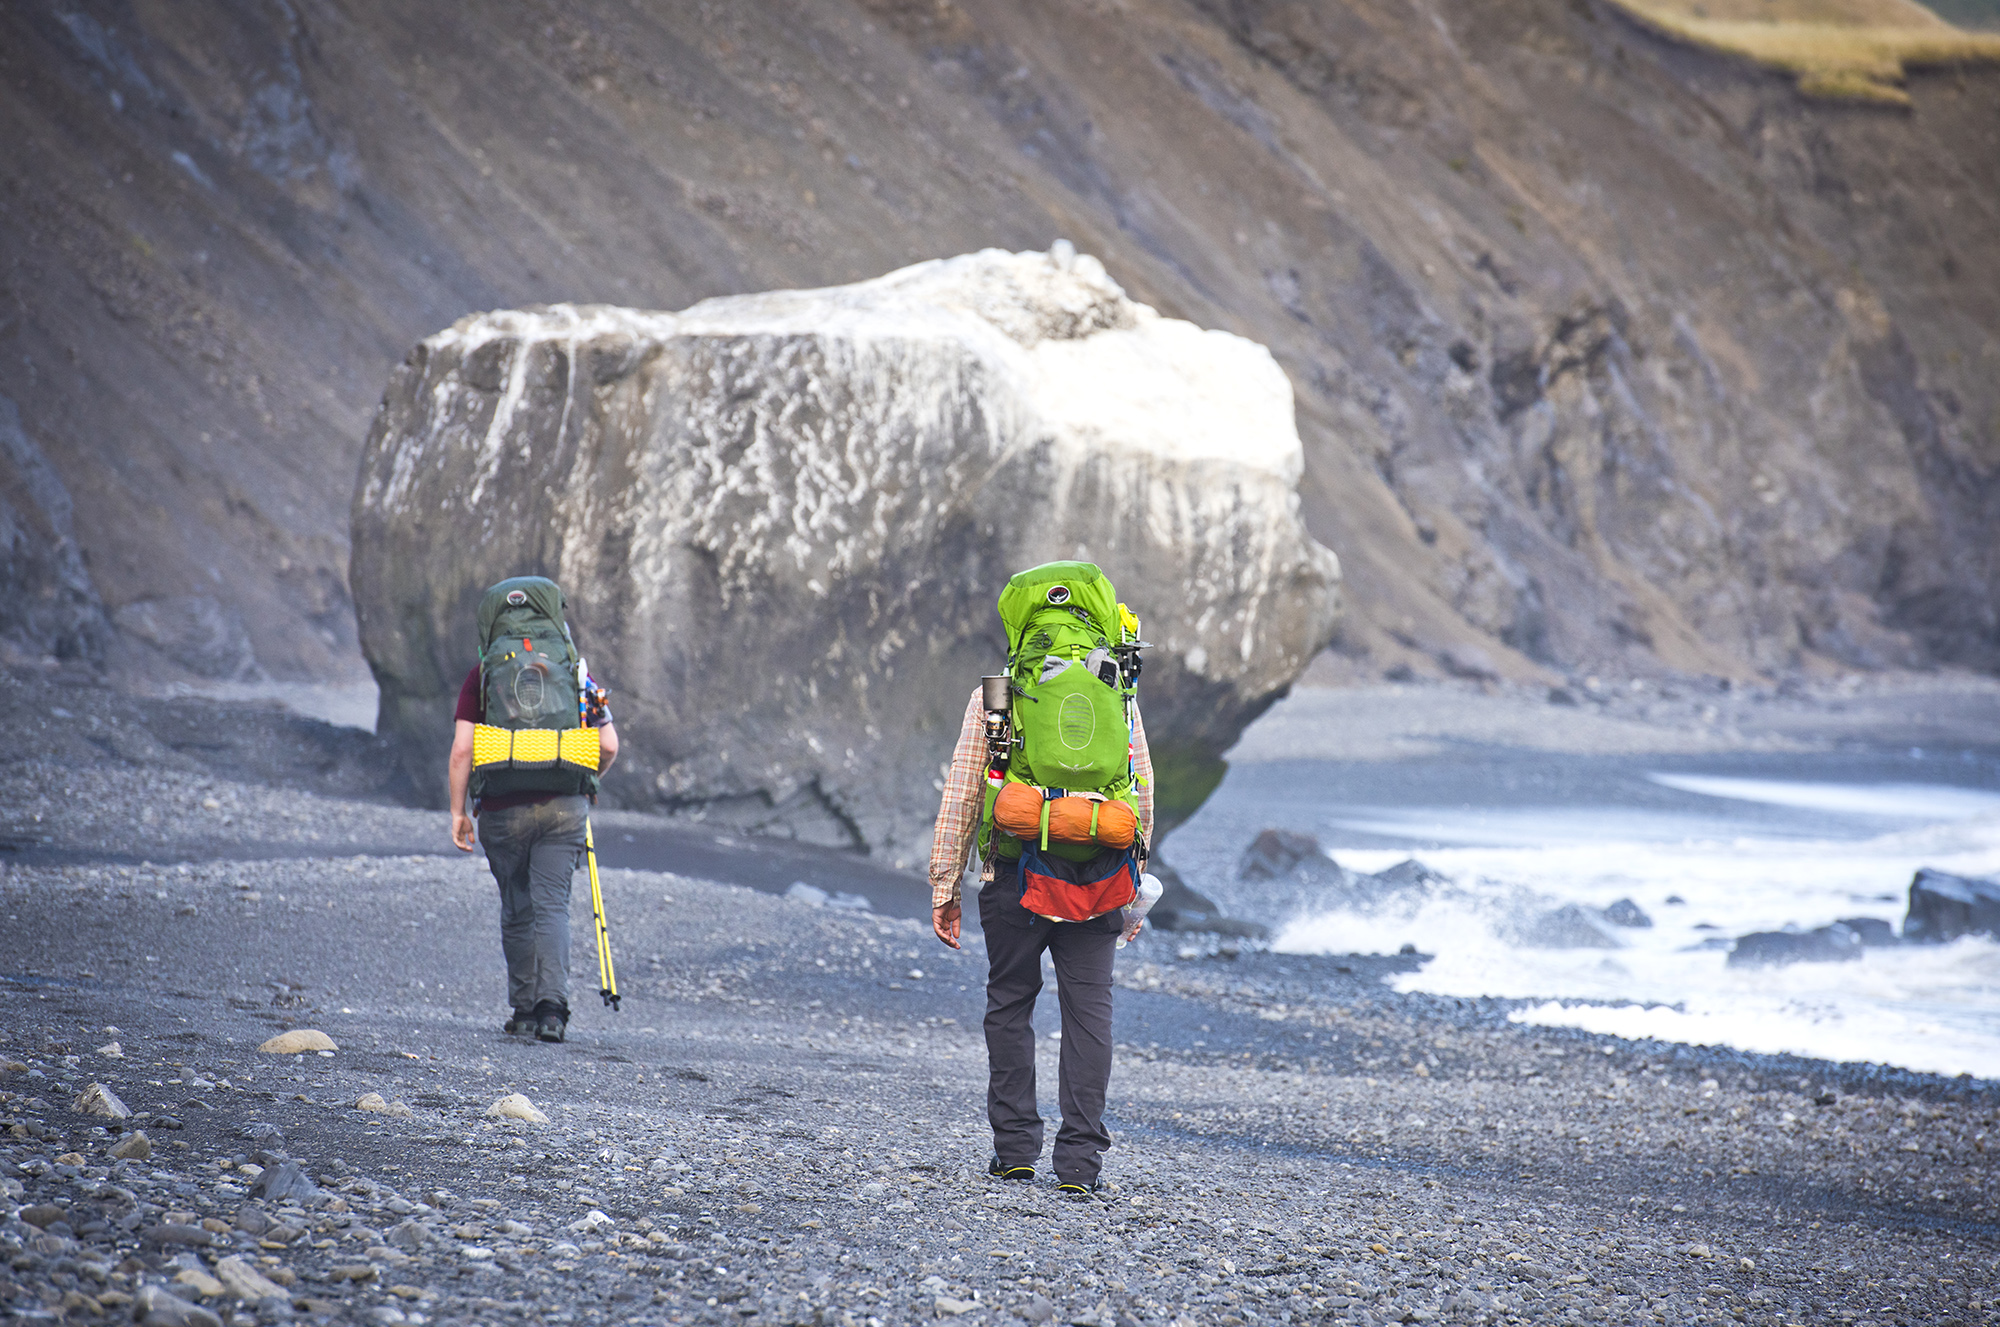
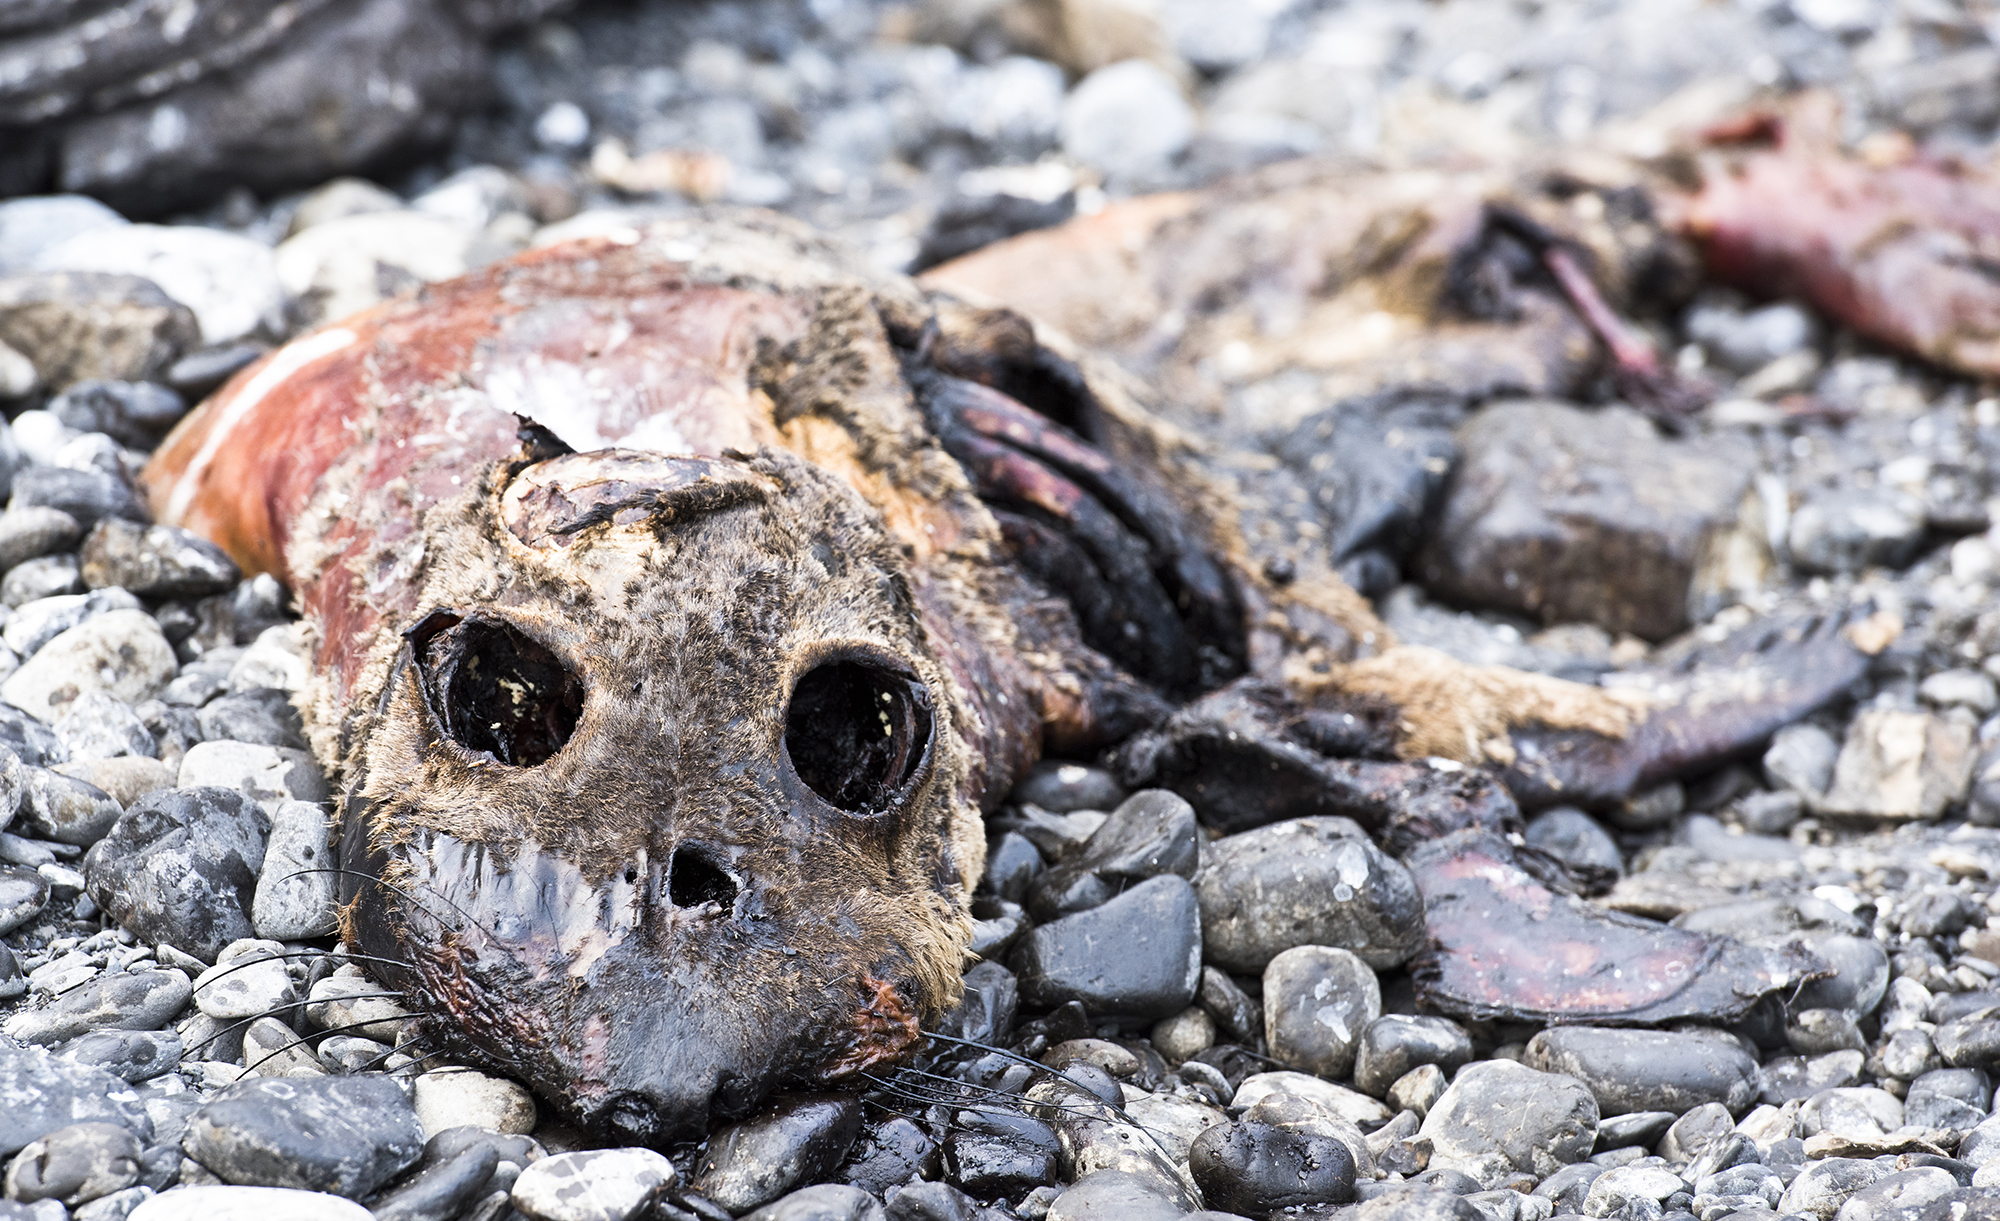
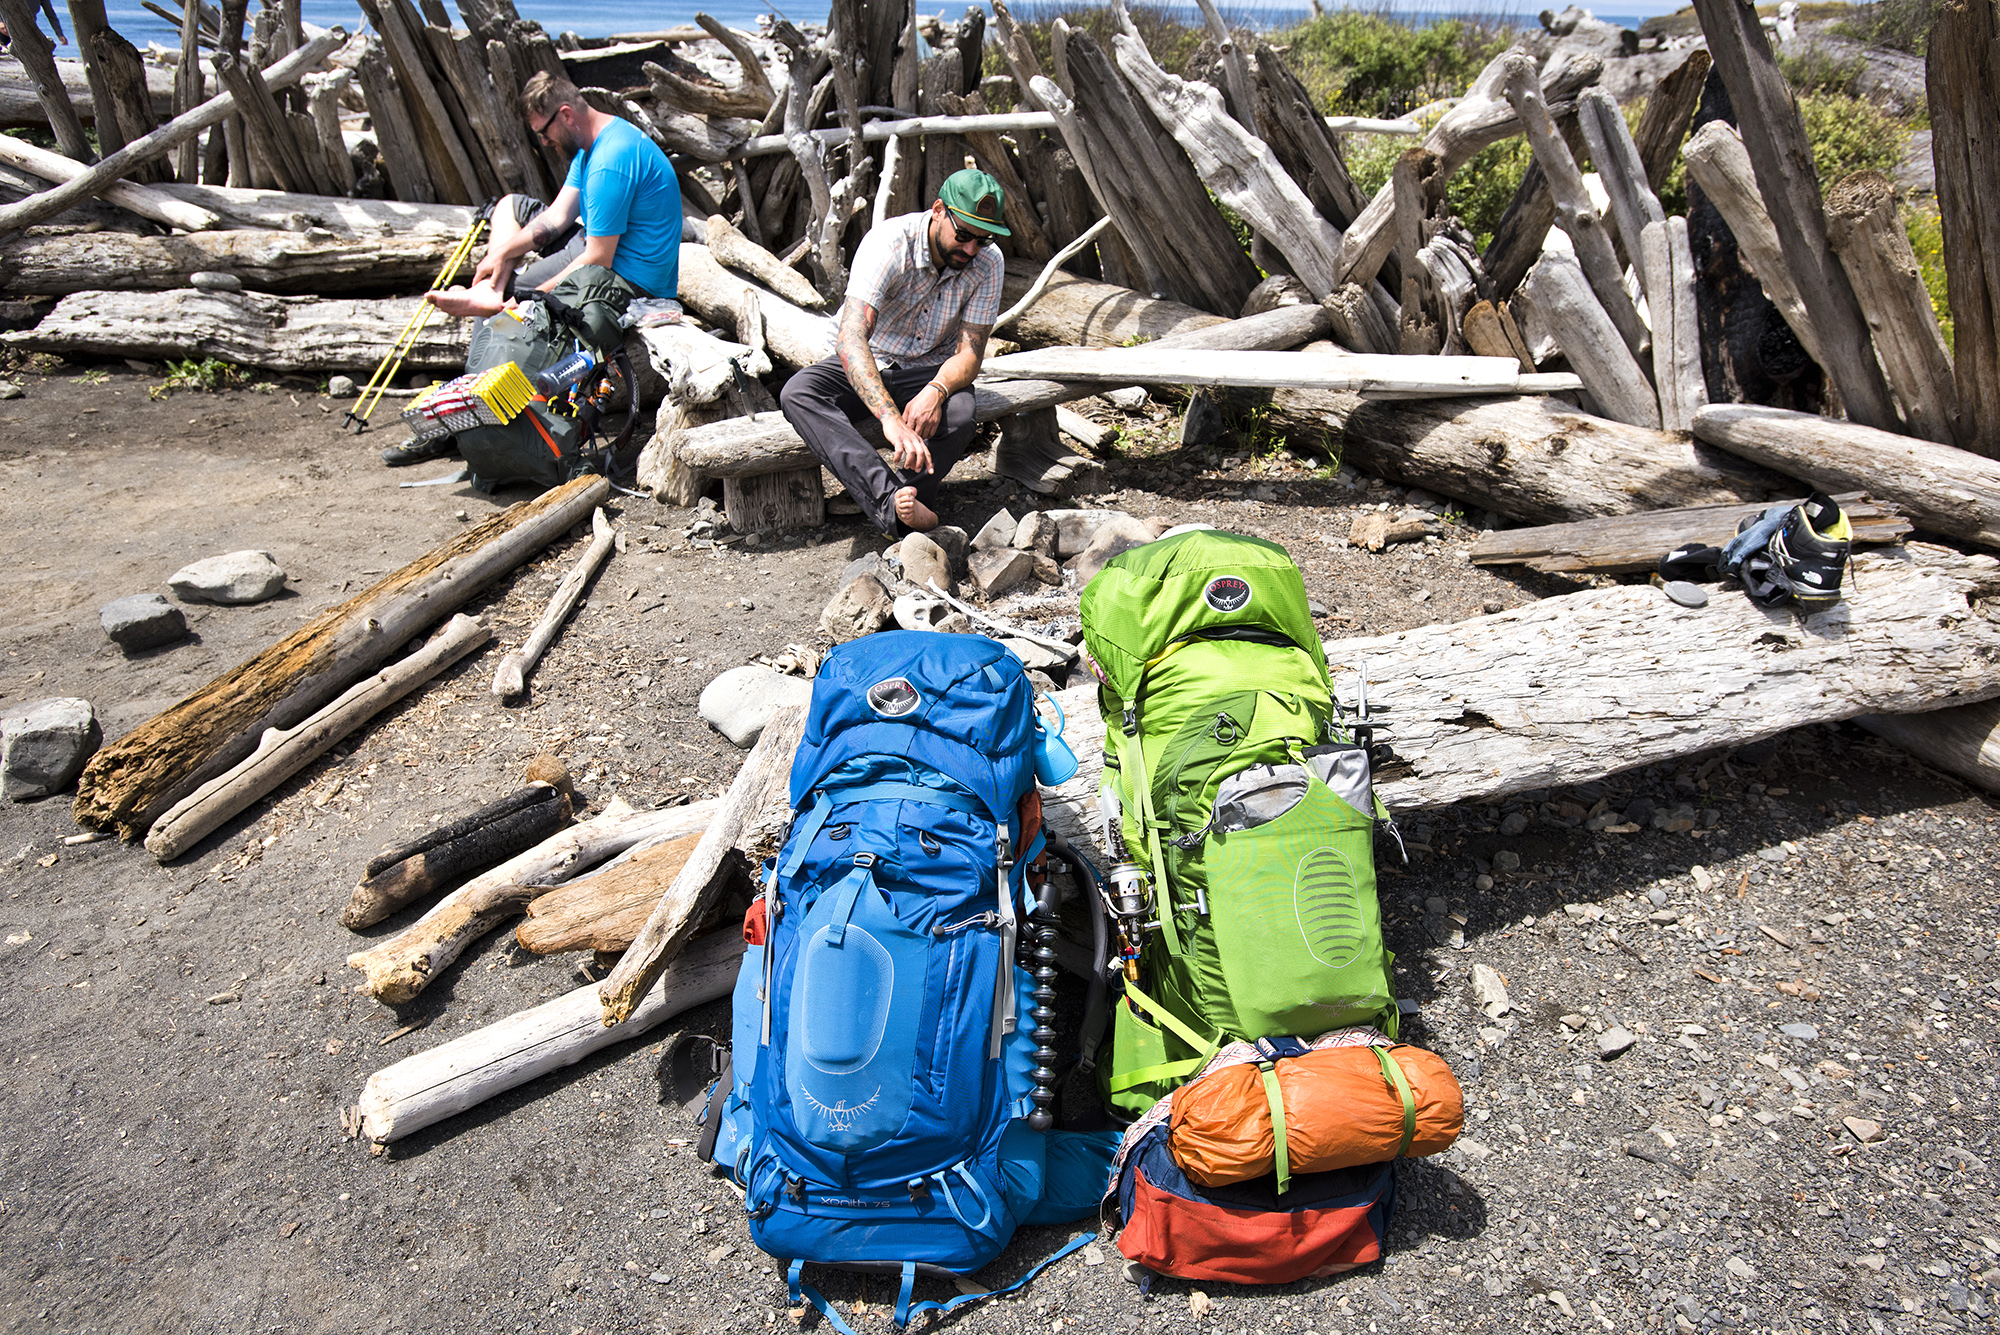
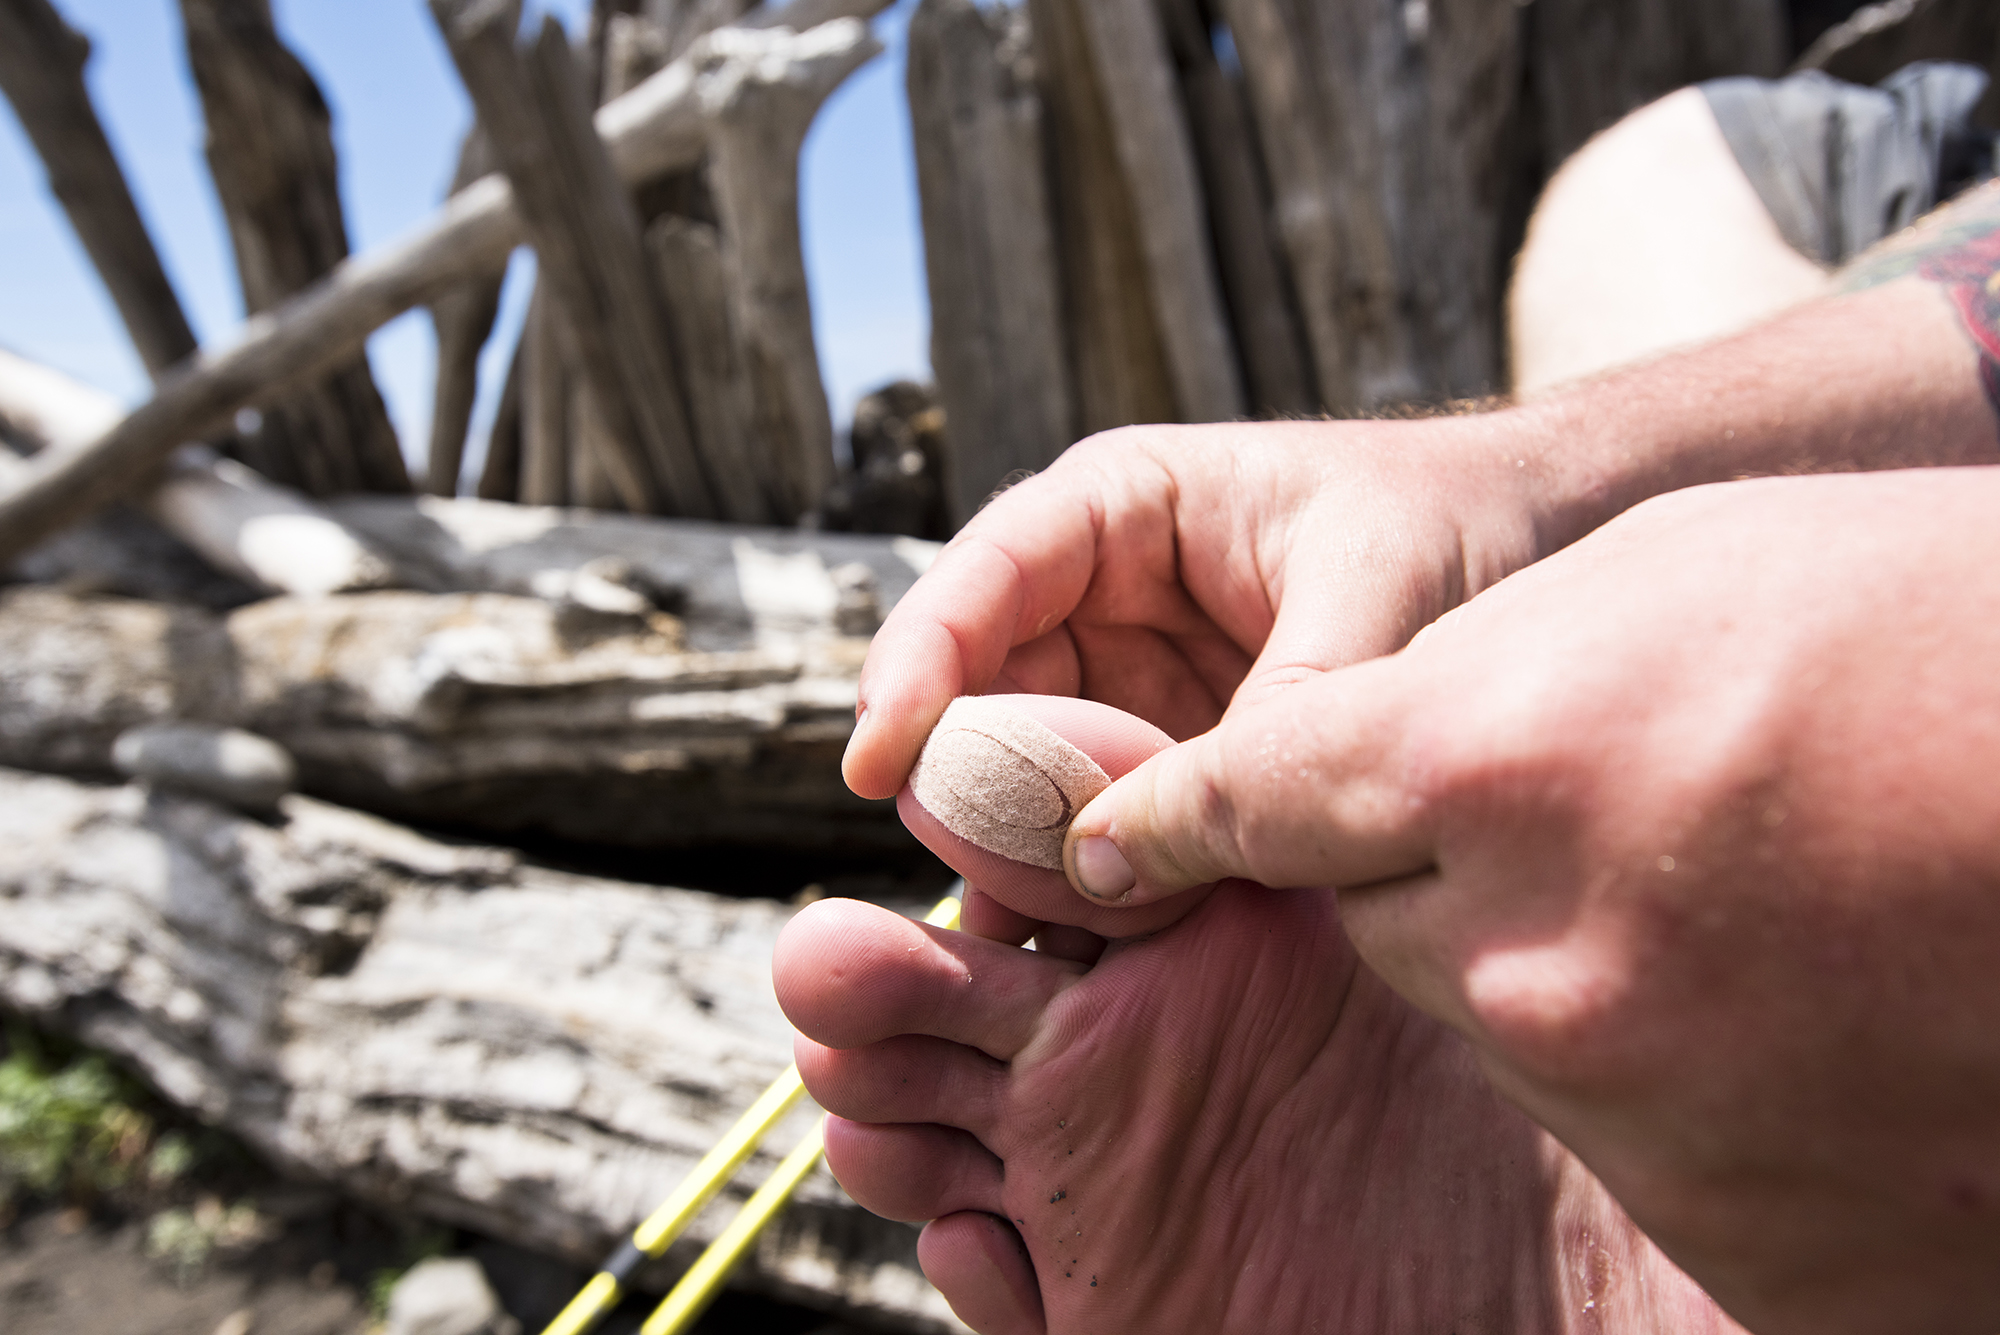
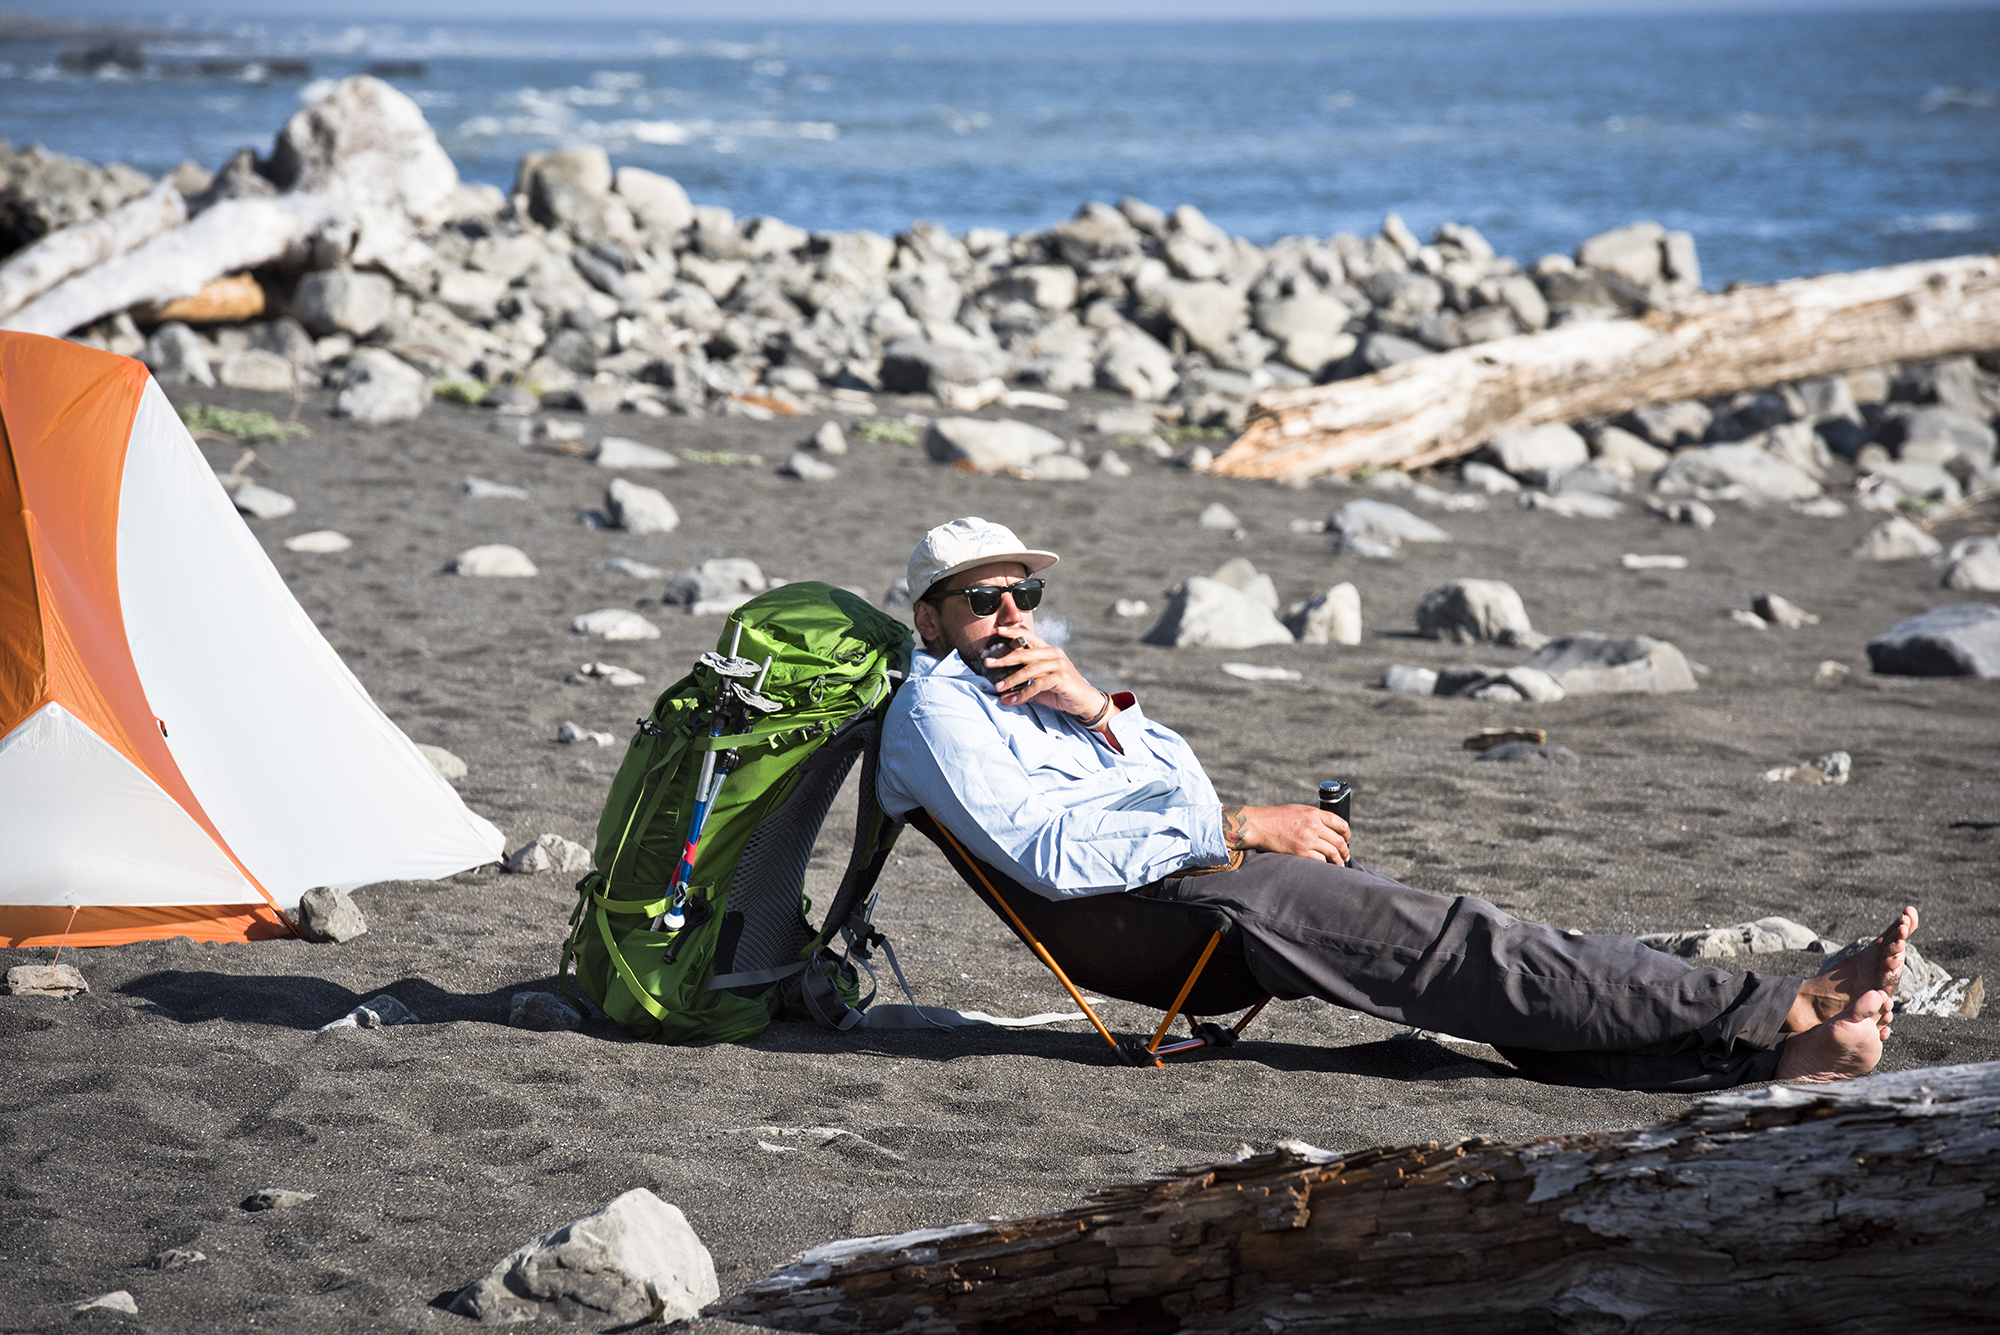
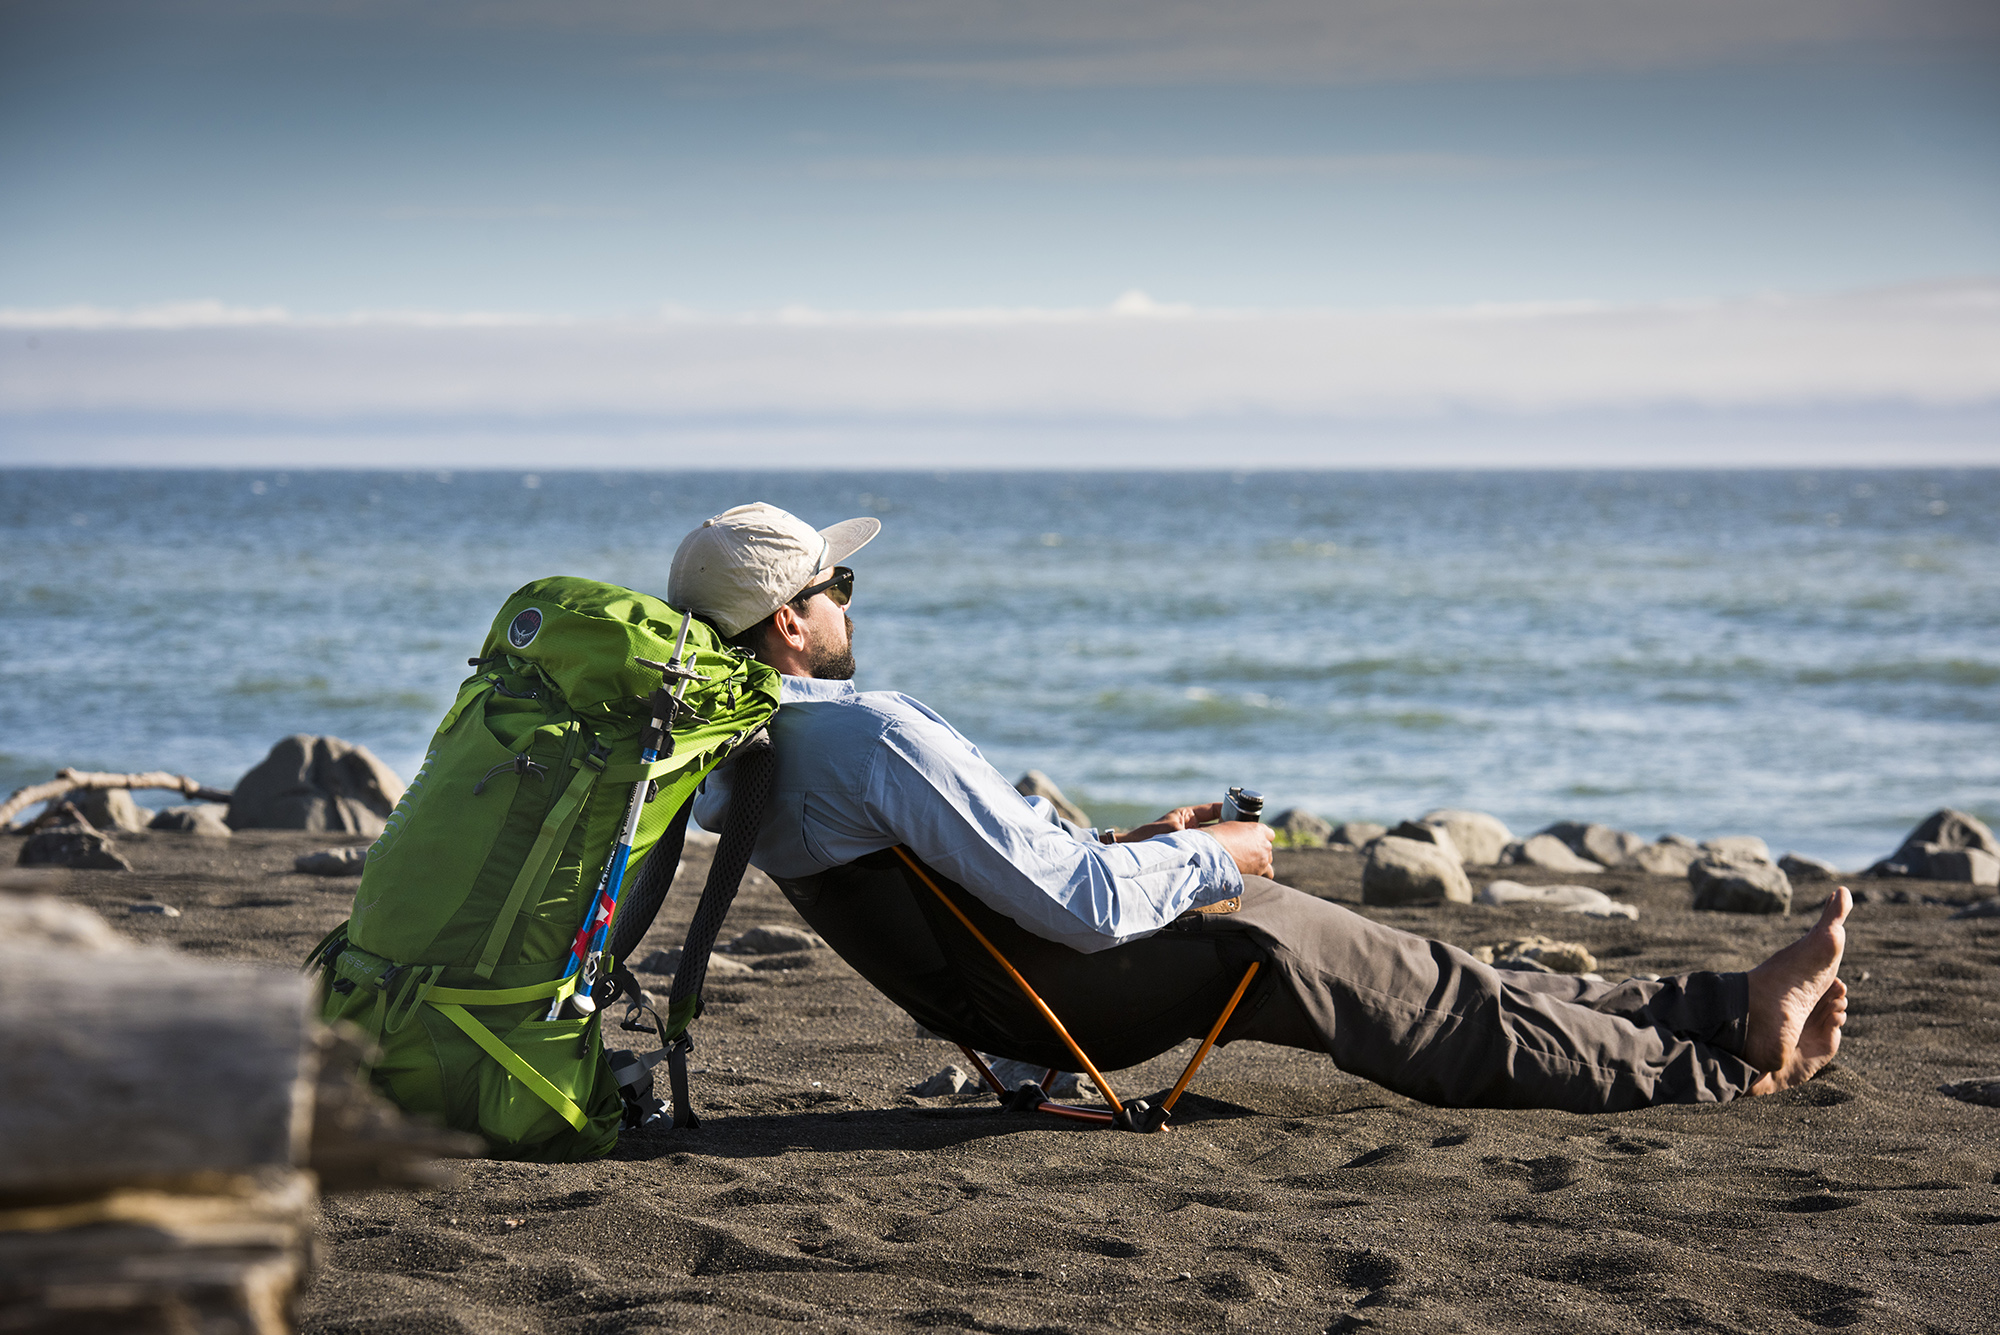
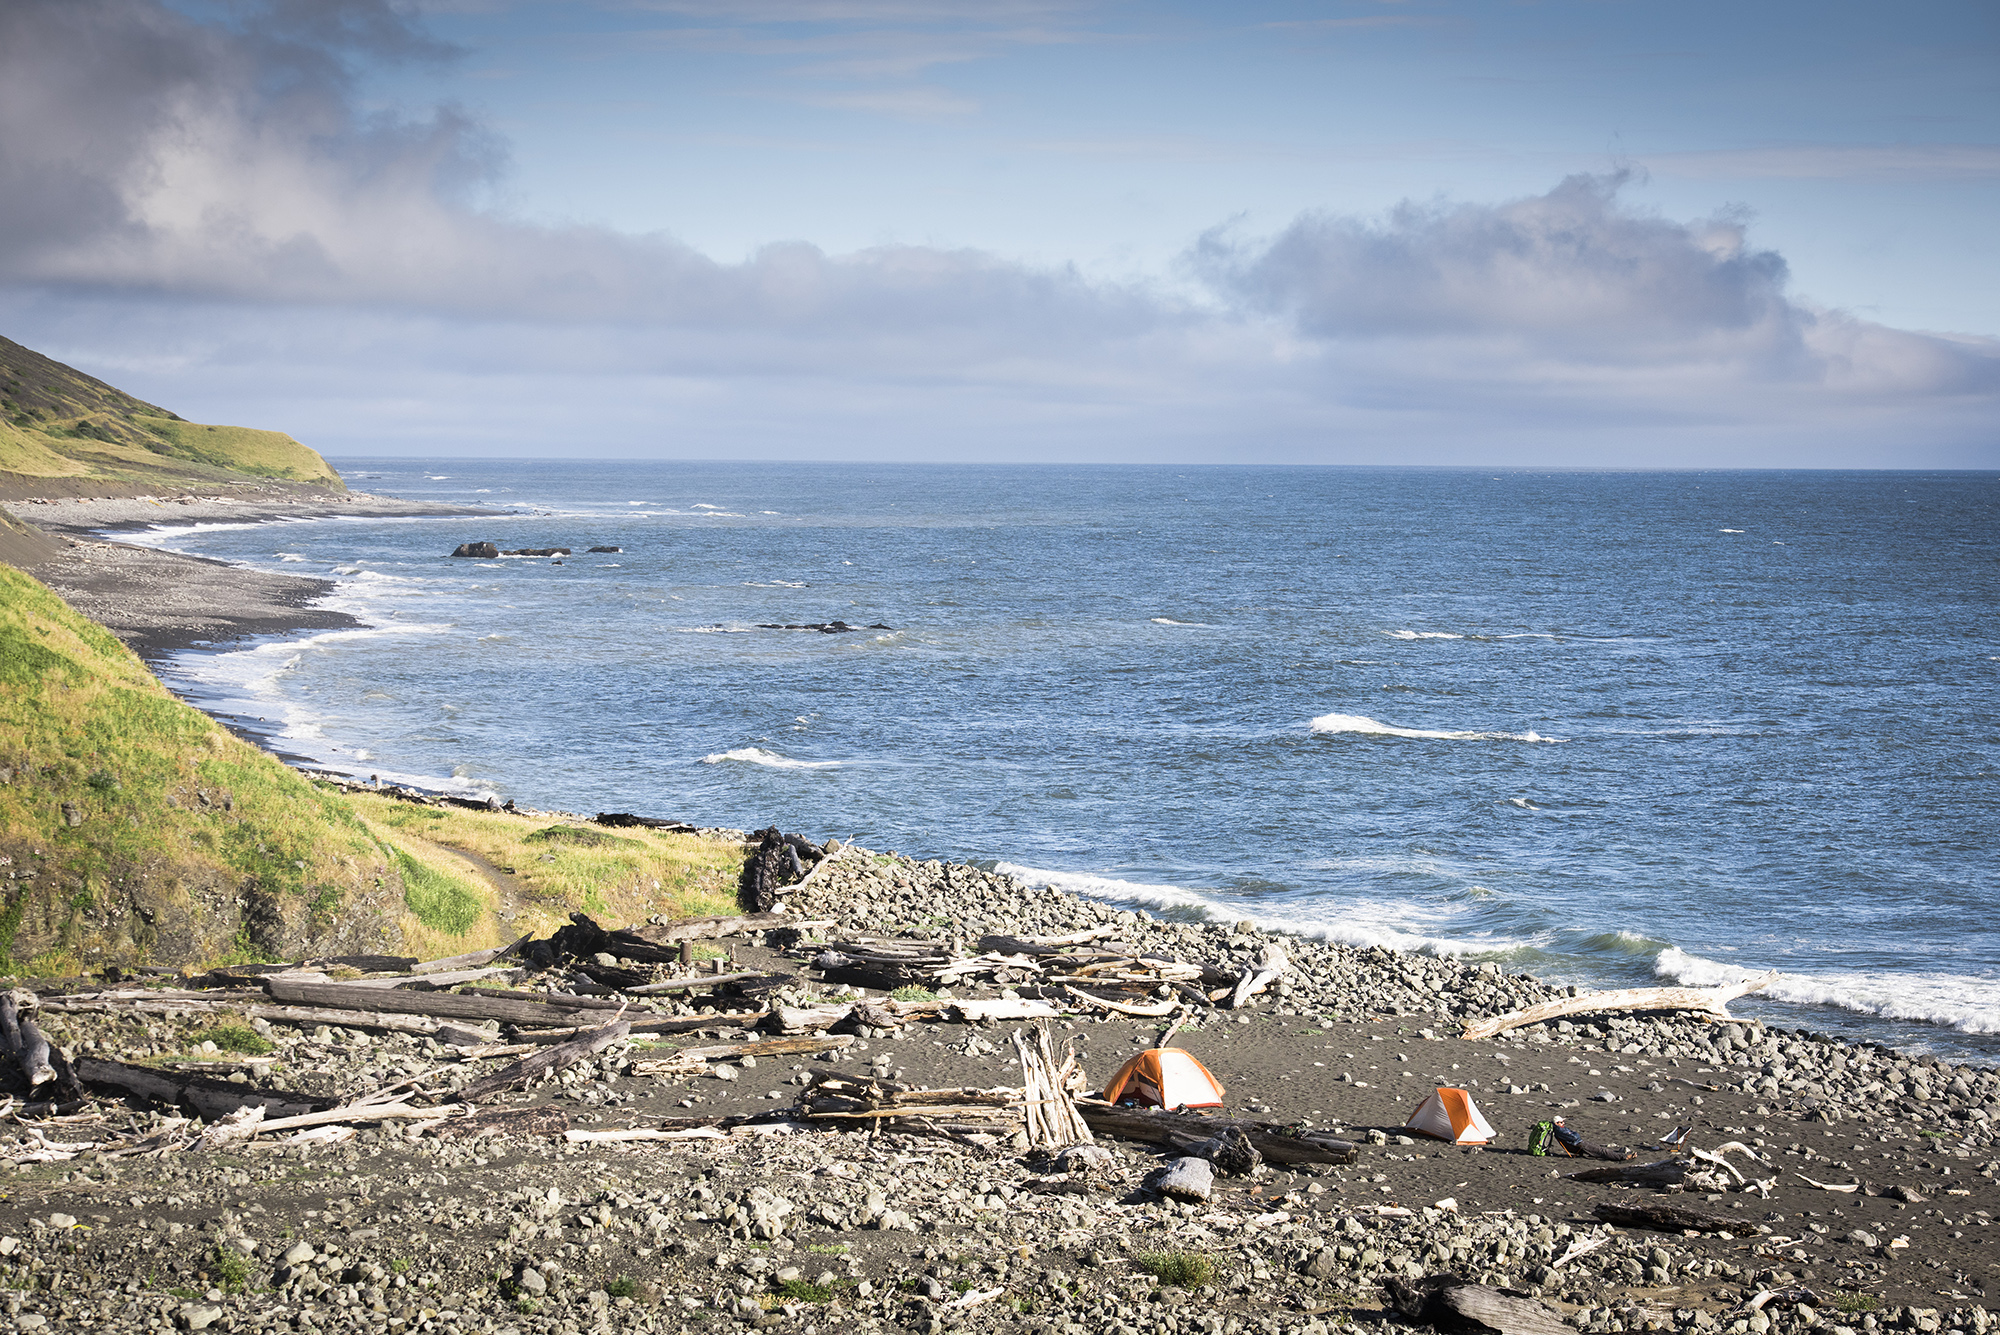
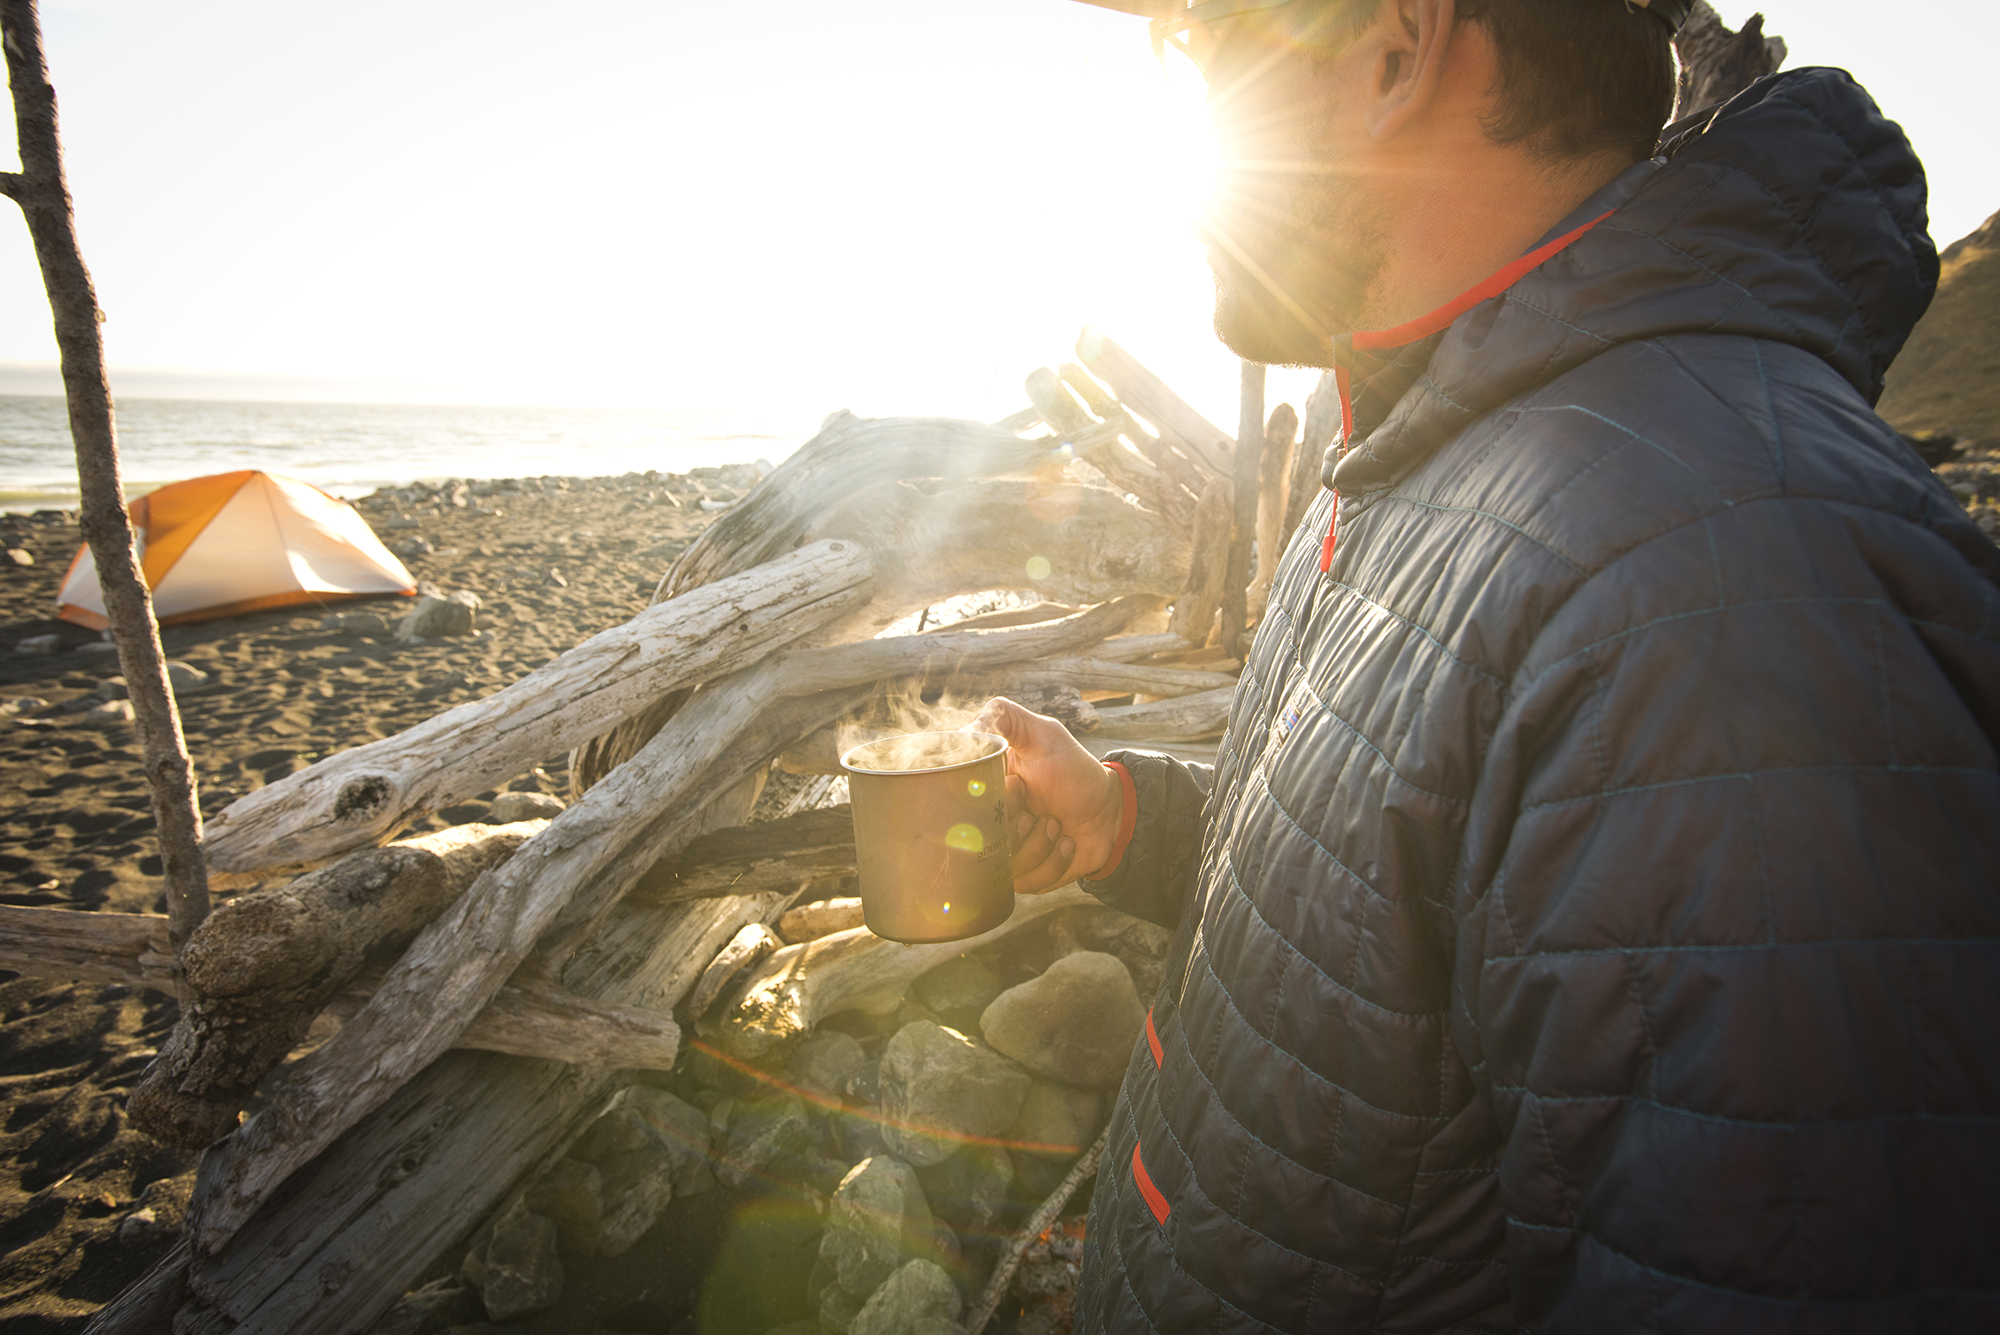
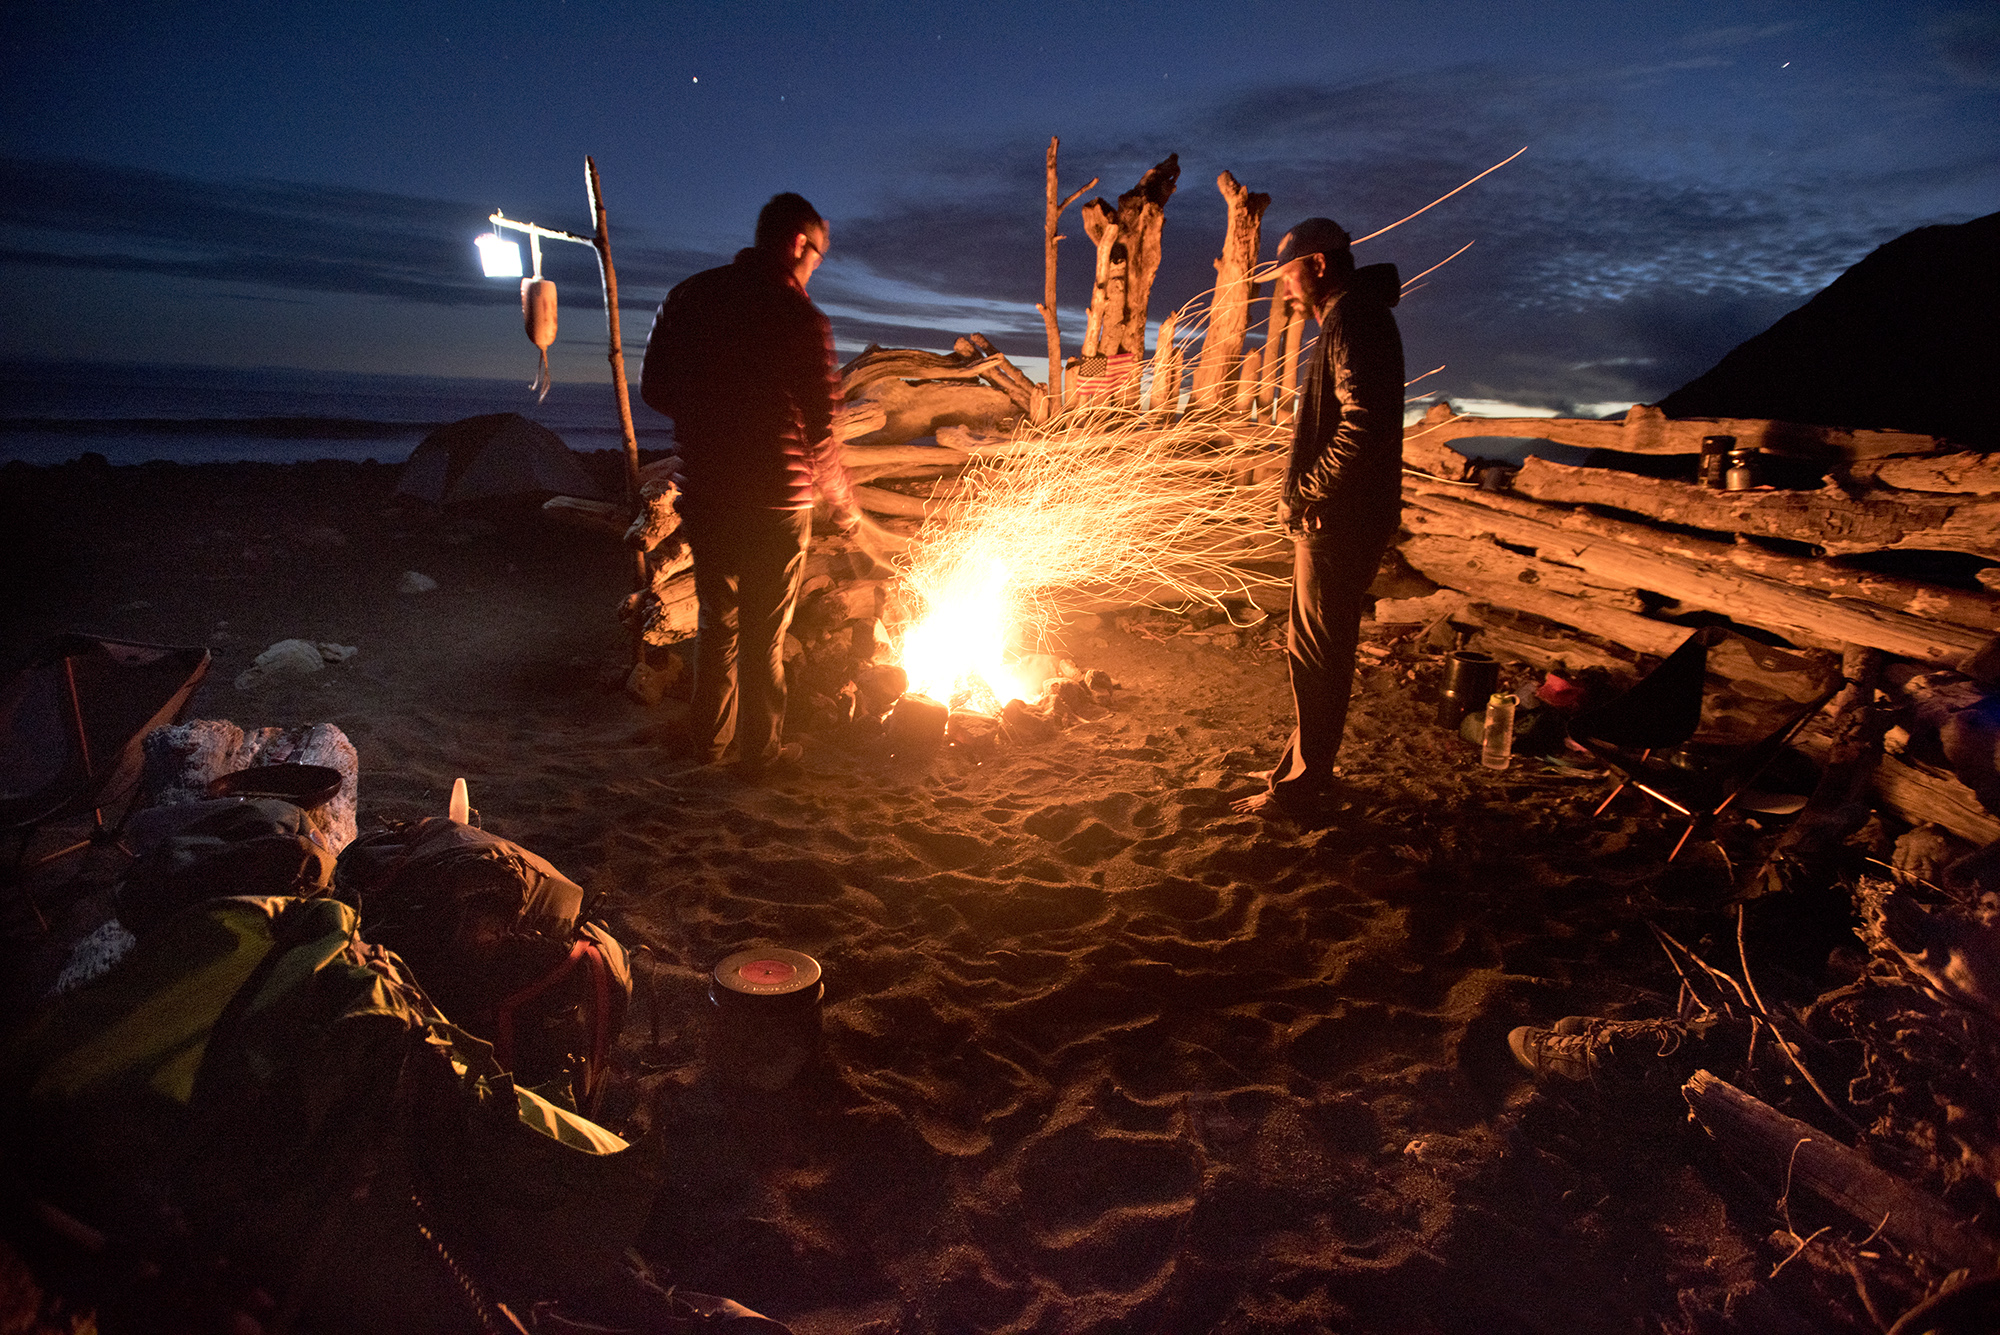
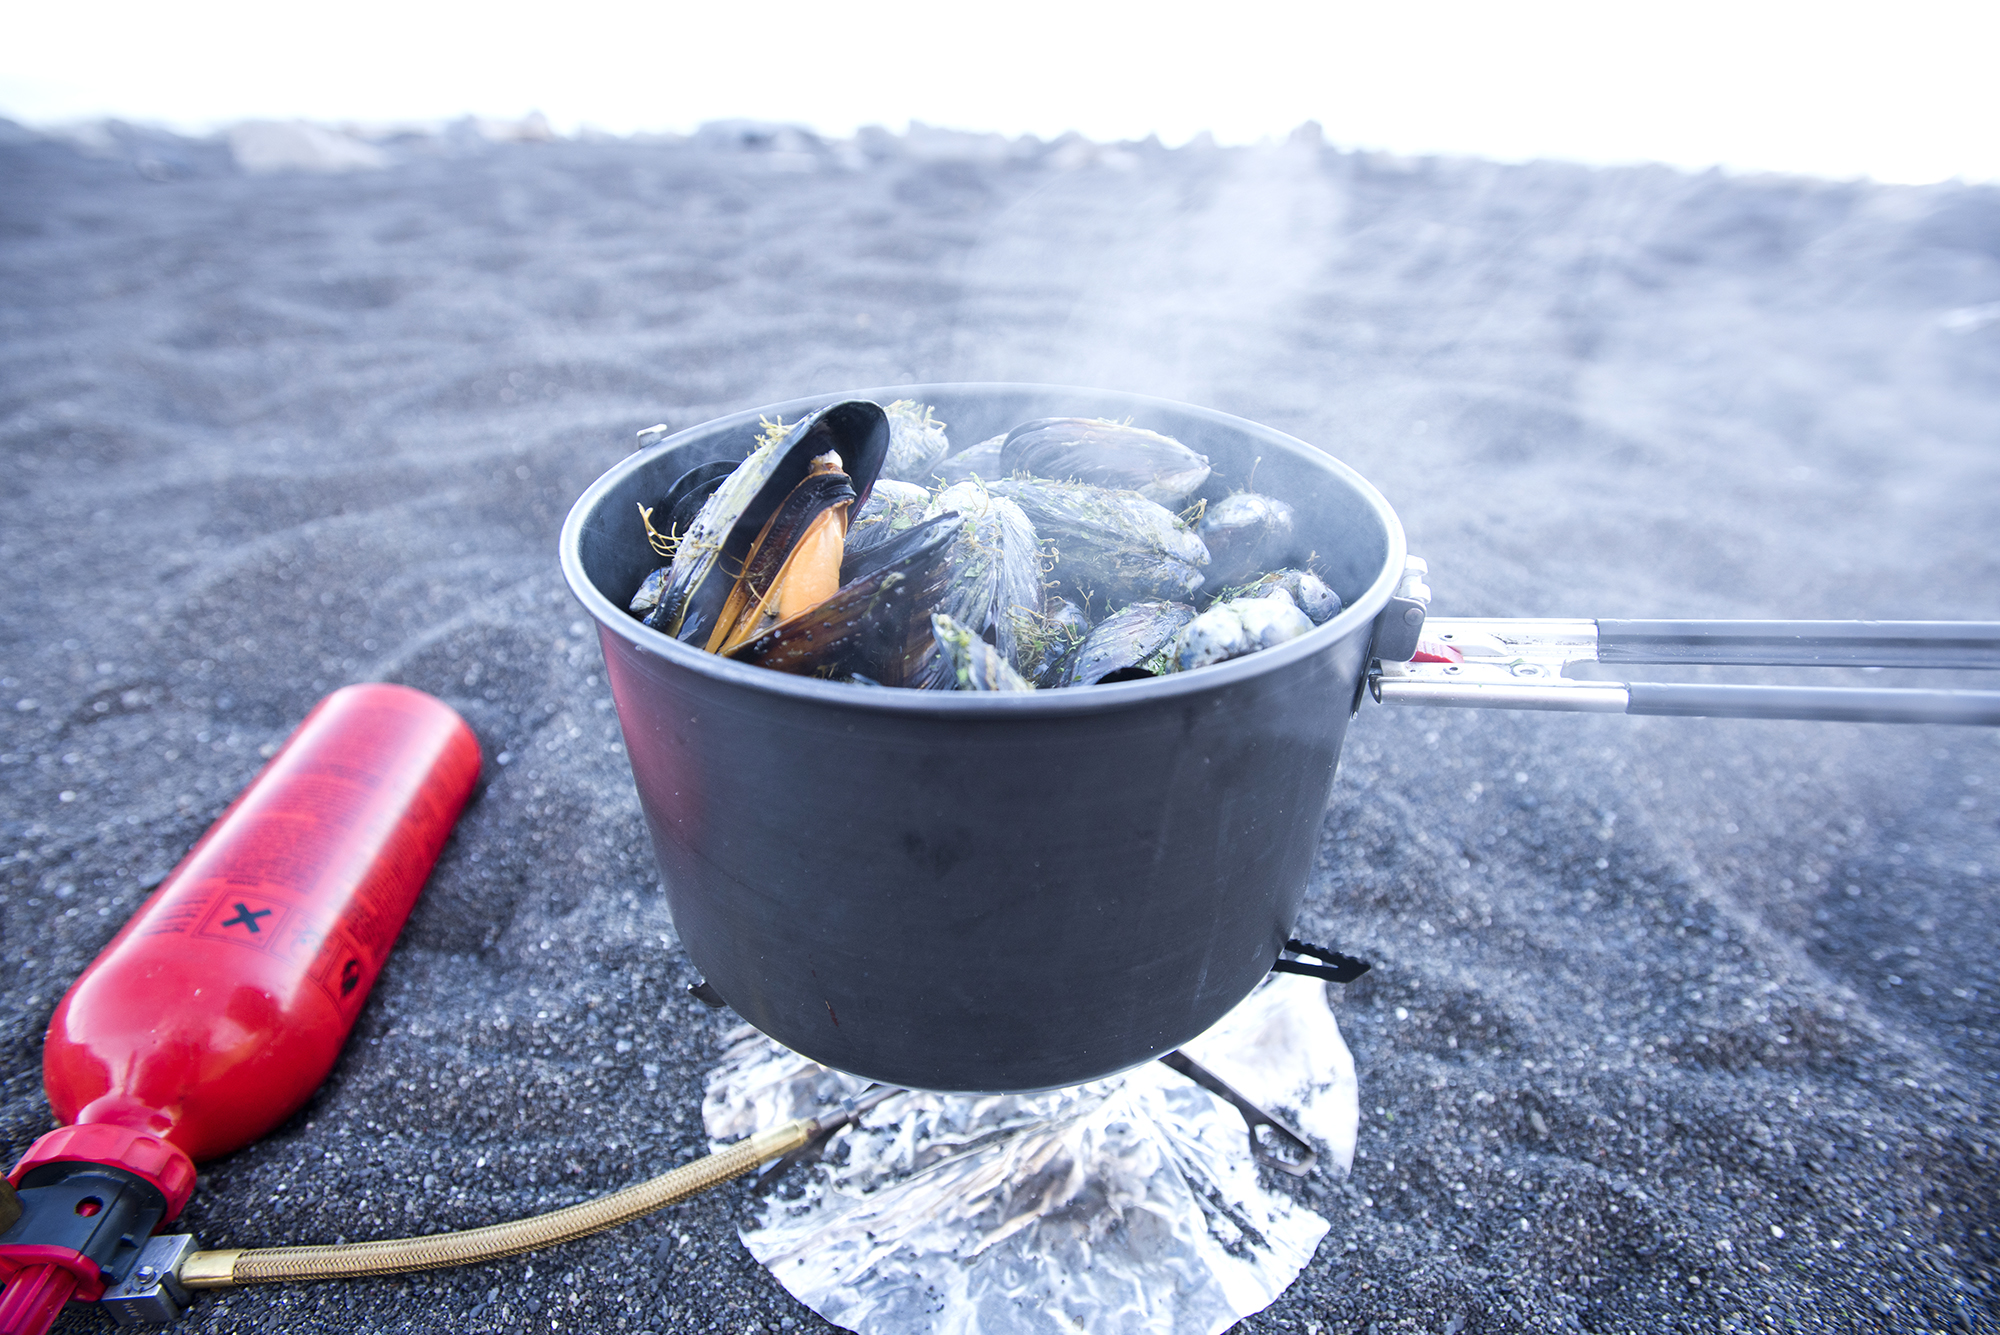
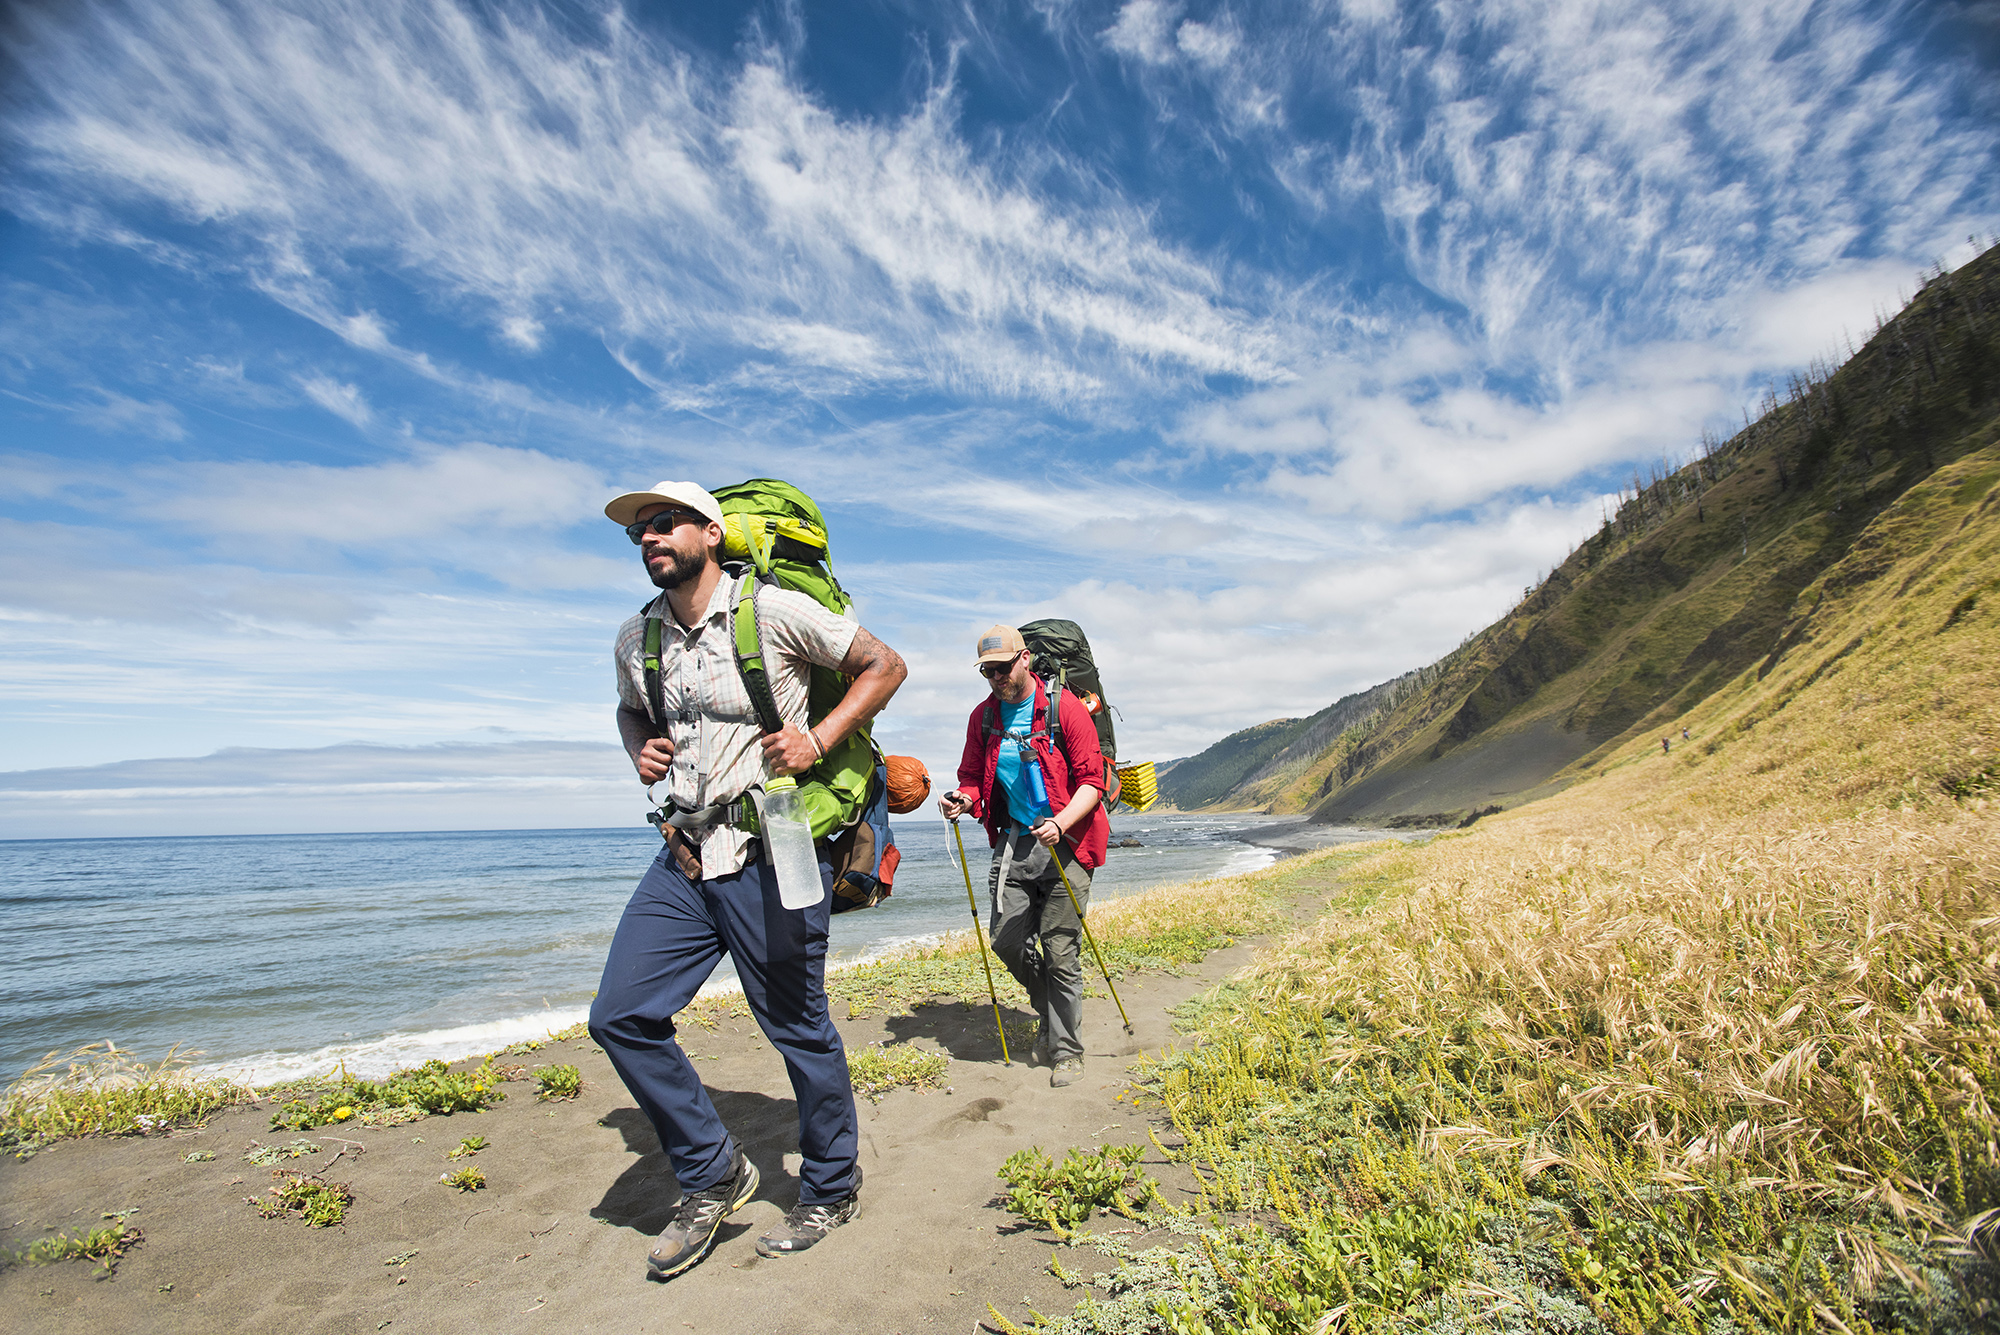
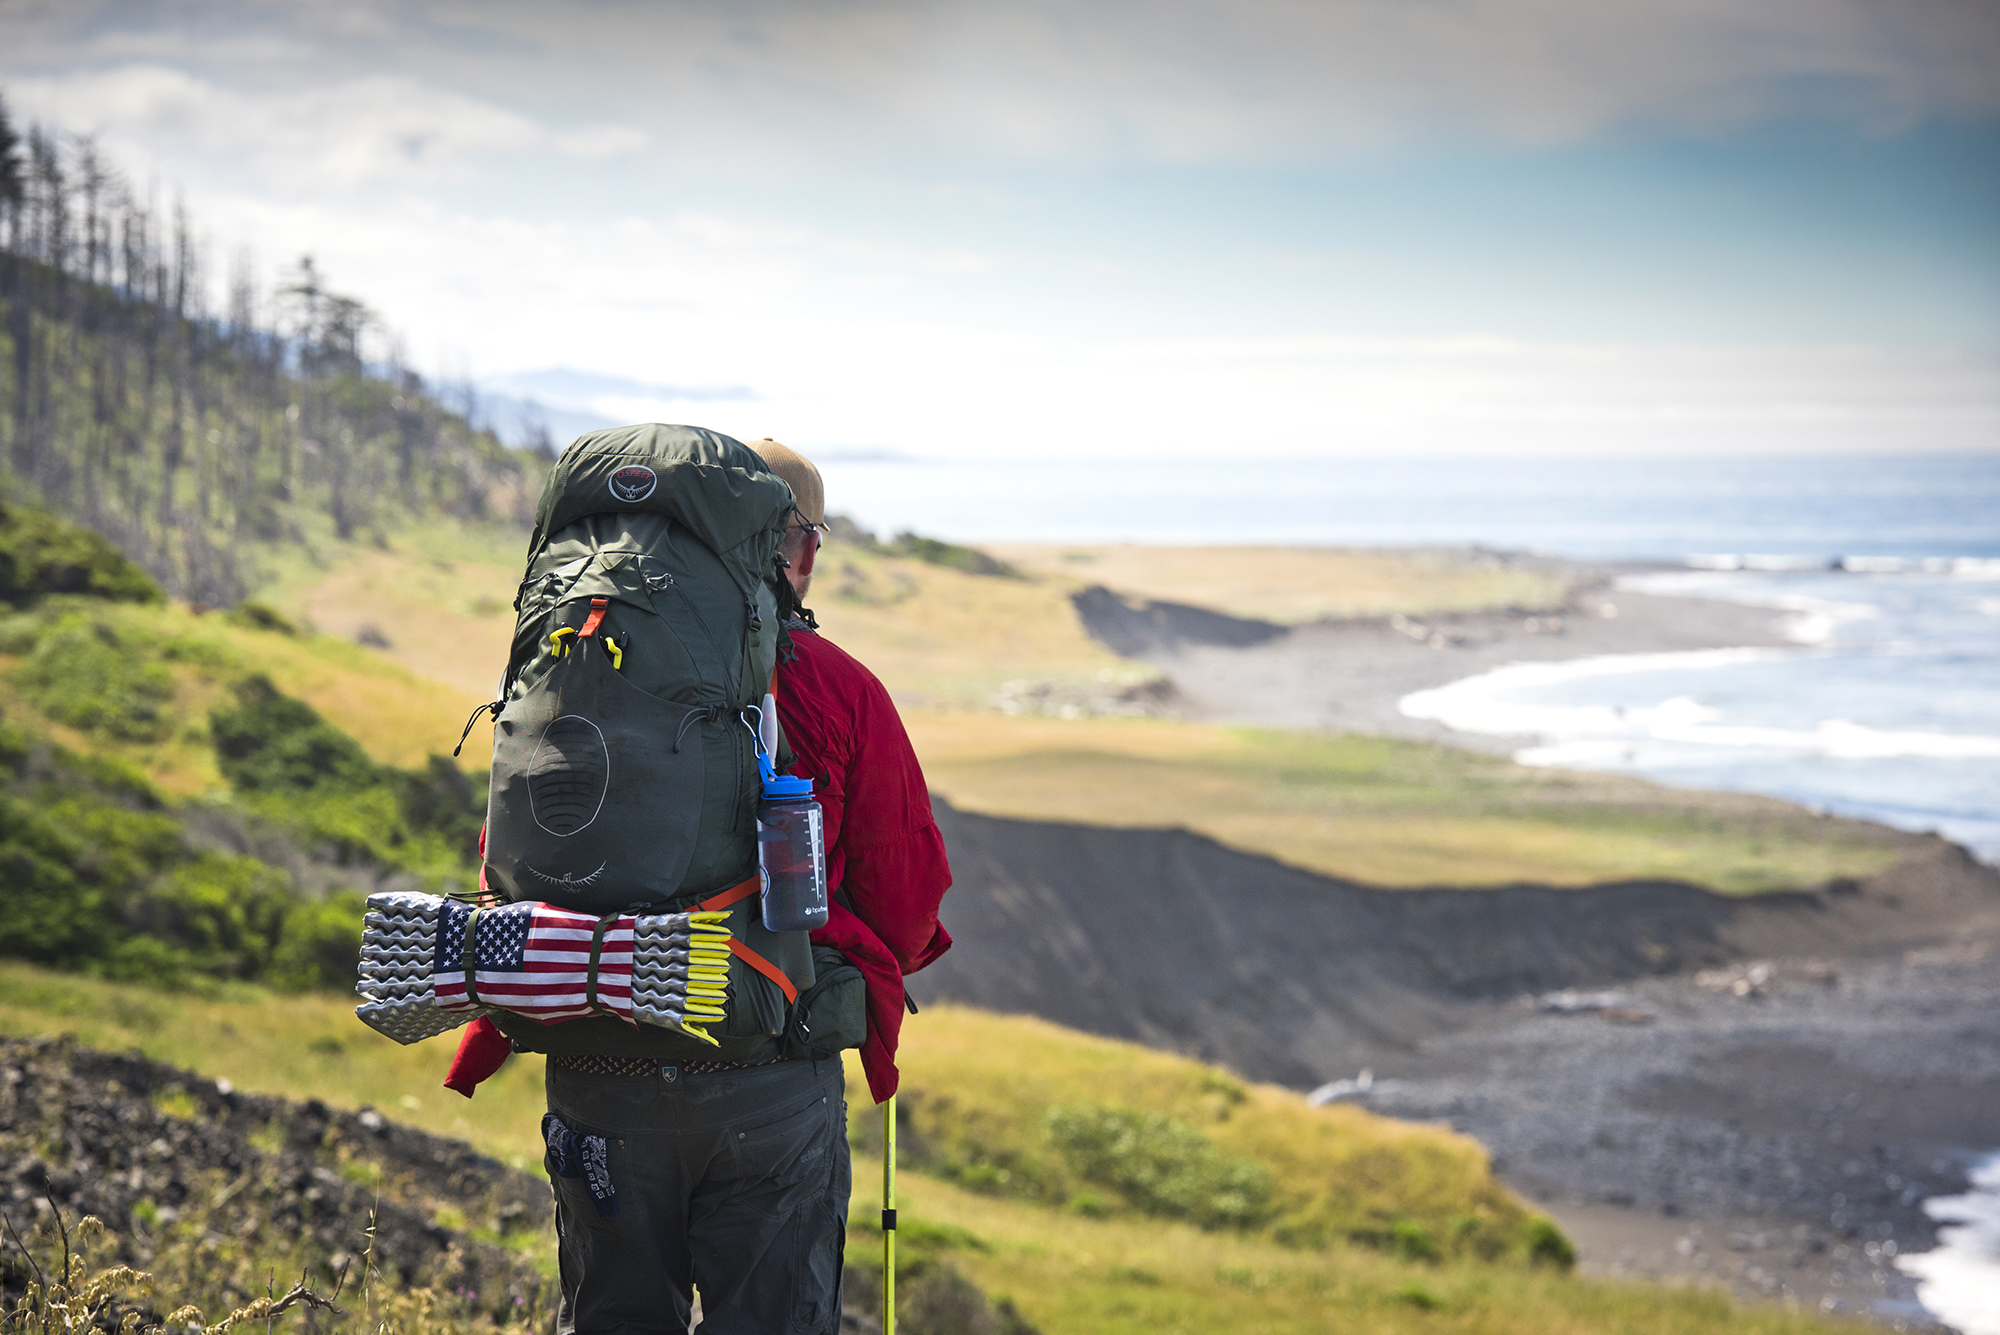
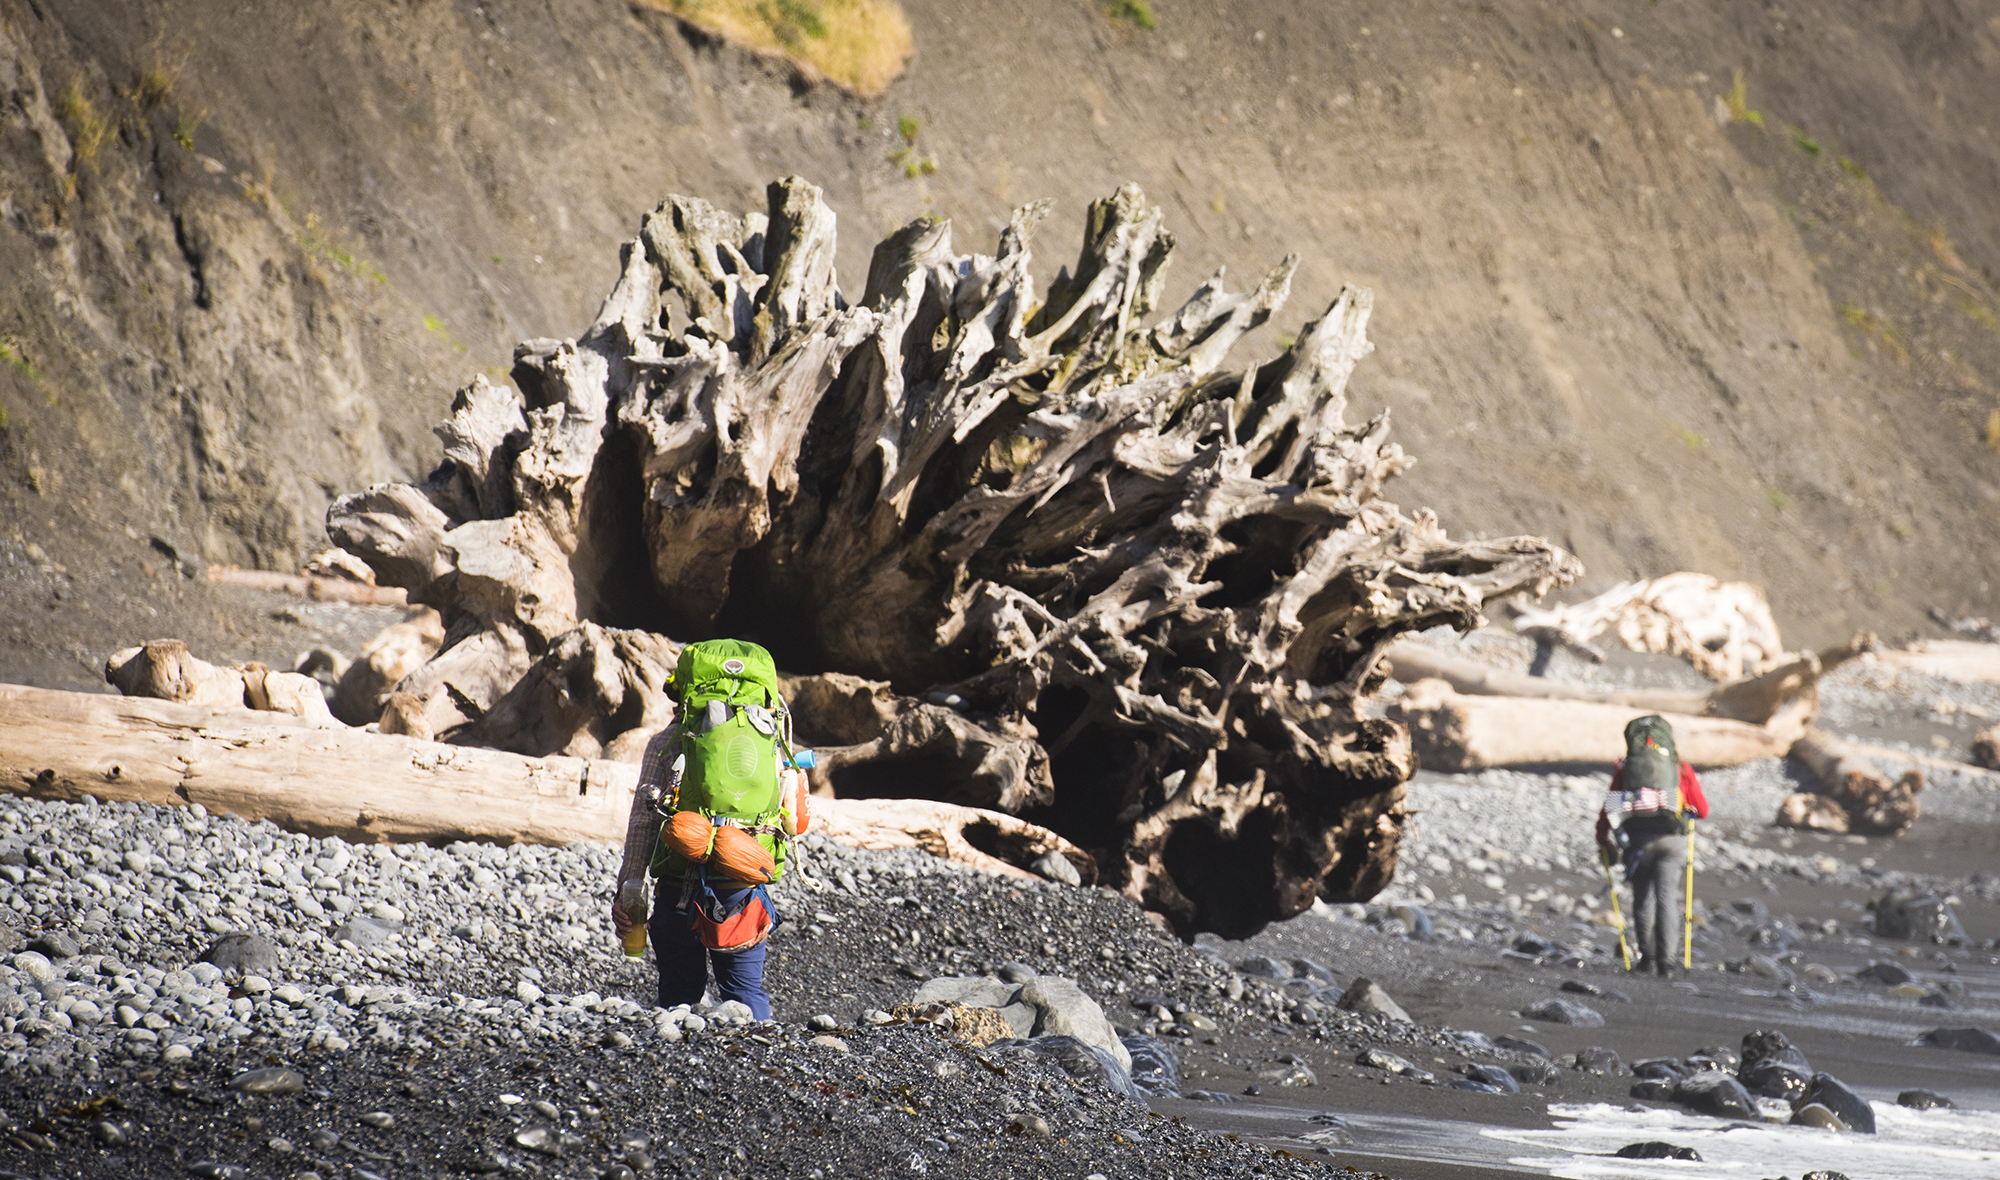
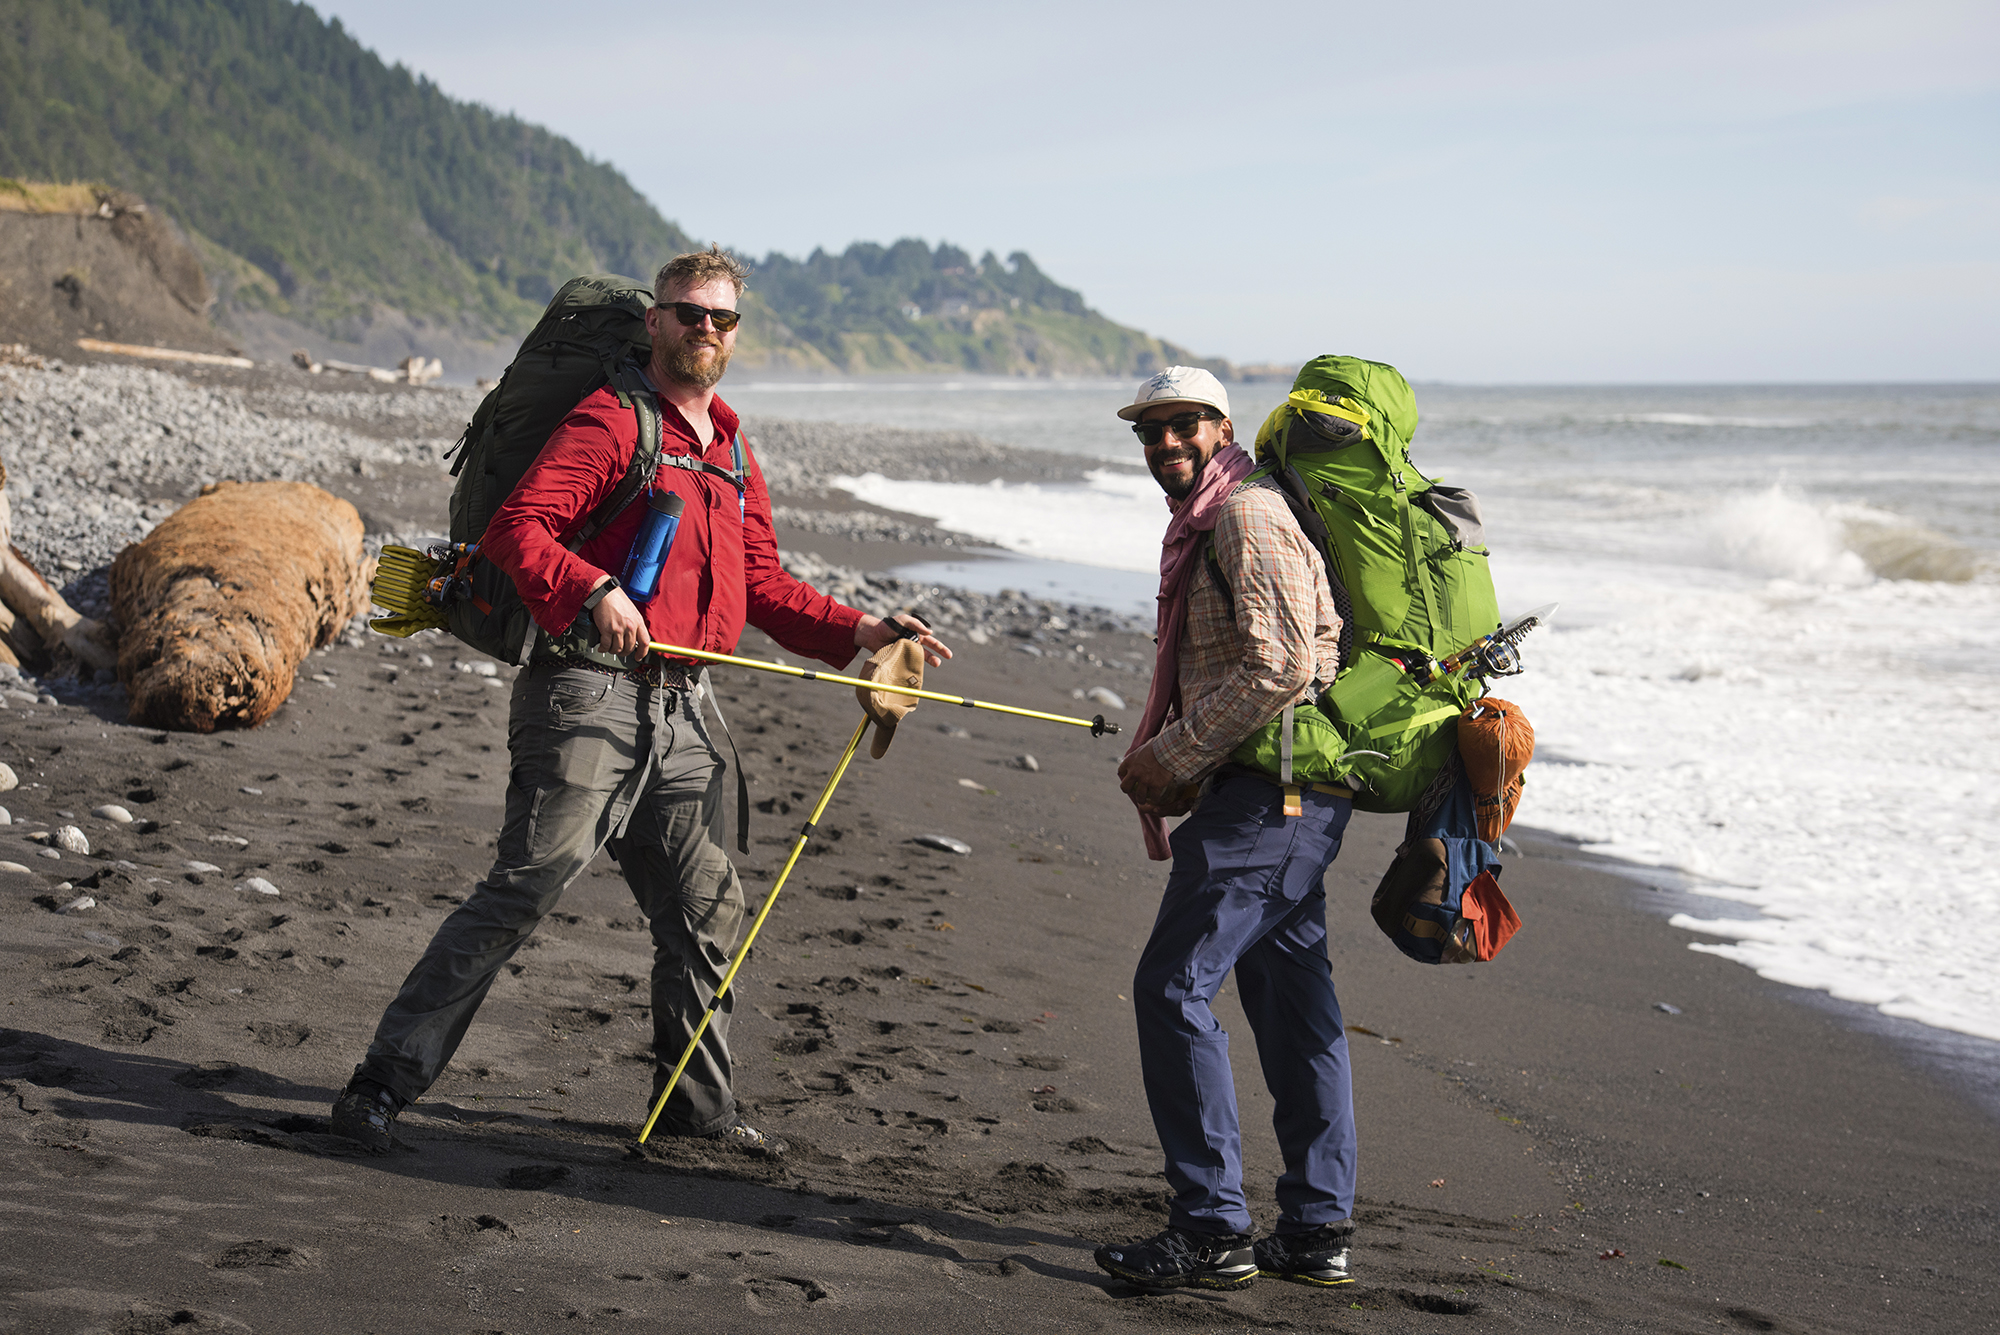
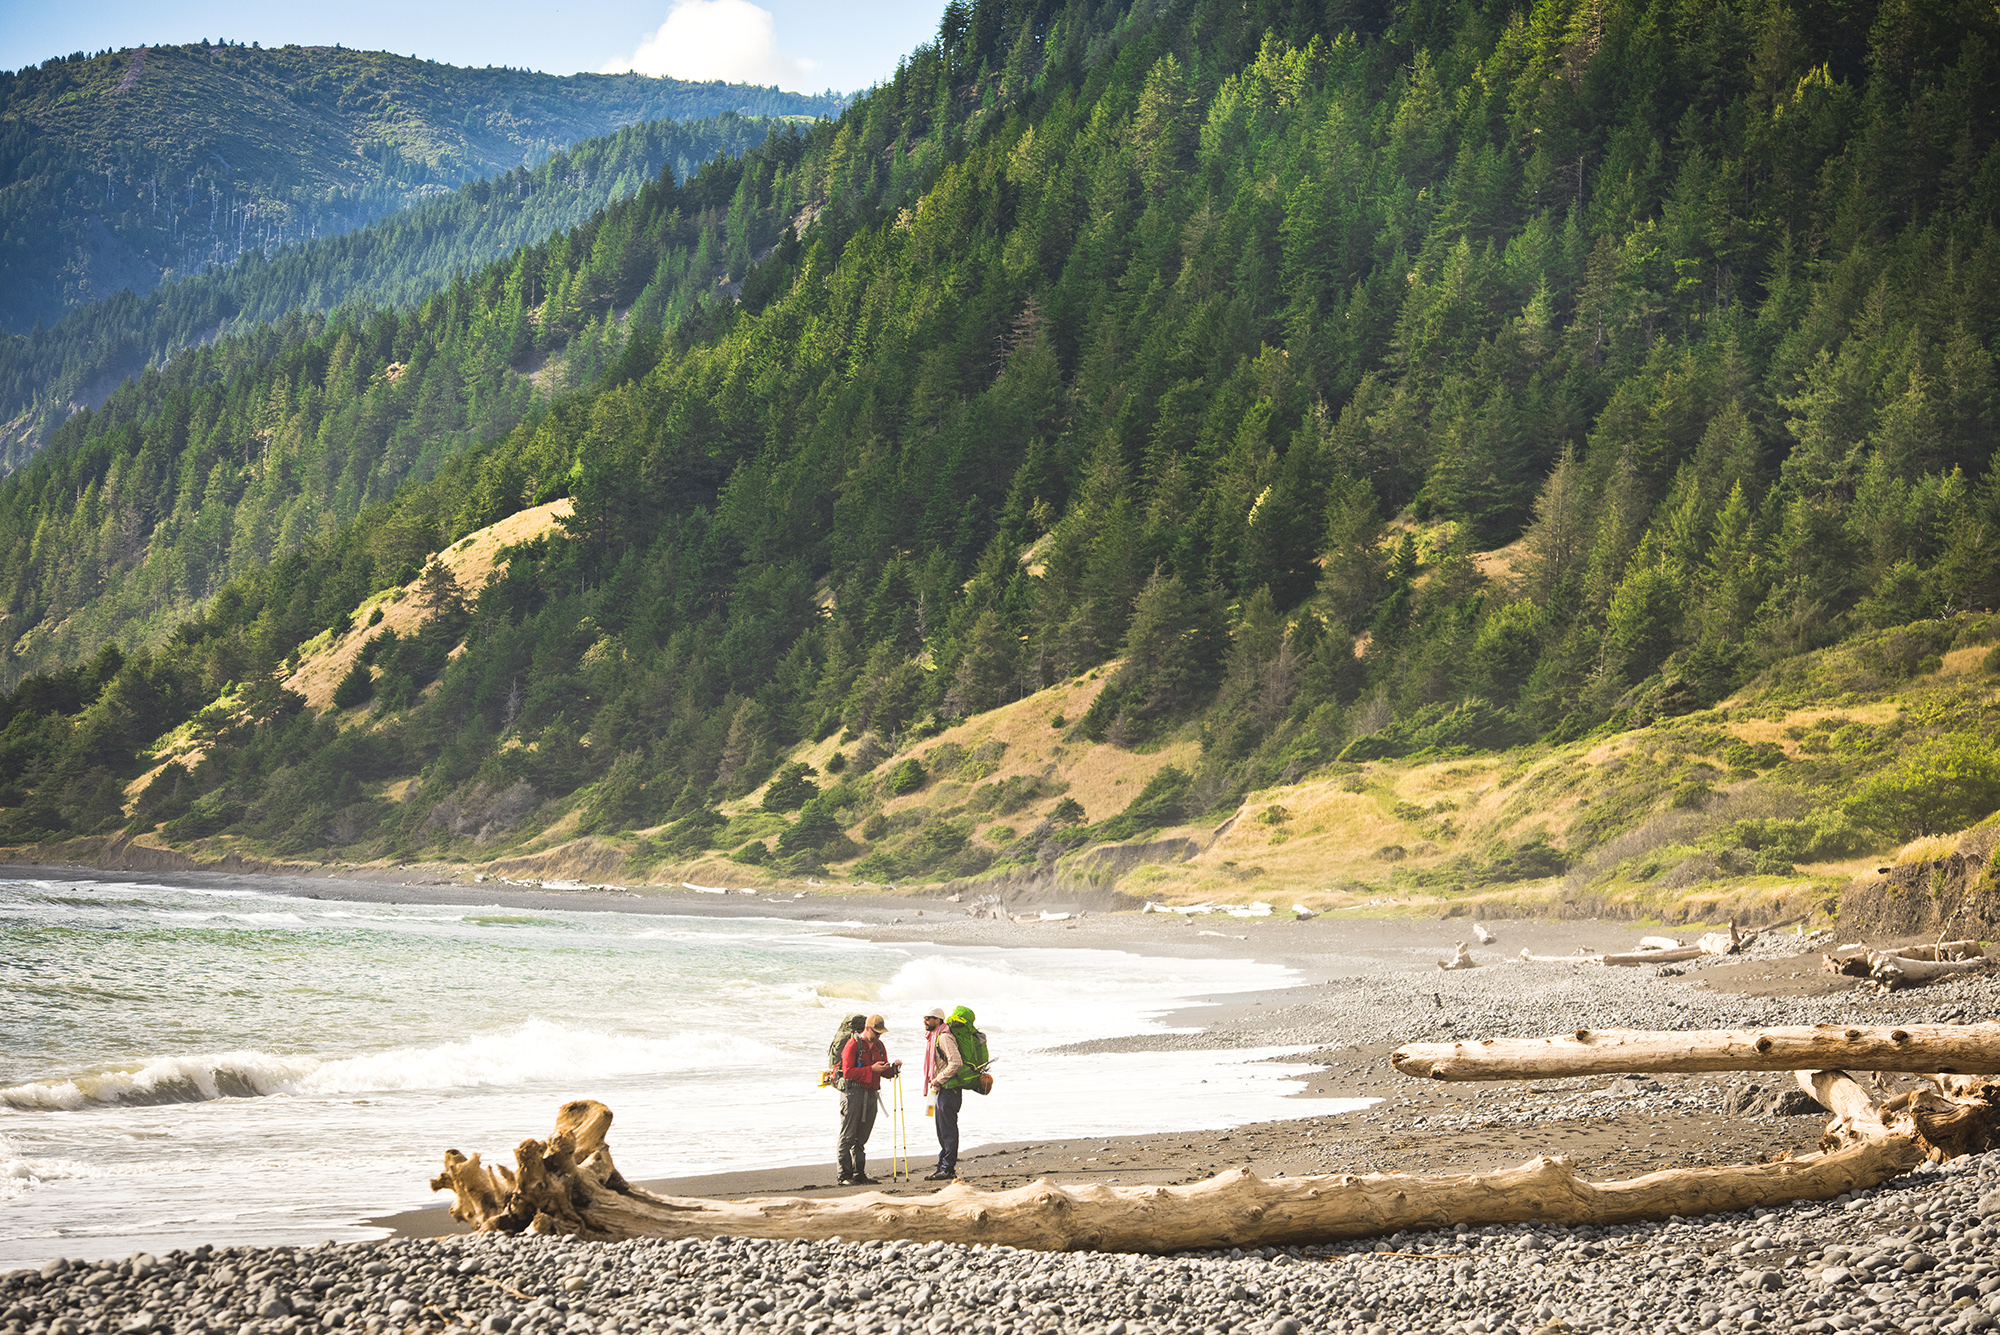
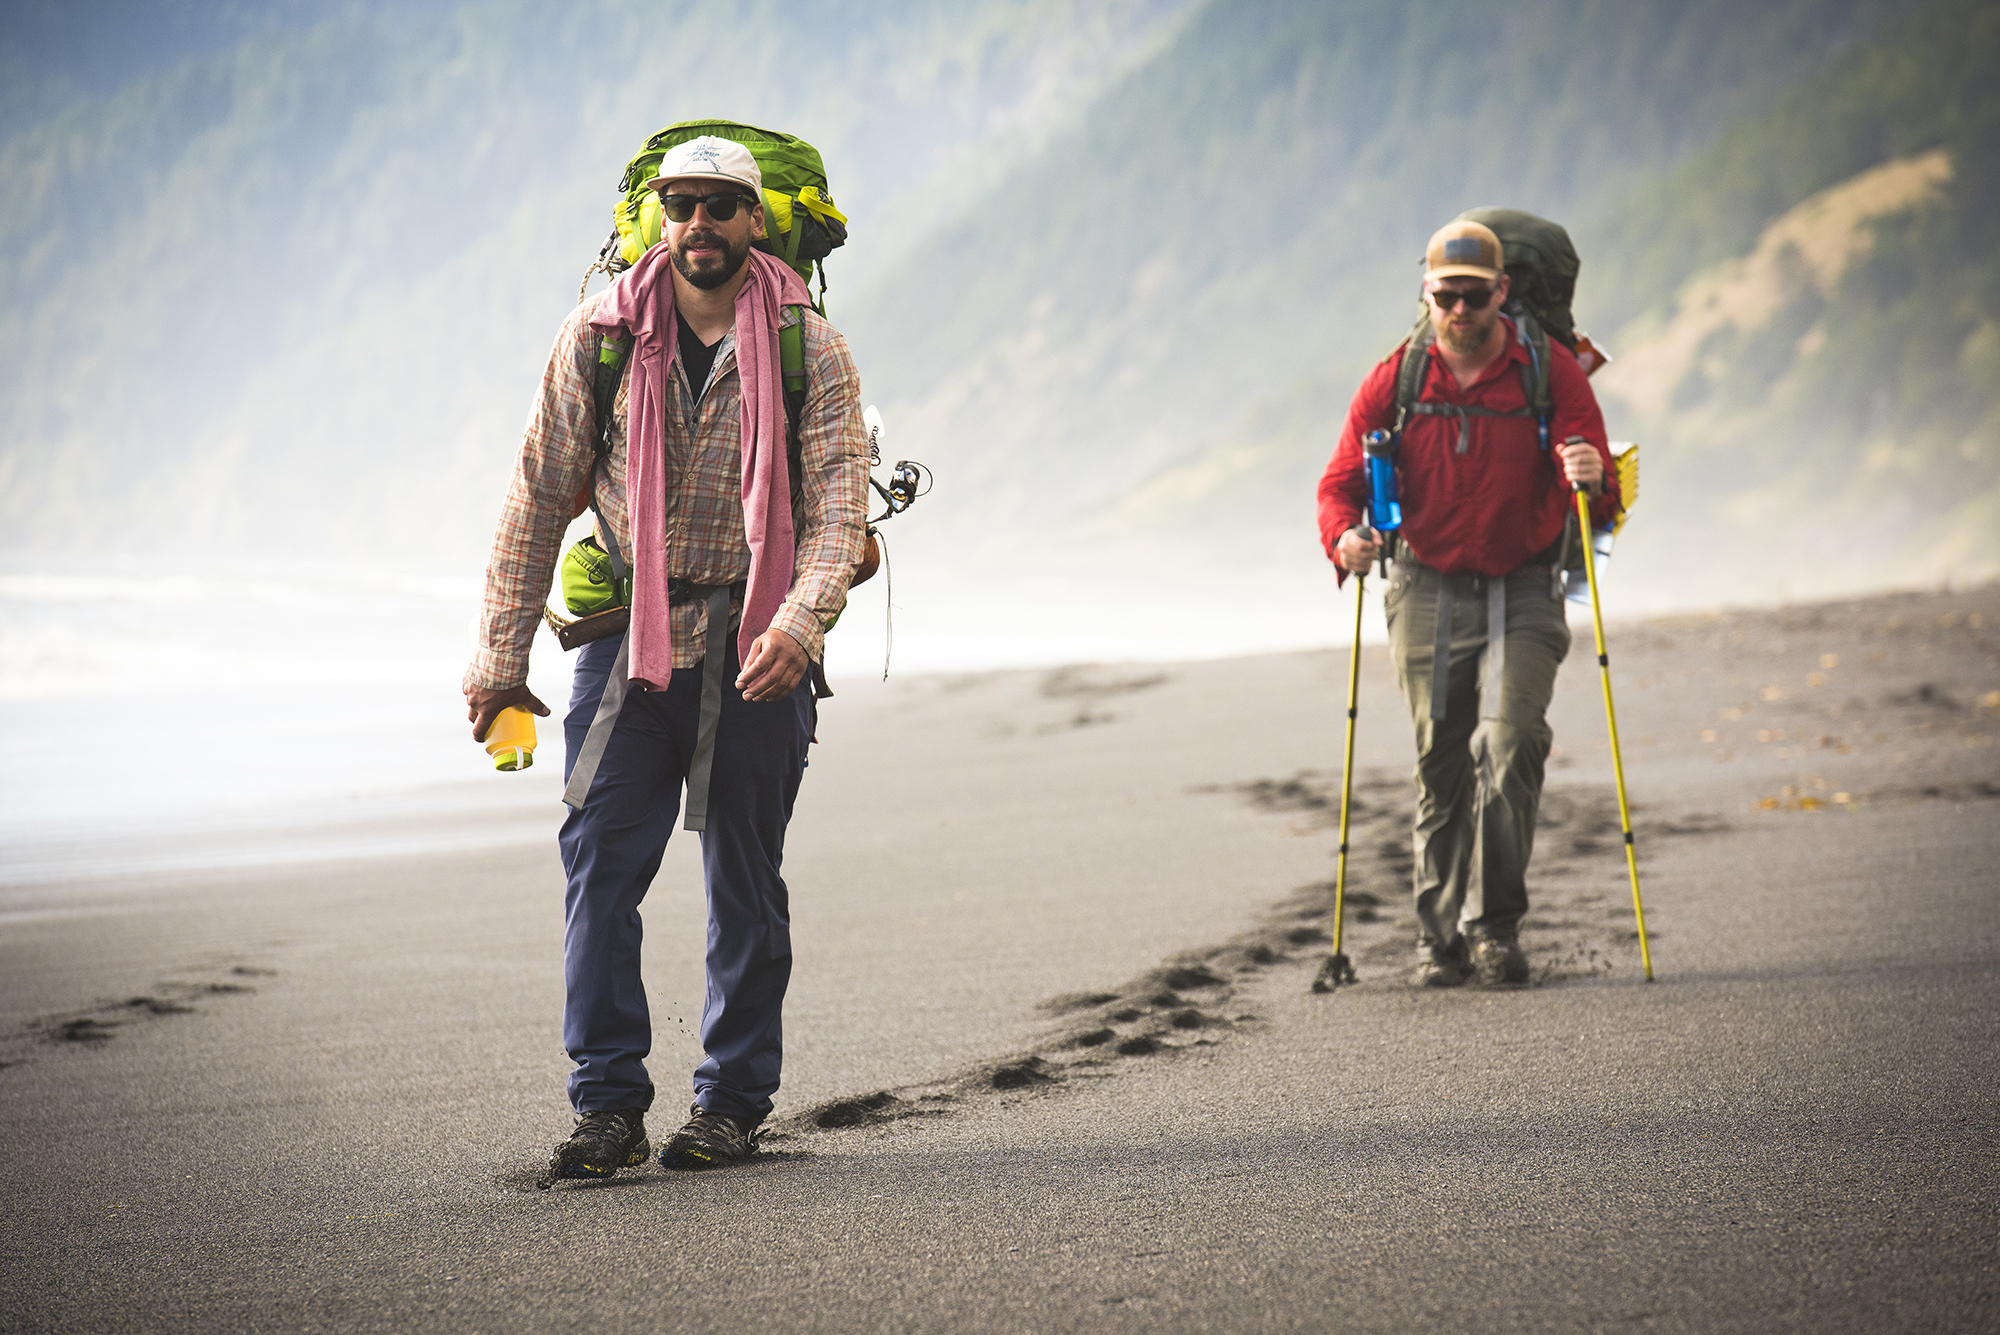
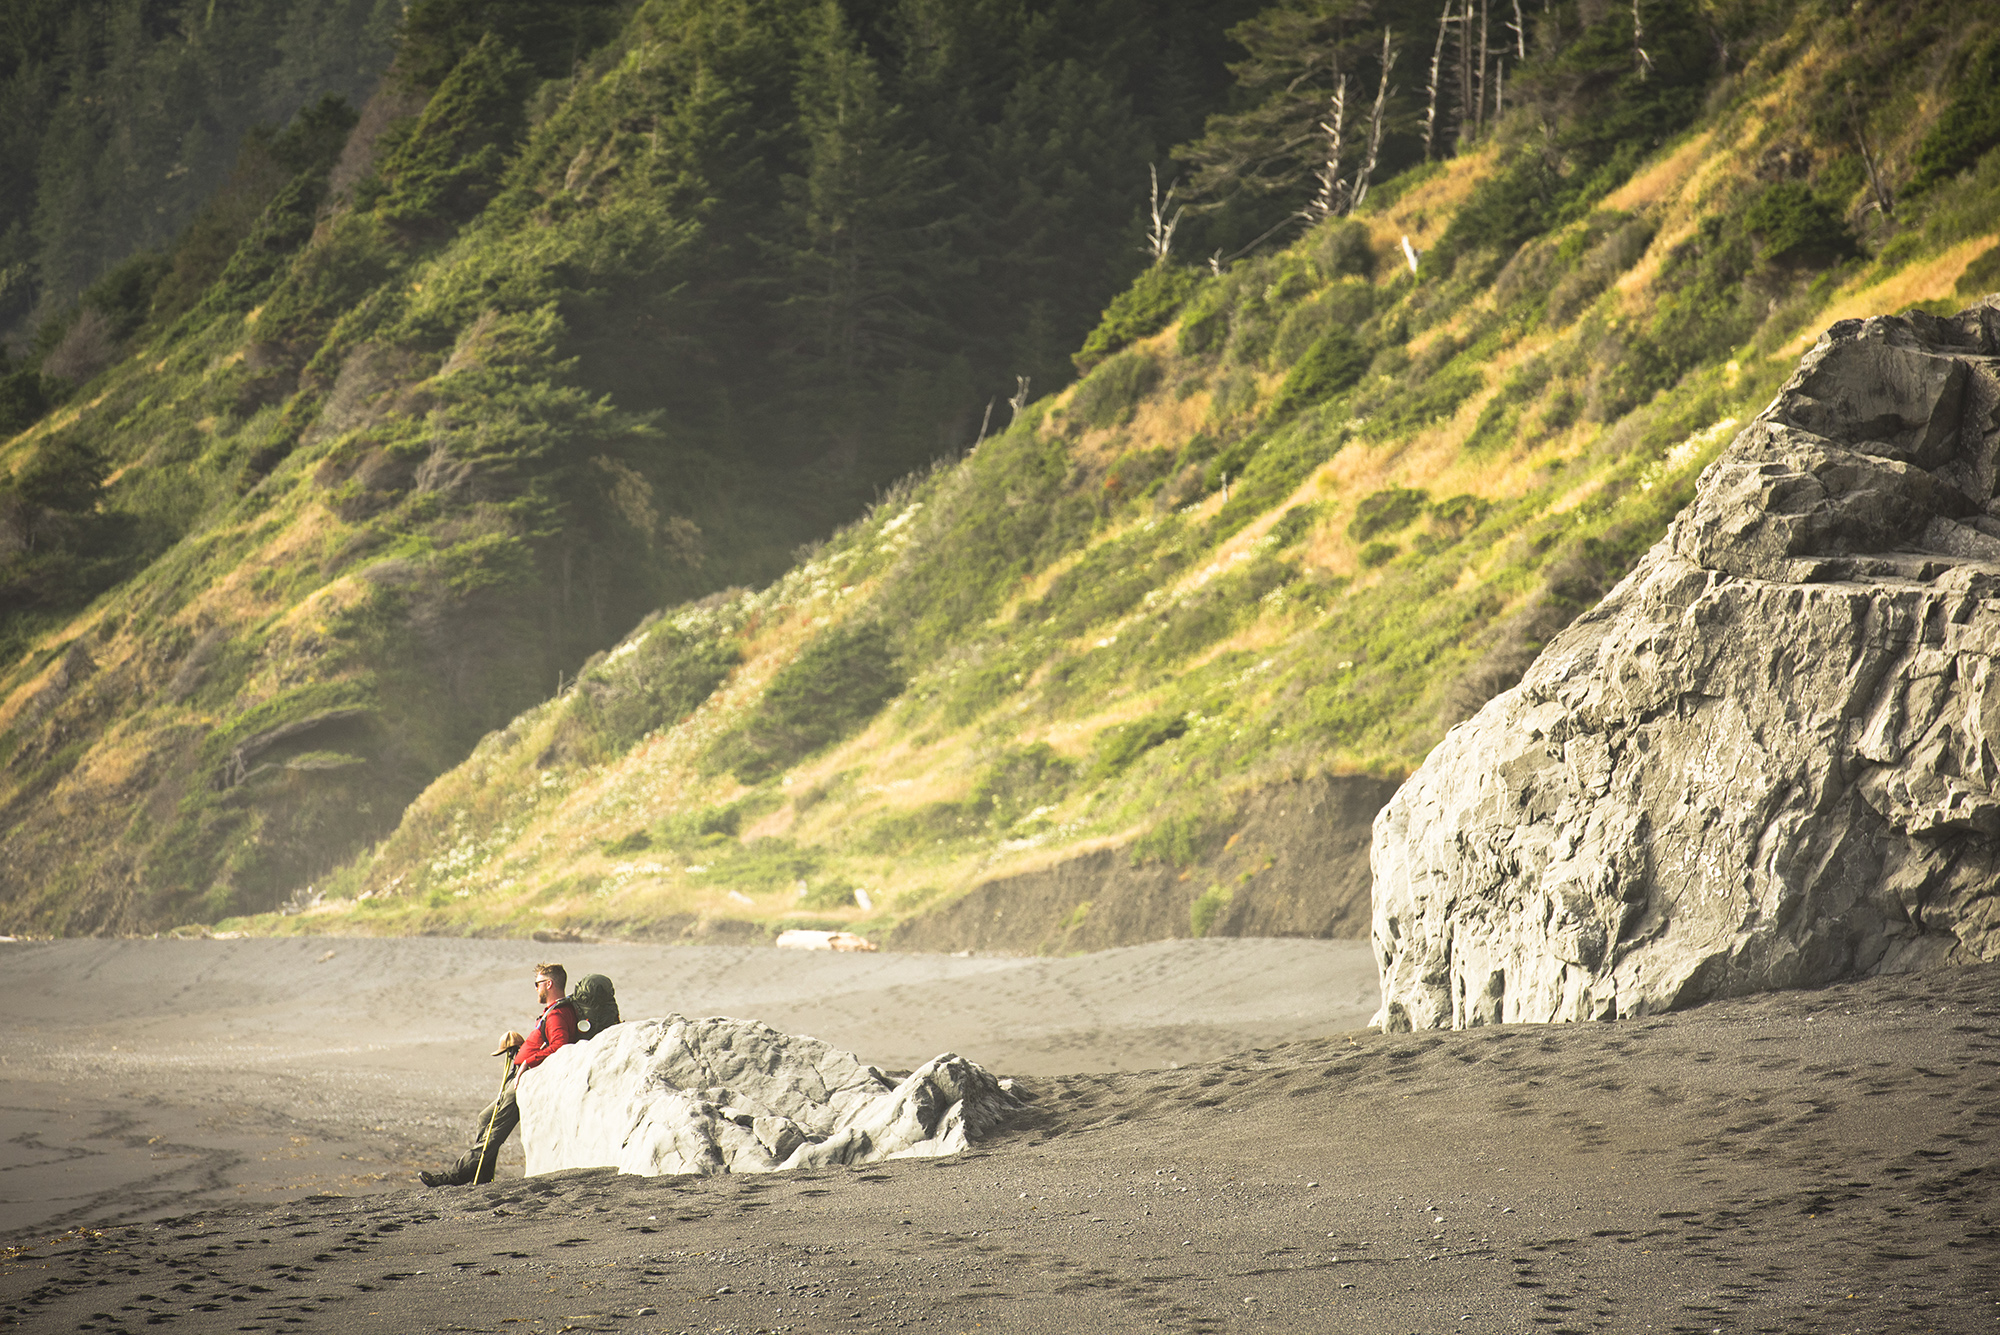
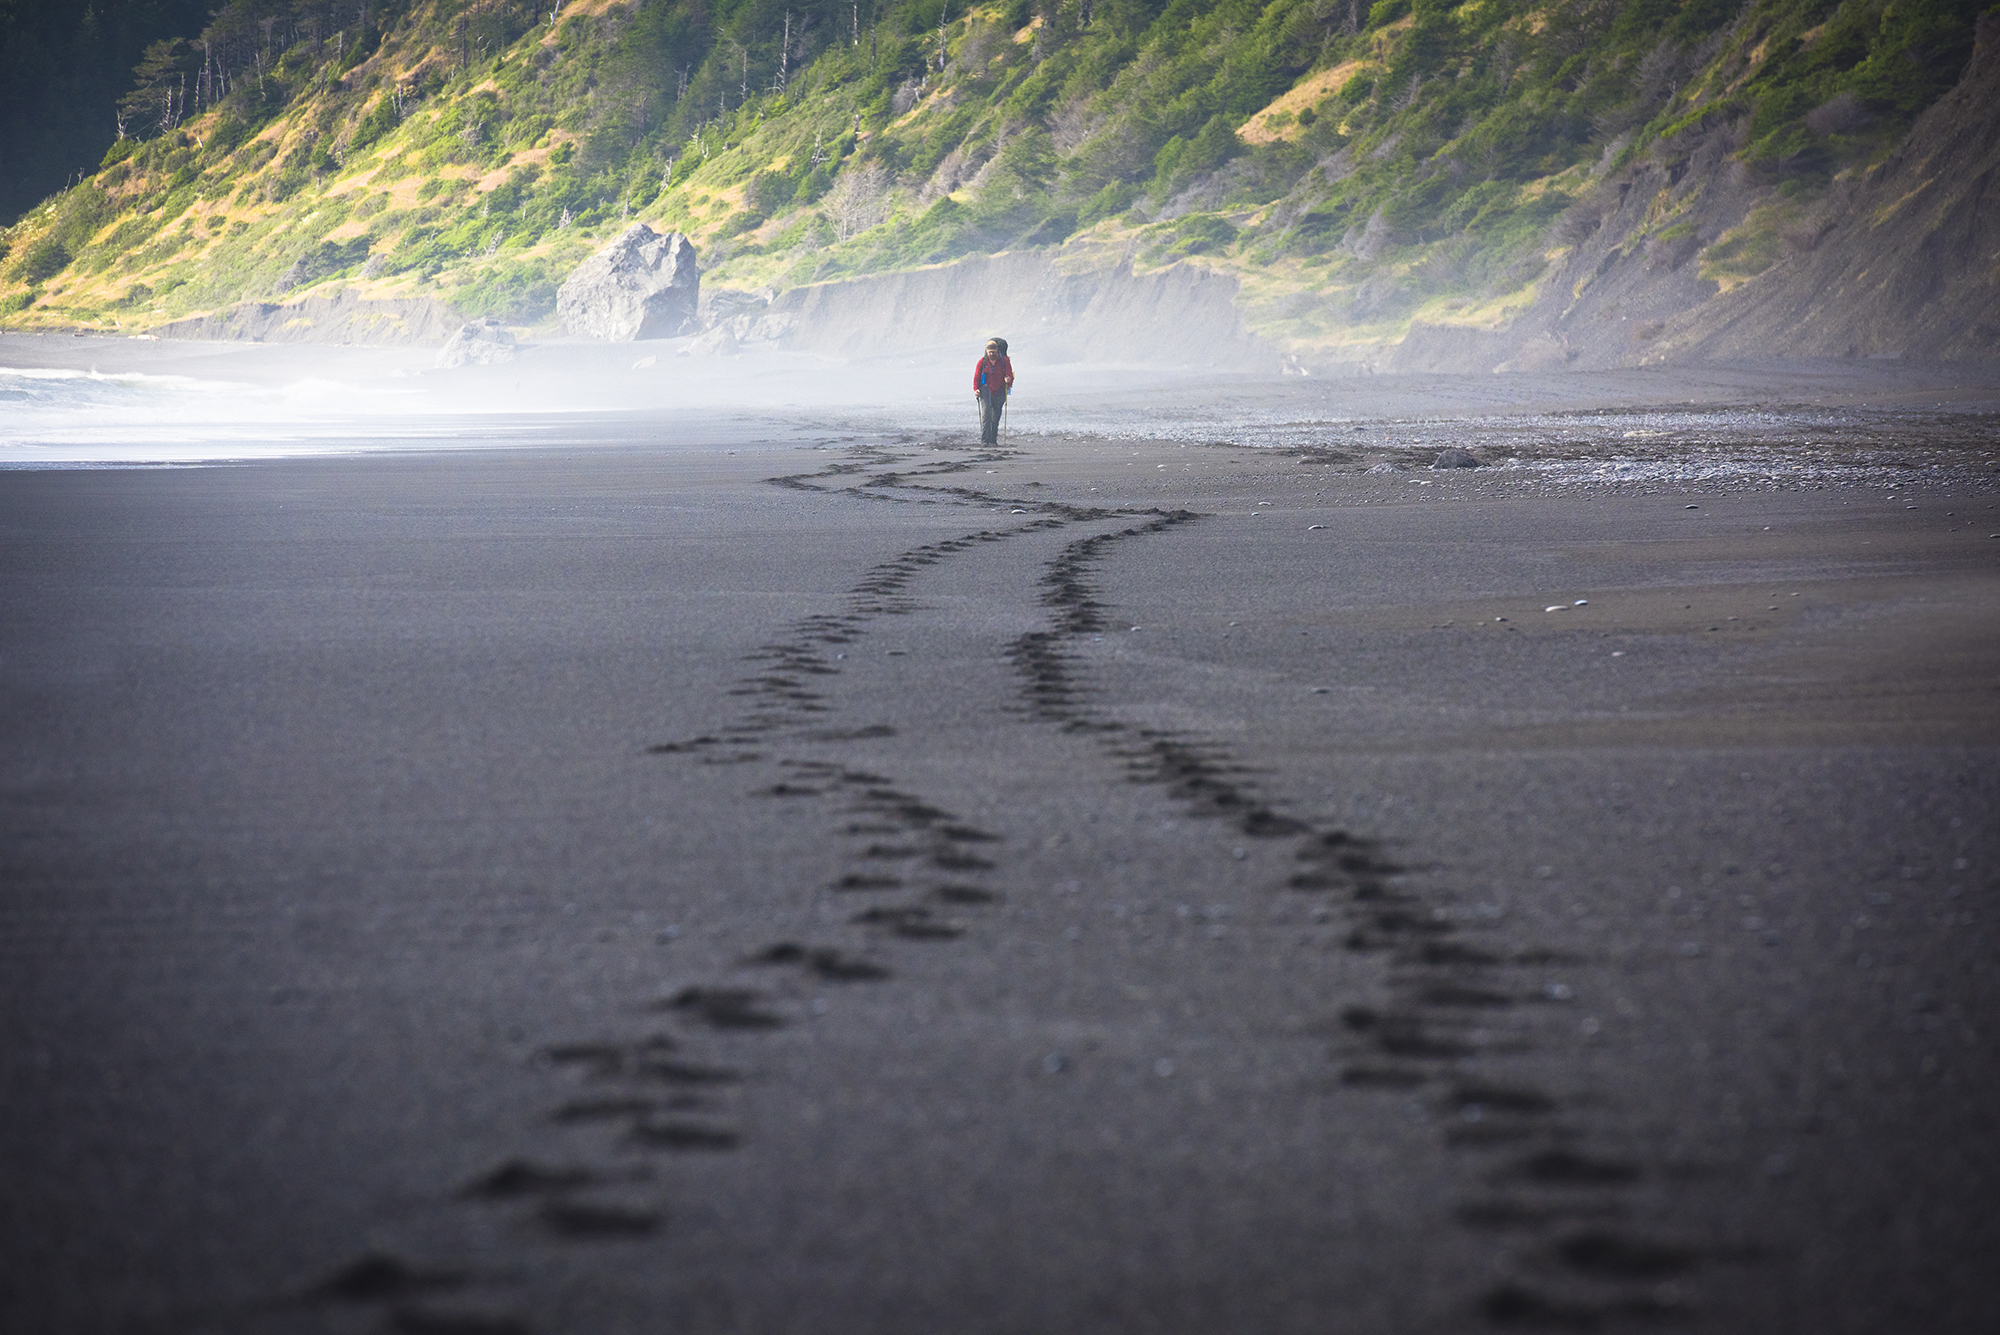
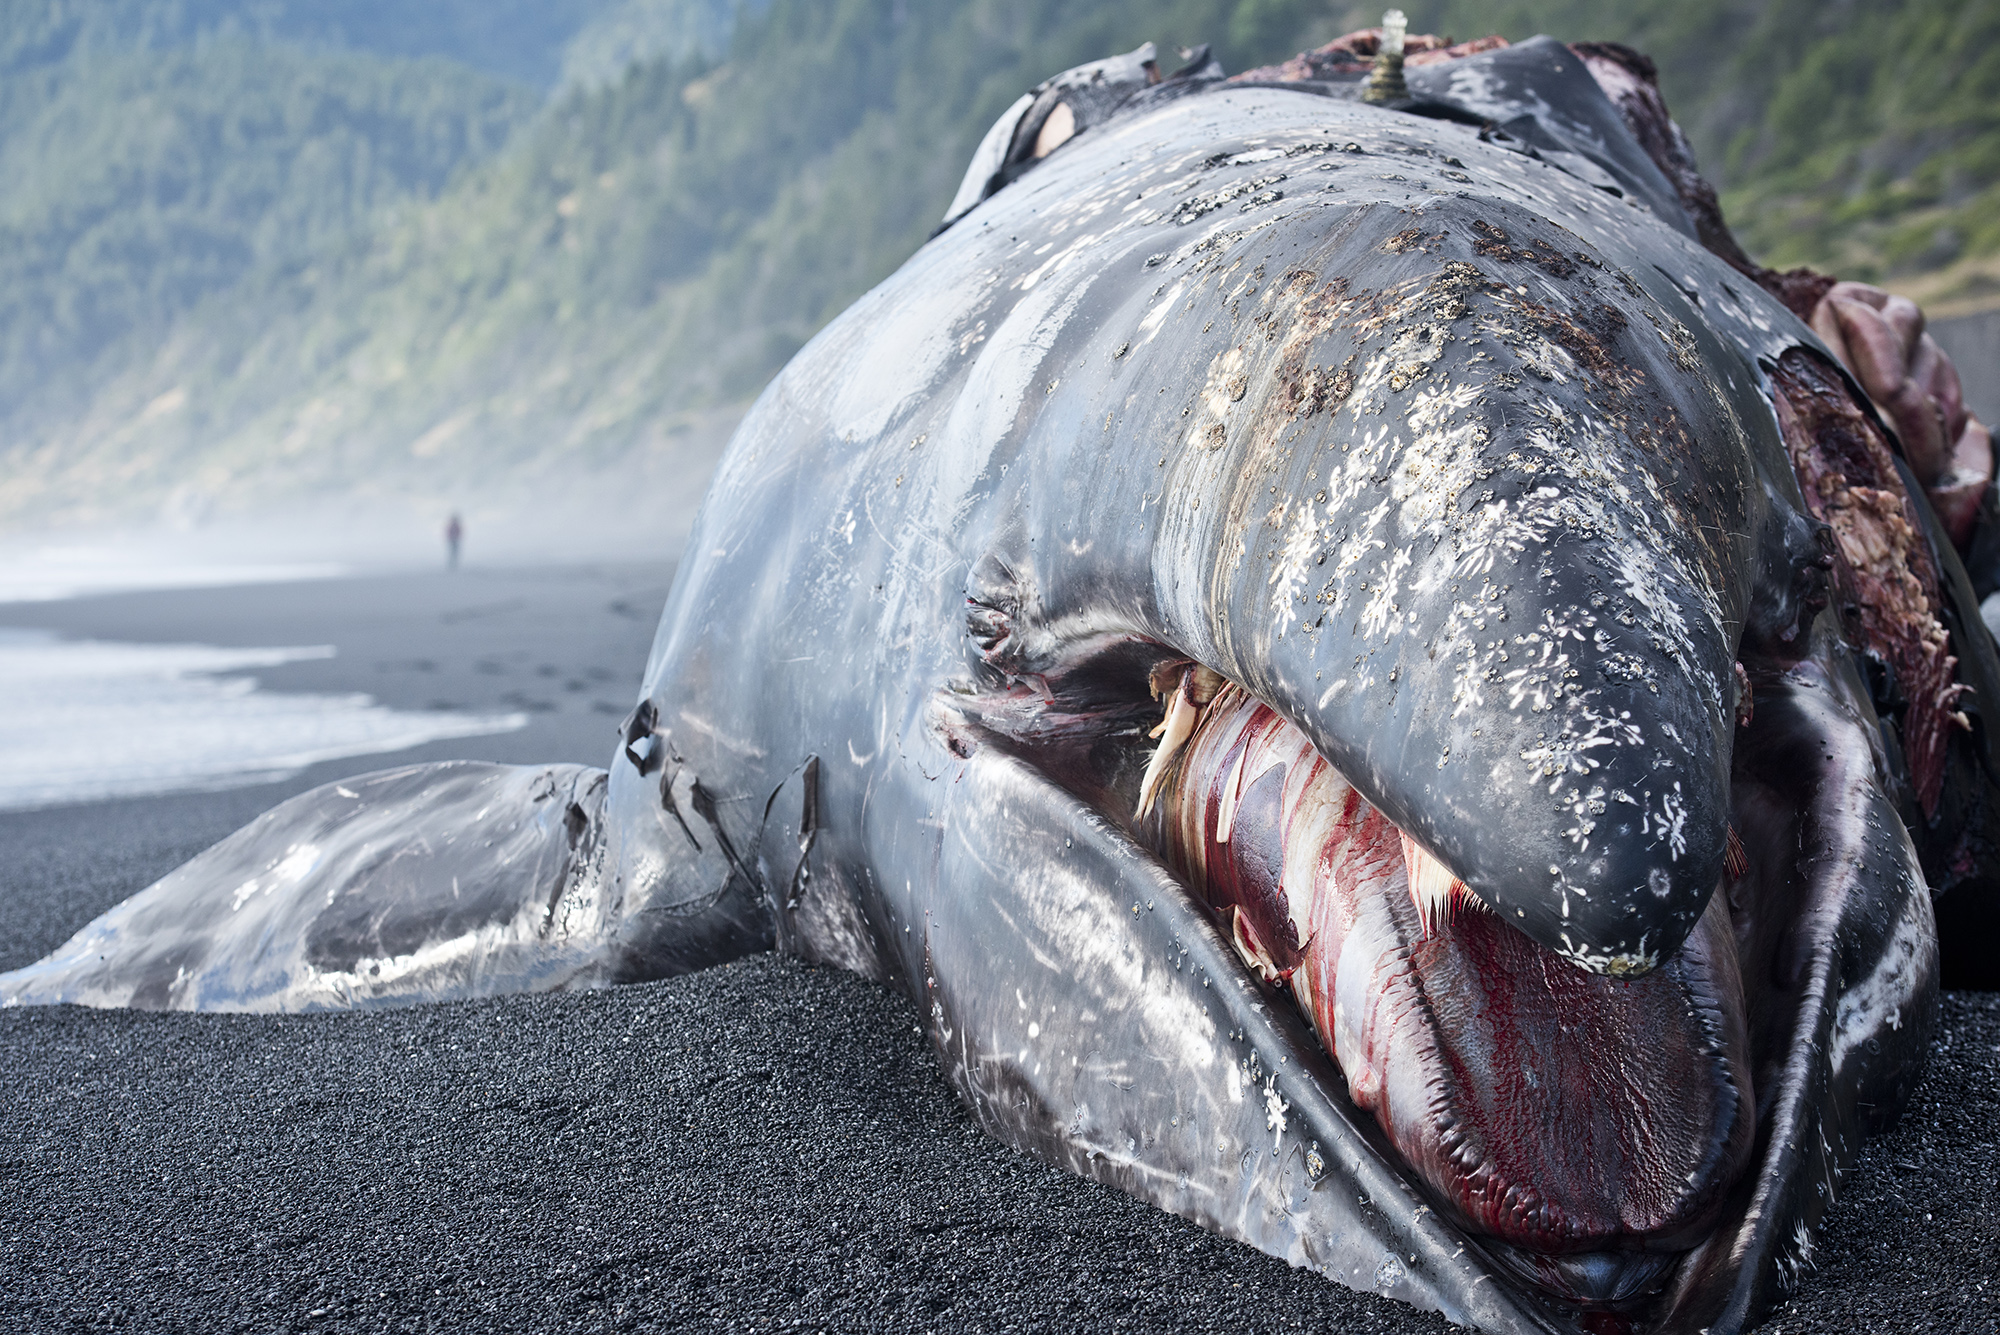
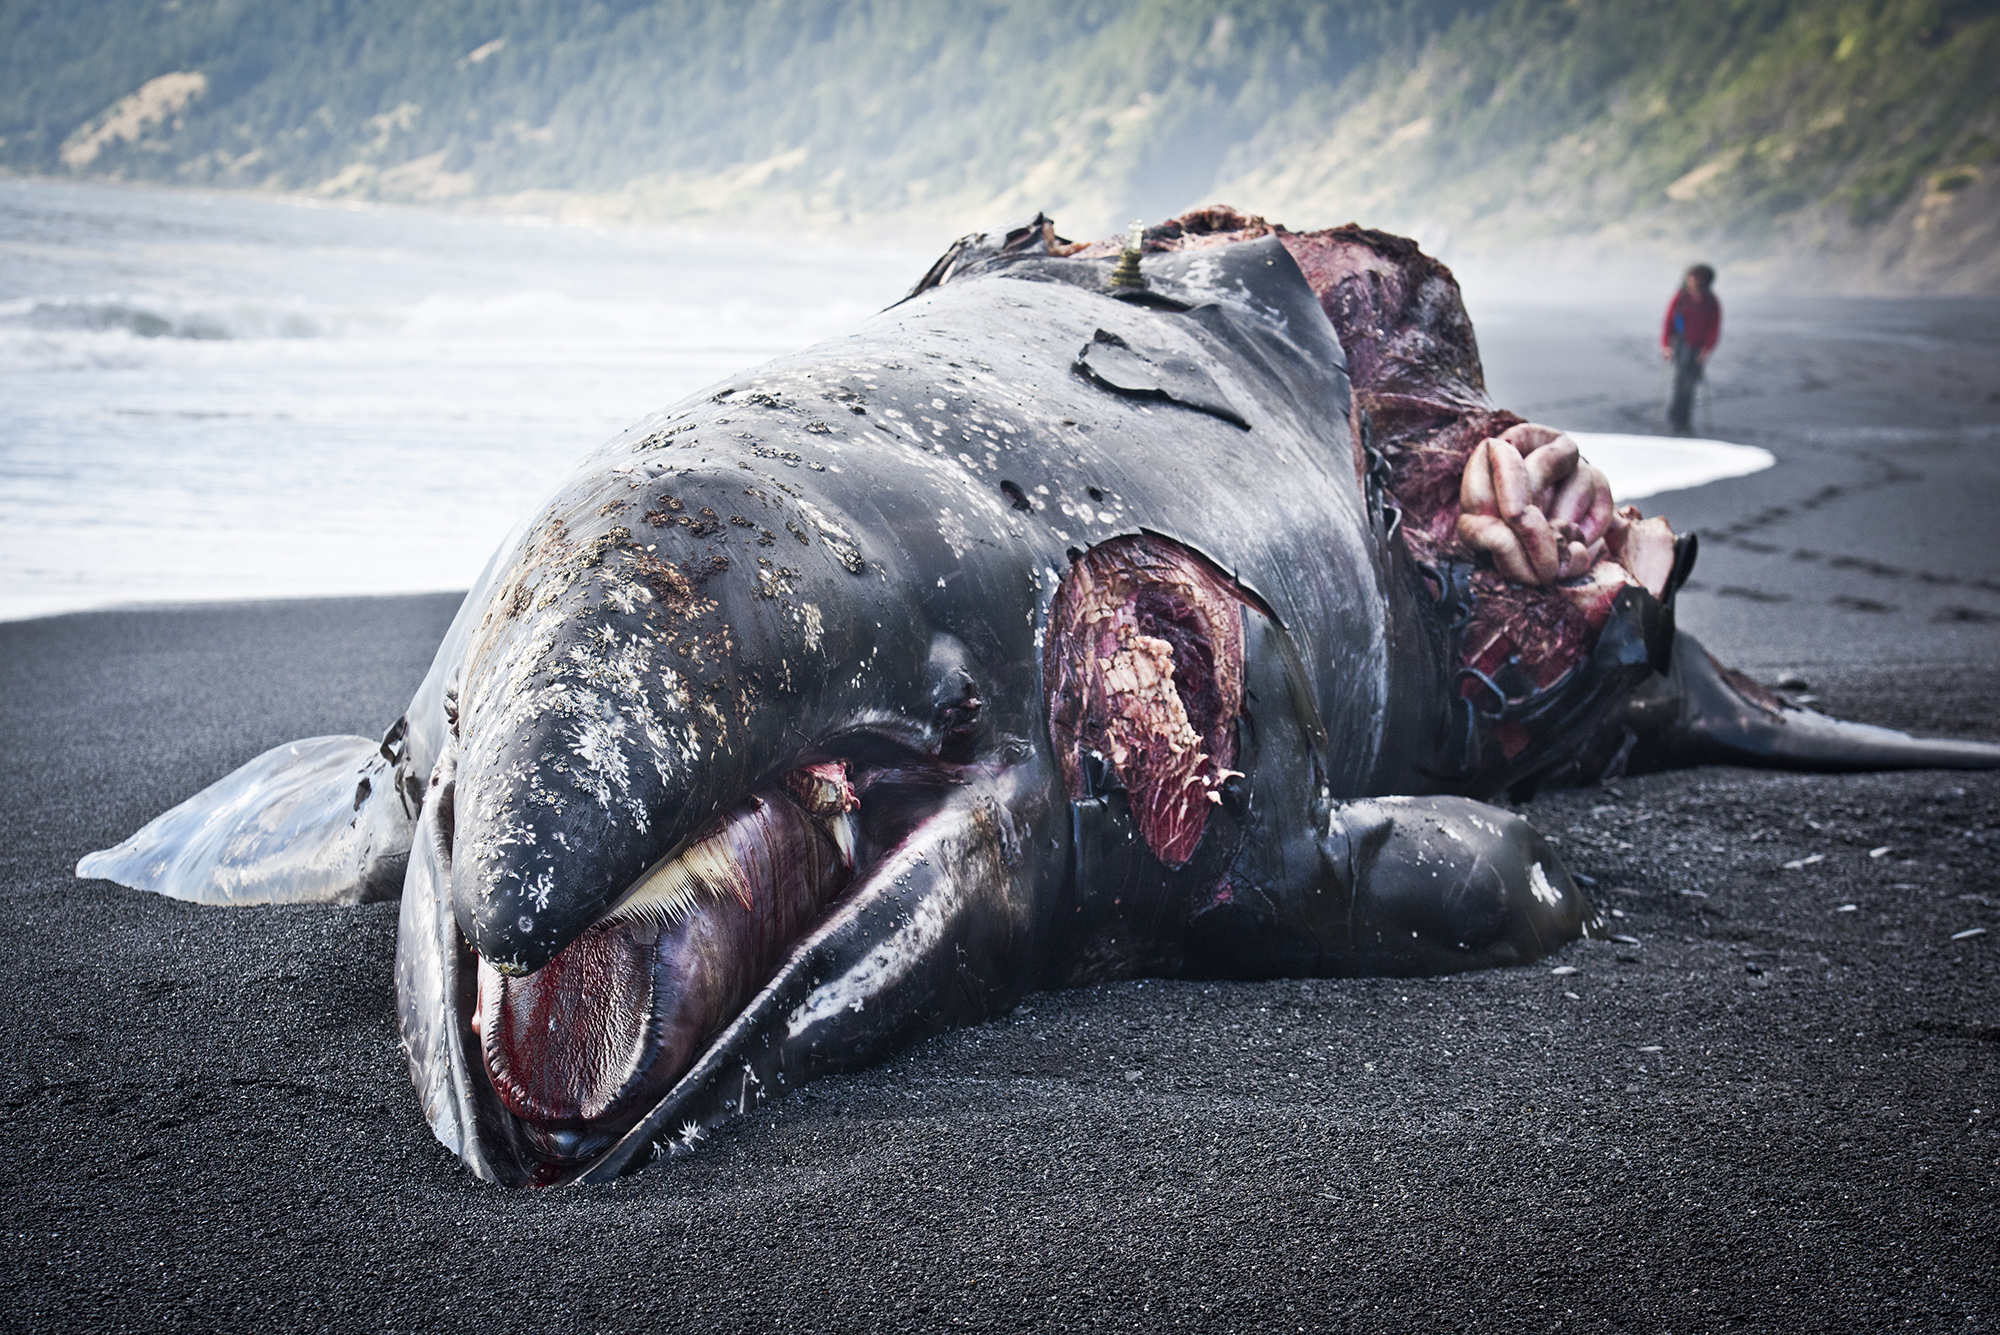
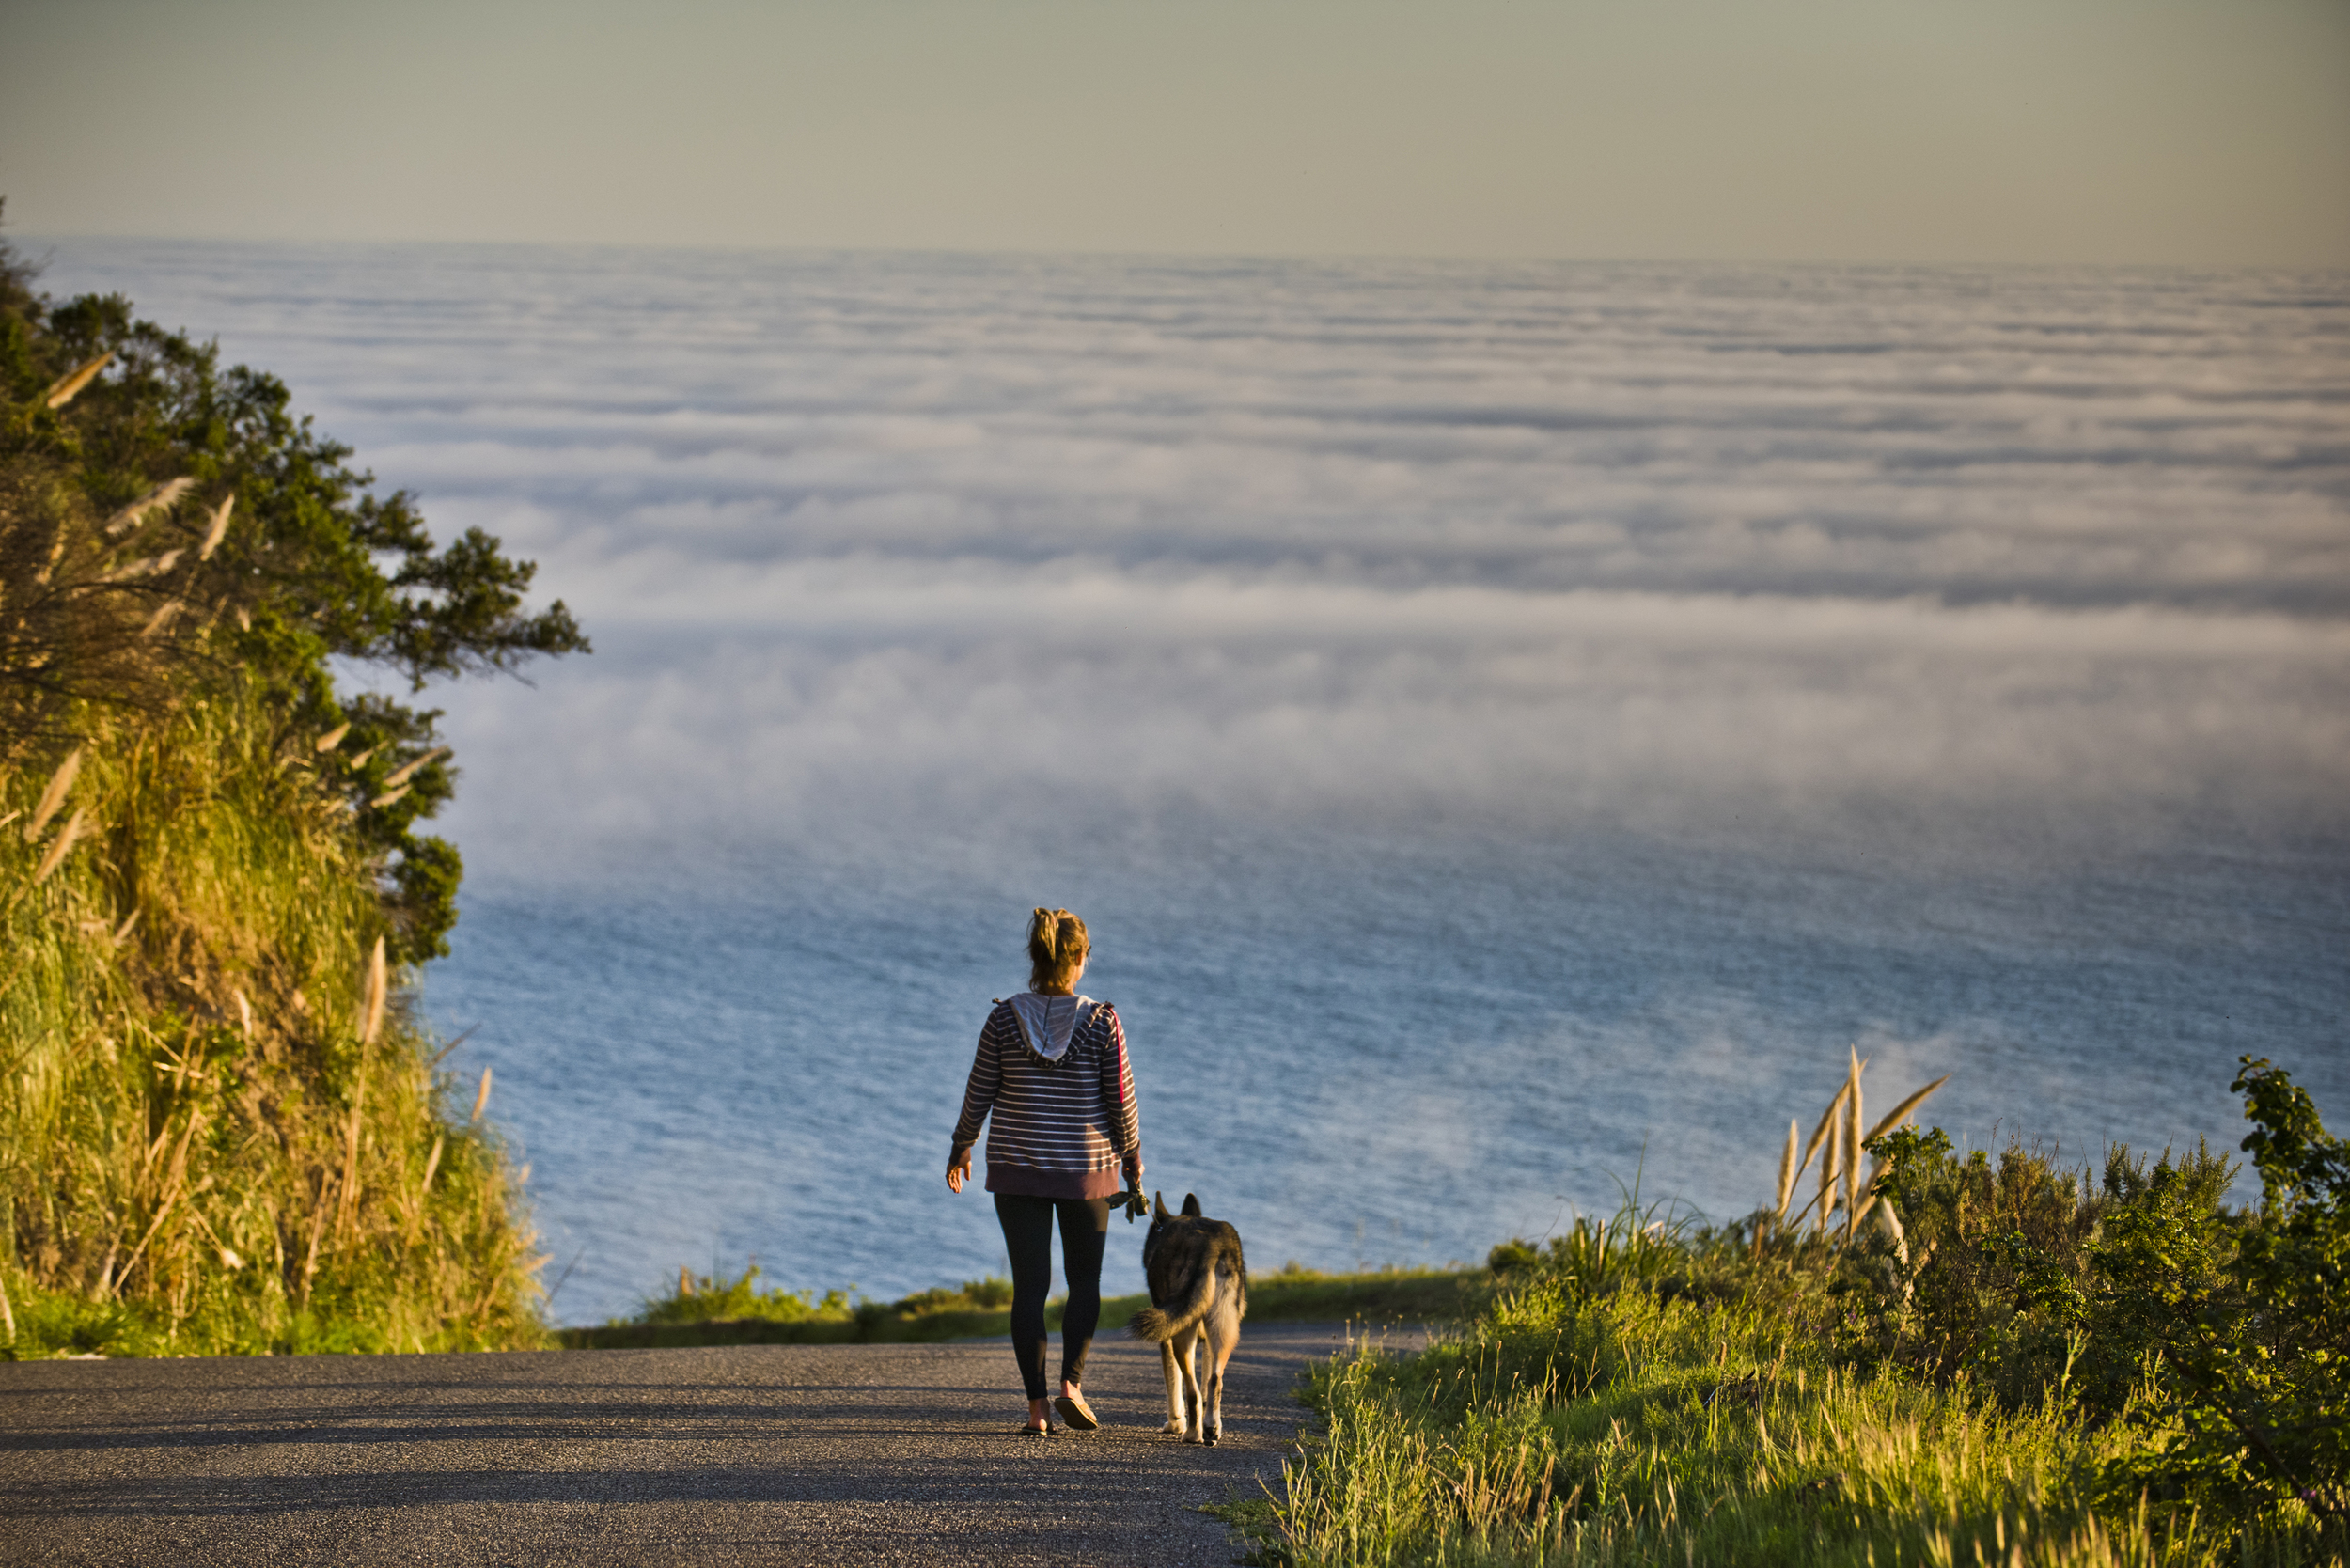
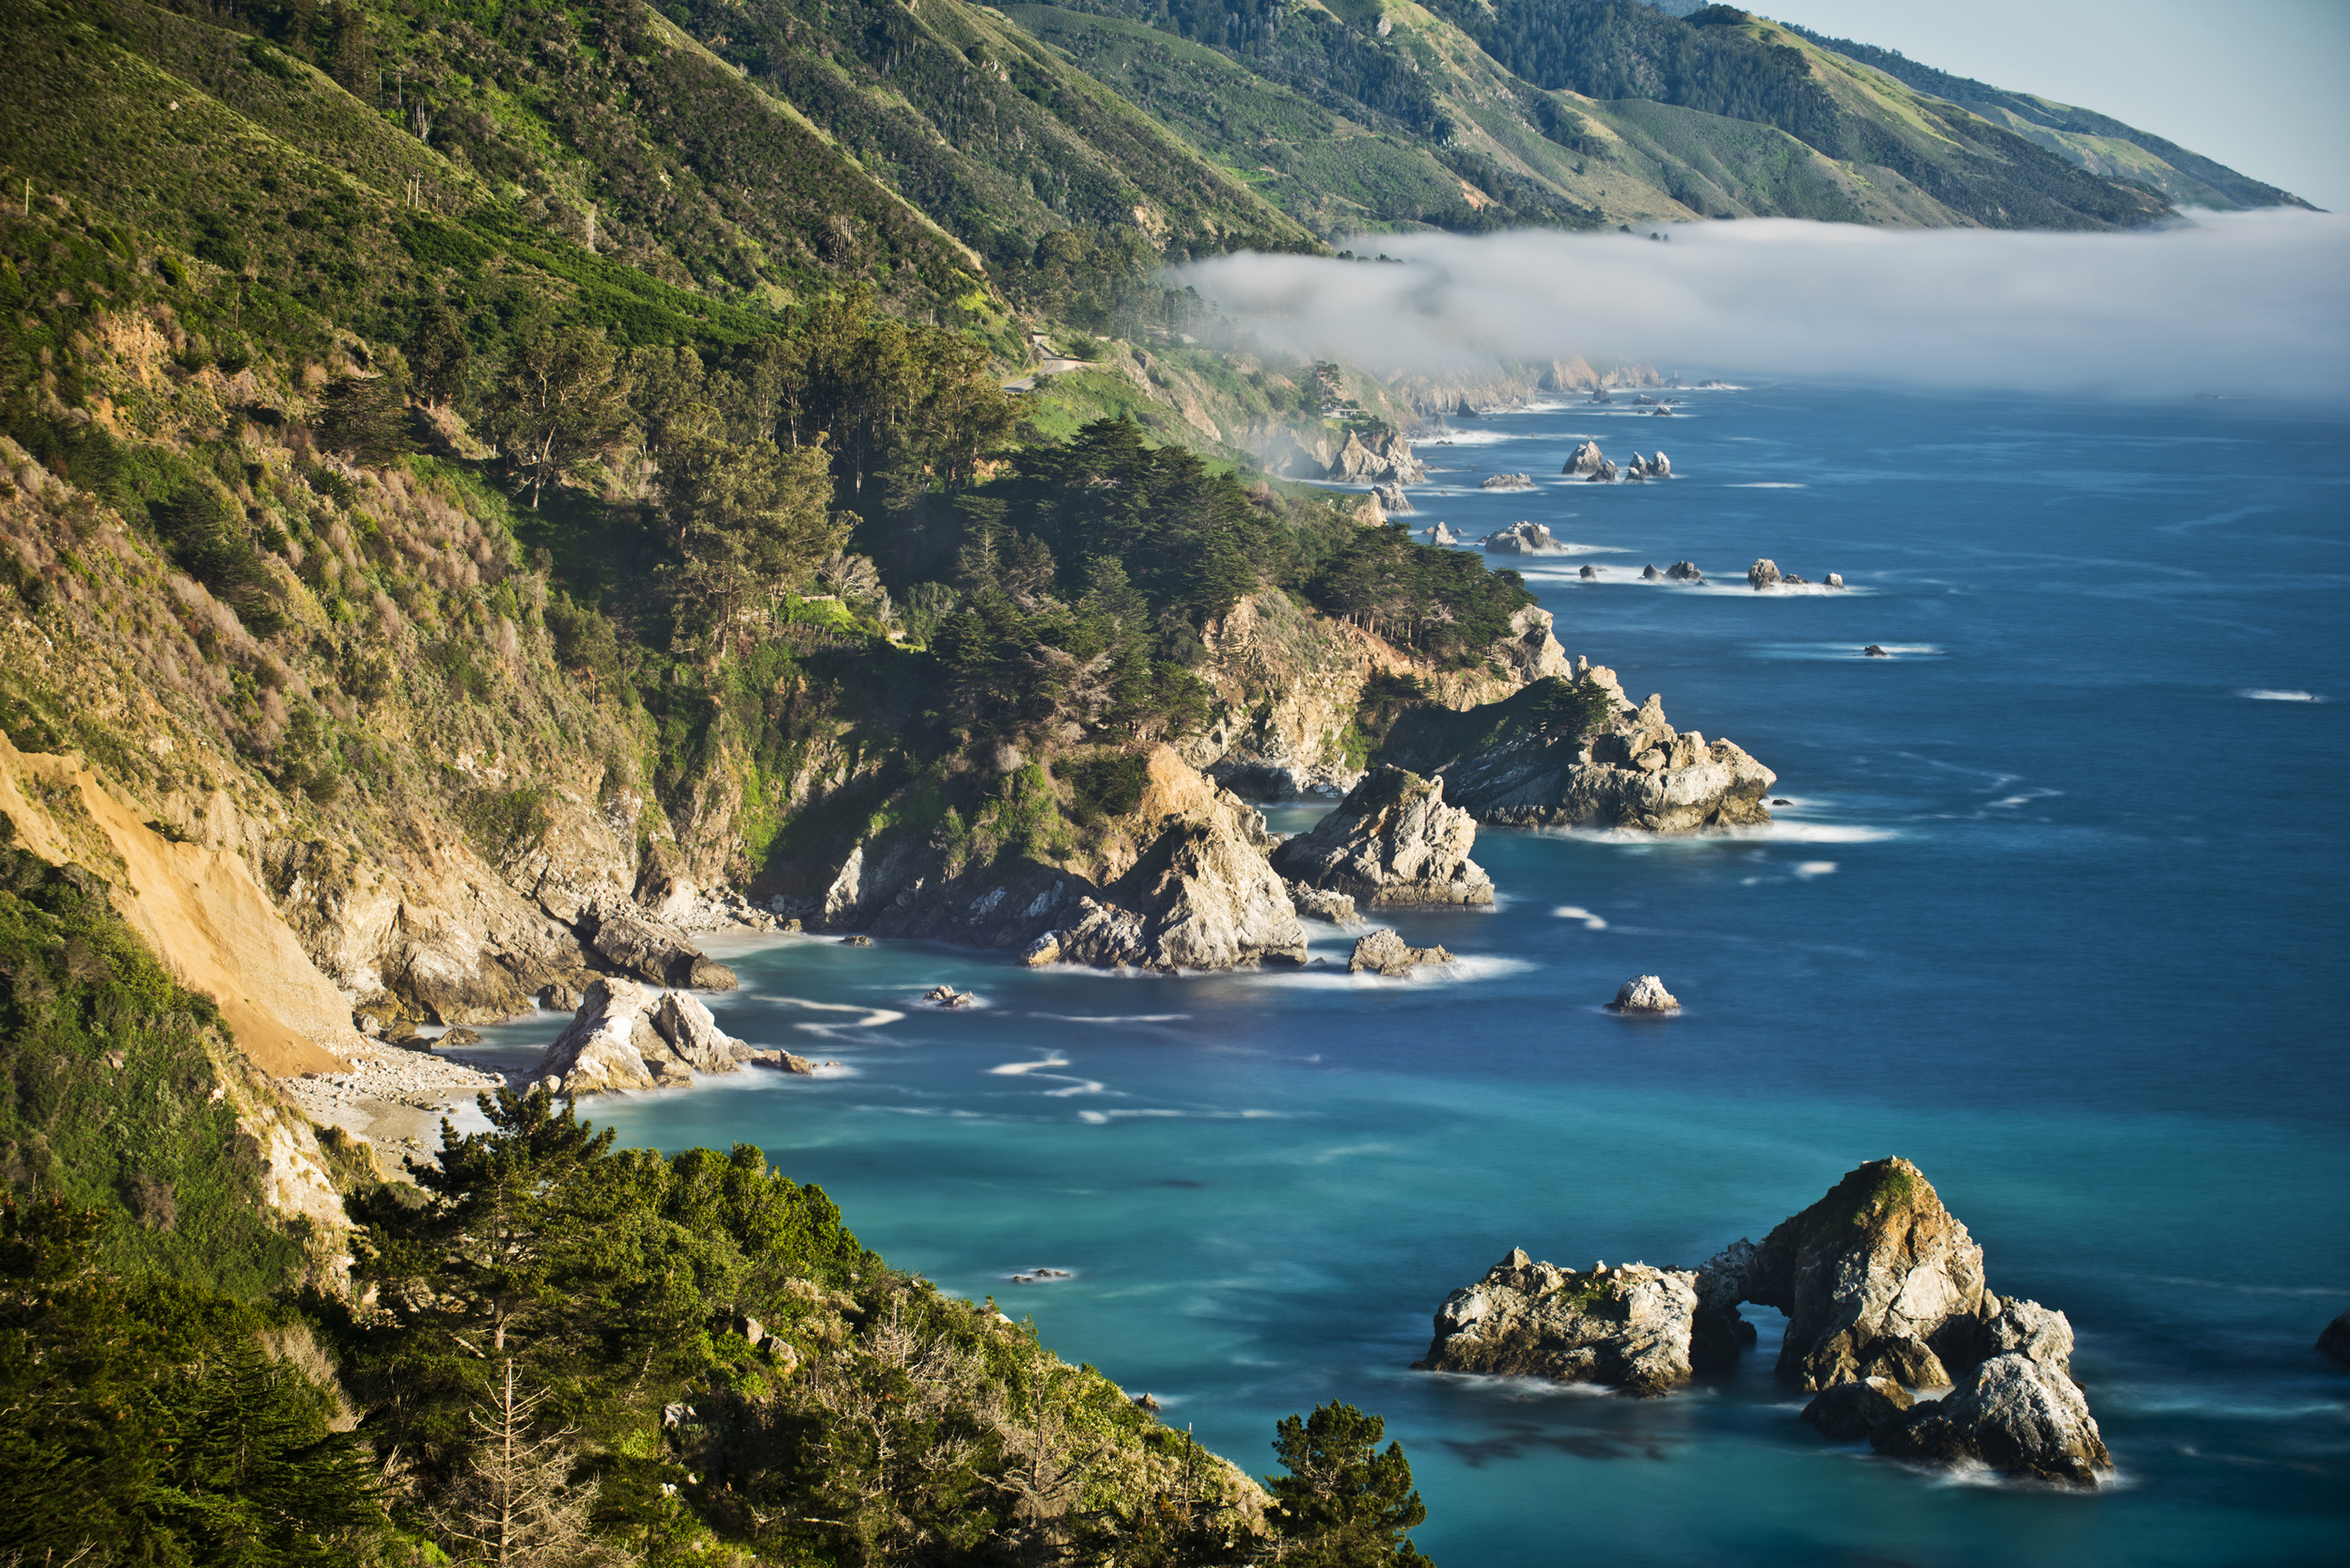
This trip had been a long time in the making. It was just a matter of getting the schedules of three different people in three different cities, to match. Luckily it did, because the Lost Coast in northern California is top notch. I left San Diego and drove north to pick up a friend in LA. From there we continued on up to Morro Bay, where we stayed overnight to take advantage of a breakfast spot I had been previously very impressed with (my first time there they threw down a solid eggs benedict). Only this time, not so much. Oh well. Afterward, we kept driving north with a stop in Gilroy for some garlic ice cream and lots of dried fruit for the hike. Next stop was SFO to pick up the final piece of our trio, who flew in from Denver, and was lucky to get through security. Pressed for time, we booked it up to Shelter Cove, which is a small and very remote town about 5 hours north of San Francisco. Didn't get there till about midnight, and decided to just sleep on the beach to be ready for the 7am shuttle. Which takes you about two hours north or south, depending on which section of the trail you want to hike. And it's a not a smooth two hours, so it won't be a portion of the trip you enjoy, but whatever. That all goes away when you get dropped off at the trail head (beach). Right away, you can tell that you're in for a good time. Some people bang it out in a day. Others take their time, which in my opinion, is the only way to do it. Otherwise you miss out on some incredible camping. We were lucky enough to find some places where there was nobody around for miles. Literally. You'll also miss out on the opportunity to harvest fresh mussels at low tide, which happened to be early in the mornings for us. So we had mussels every morning for breakfast. Yup. There isn't a ton of elevation gain, as most of the "trail" is on the beach. But that doesn't make it any easier. You'll be hiking on anything from fine sand, to large boulders, with only small sections of actual packed trail. A couple things to be careful of, are the tides, and water sources. There are definitely some places to get stuck at high tide. And if that happens, you can get seriously screwed. Just don't be an idiot though. Bring a good map, check the tide charts, and you'll fine. There are plenty of things to do if you need to wait out the tide. Napping included. You'll see plenty of dead things along the way. We sure did. And it's bear country, so be aware. We hiked for a few hundred yards along fresh bear tracks. You can see in the last couple pictures what they did to the beached whale. No good. I know people have done this hike with their dogs. And I really wanted to bring mine, but am glad I didn't. The sand along the coast is brutal. Even walking on it in bare feet isn't fun. If you are going to bring your dog, make sure they wear booties. This won't be the longest hike you overdo, but it's very unique, especially for the U.S. The terrain and scenery is constantly changing, so you never get bored. At one point, my buddy actually found human remains. Full on skull and bones. We later reported it to the Ranger, who told us that the area is an ancient indian burial ground. So there's that.
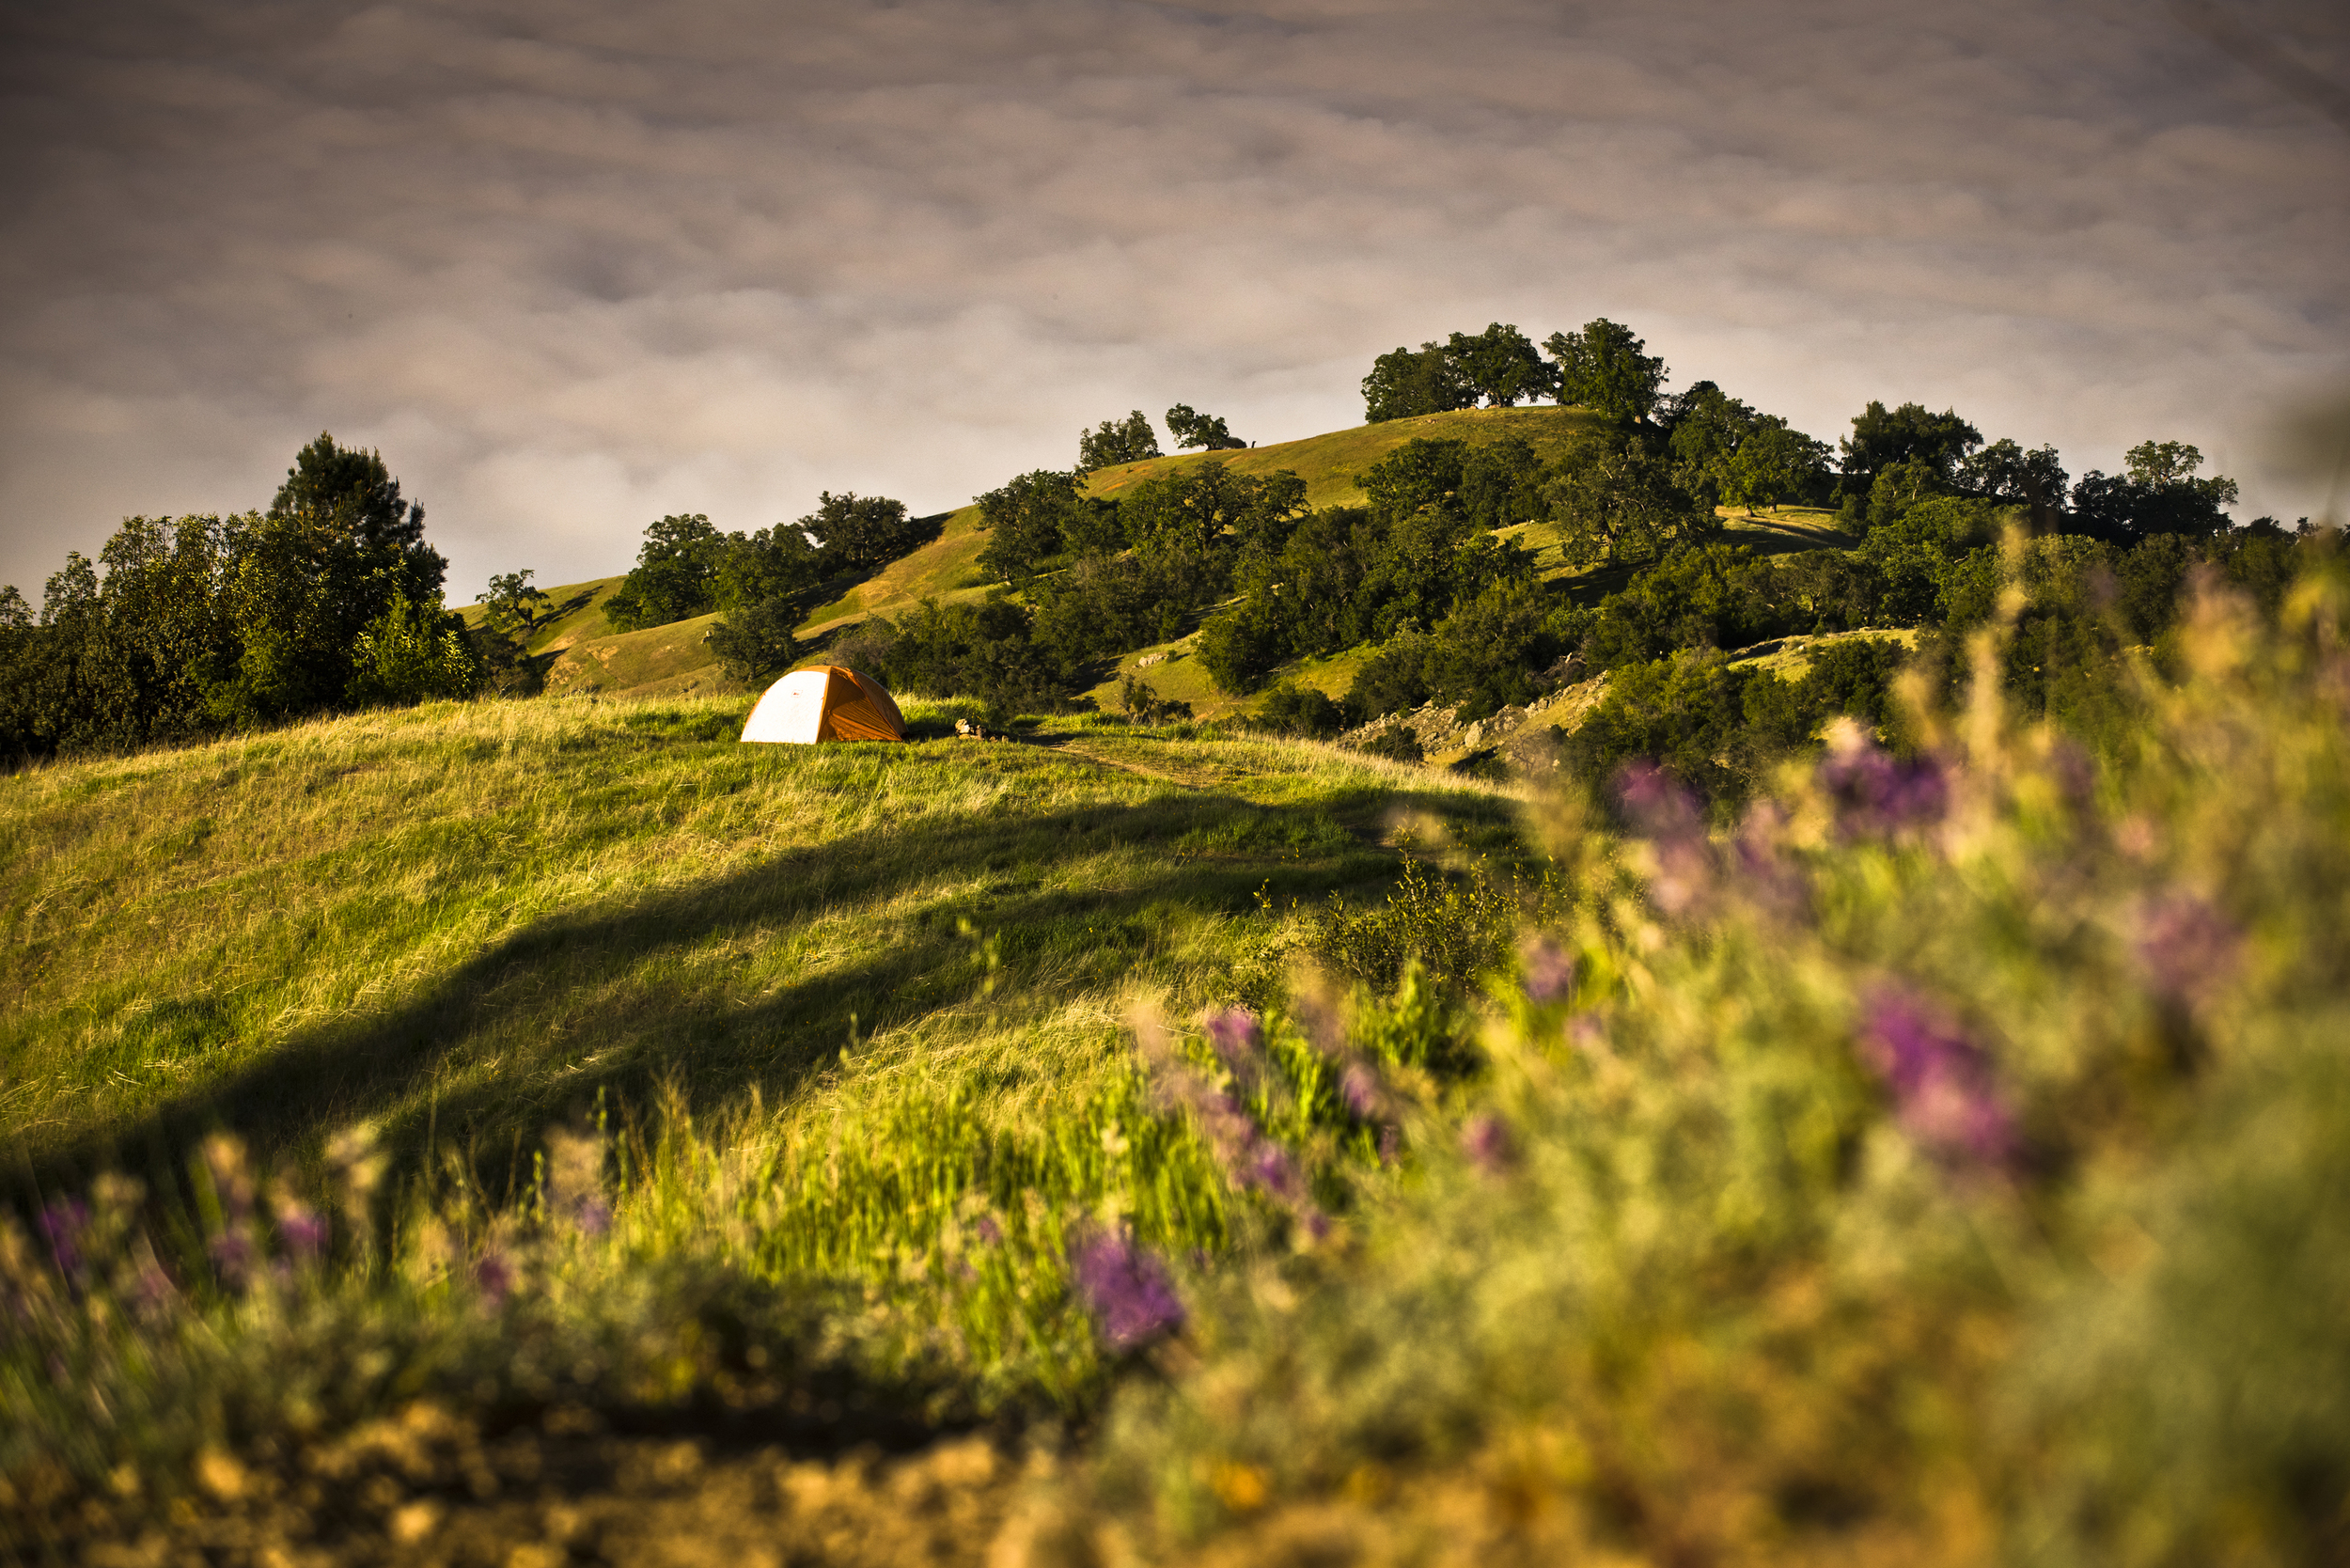
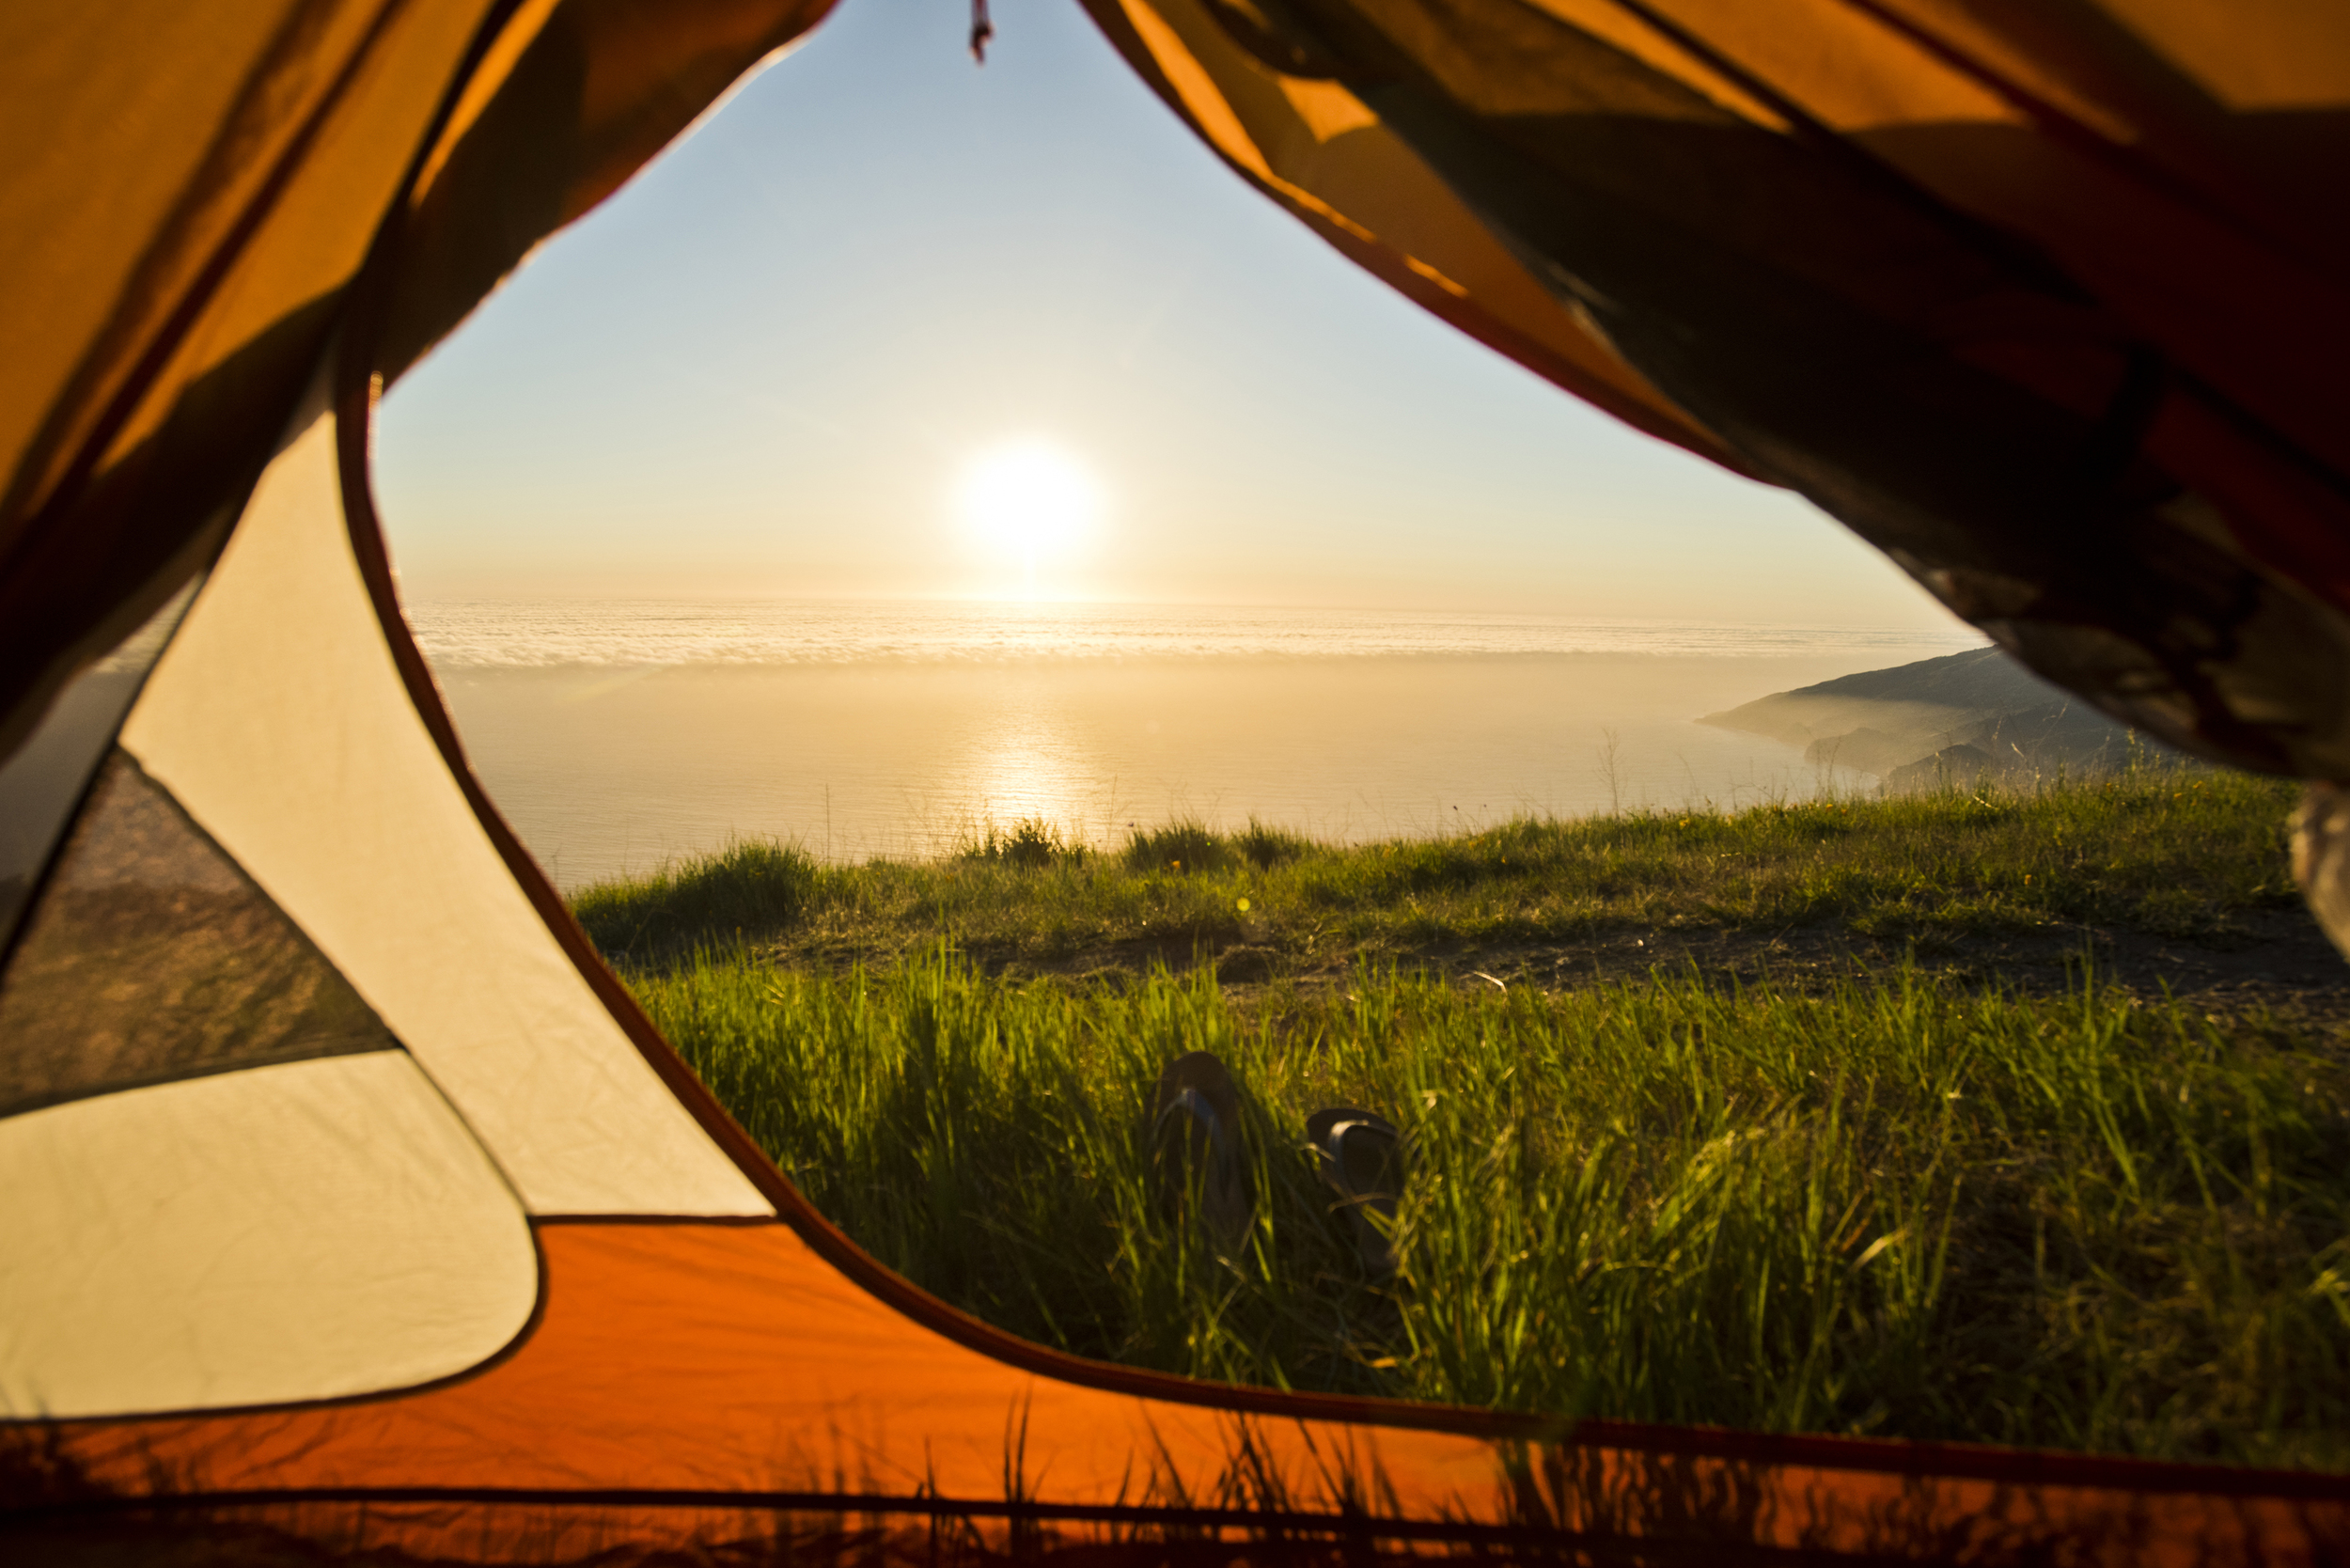
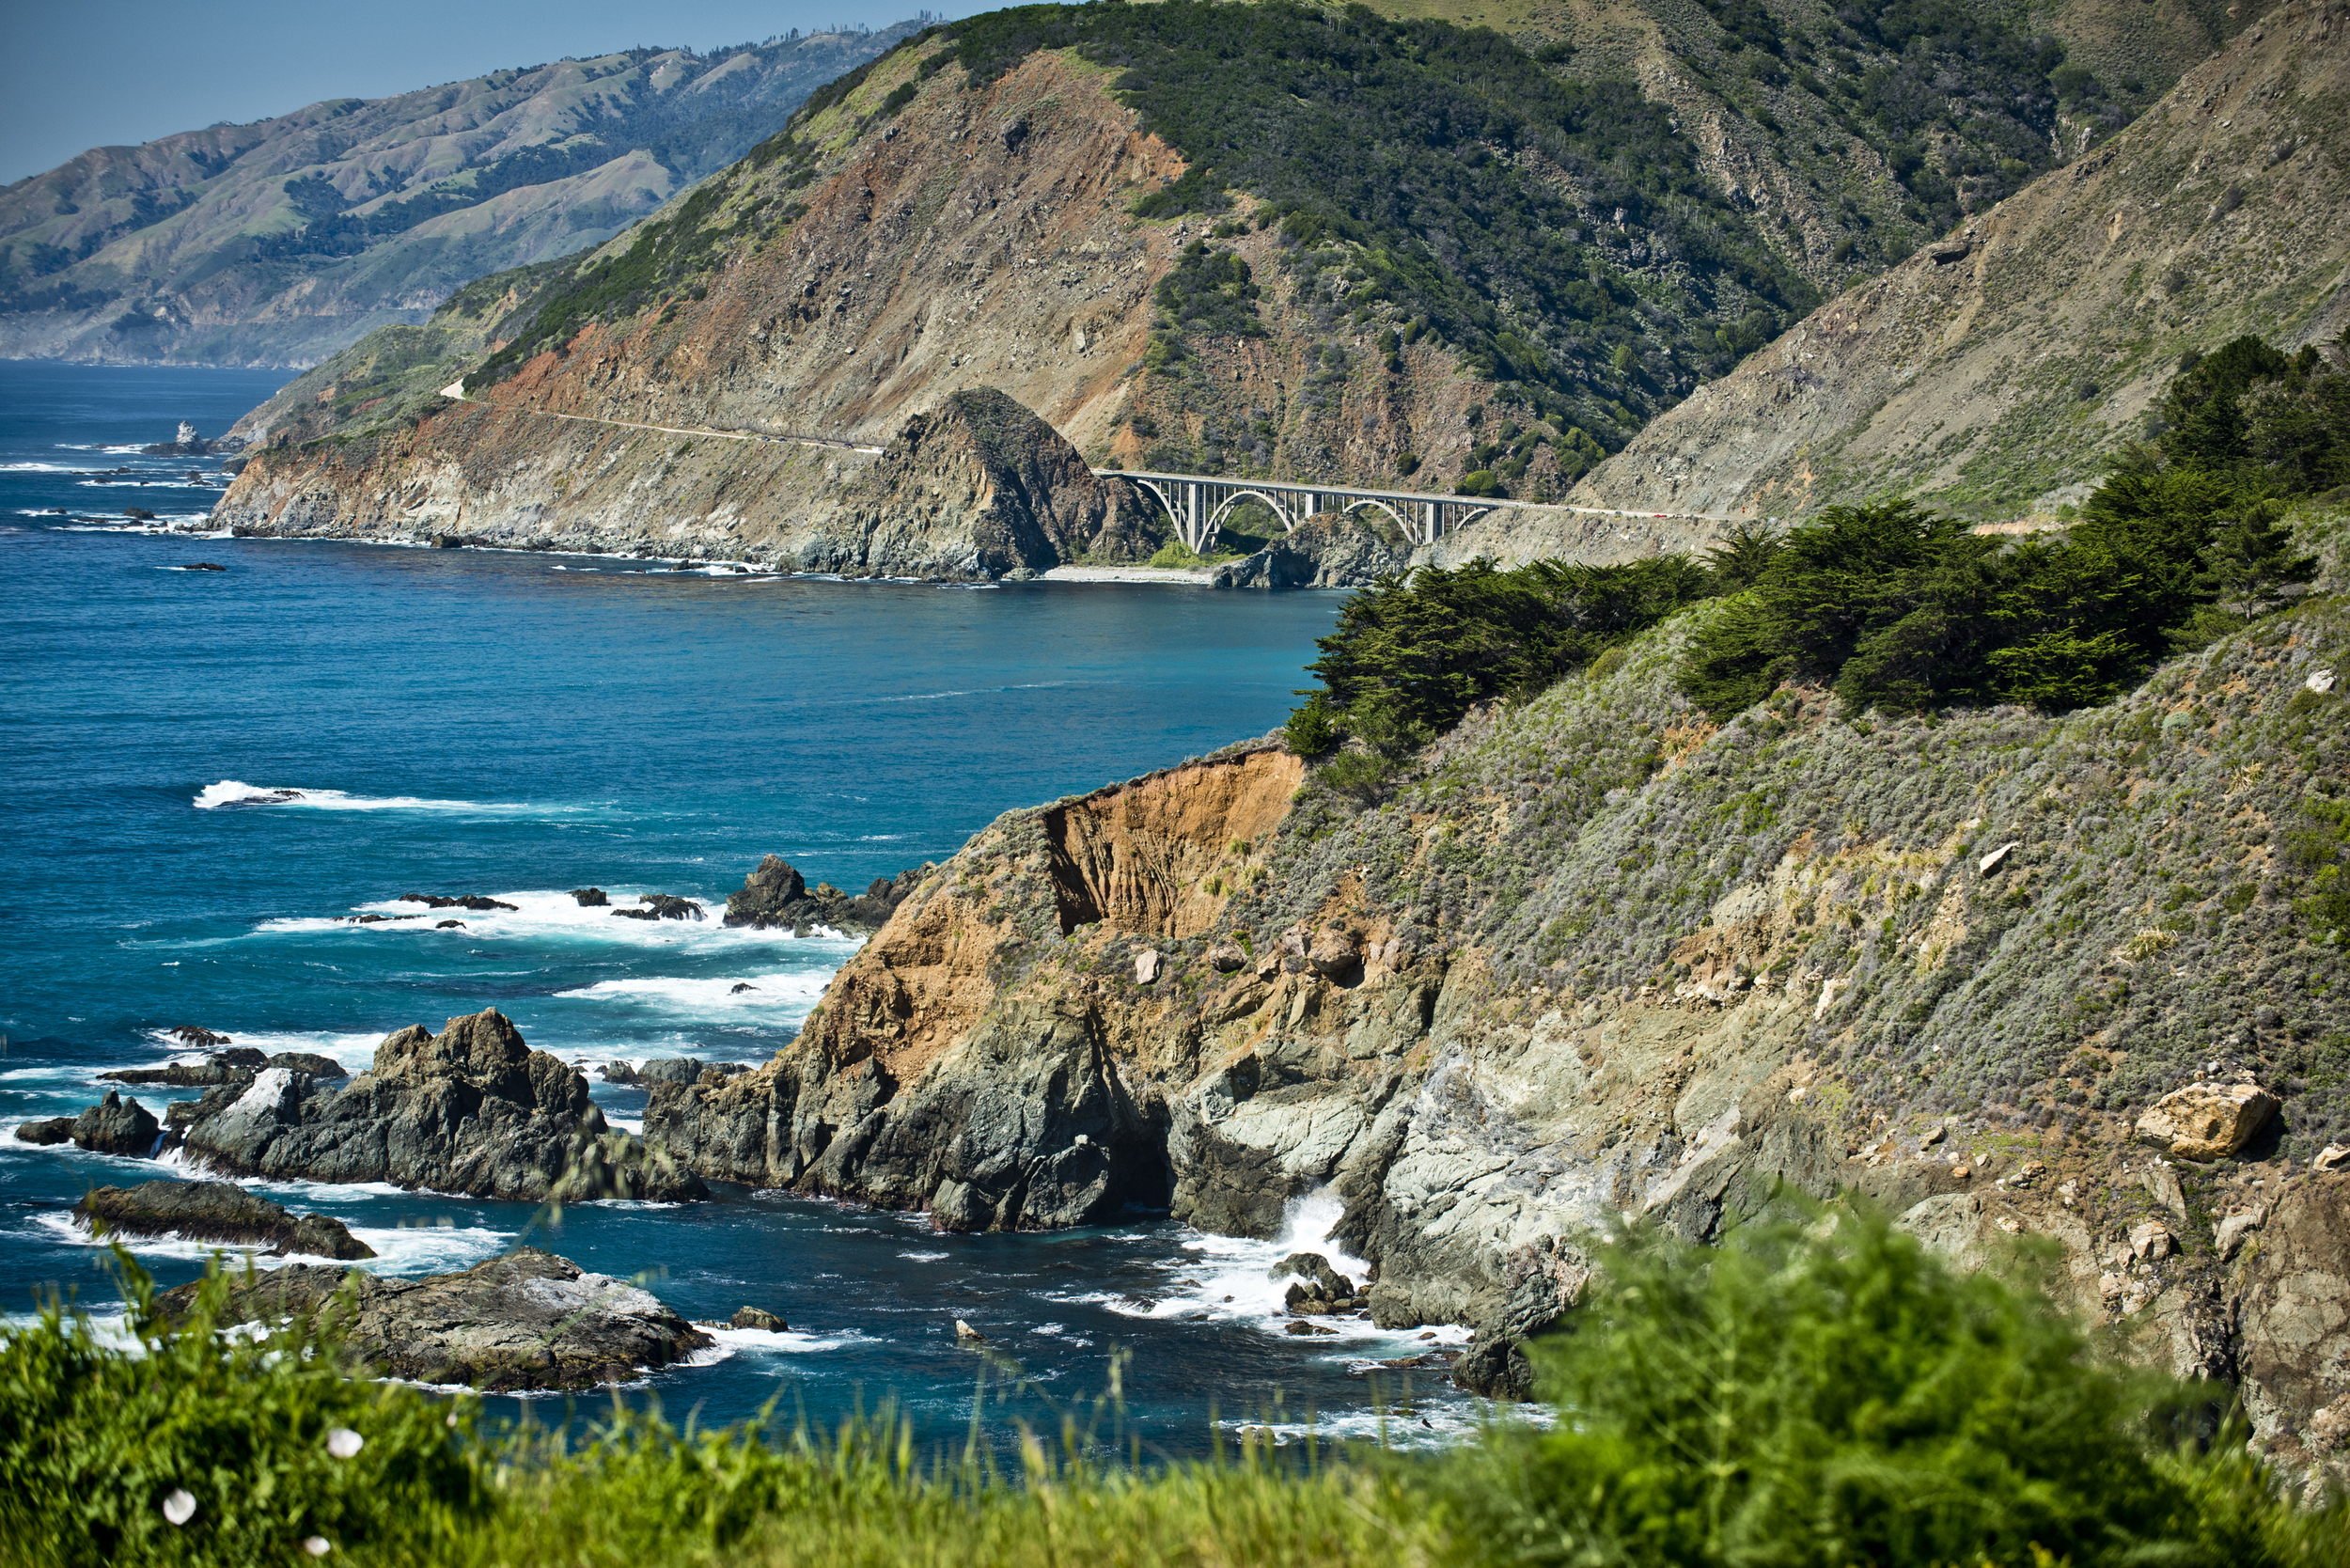
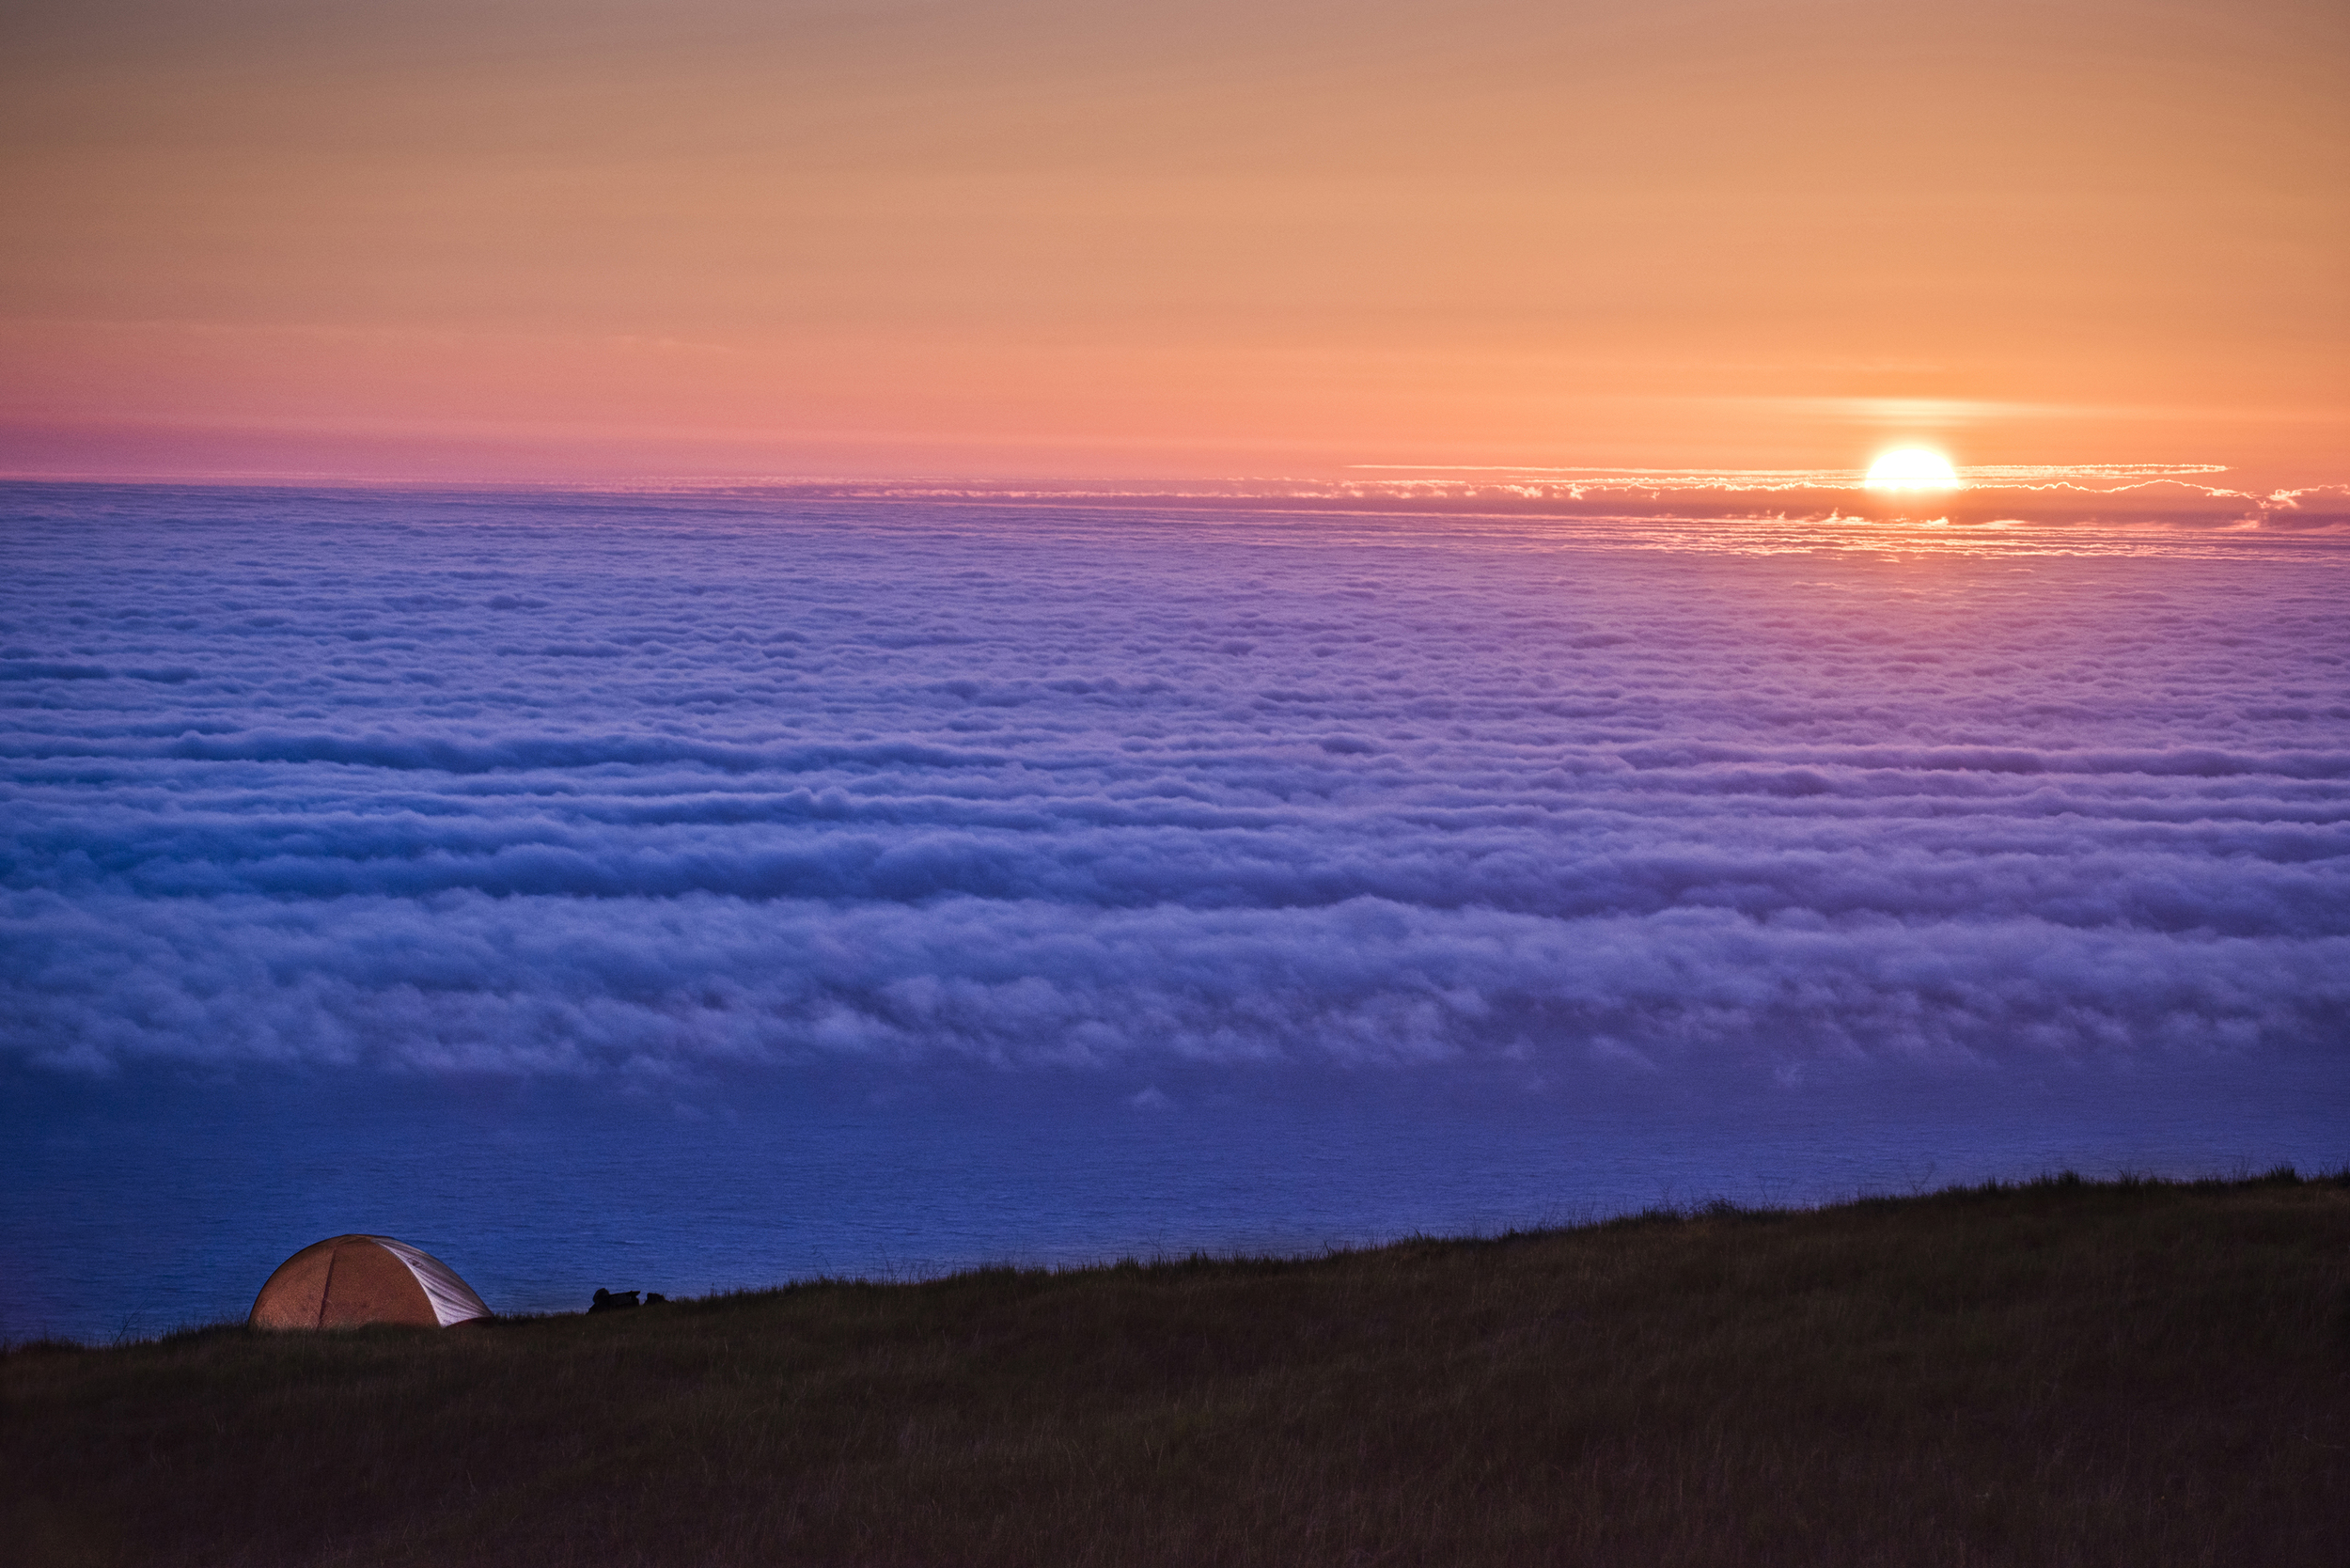
Camping in Big Sur, California
Big Sur, California - Camping
Adventure Photography
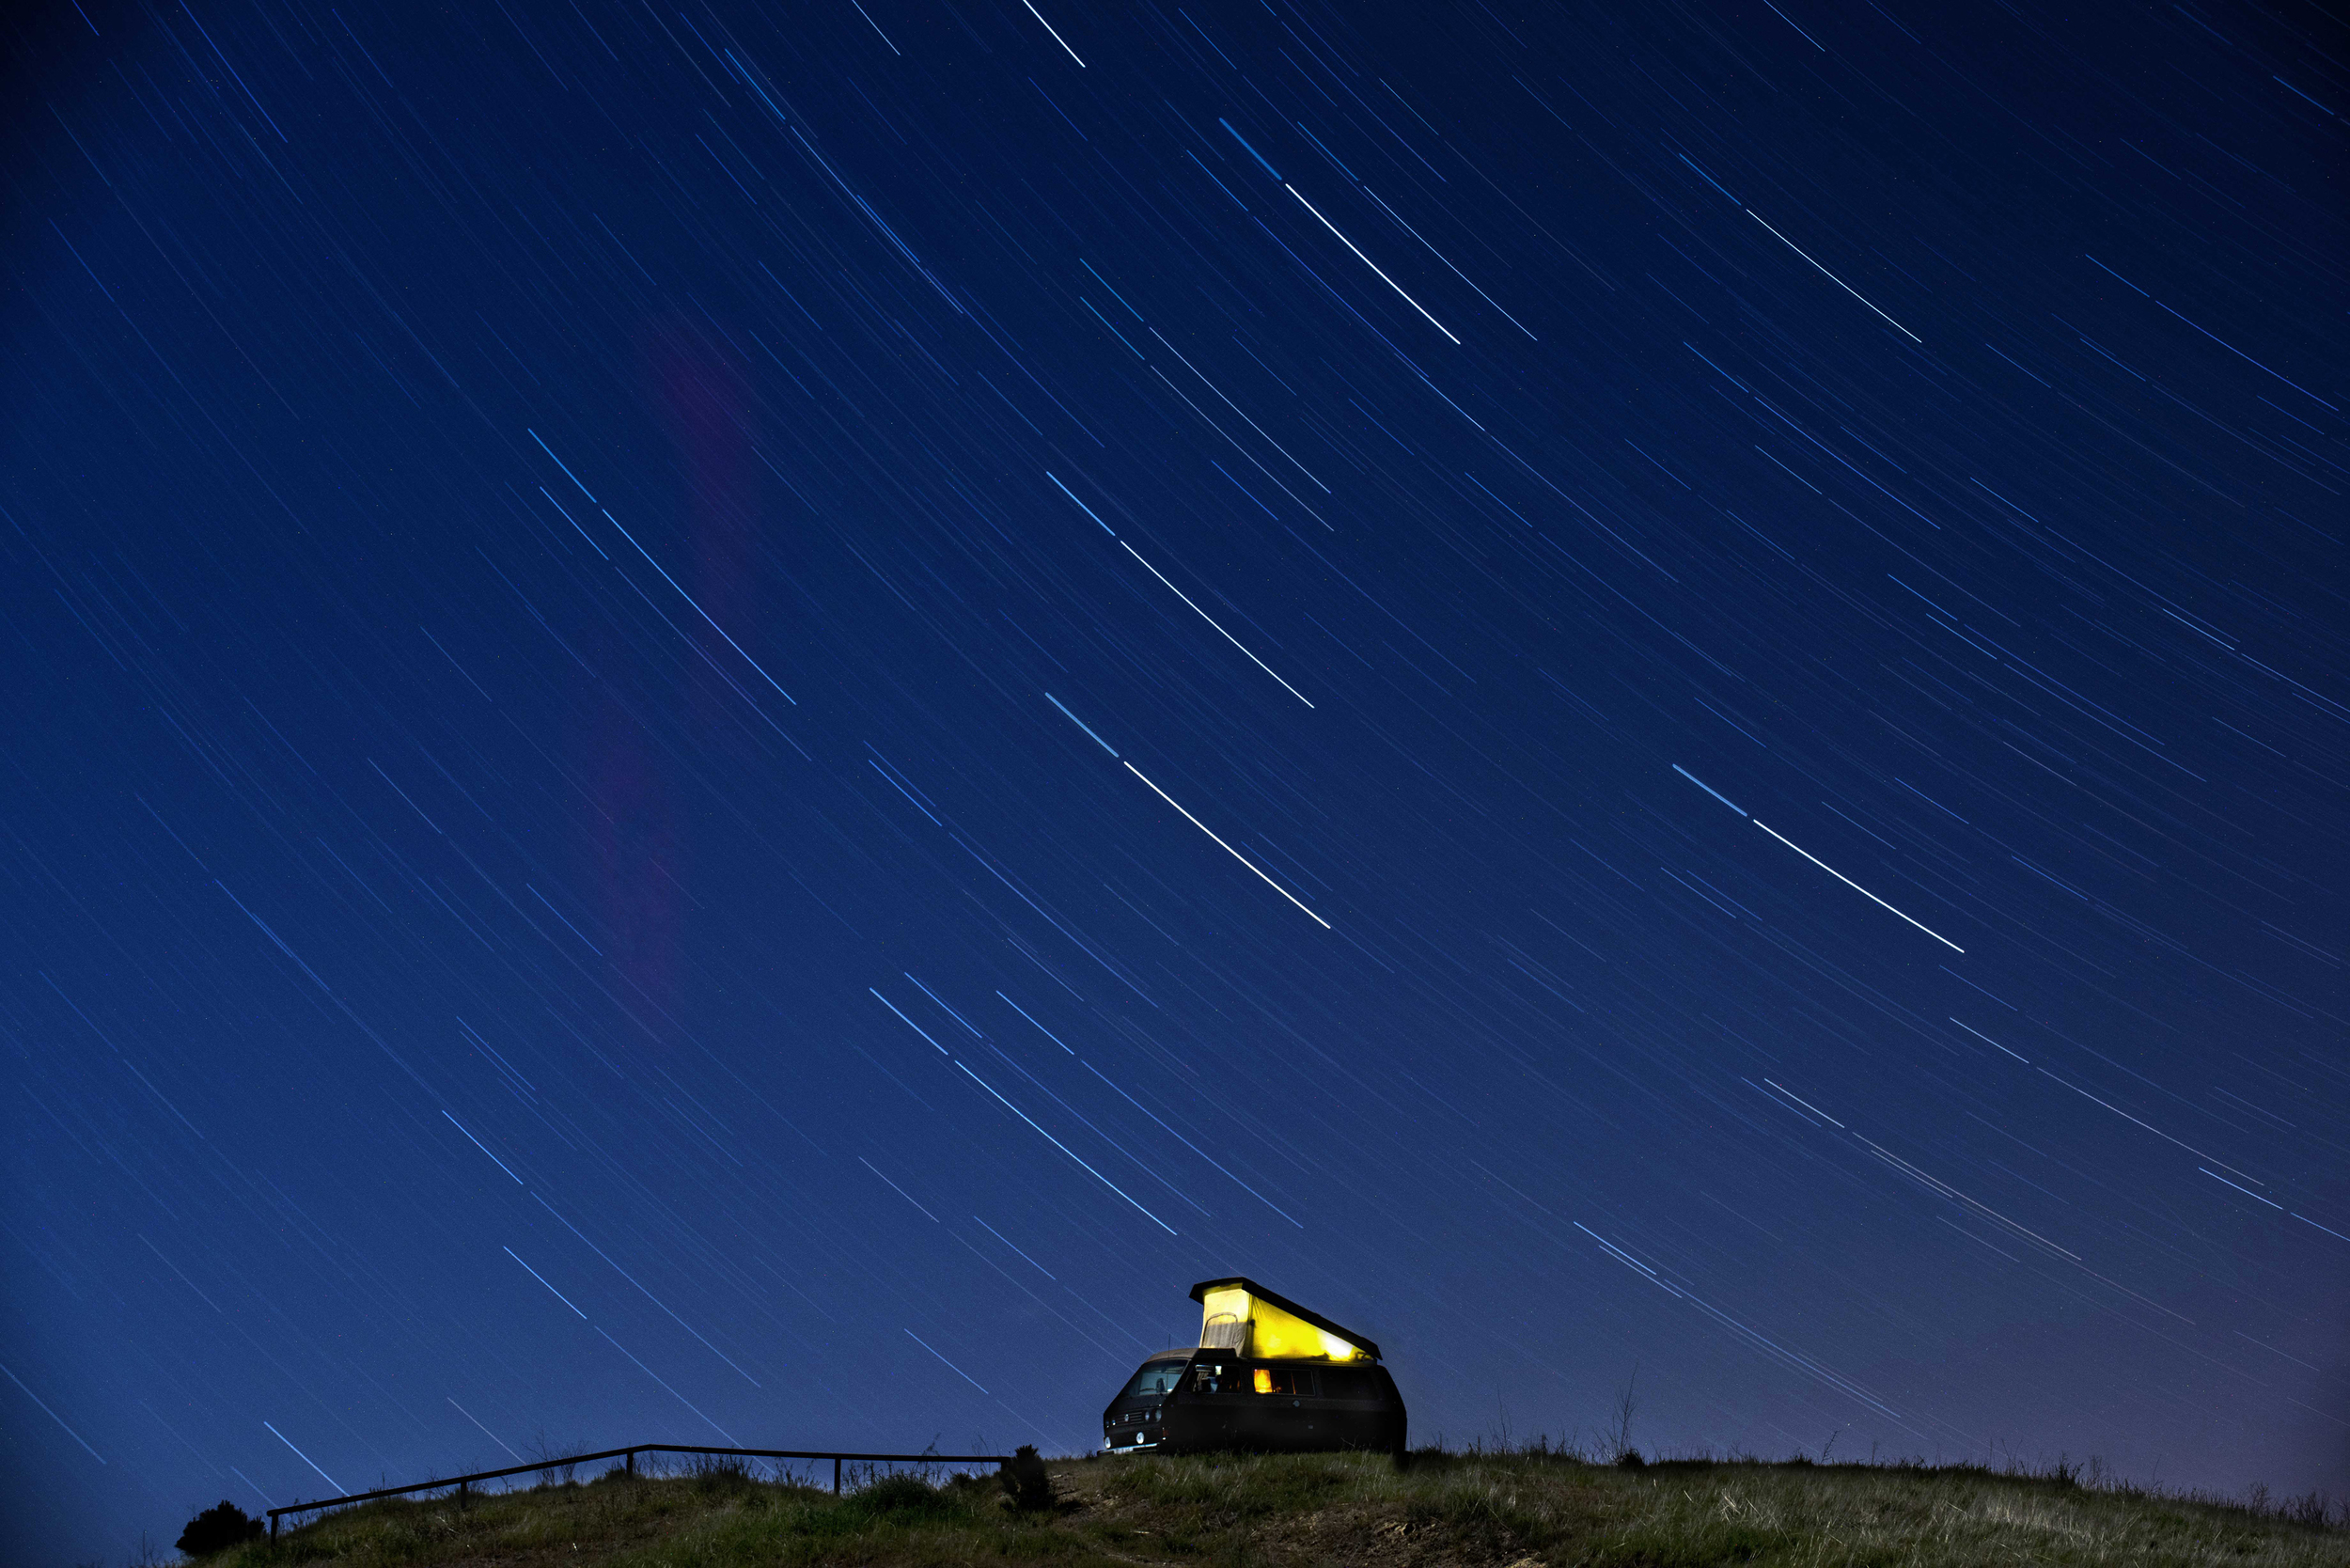
The answer is no, I will not tell you where this camping spot is.
Catalina Island Adventure Photography
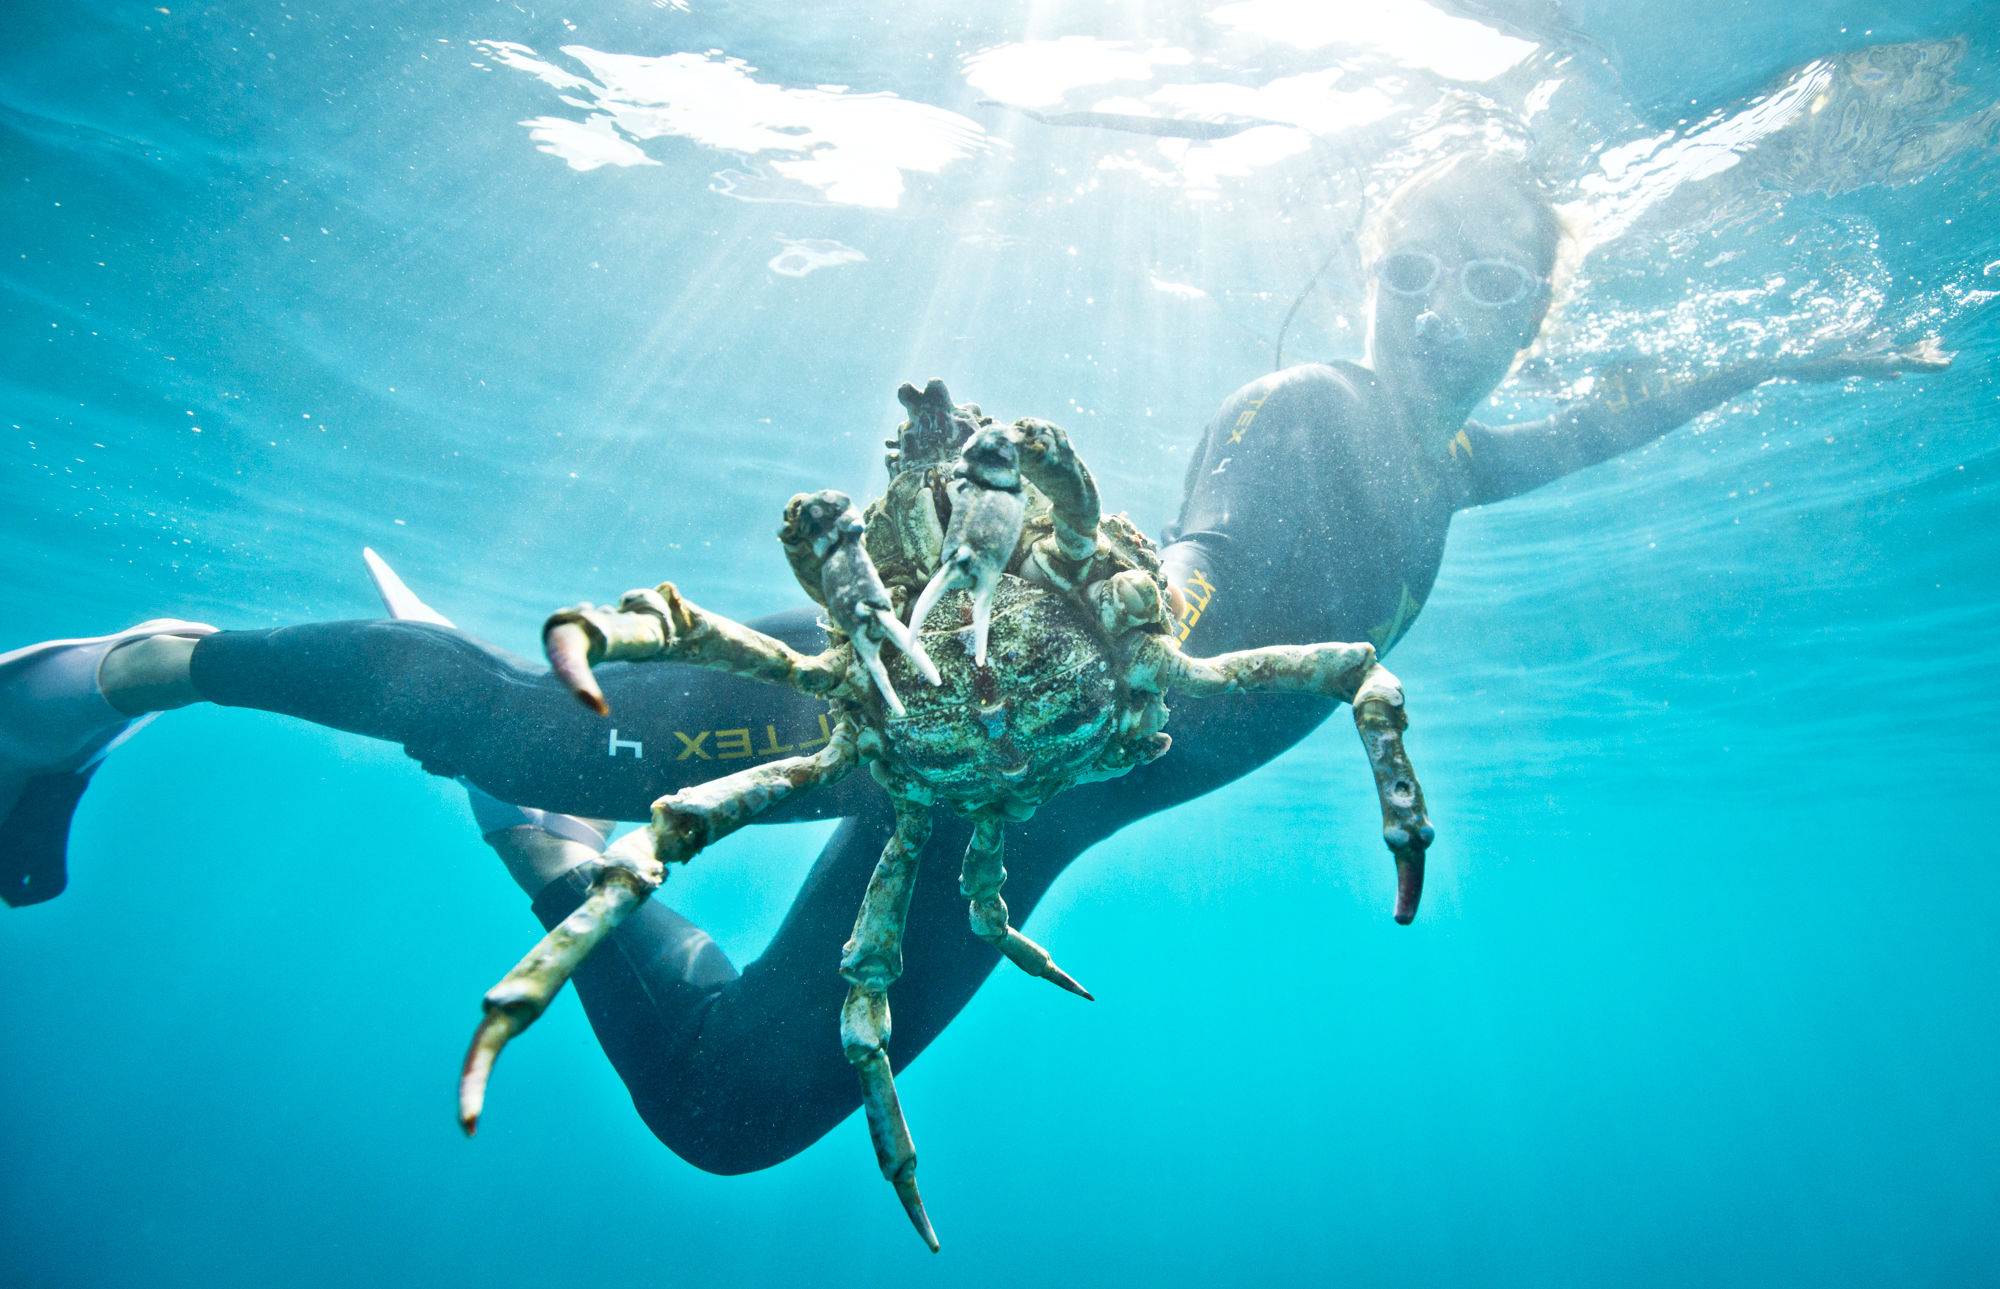
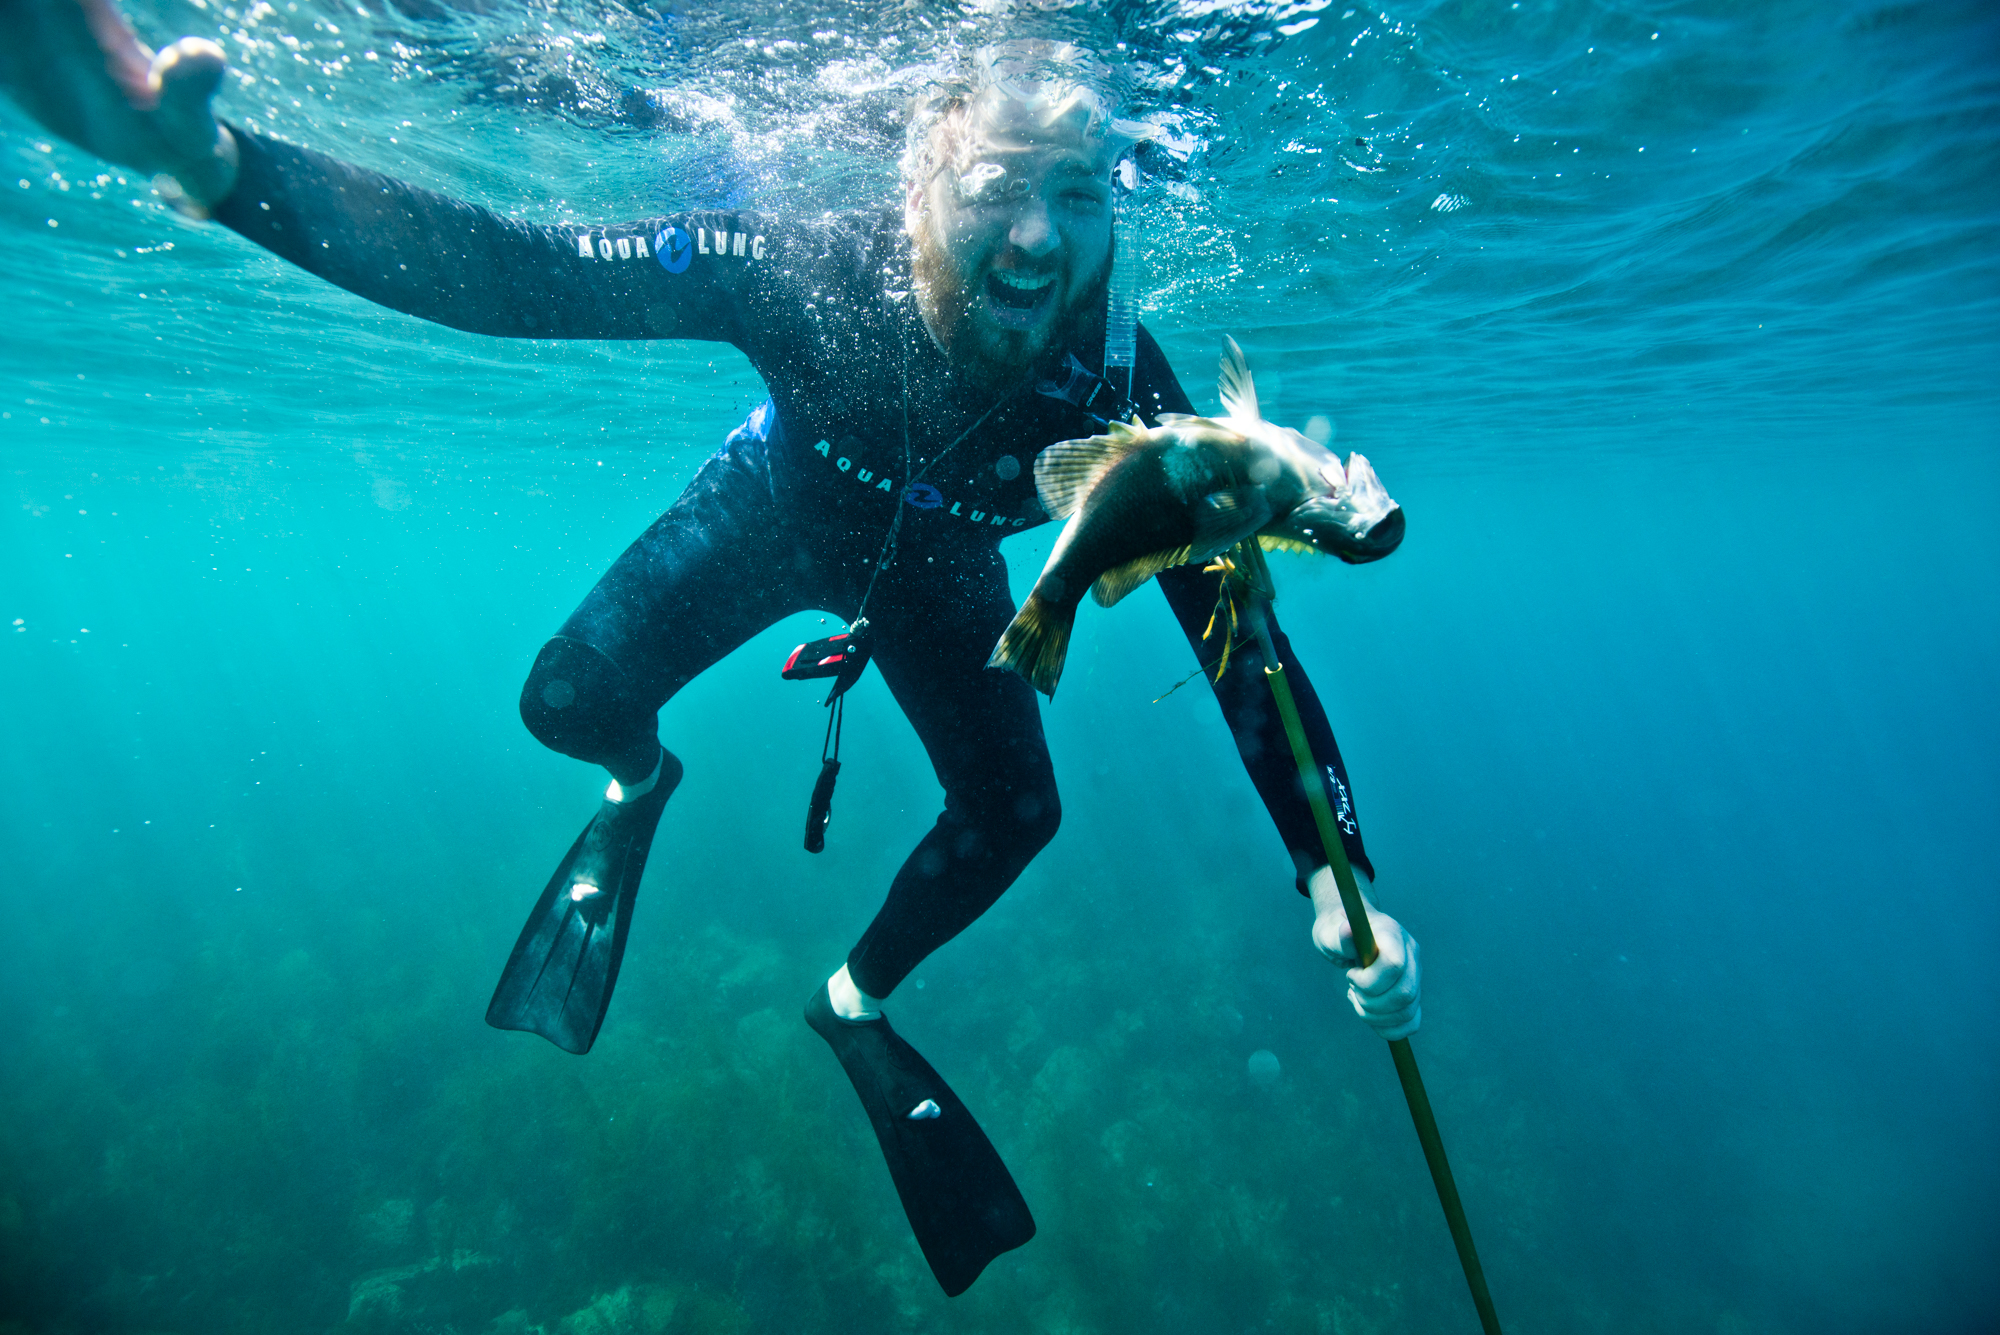
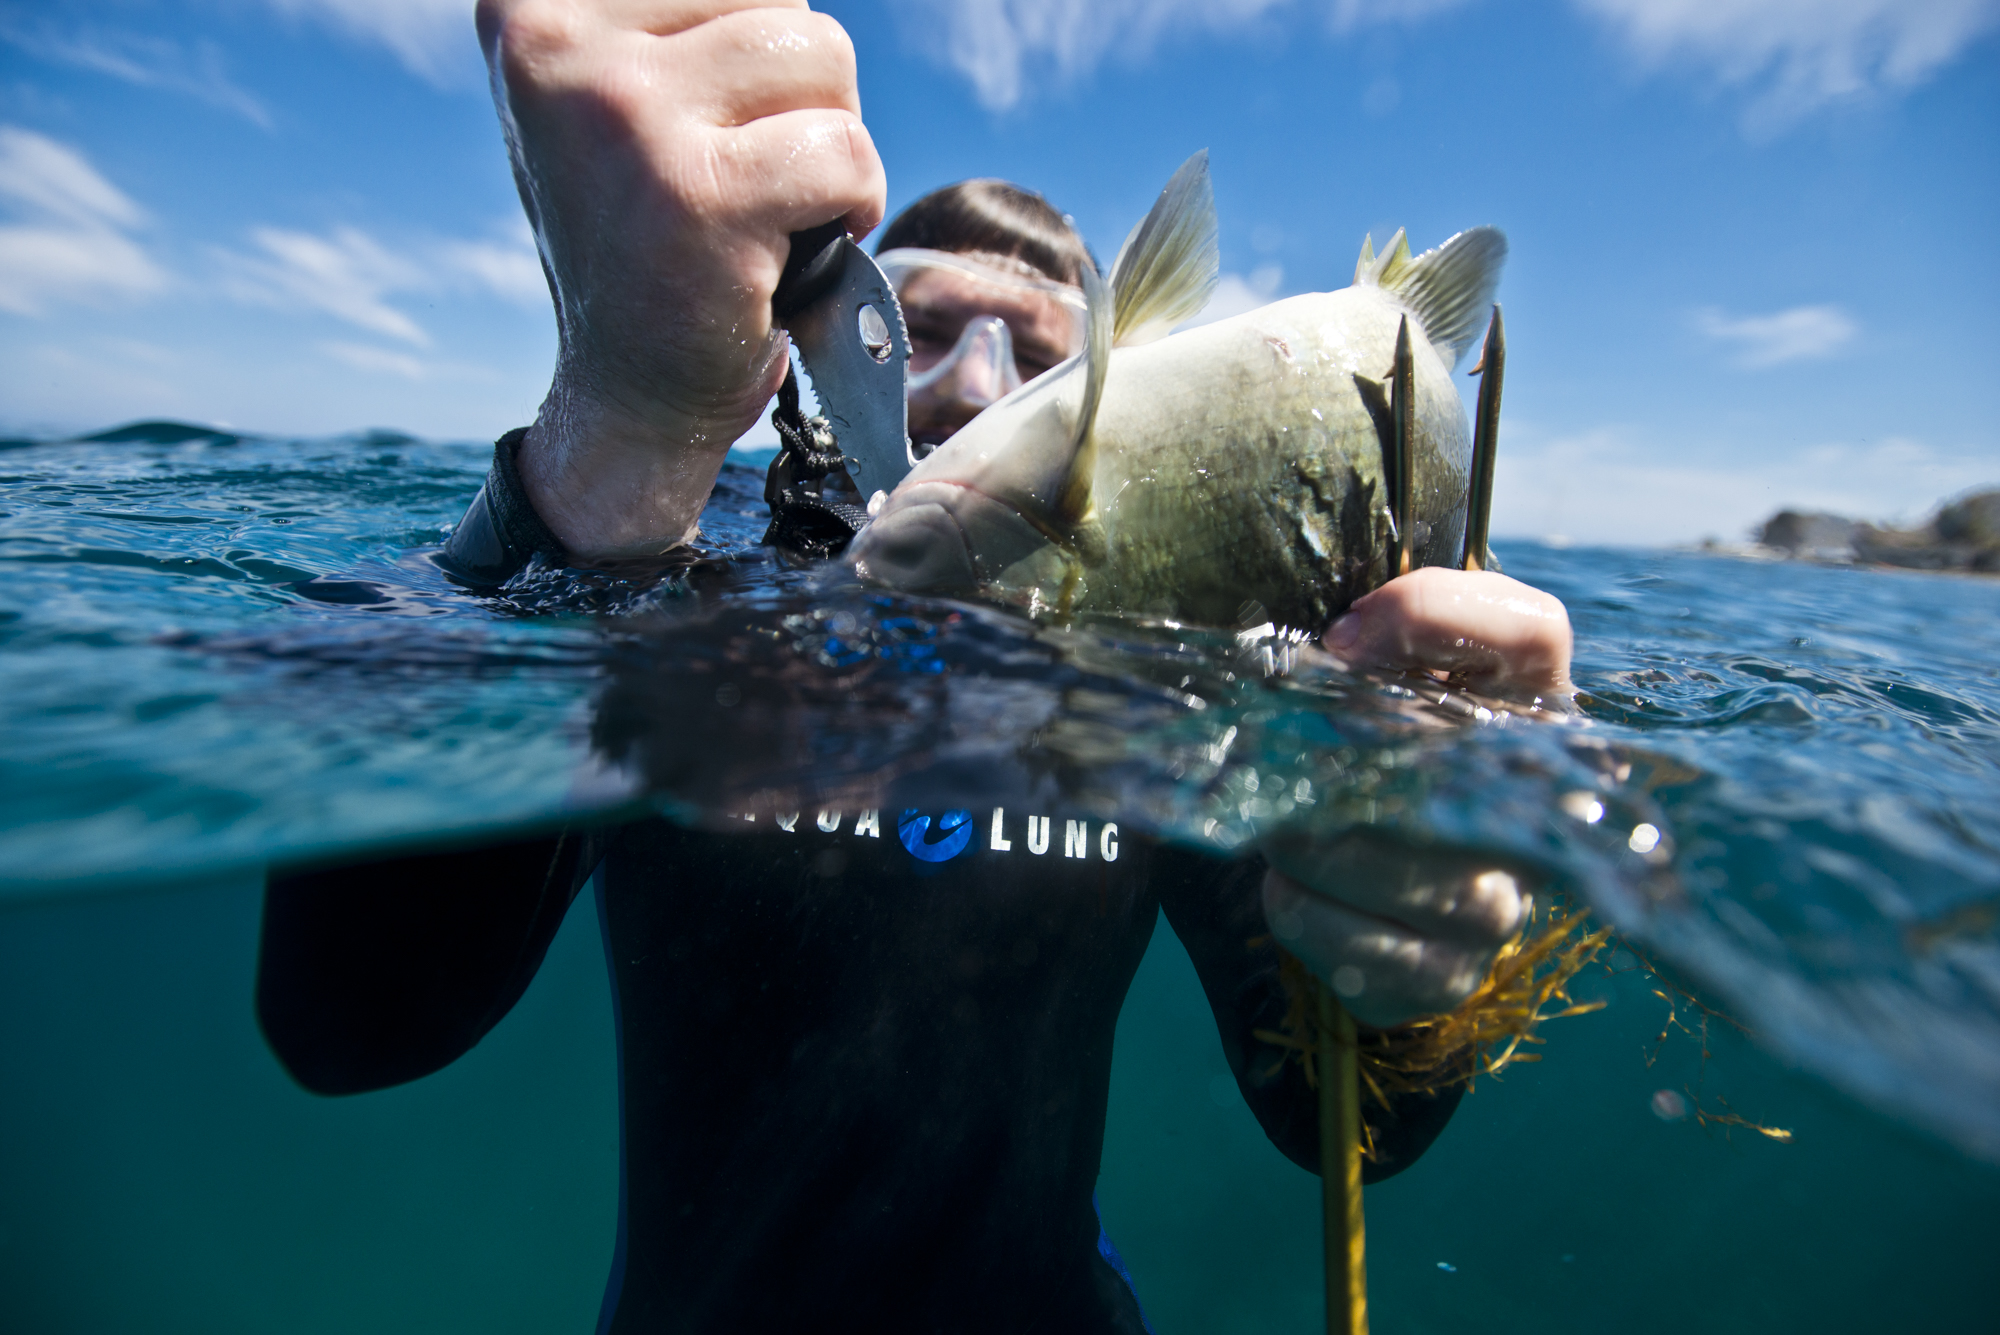
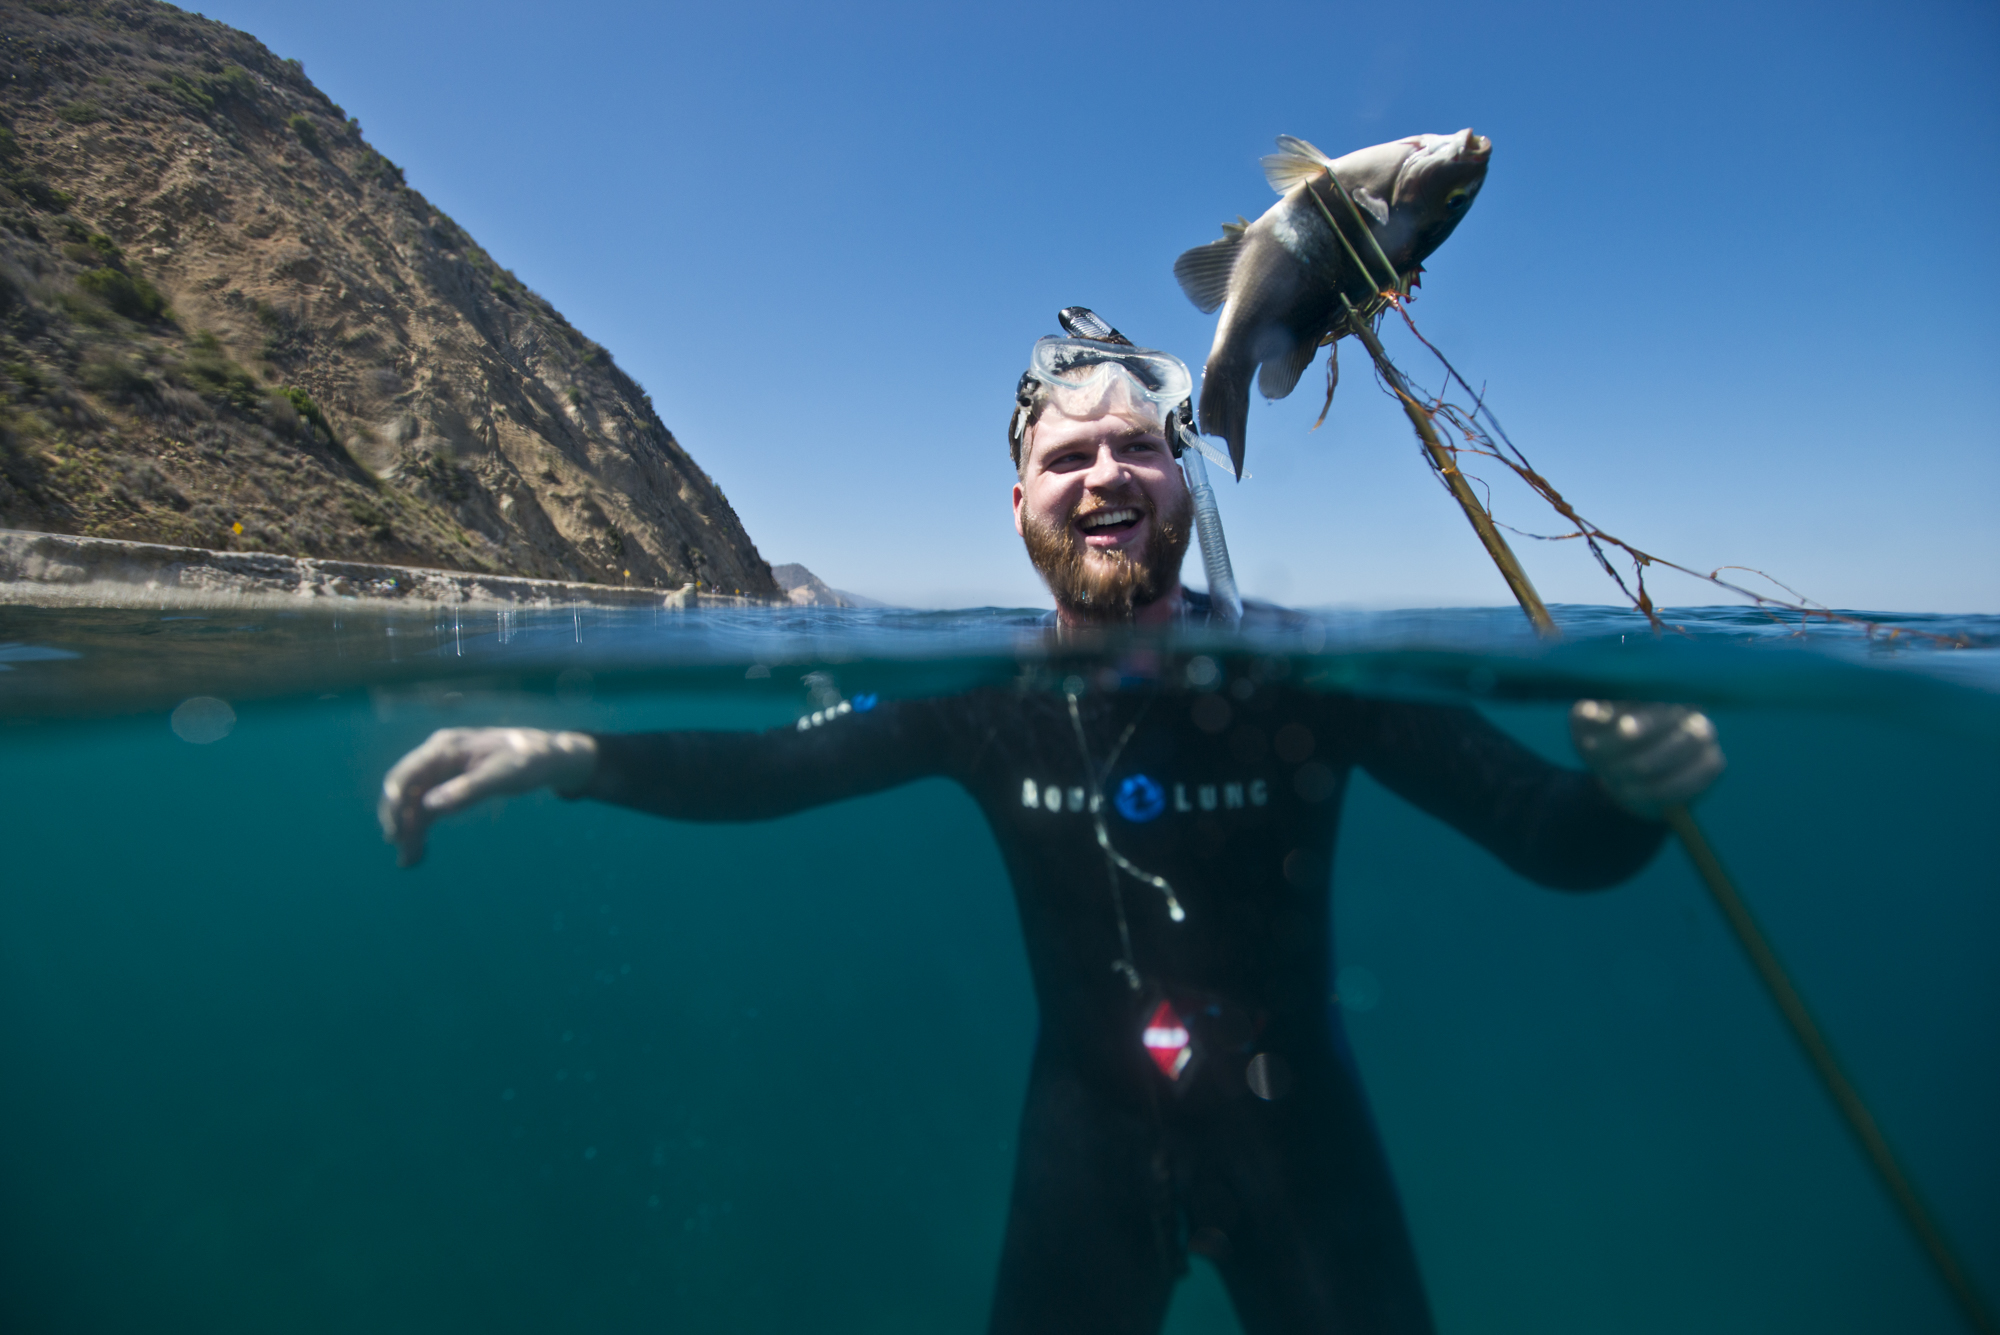
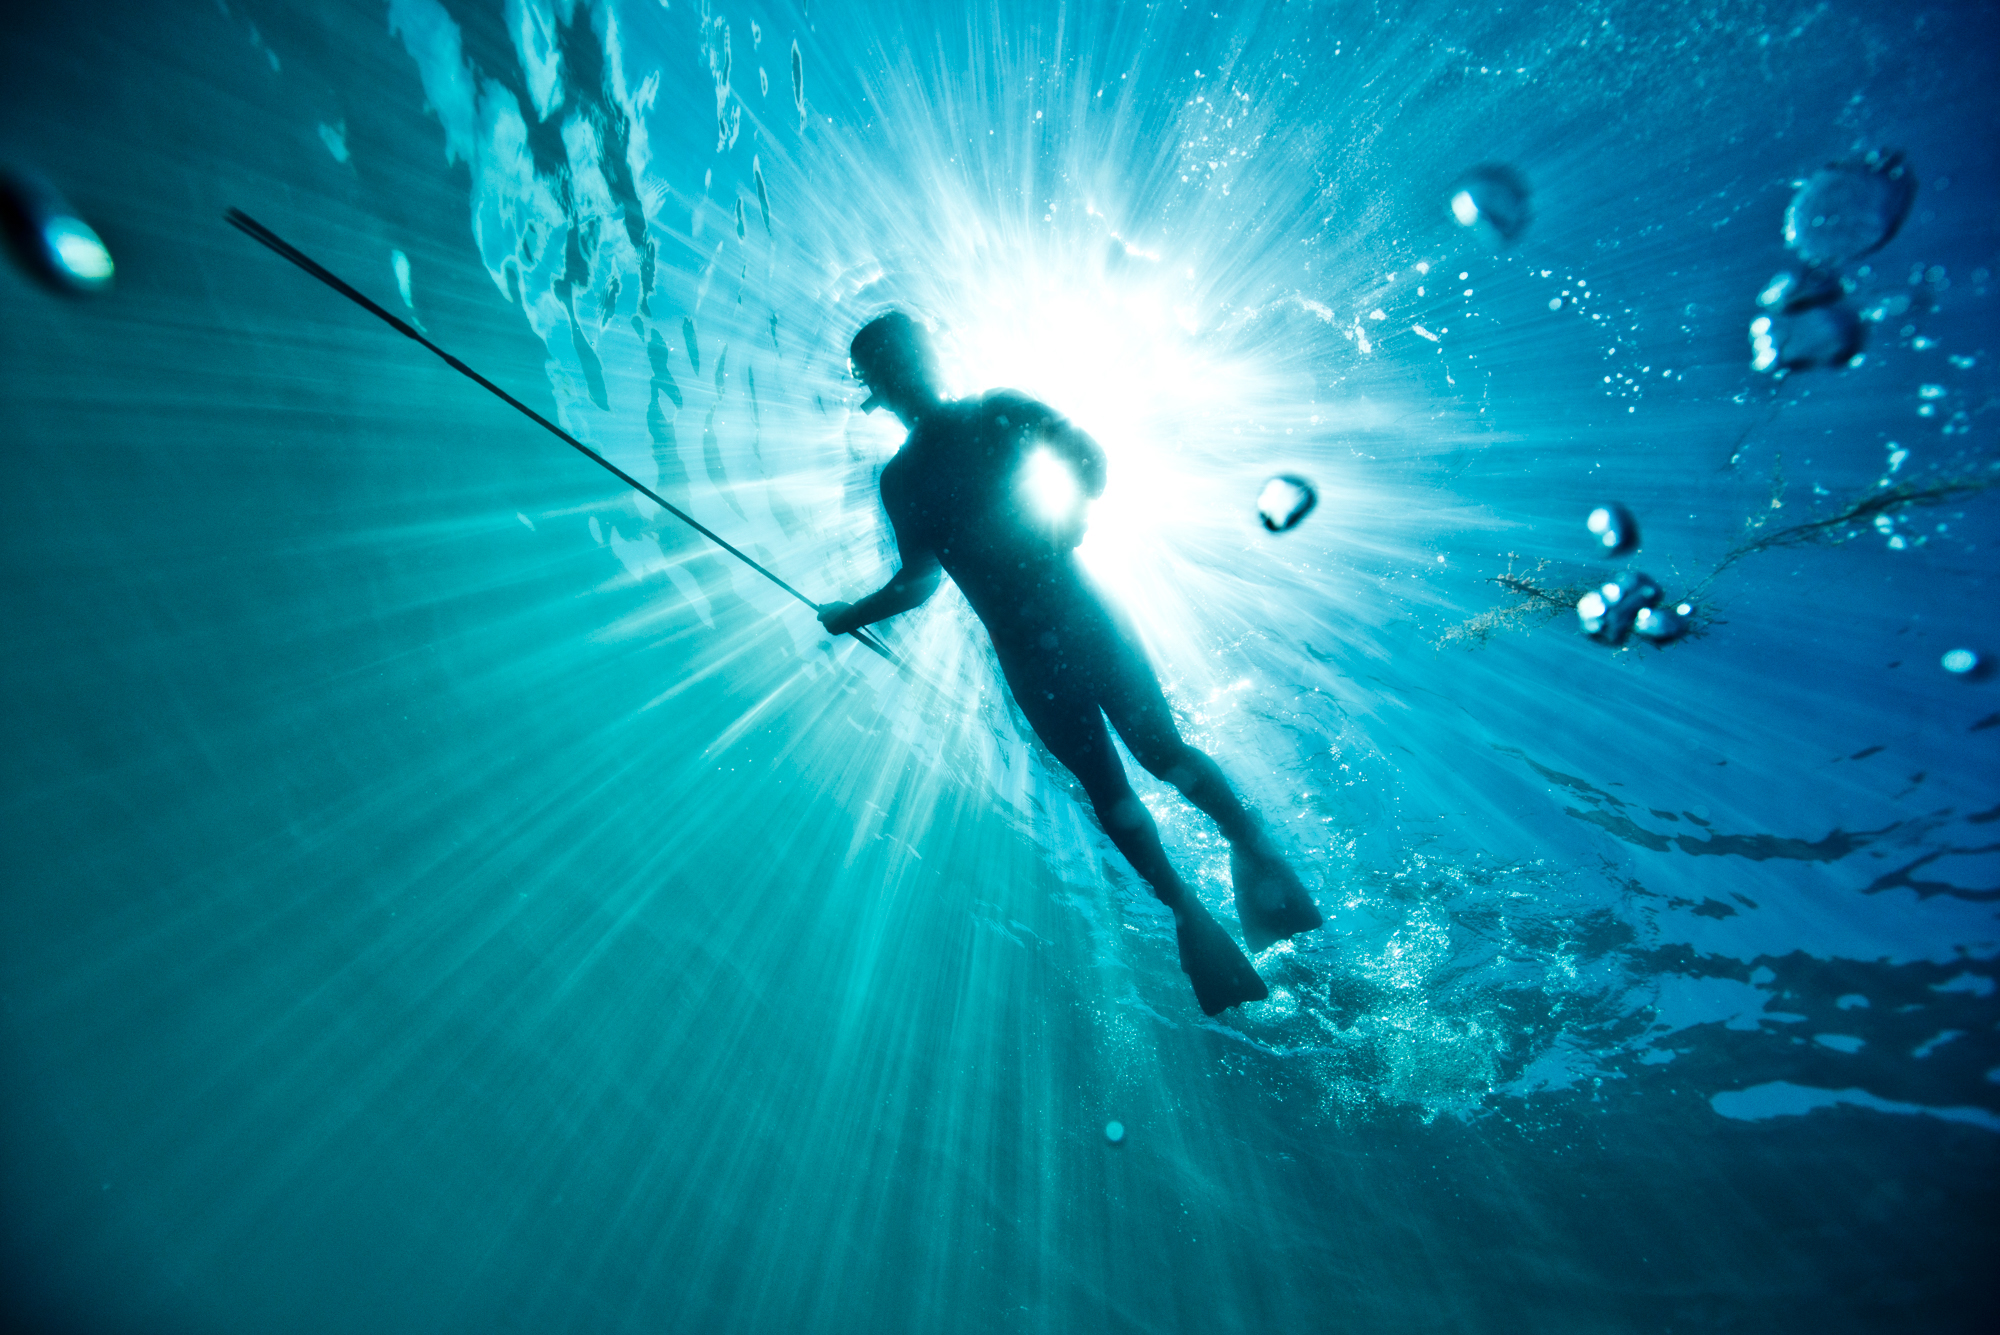
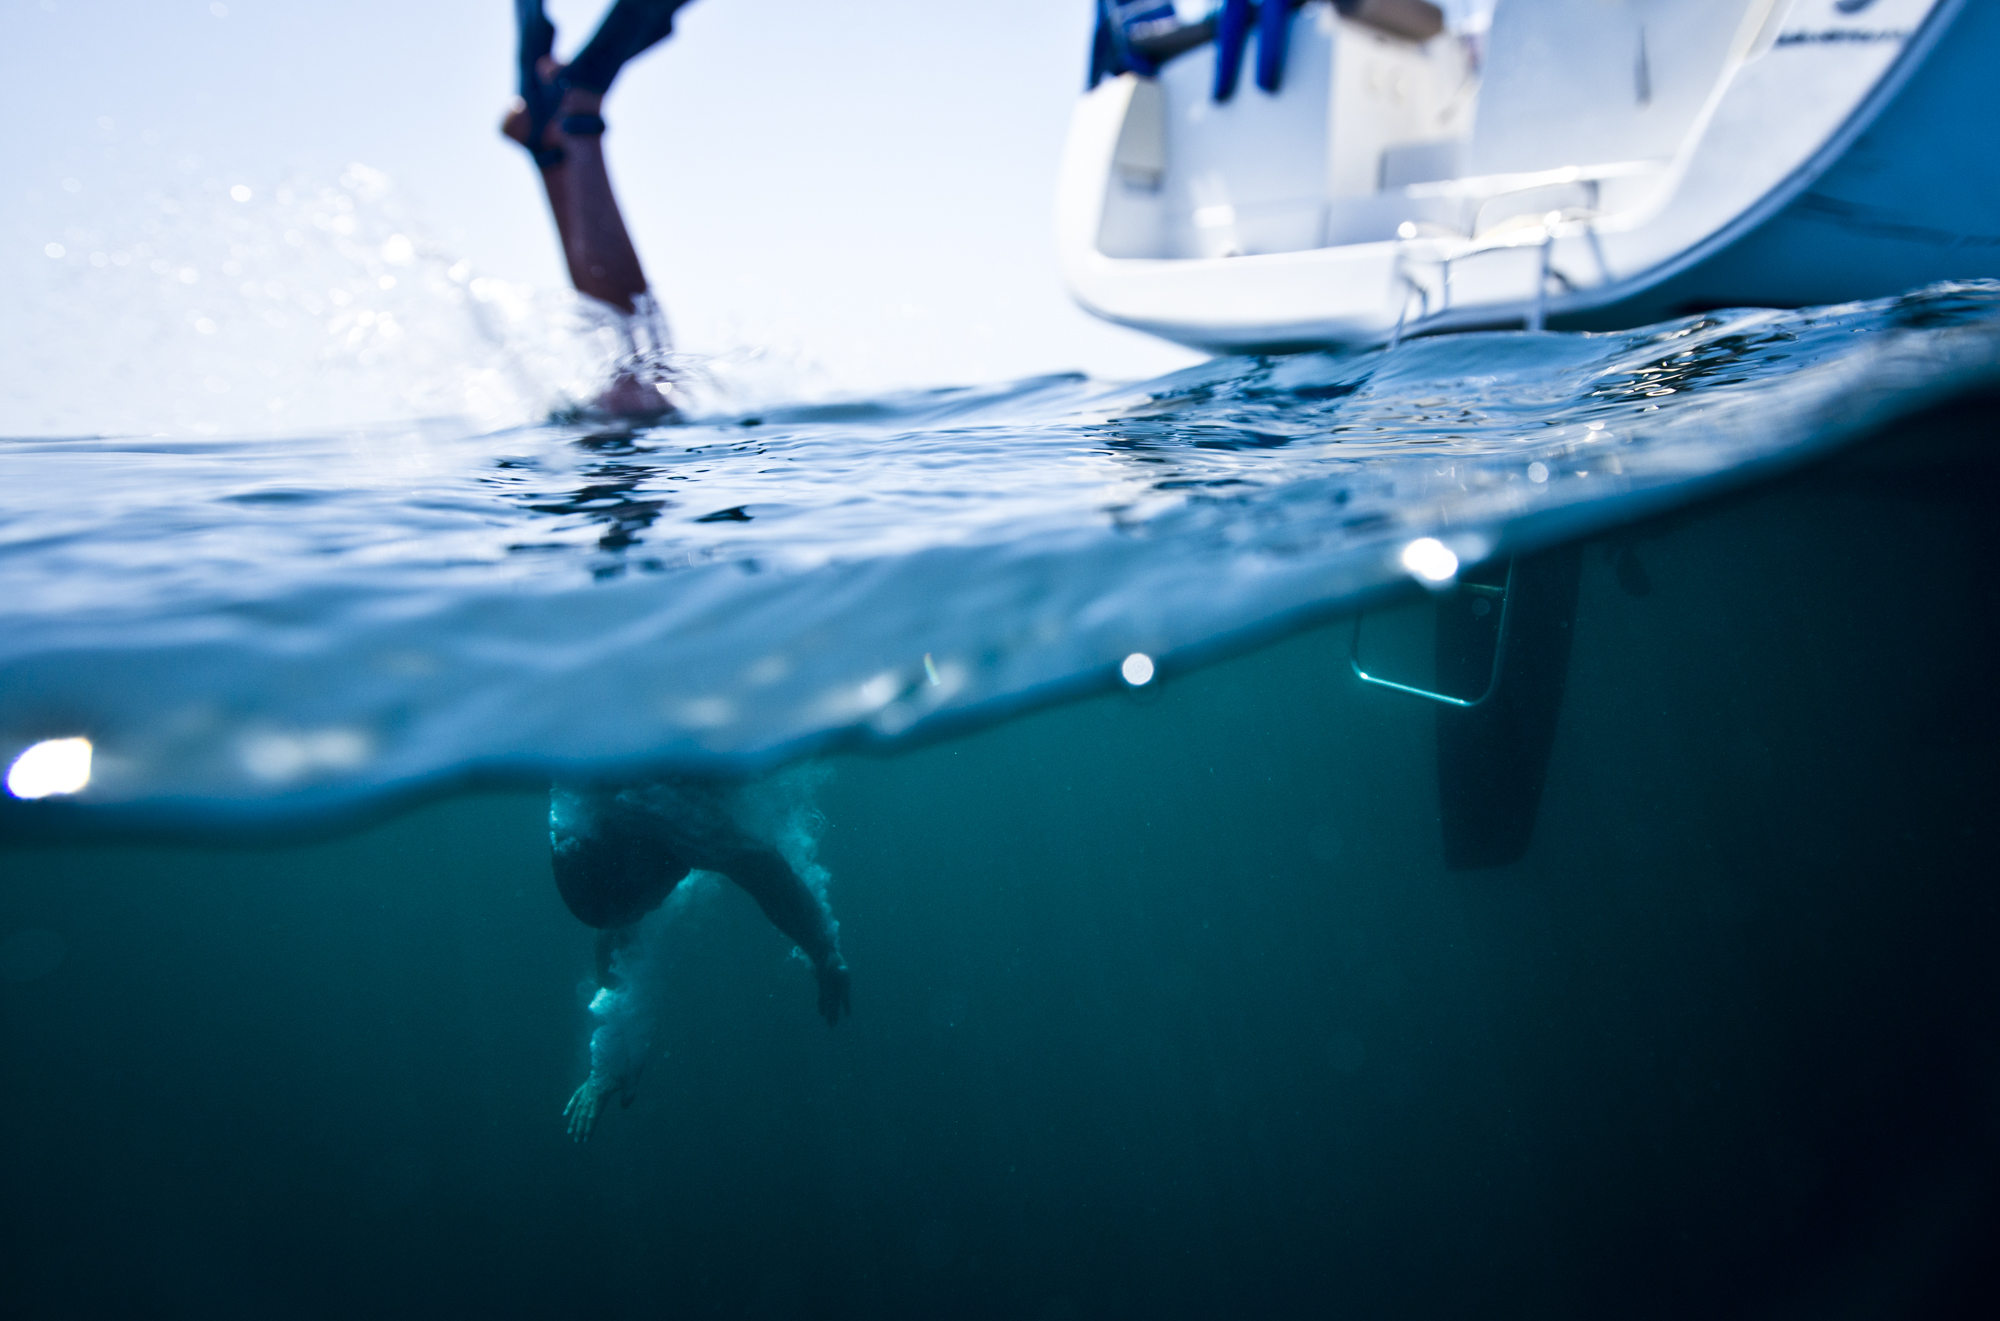
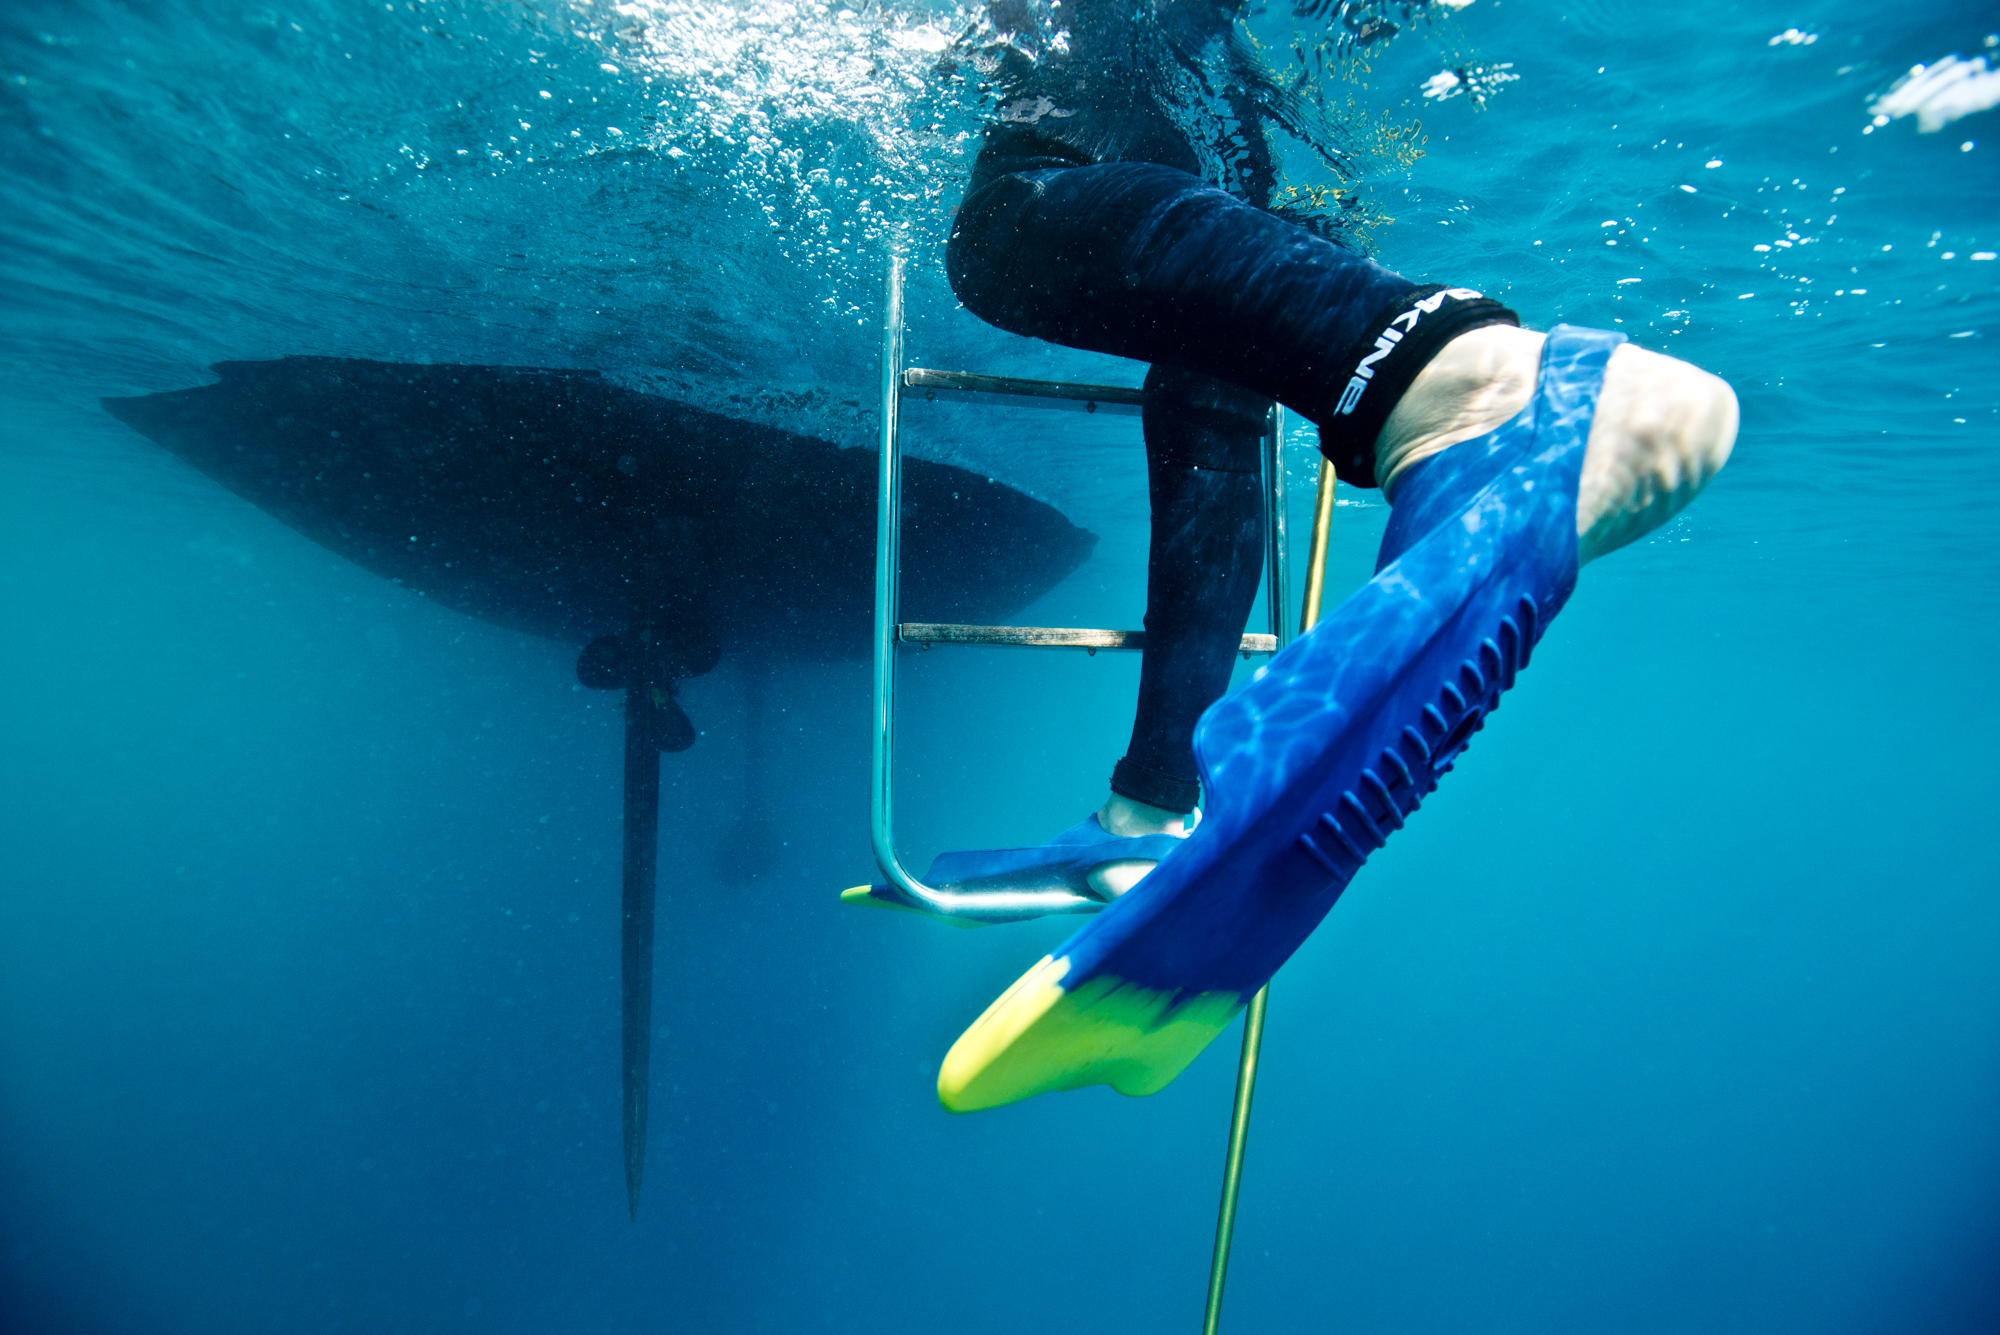
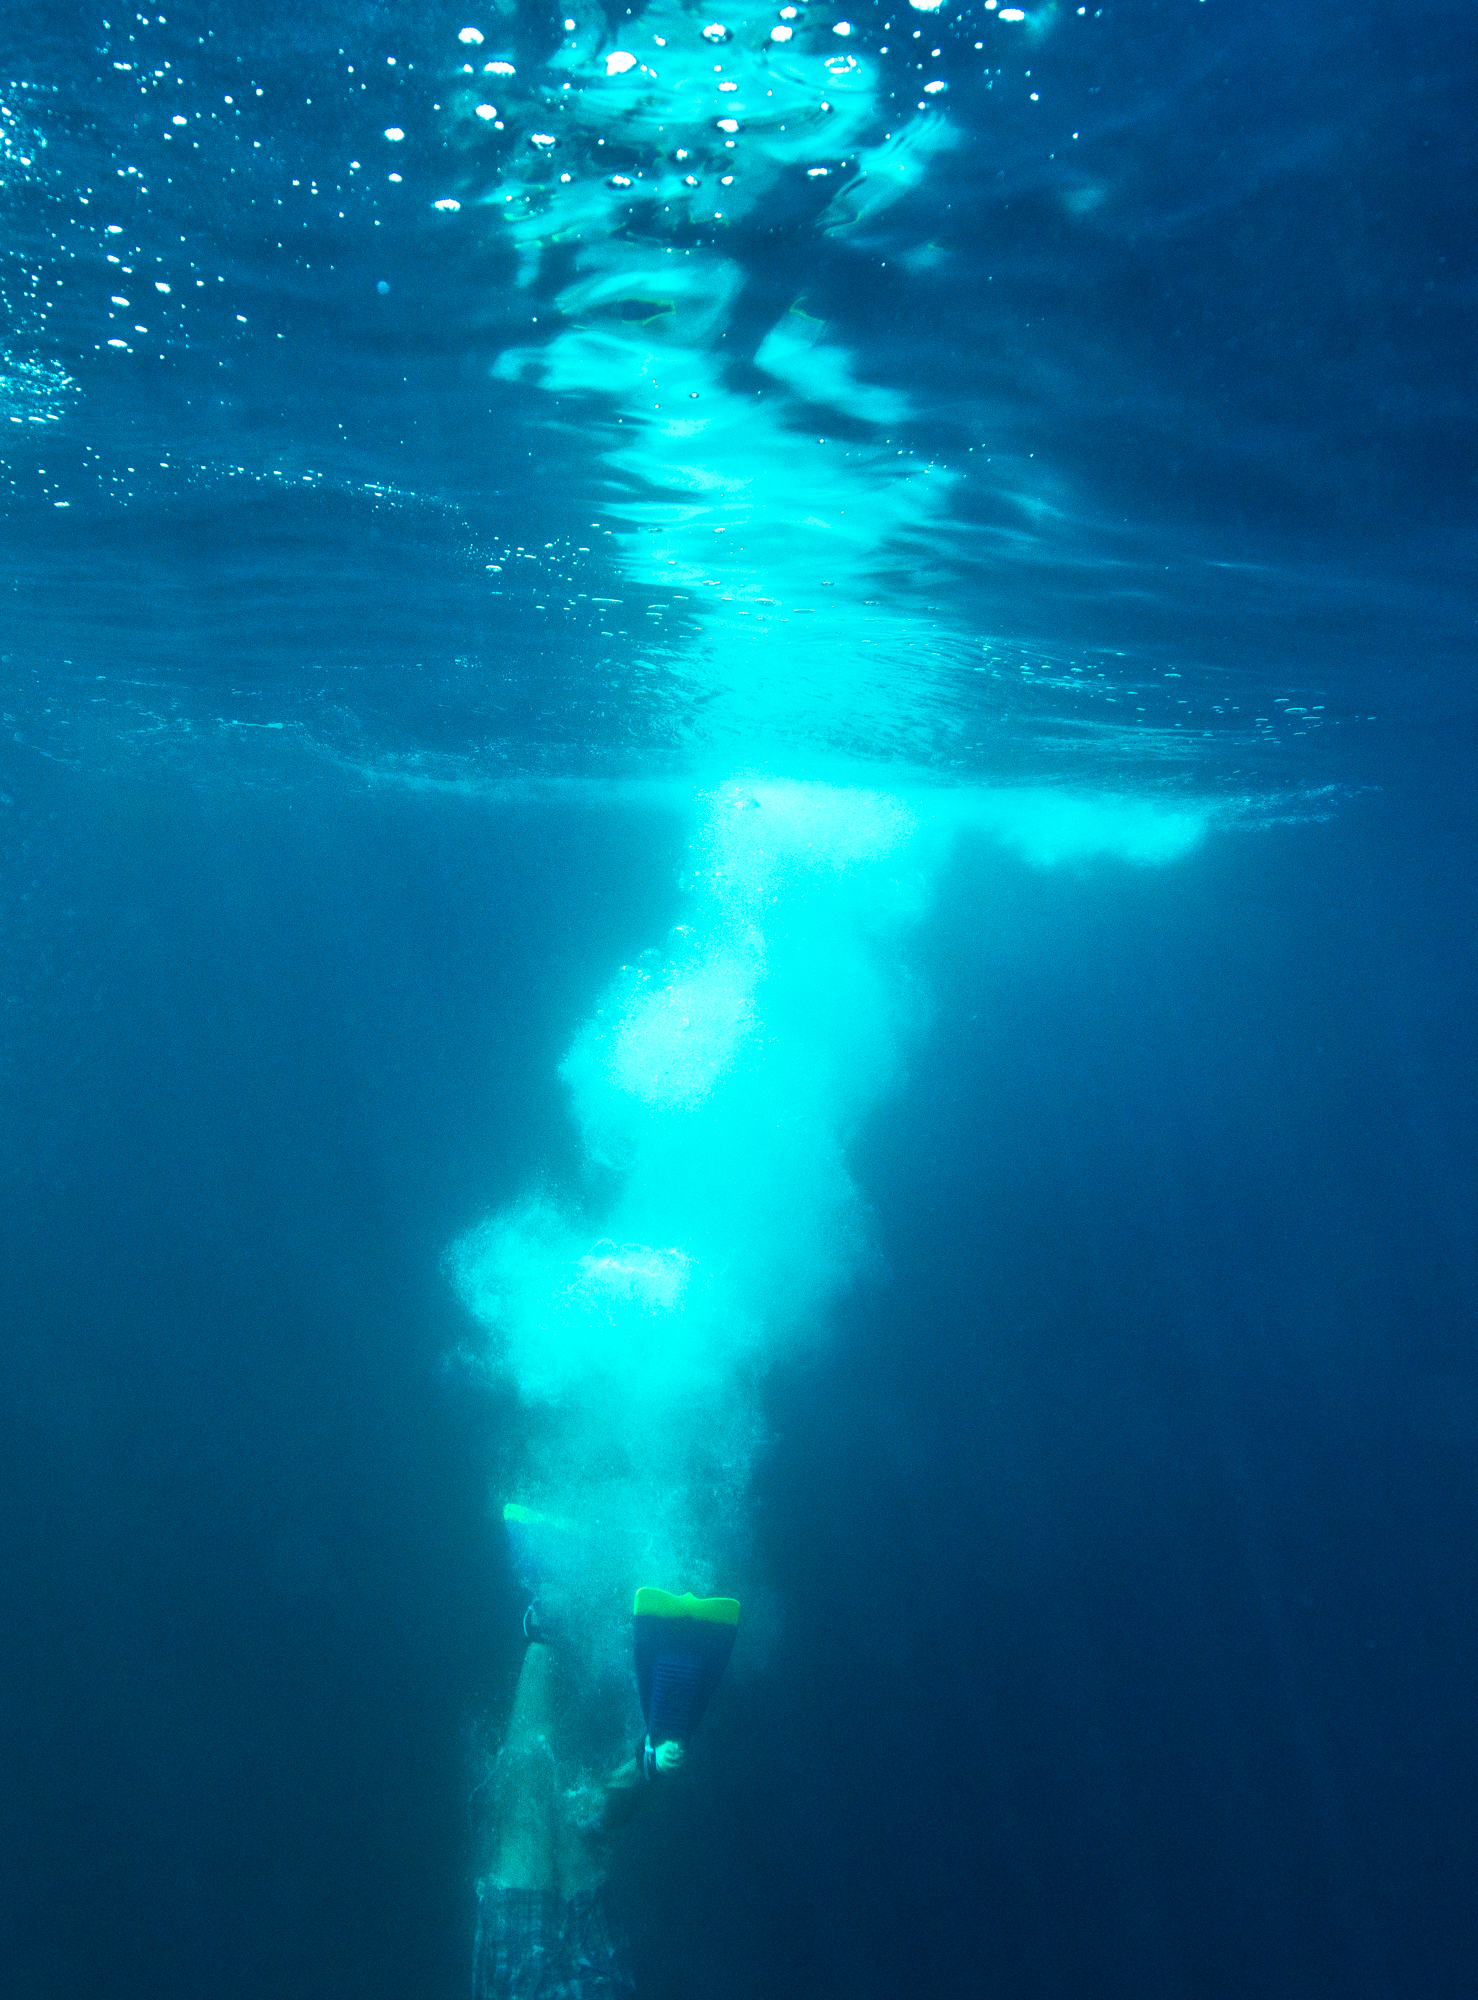
Spear Fishing - Catalina Island - California
Adventure Photography
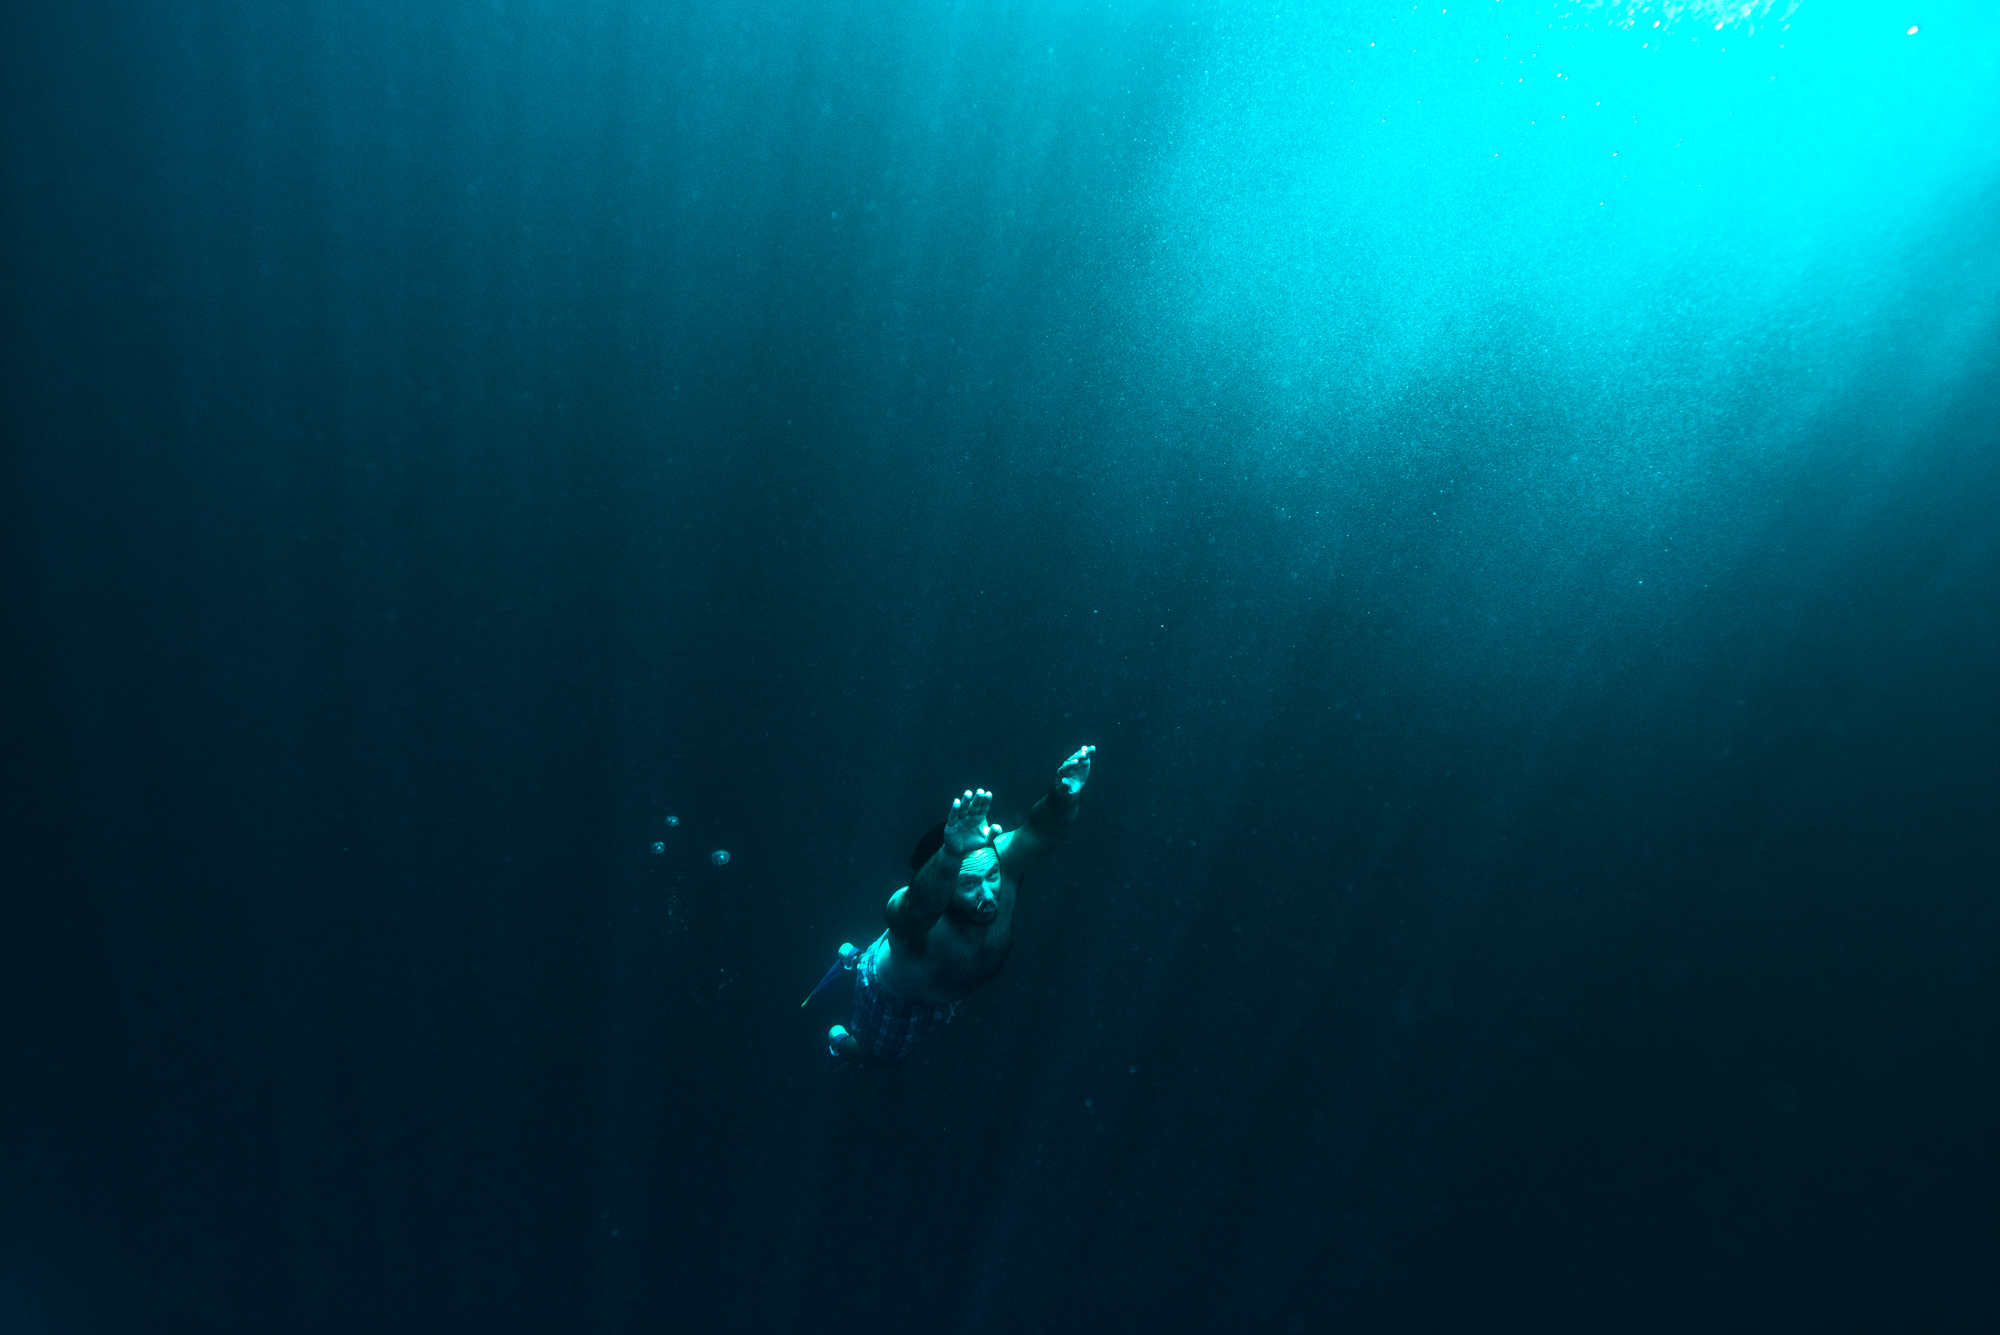
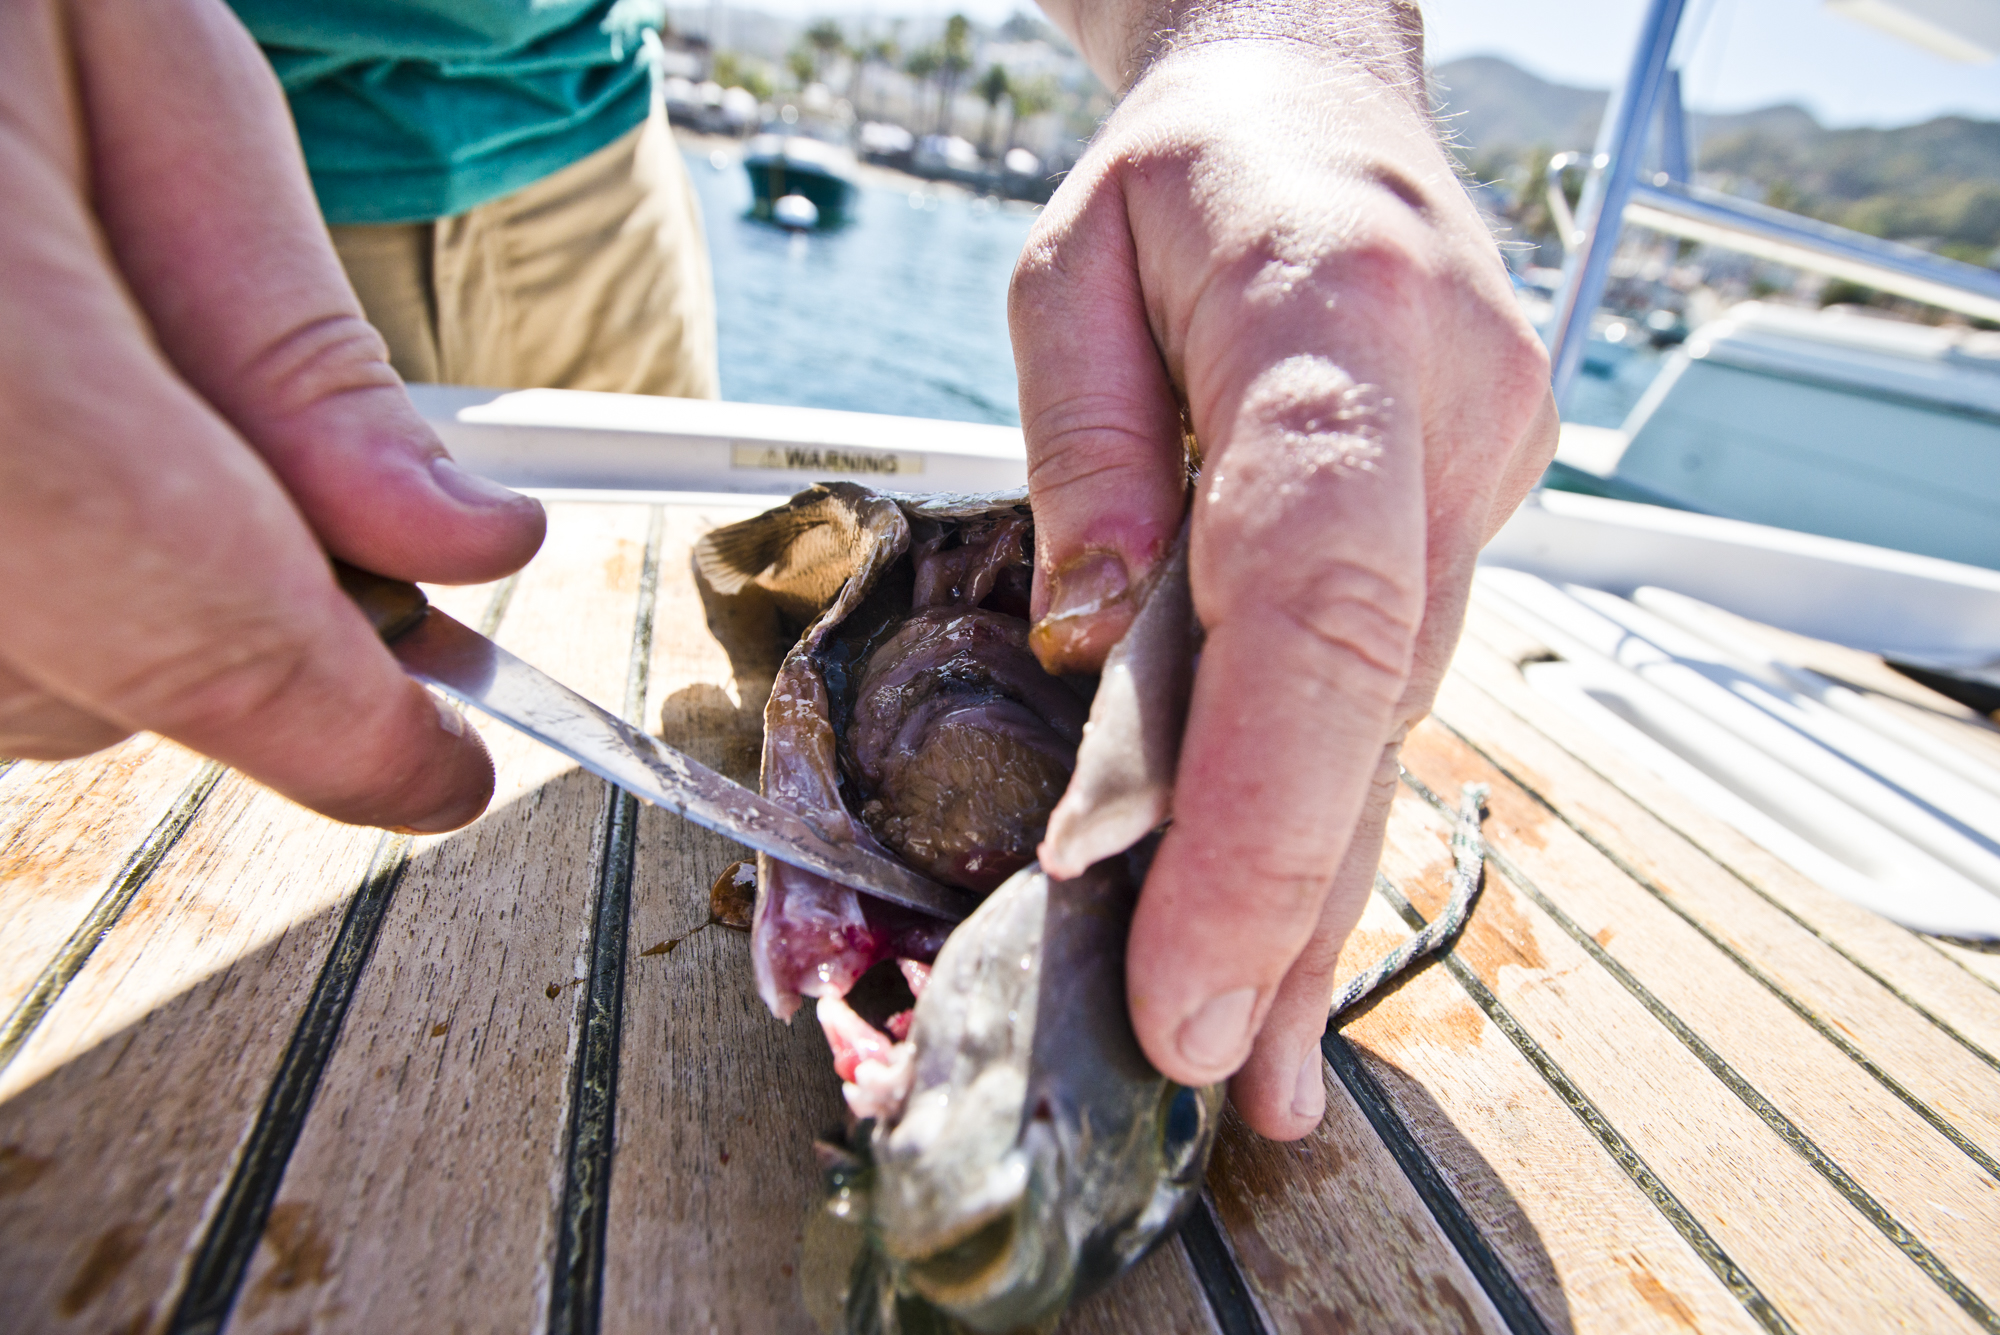
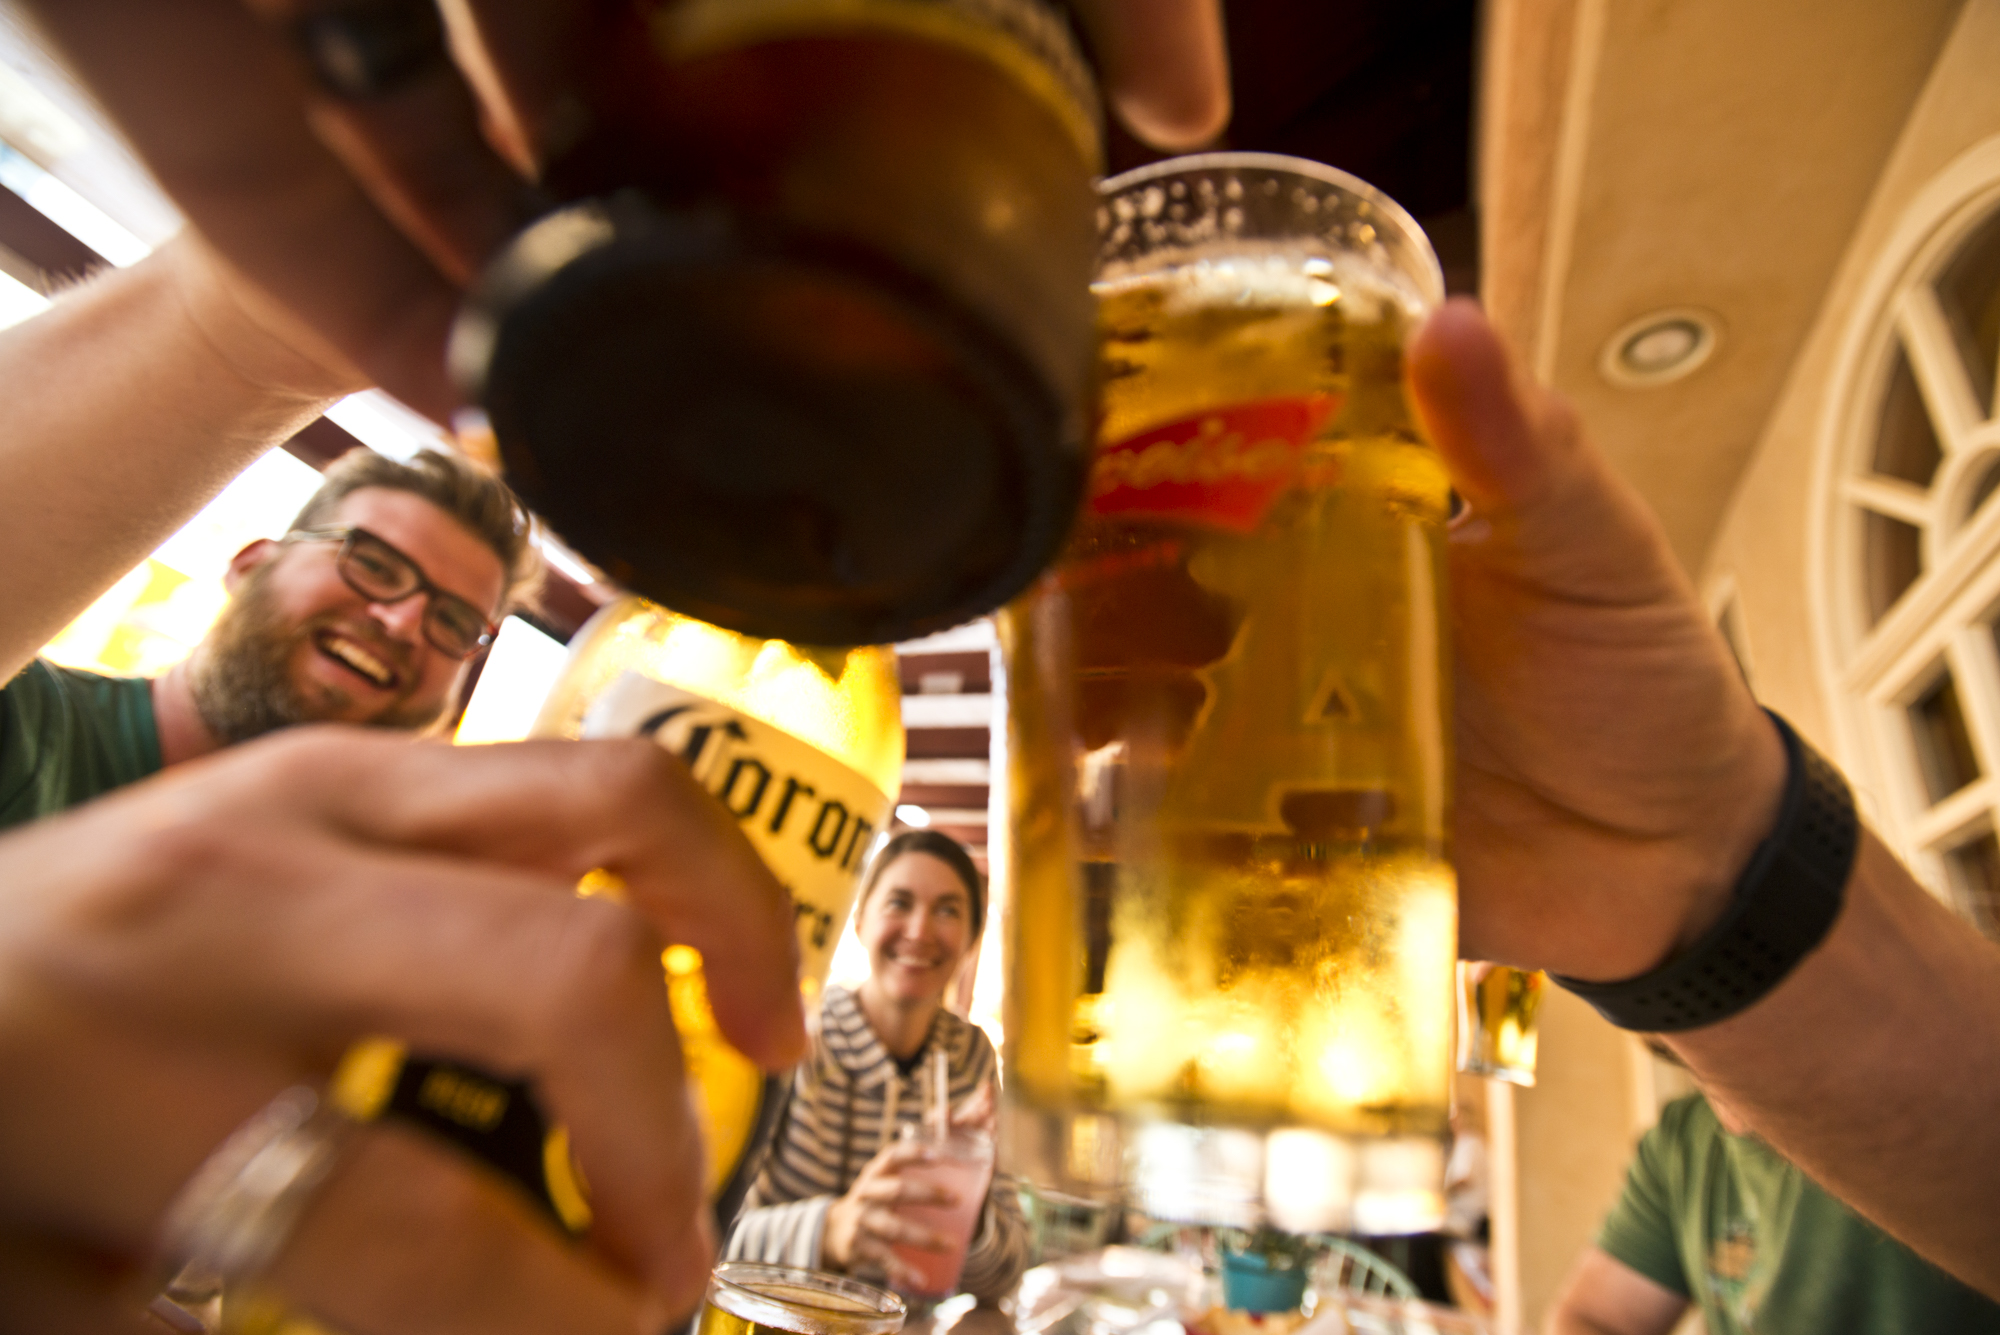
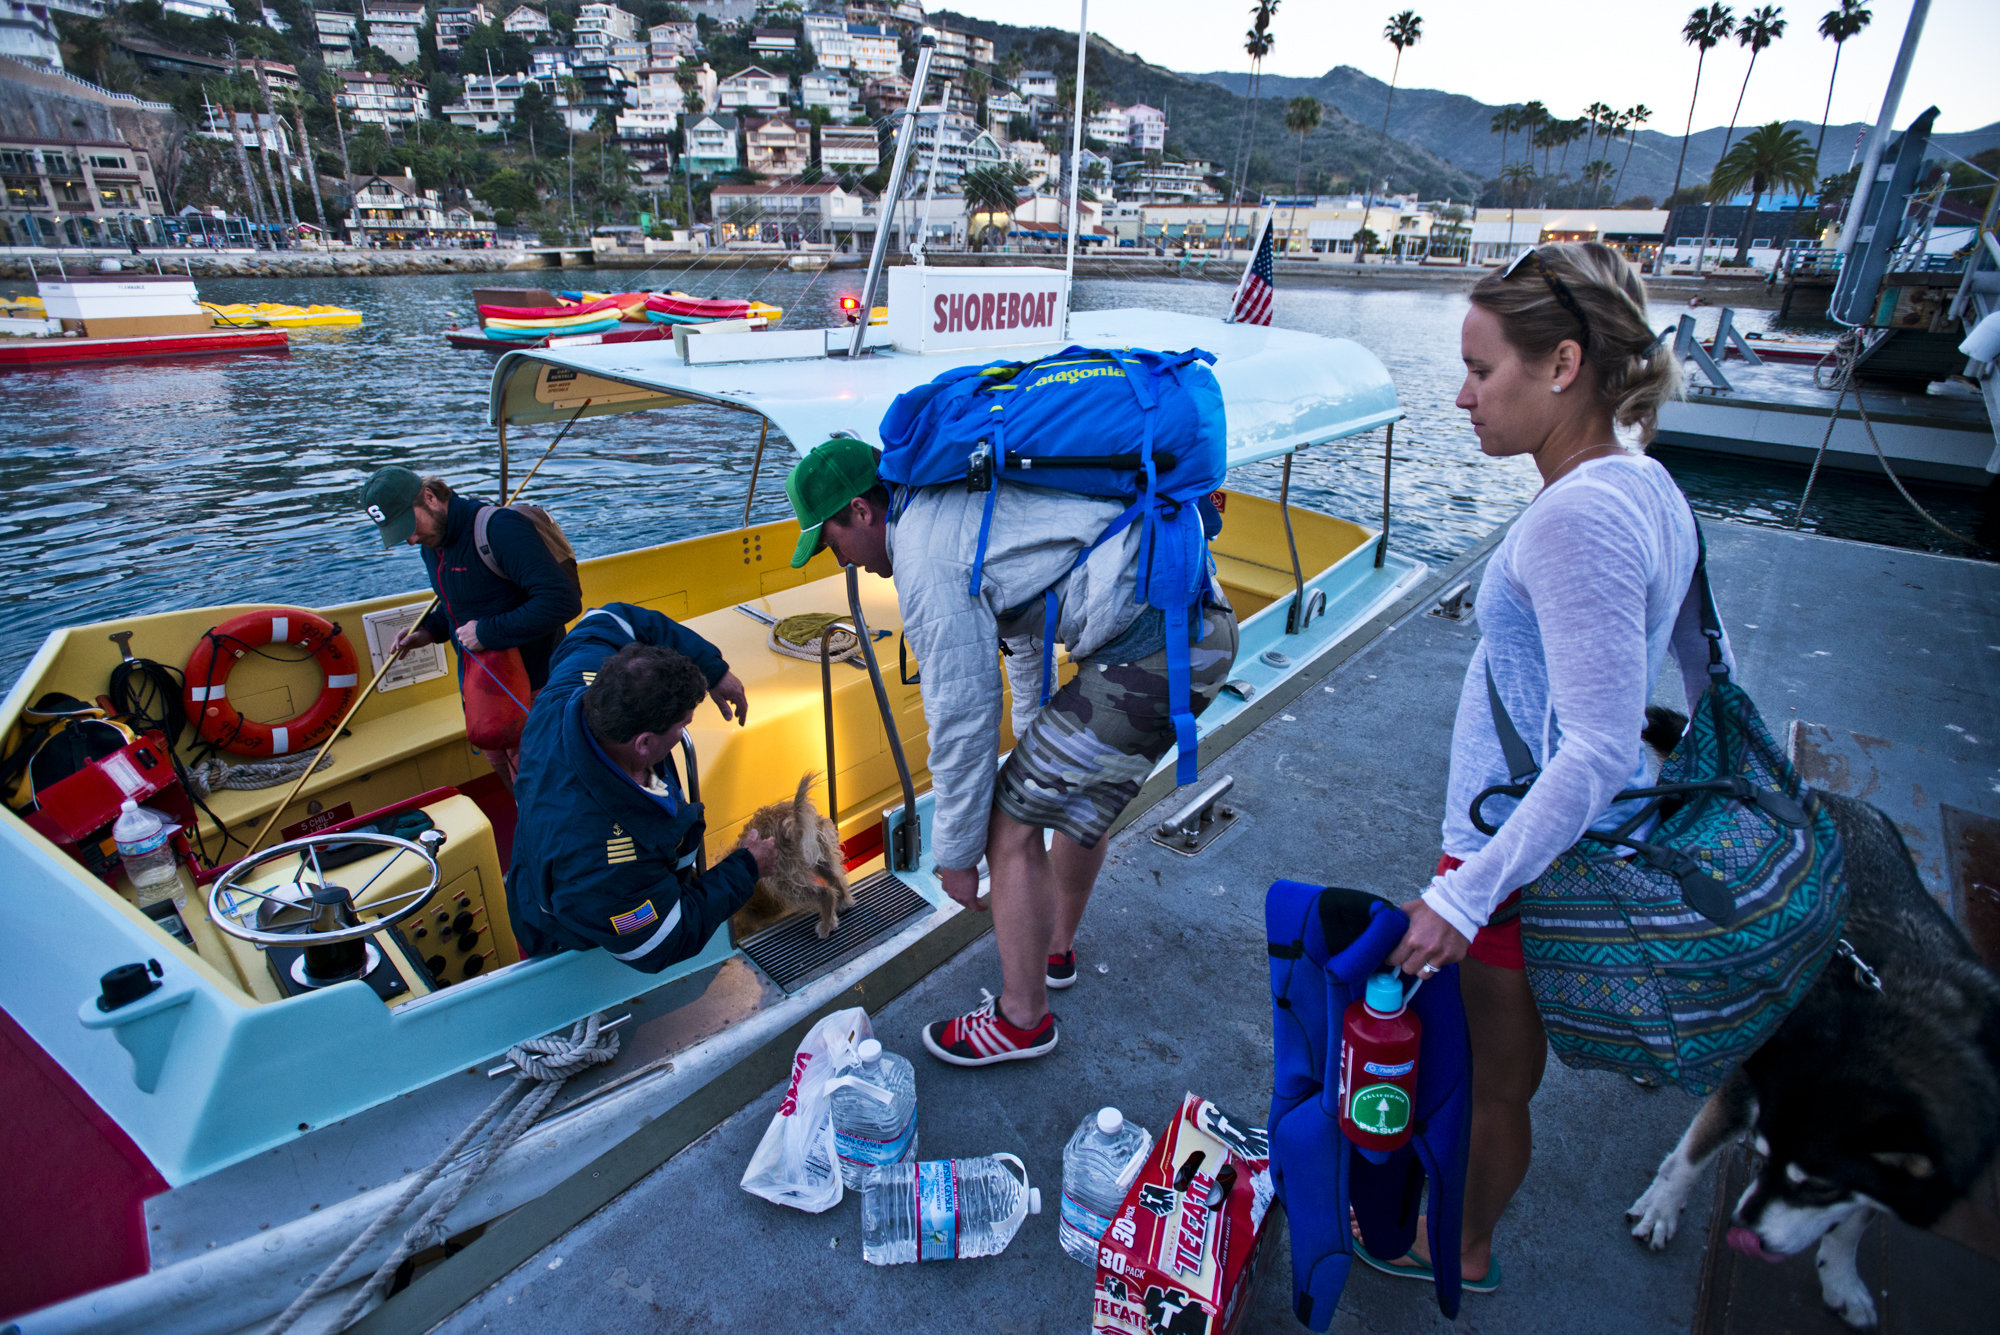
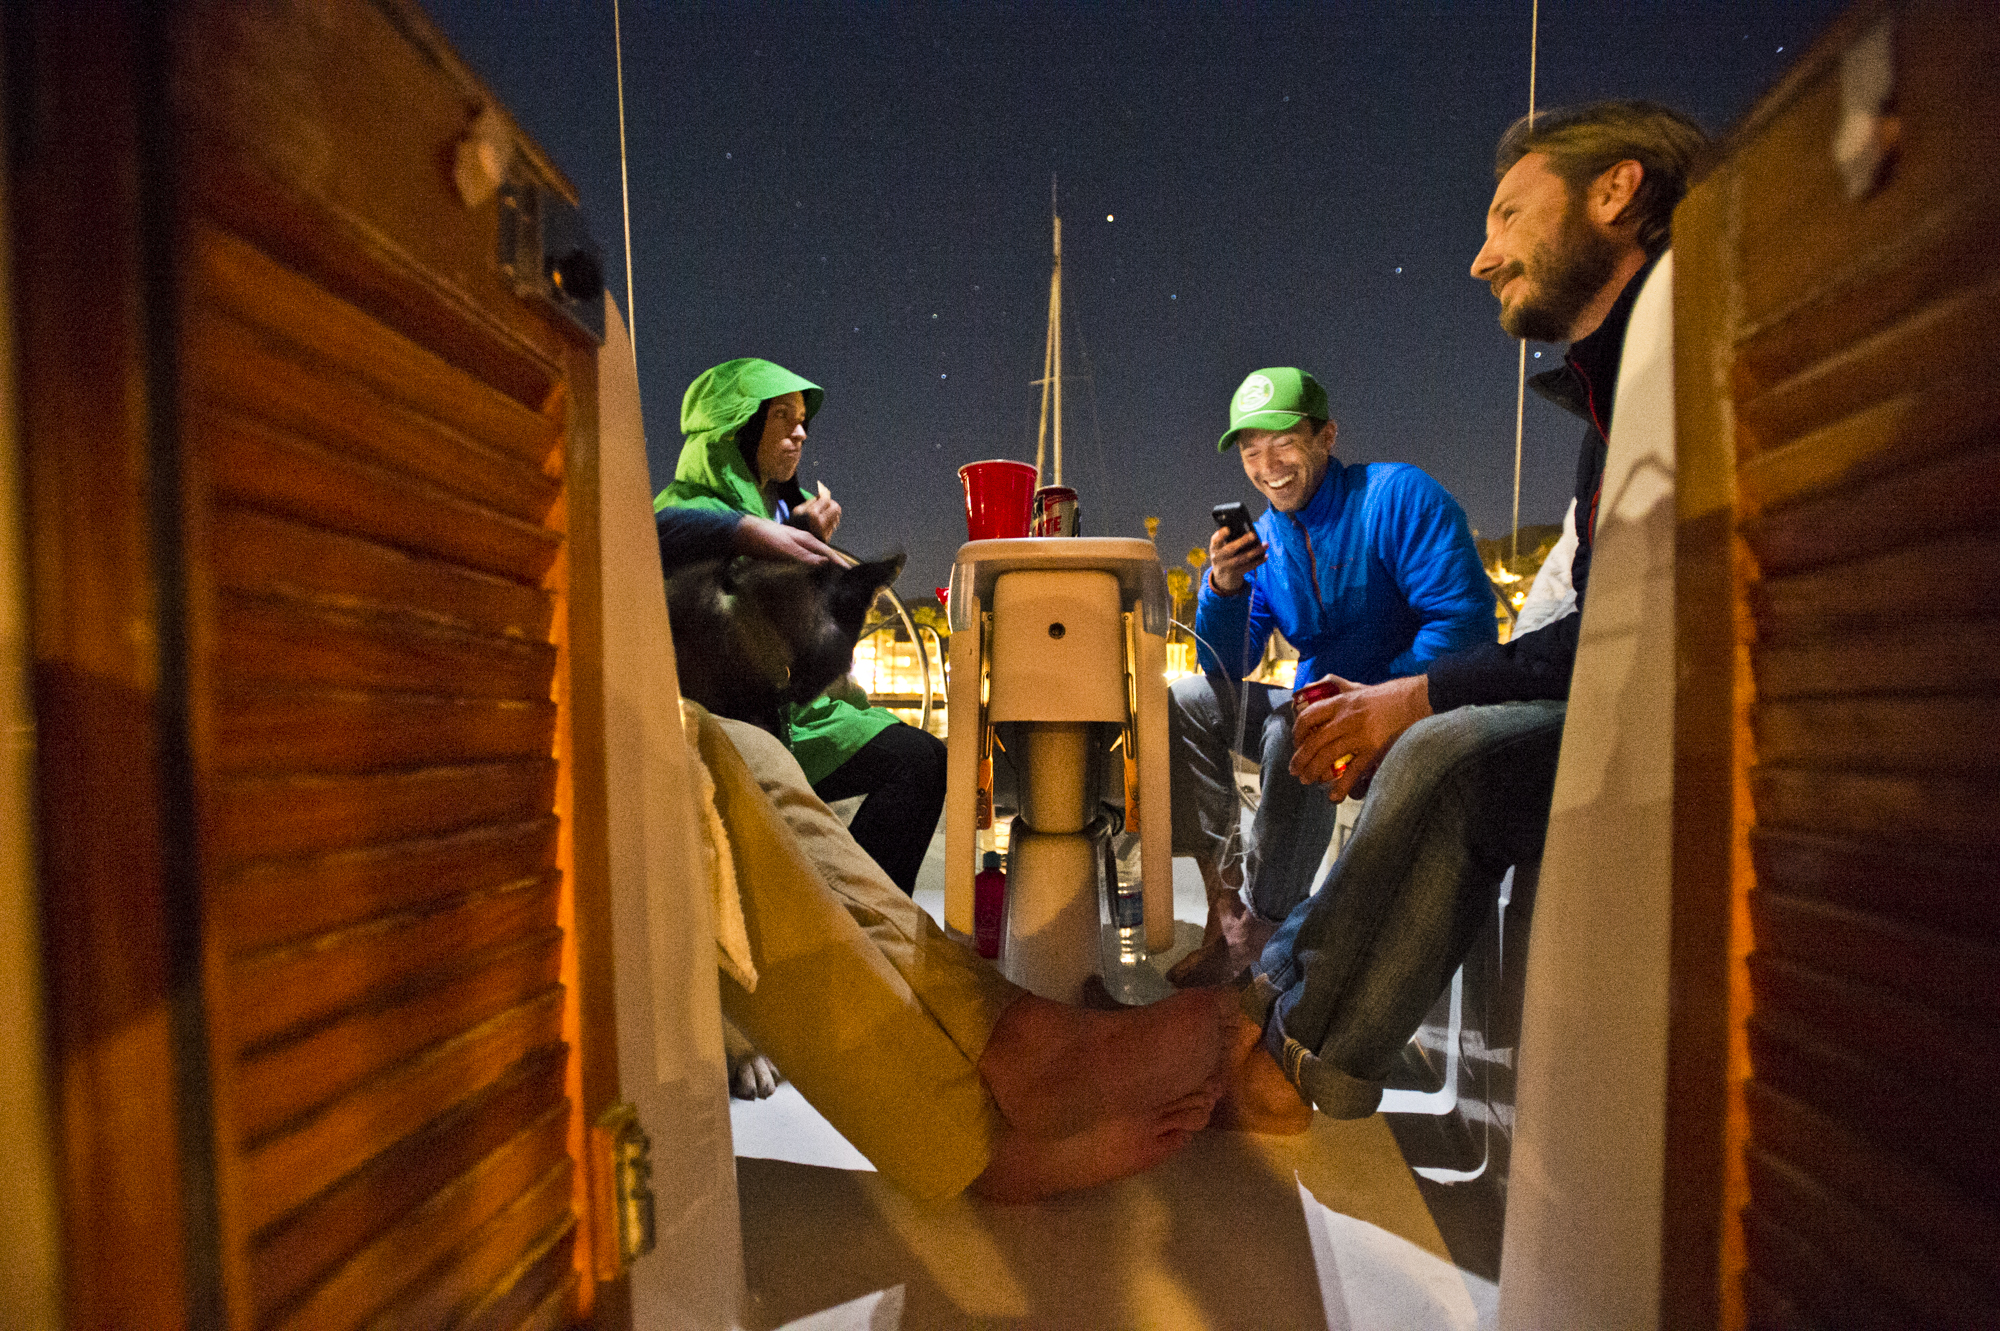
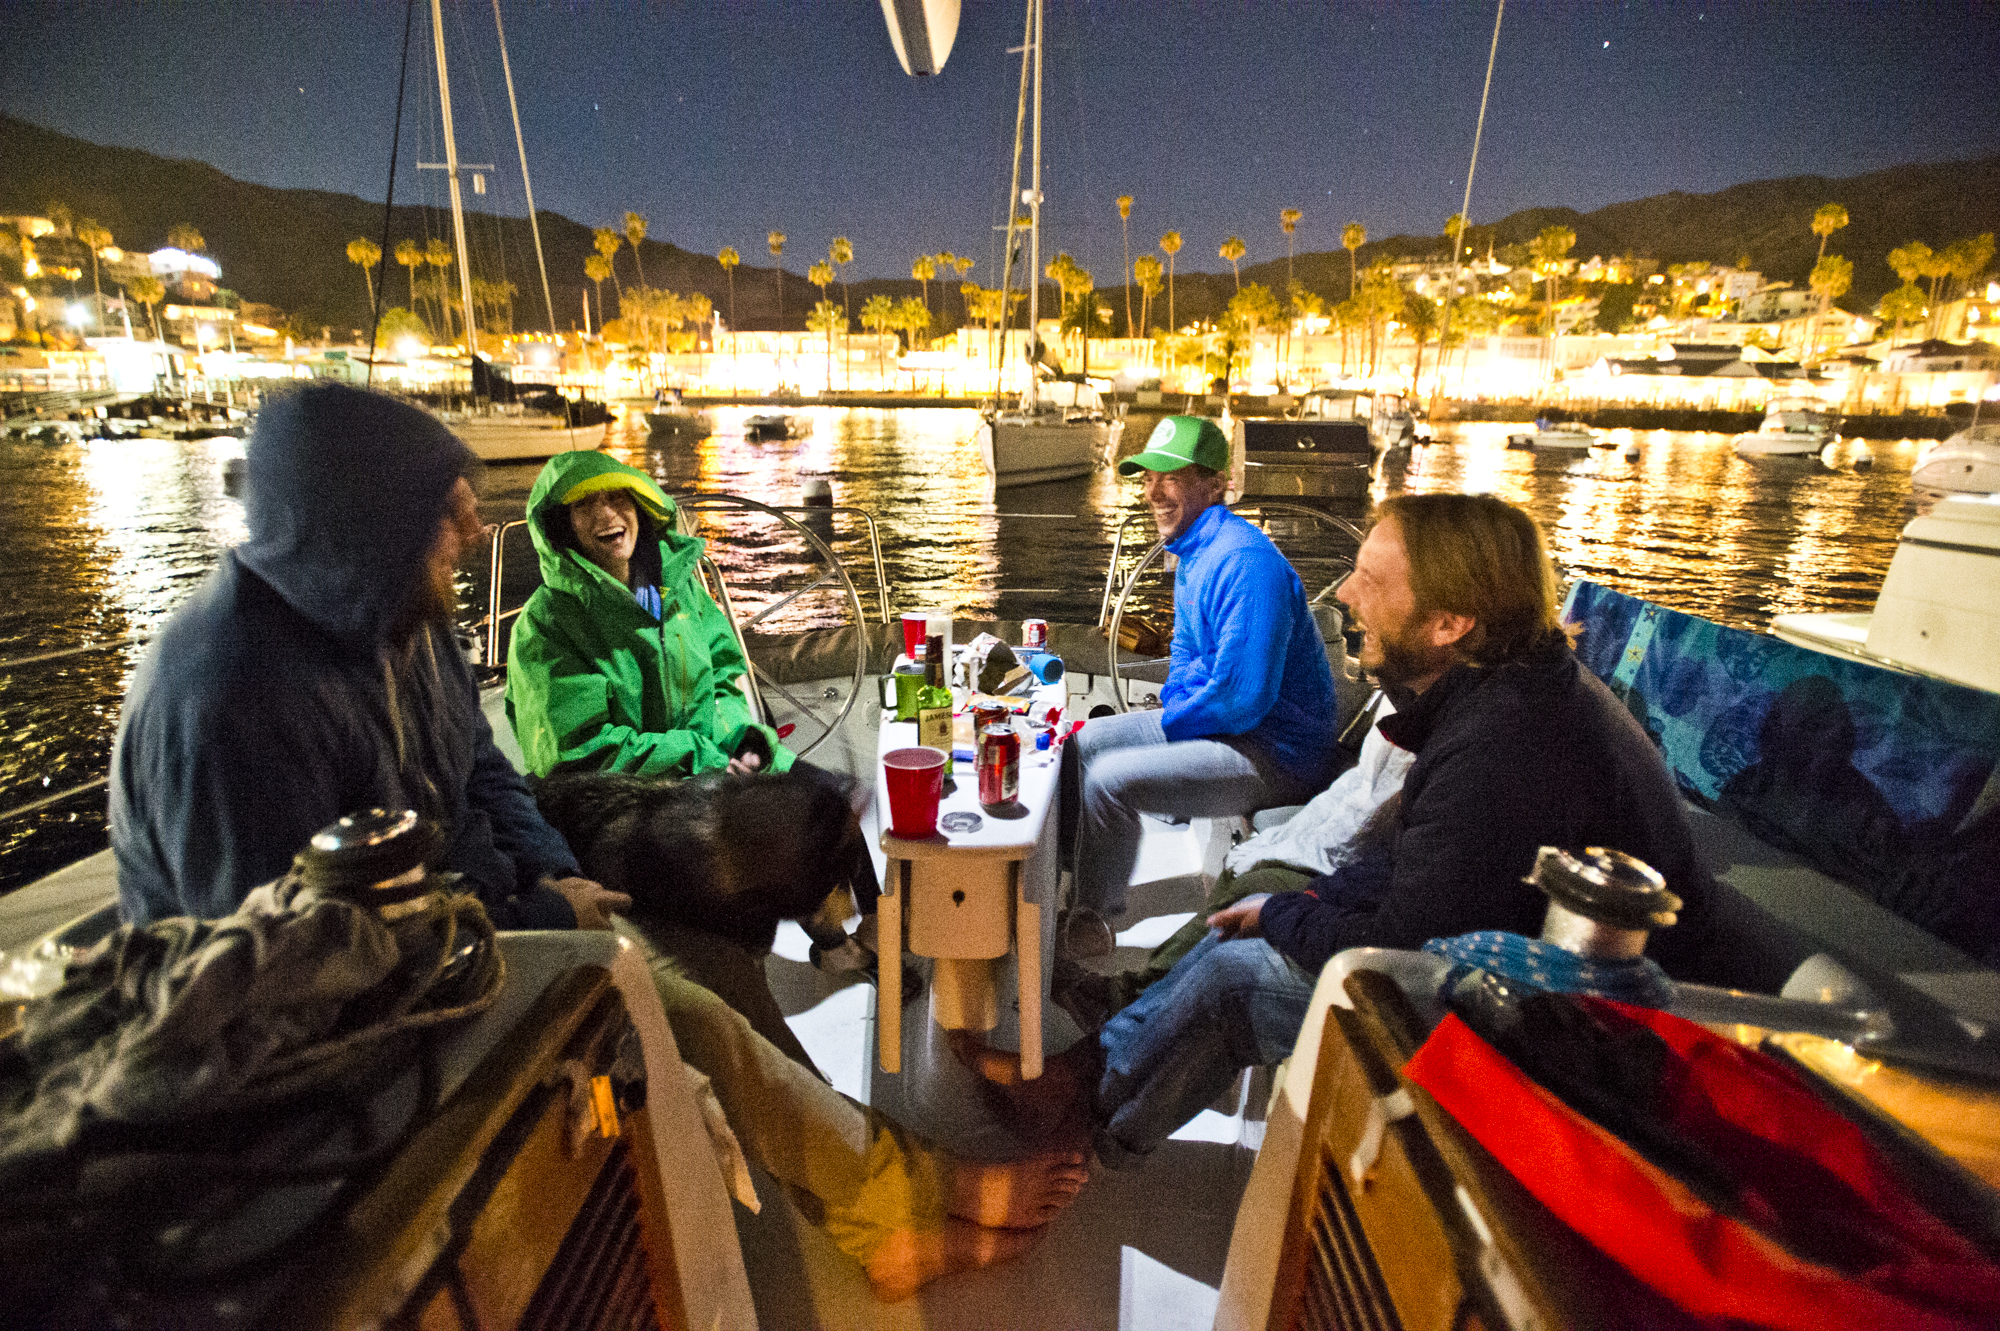
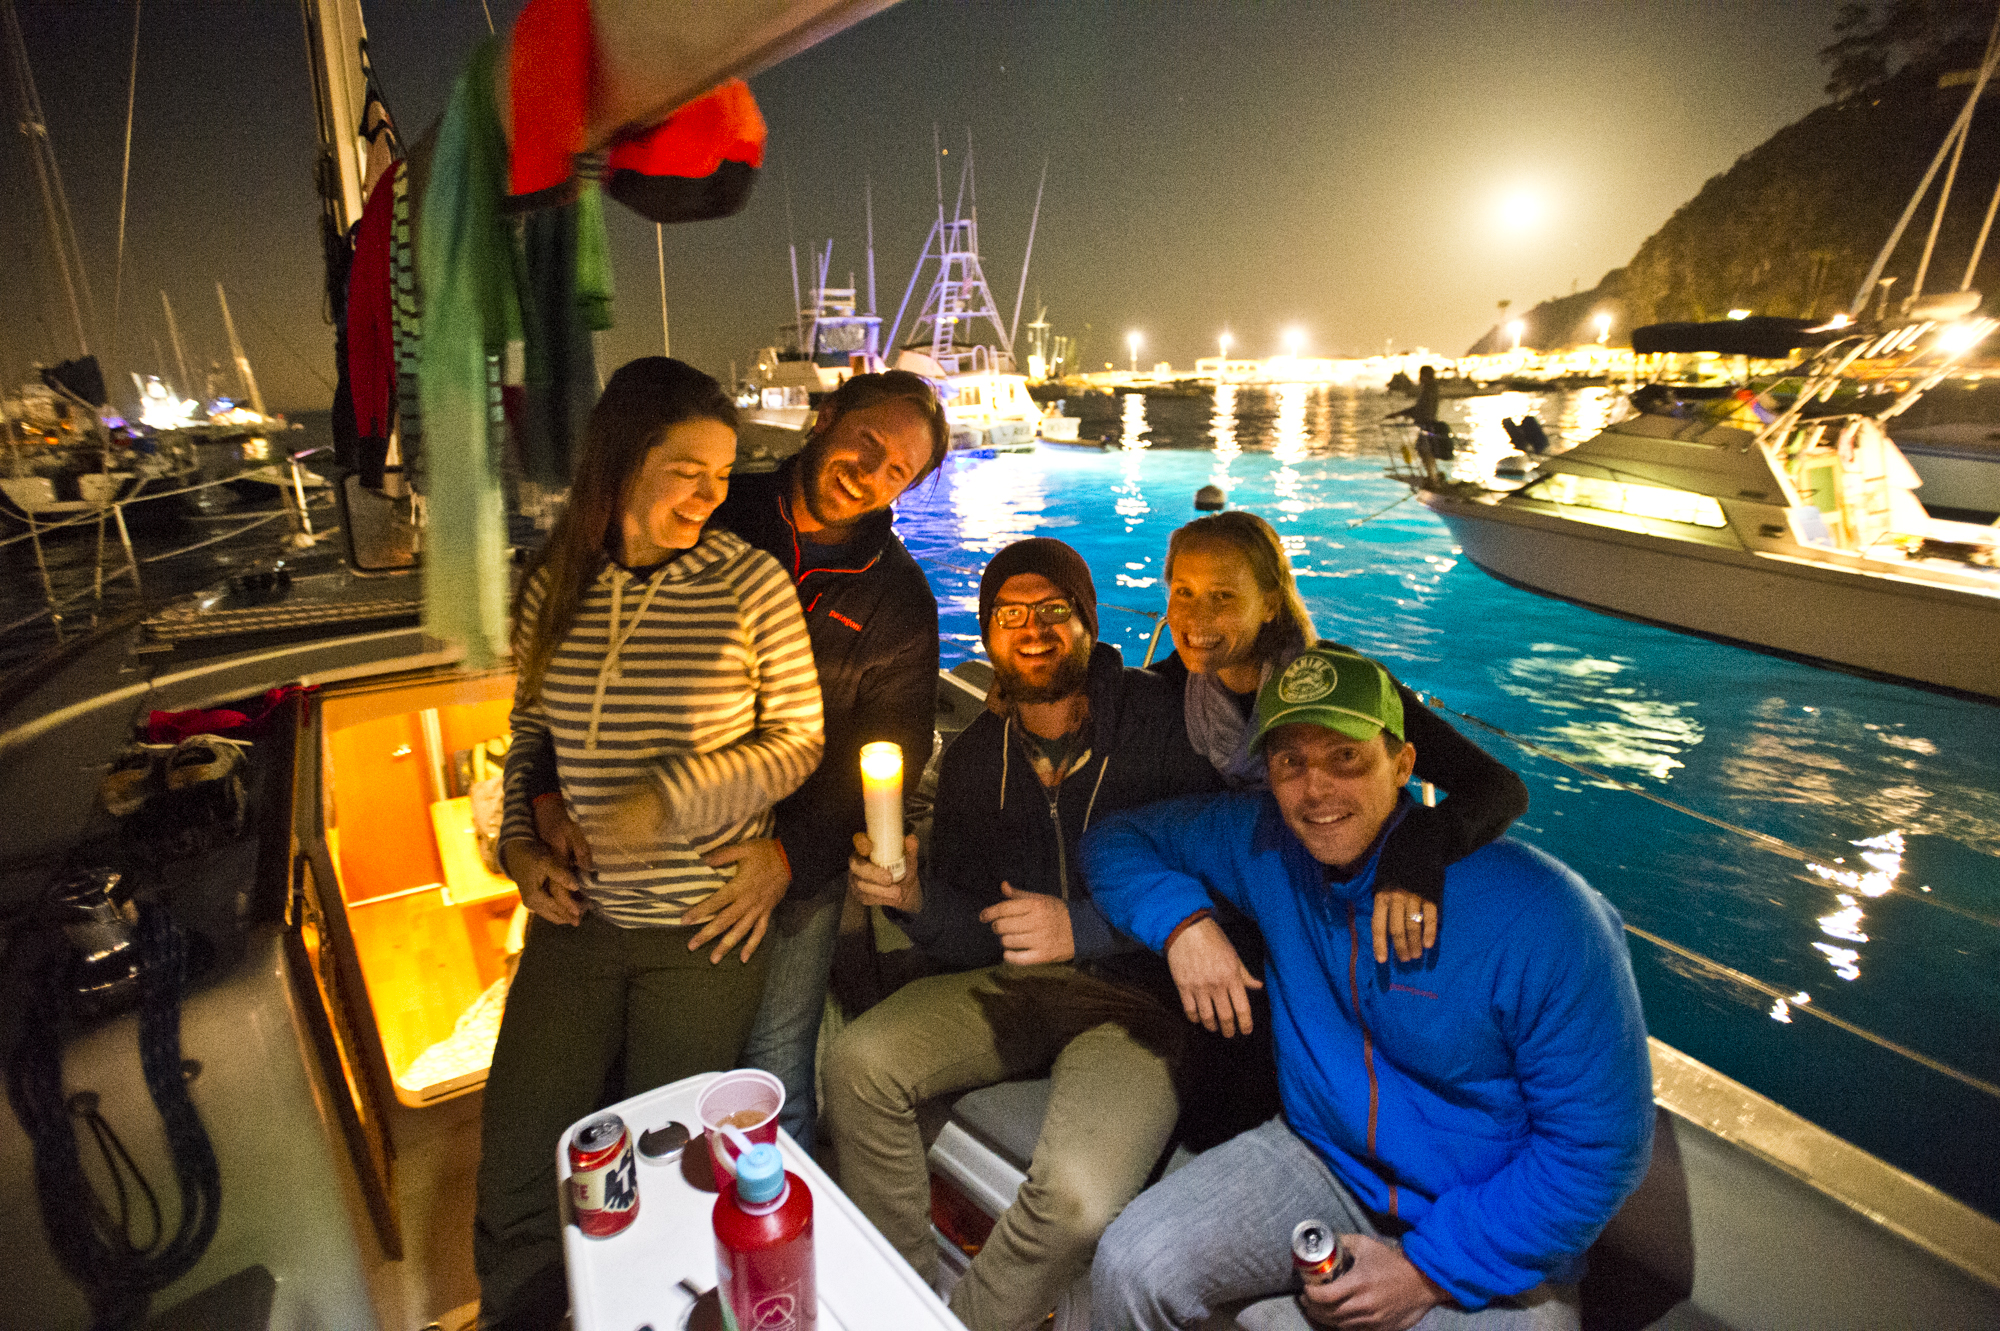
Hard to have a bad time sailing to Catalina Island. In fact, it seems impossible to have a bad time there, period. It's a special place. If you've never been, change that. Summer time is great because it's bumping with people. And winter is just as good, when it's quiet and sleepy. Either way you win. We were out there last month, and spent just about the whole time in the water looking for fish.
Aquatech Elite Sport Housing
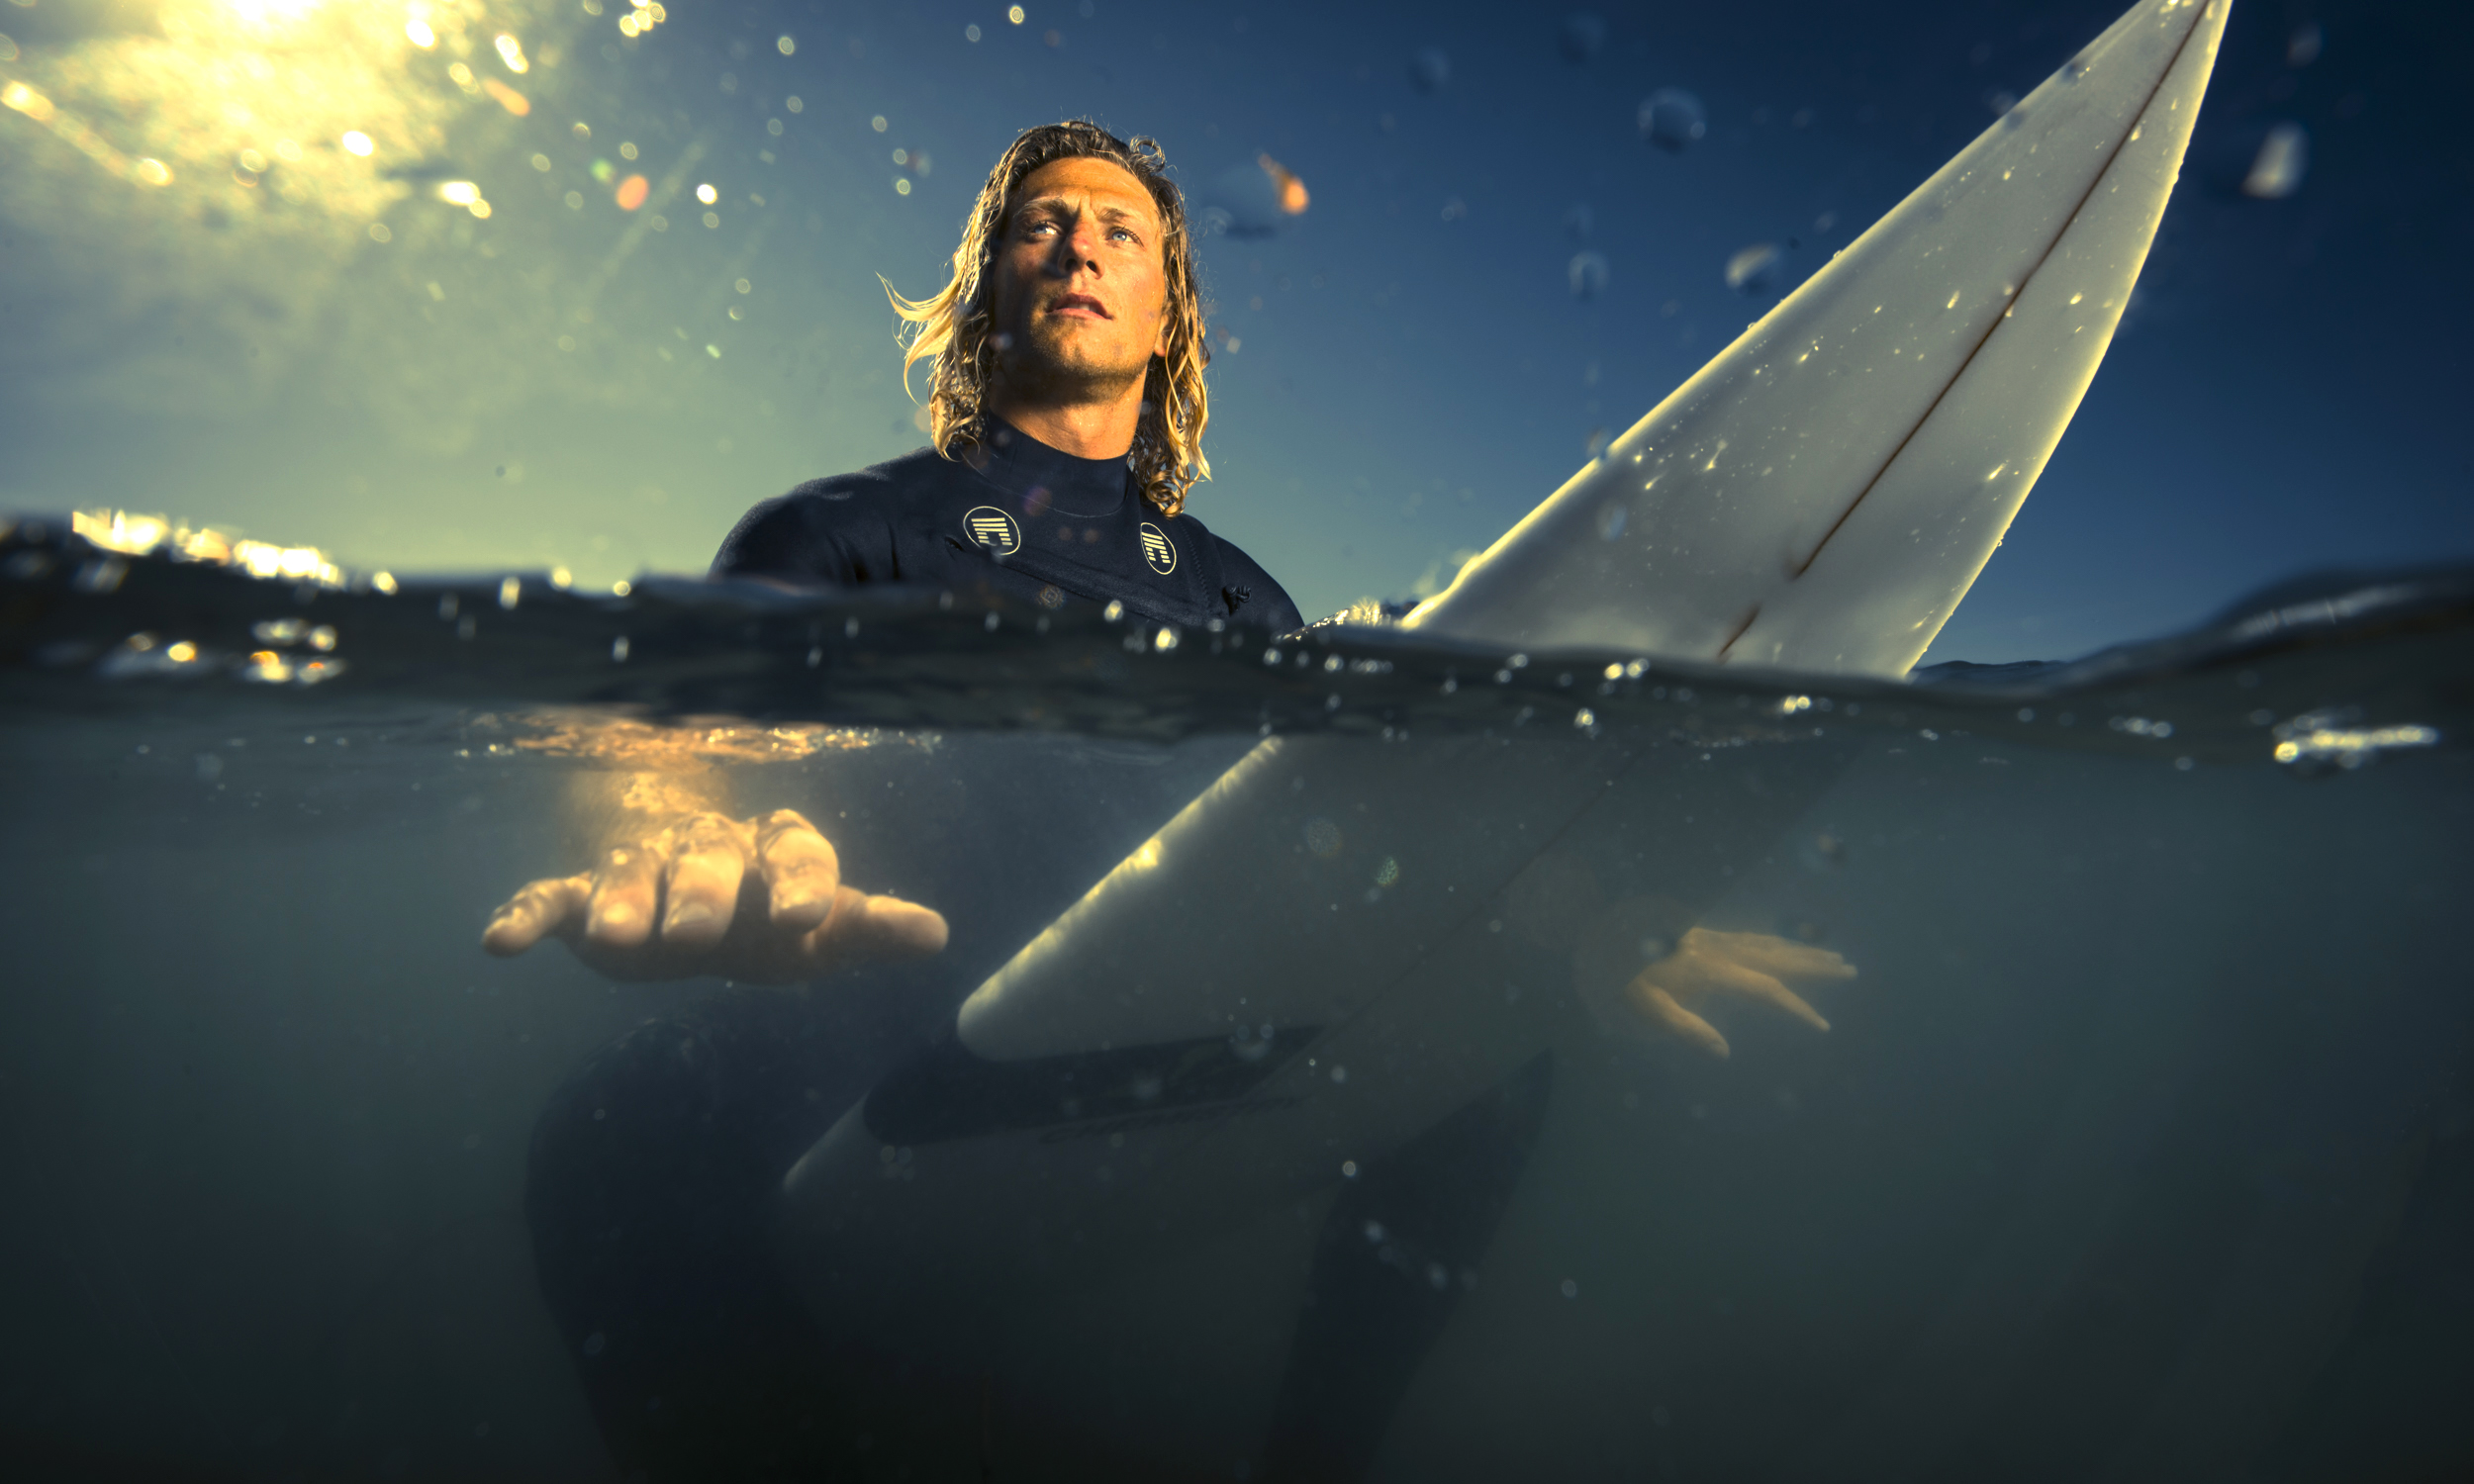
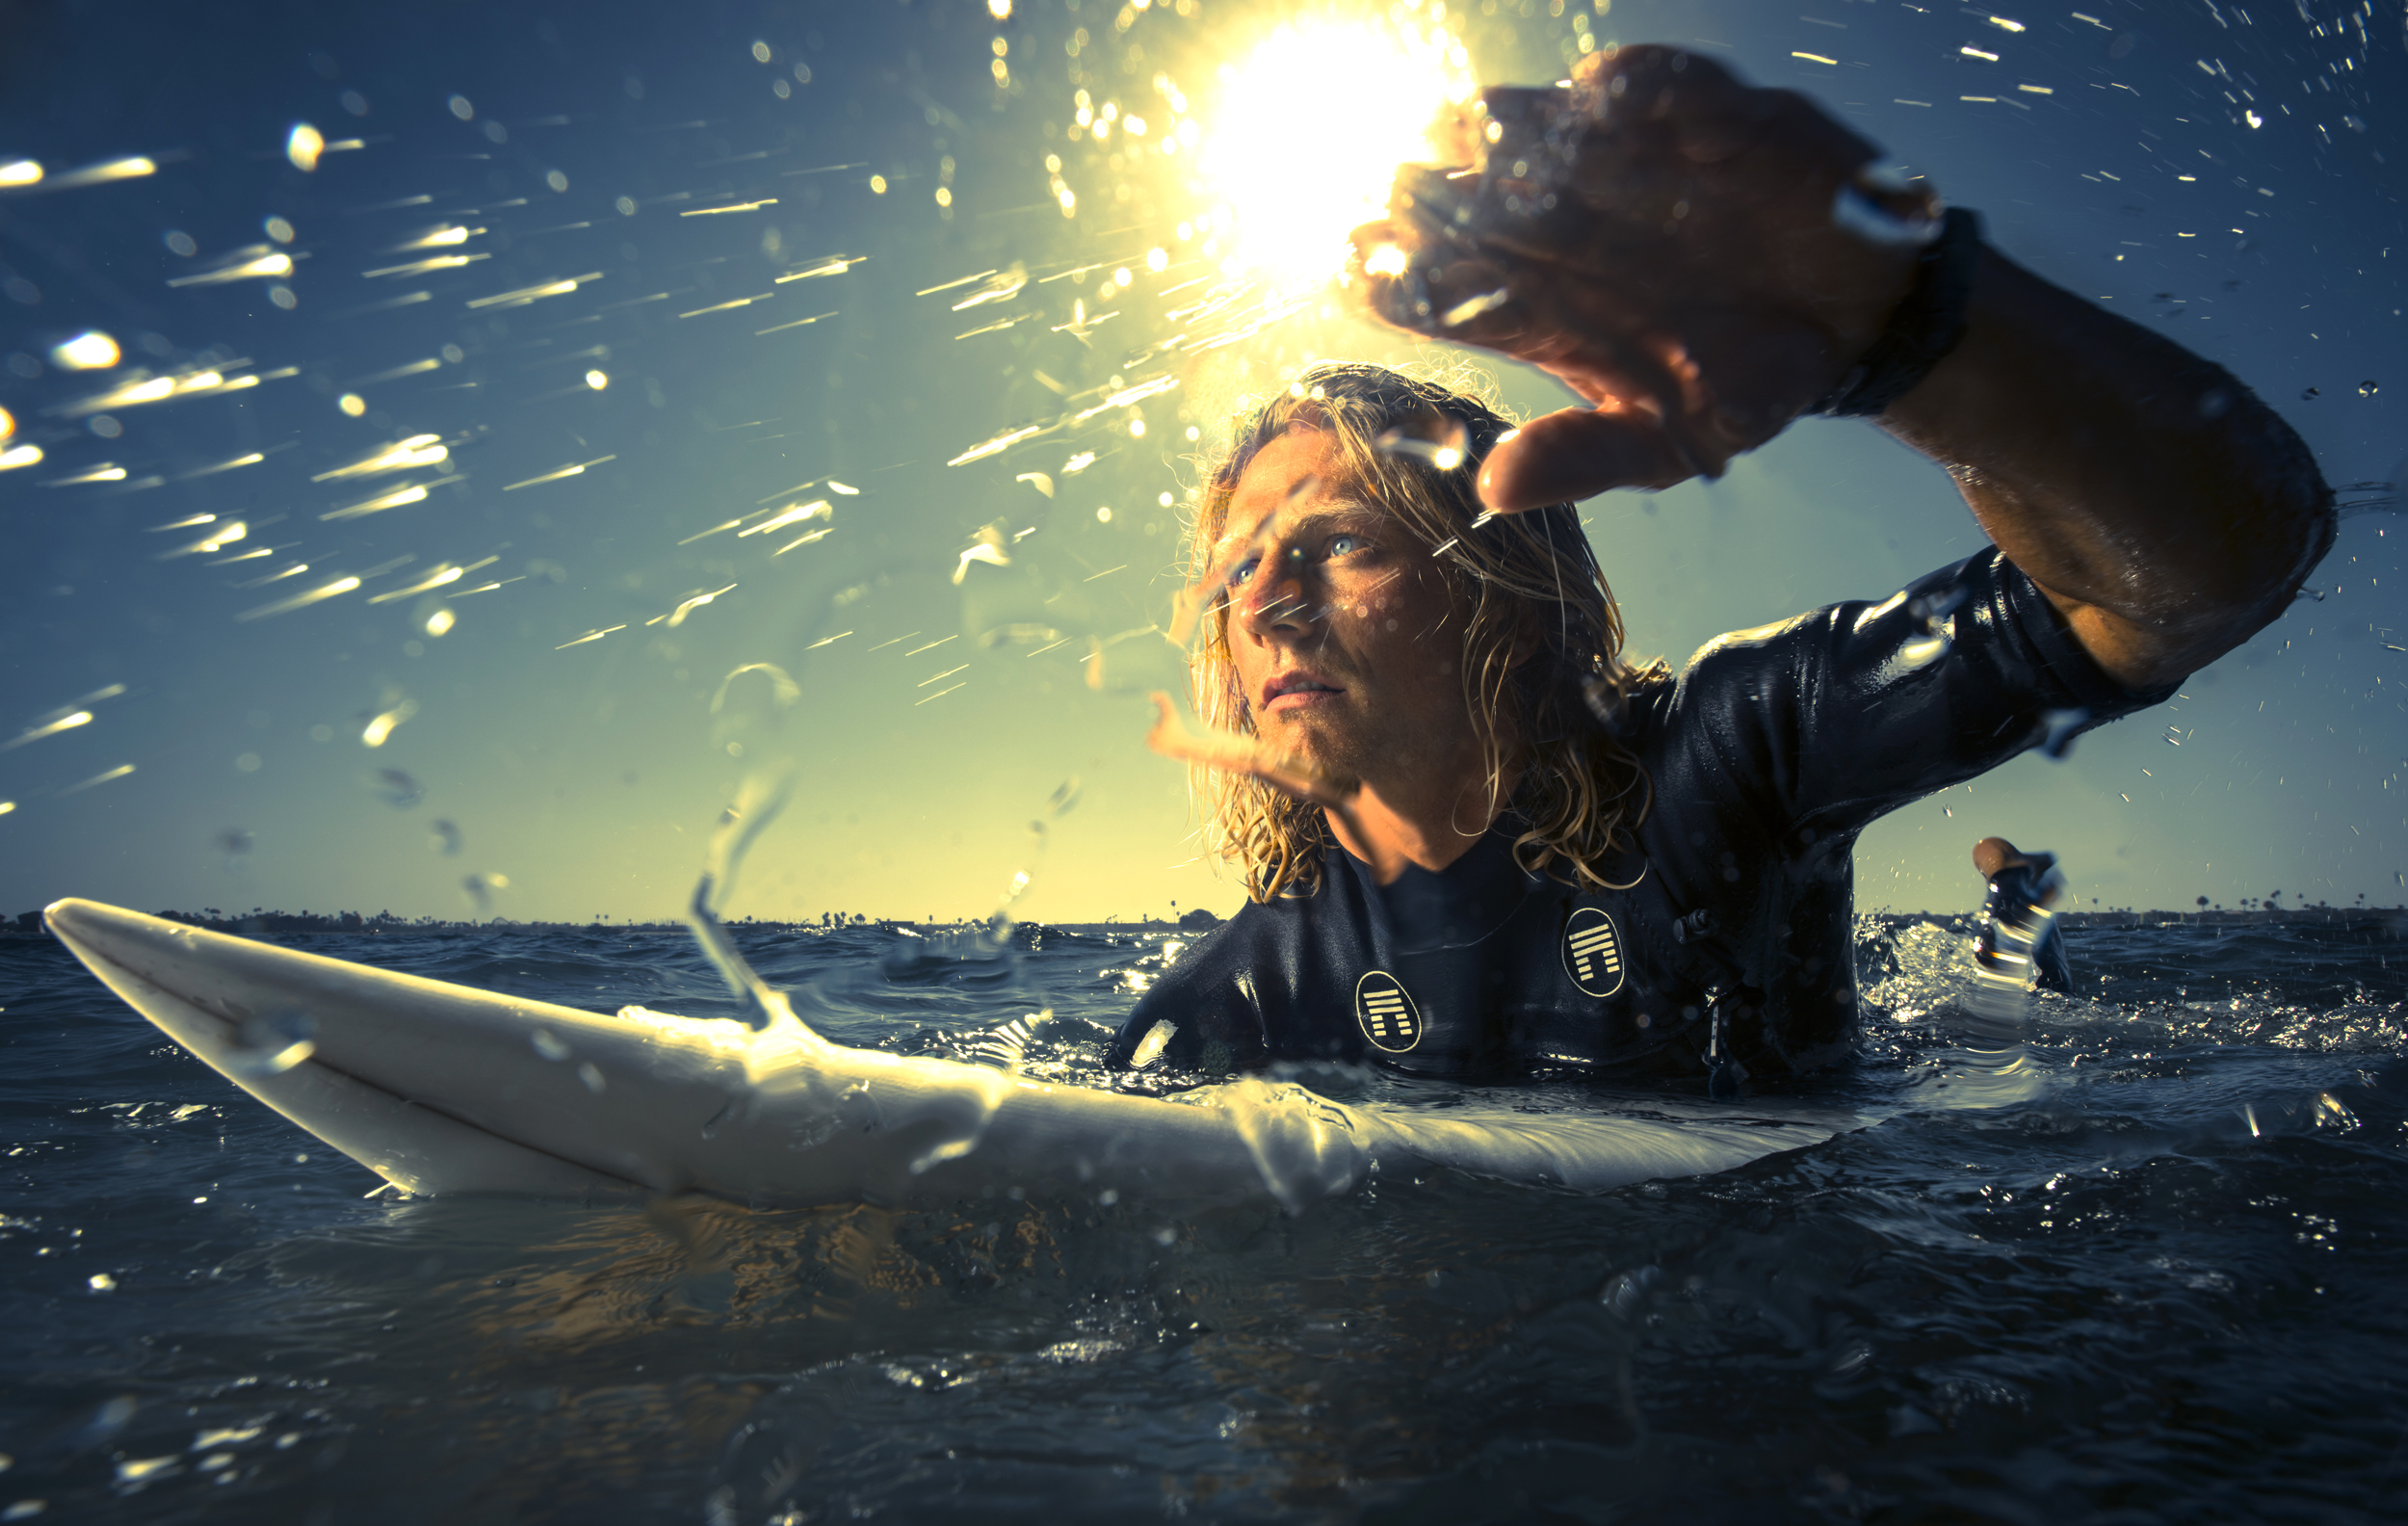
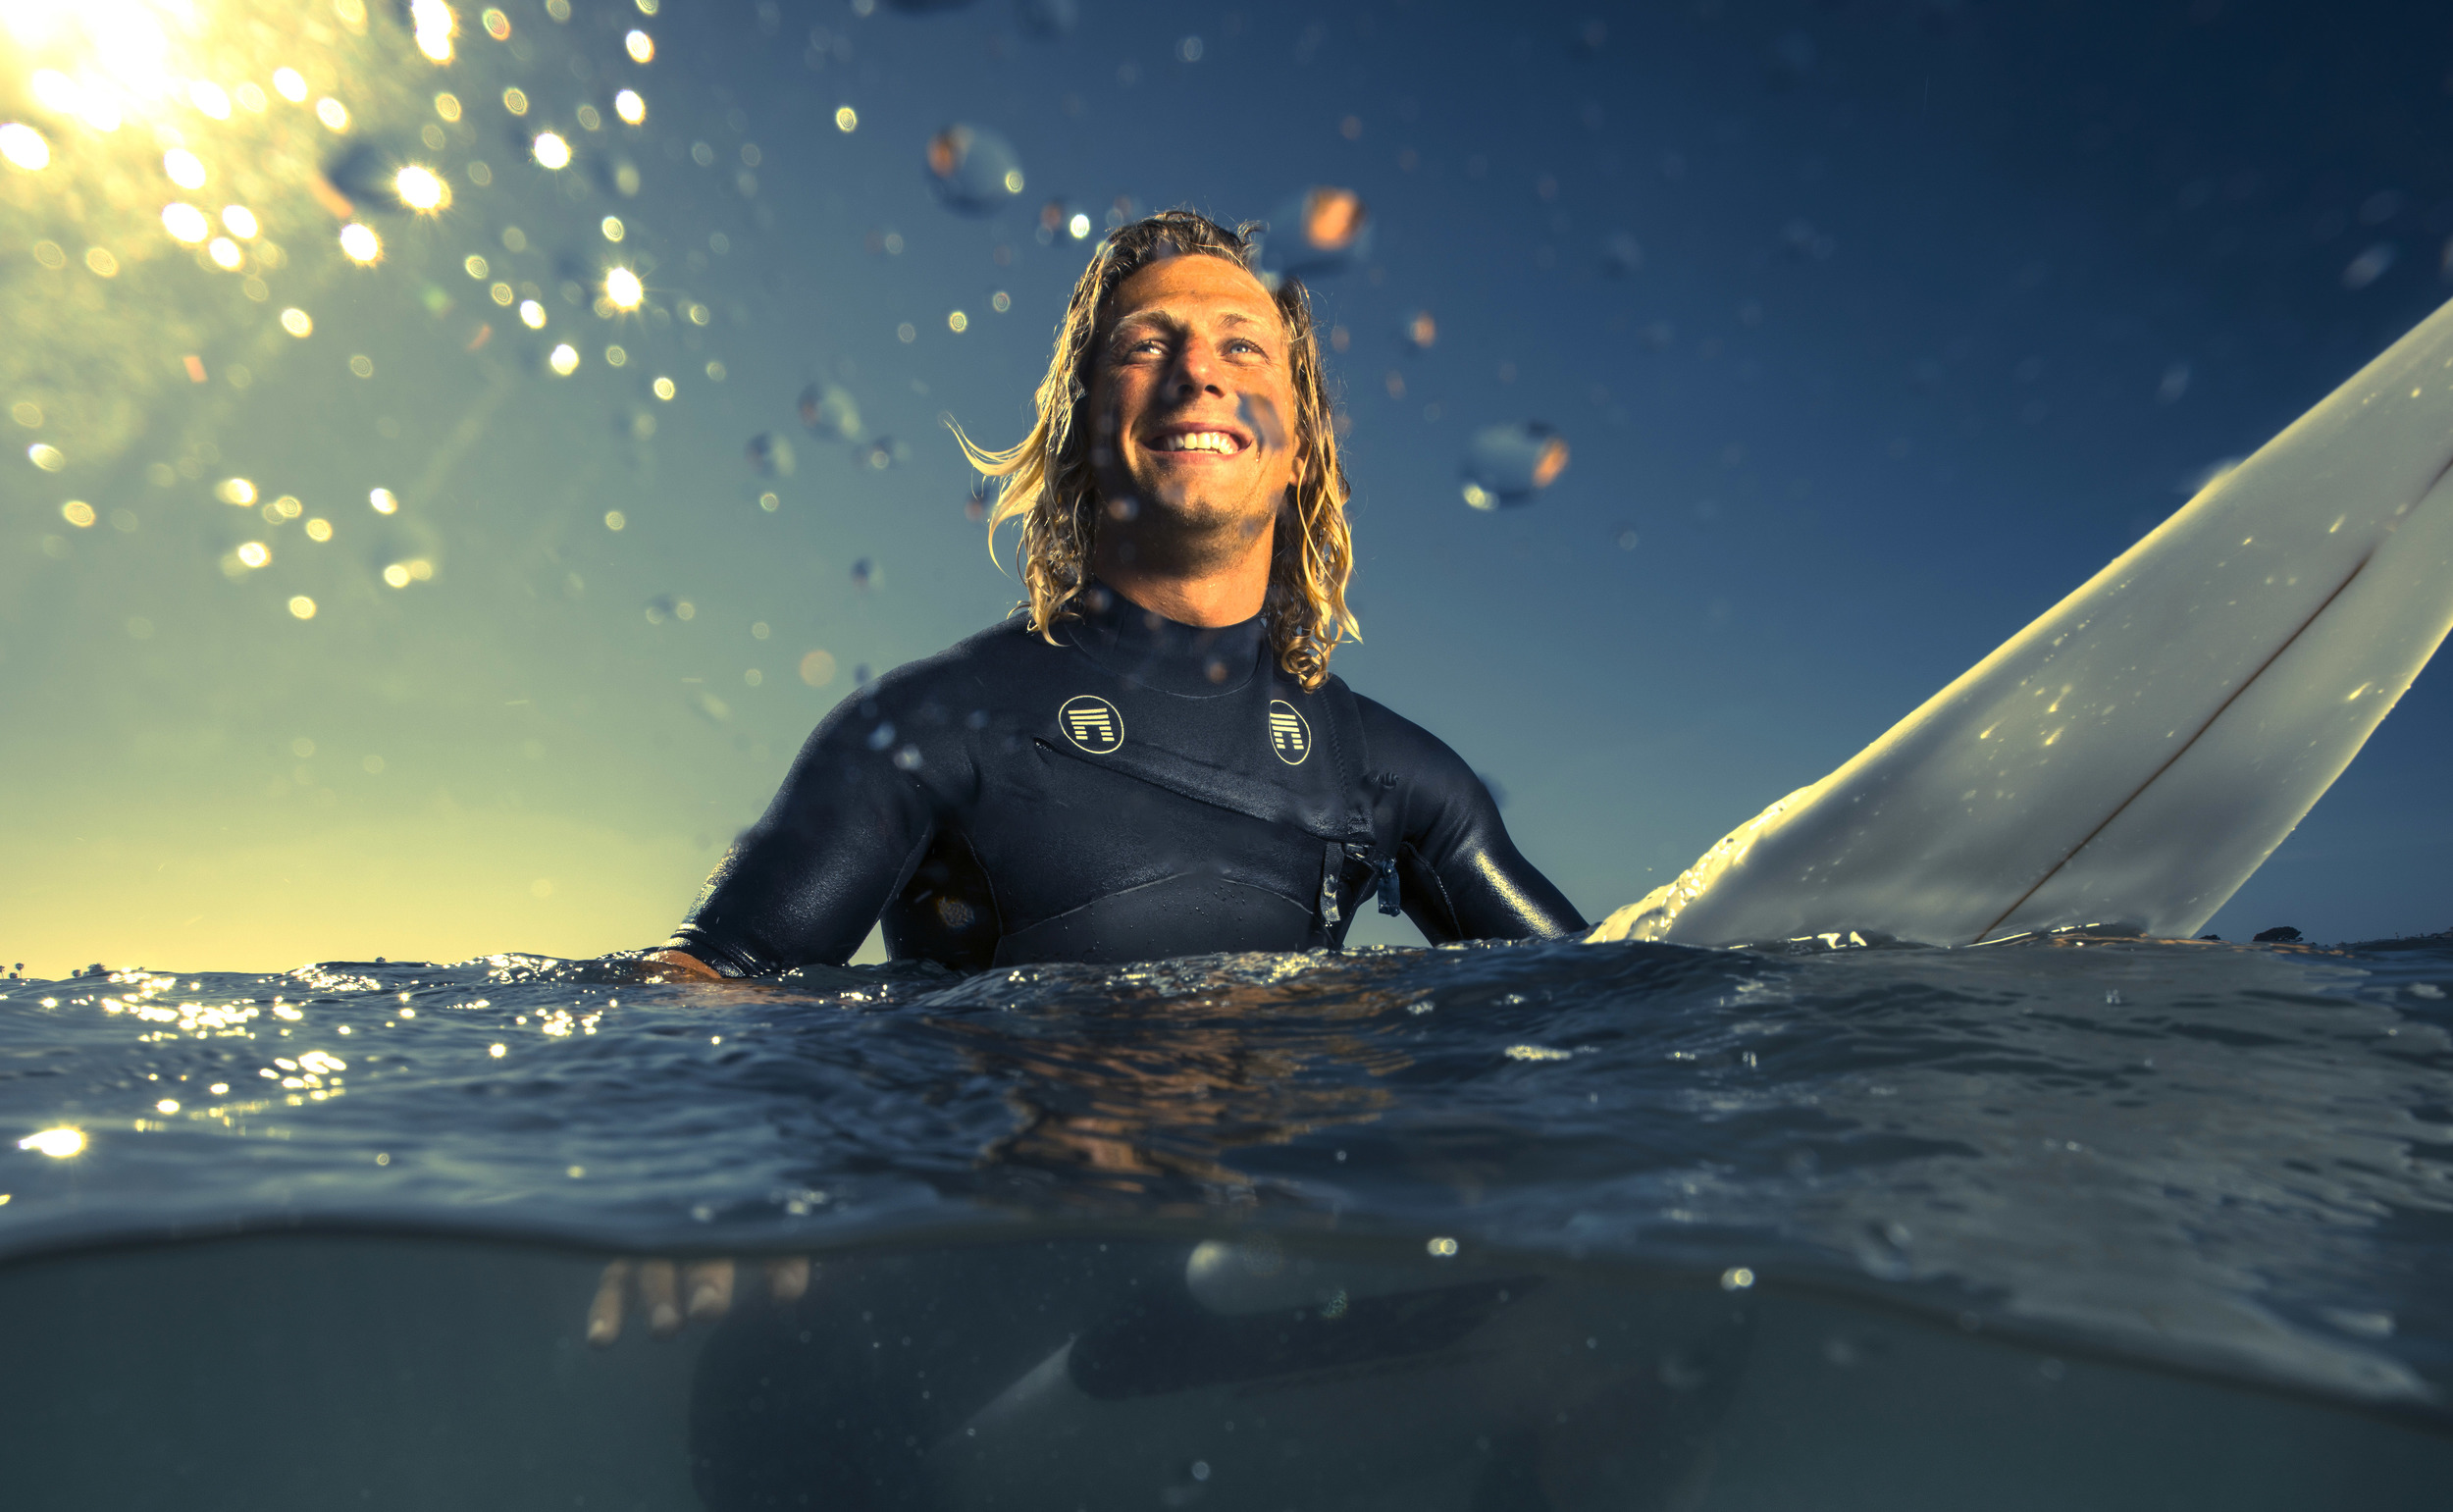
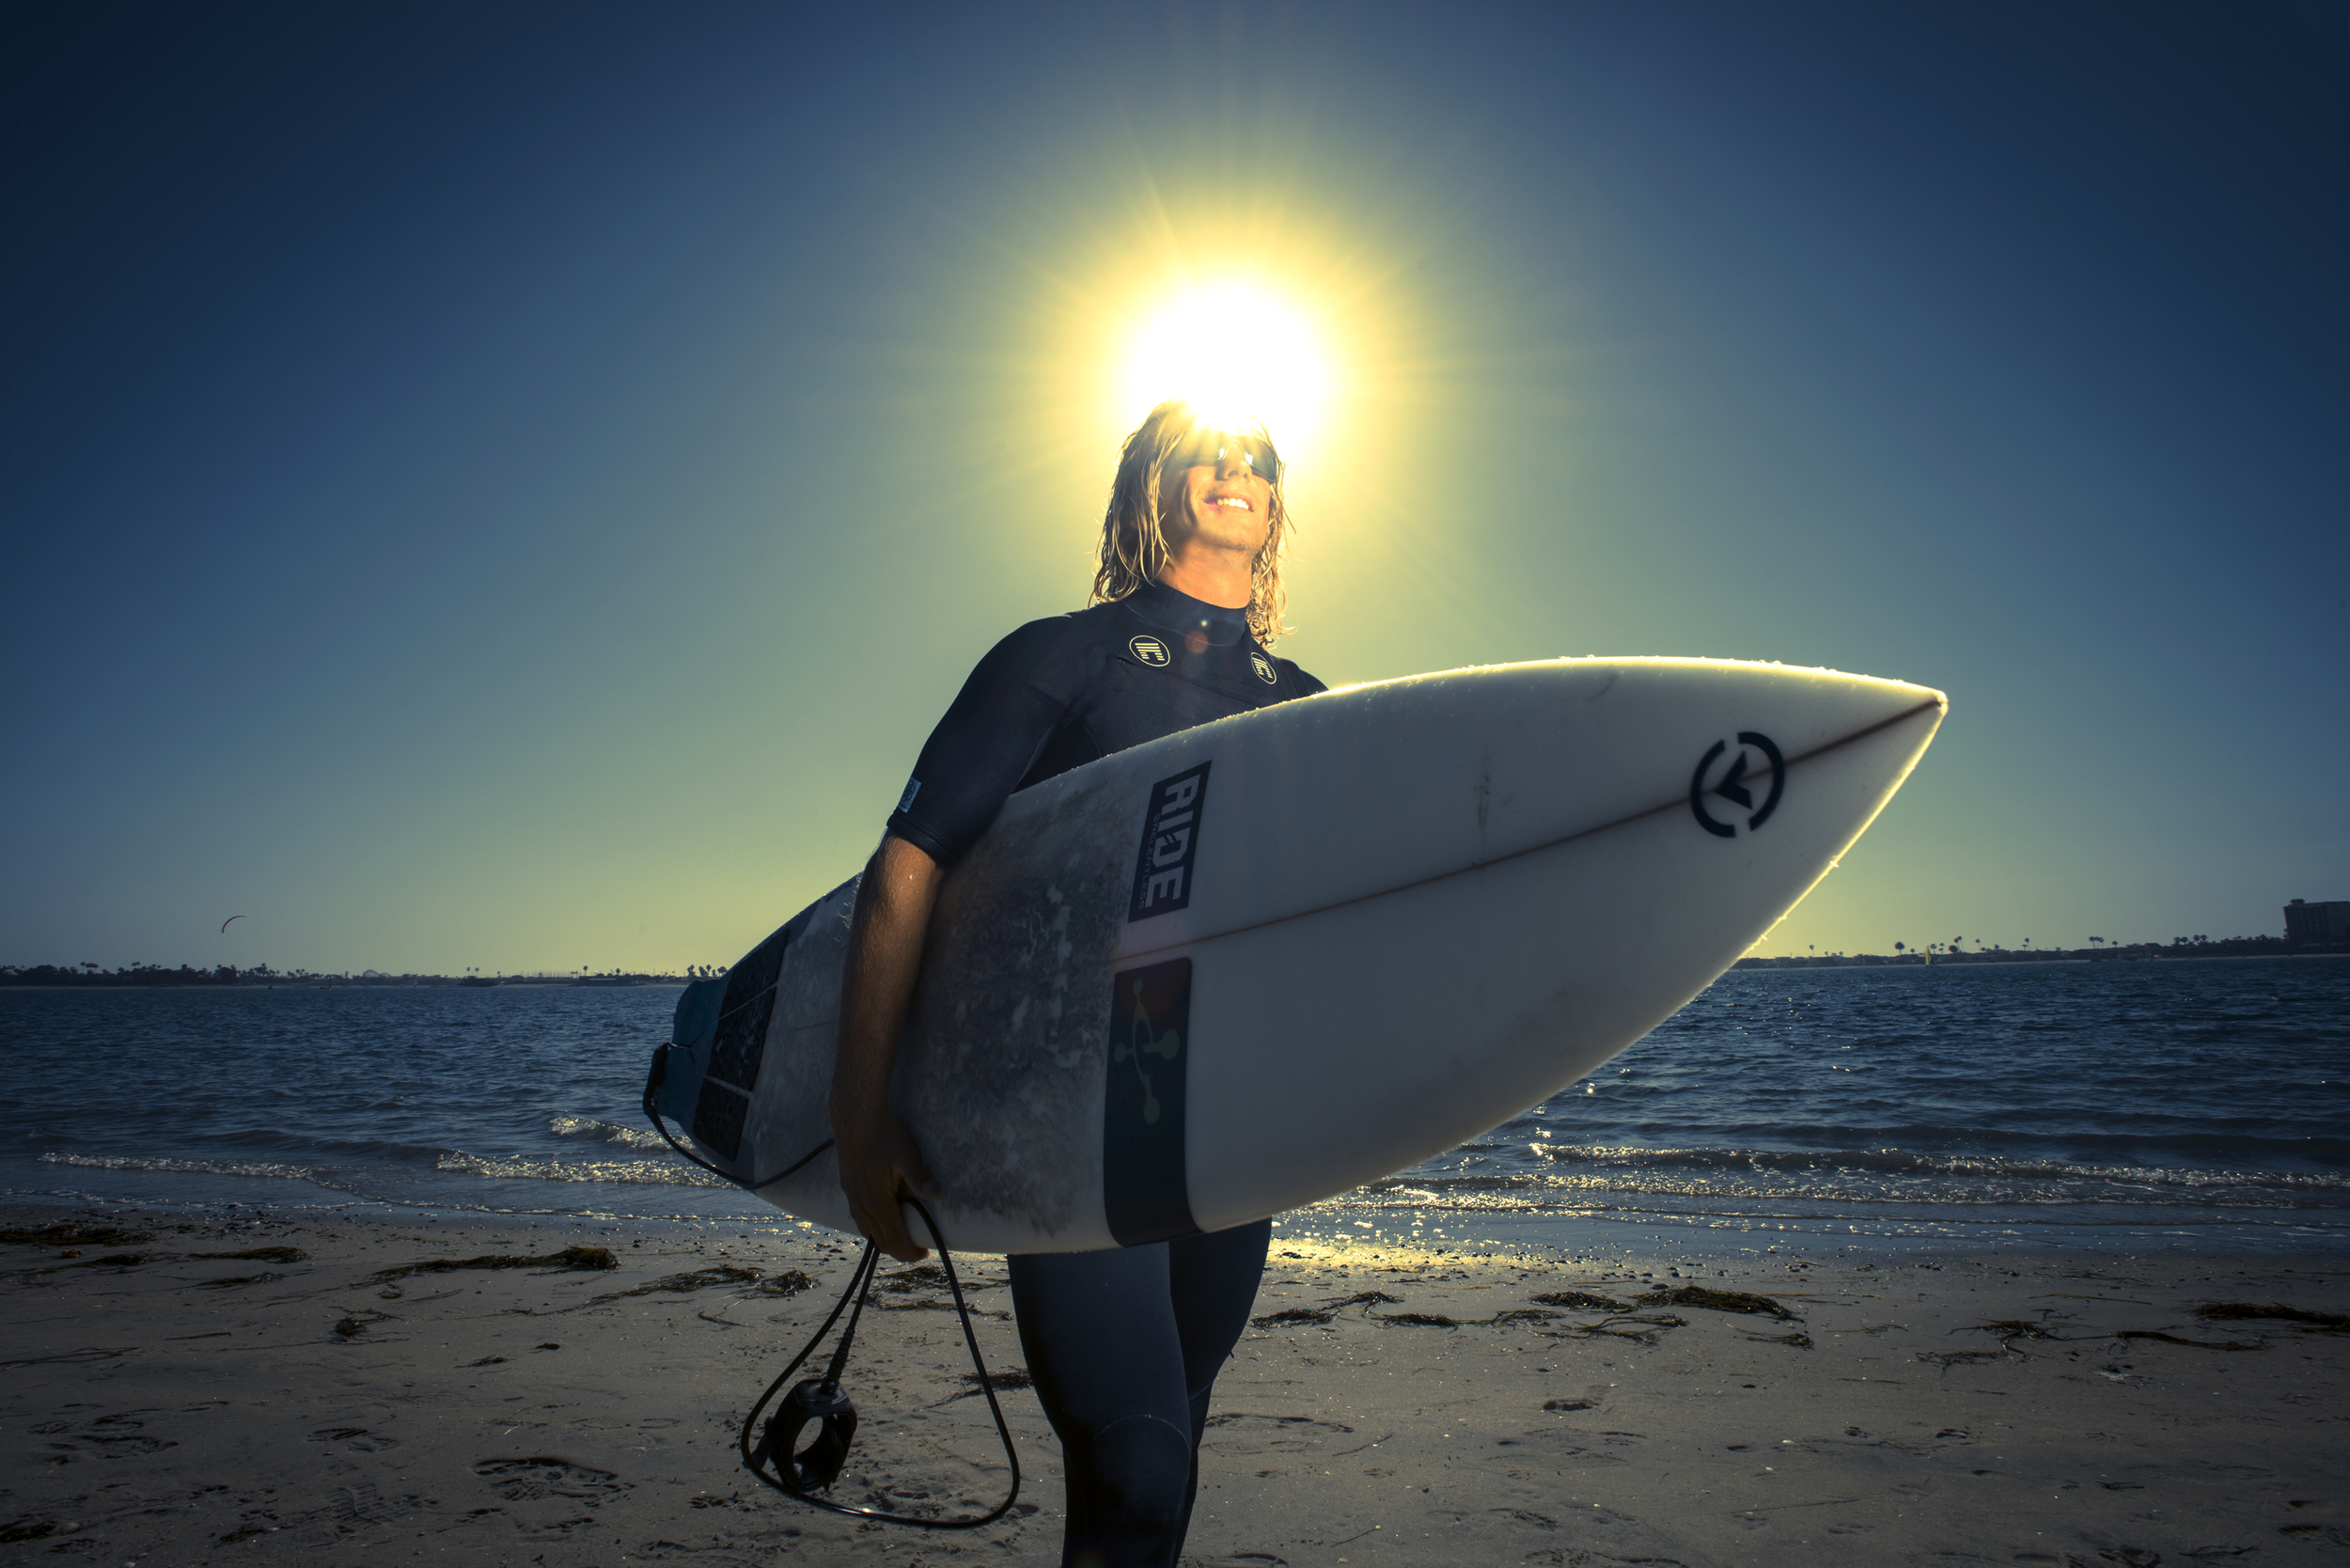
Picked up an underwater camera housing from Aquatech a while back, and just got around to shooting with it last month. Thing is a blast, and opens up incredible opportunities that would otherwise be completely out of reach. Just like anything, it take some getting used to. I chose the Aquatech over others in the field because it seems to offer the most options when it comes to camera operation. You can tell right when you get the rig set up, that it's solid. And (knock on wood) you have very little worries about leaks. After playing around a bit, you easily get a feel for it, and understand how get comfortable with it. I only have the widest angle lens dome port, because I only want to shoot things like you see below. I'm not a surf photographer. What you see was done close to shore and lit with strobes. That to me, is fun. Don't get me wrong, I'll get out in the waves with my friends, but I have more fun with strobes. The shutter button is a little hard to push down, but probably necessary. And it's also a little awkward to hold with two hands. So I definitely recommend getting the trigger handle. It will make your life a lot easier (looks cool too). Another thing you definitely wanna pay attention to is the back piece. It has to be precisely in place or the buttons won't operate the camera properly. Again, something that just needs a little getting used to. Overall, I love the rig and can't wait to use it in clearer waters.

